If you’ve tried countless solutions for improving your bad quality prints but nothing worked, it is very possible that by changing your 3D printer jerk setting and acceleration you can get the result you are looking for. Doing so has helped many people to get high-quality prints. It is even recommended by the experts.
But what are these settings? Well, they are a little different than the extruder temperature settings, retraction, and other common ones that you naturally tend to look at, while not getting a wanted print.
So, in this article let’s start by understanding what is jerk, what do you mean by 3D printer acceleration and what factors do they depend on. And thereby get to the gist of the top i.e., what are the optimal 3D printer jerk and acceleration settings that you need to ensure before starting your 3D print. Doing which you can get guaranteed good prints! Excited? Let’s get started.
What are the Best 3D Printer Acceleration Settings?

Mathematically, acceleration is referred to as speed accumulated within a specific time frame. In 3D printing, the acceleration setting measures how fast your print head speeds up!
This is limited by your designated 3D printer speed which is mentioned in your slicer settings. It is known that rule that the higher these settings are, the quicker the print head will get to its maximum speed. Vice versa, the lower these settings are, the slower the print head will get to its maximum speed.
In many known cases, a lot of times your top speeds won’t be reached while the 3D printing process is going on. This is when printing smaller objects. Because when you are printing a smaller geometry, you do not need to cover much distance to make full use of the acceleration.
It’s very similar to a car’s acceleration! Imagine if a car can go a maximum of 100 kph, but there are a lot of turns in your journey, you’ll find it hard to get to the maximum speed, won’t you?
In the renowned Cura slicer, they state that to enable acceleration control is to give you the accessibility to reduce printing time at the cost of print quality. What we can rather do on the other side is improve our acceleration at the benefit of increasing print quality and that’s a real achievement!
Take into account that your slicer doesn’t actually have much to do with acceleration, all it has to do is emitting G-codes to say where the print head should go and at what speed.
The firmware of your printer plays a major role by setting limits to speed and deciding how fast to accelerate to a given speed. Note how each axis on your printer can have different speeds, acceleration, and jerk settings.
In most of the printers, the X and Y axis settings are generally the same, otherwise, there are chances that your prints can have different features dependent on part orientation.
And then also, there are limits on how high you can set acceleration, especially when printing geometries at angles larger than 45 degrees.
After having understood acceleration settings, let’s explore 3D printer jerk settings.
What are the Best 3D Printer Jerk Settings?
Although being a quite complex term and having different descriptions attached to it based on the type of firmware you are using, it’s basically an approximation value that specifies the minimum speed change required by your printer’s acceleration.
The 3D printer jerk settings measure the speed at which your print head moves from its still position. The higher these settings will be, the faster it will move off from a stable position, vice versa, the lower these settings, the slower it will move off from a stable position.
The other way to define it is as the minimum speed that your print head will slow down to before initiating speed in a different direction. To better understand it you can take an example of a car that’s driving straight to a point from where it slows down before a turn.
In case the jerk is high, your print head won’t slow down as much before making the directional change. And you should note that when the print head is told to change speed and direction in the G-code, in the case where the difference in speed calculations is lesser than the specified jerk value, it should happen instantaneously, without any delay.
Results of Having a Higher Jerk
- Reduction in overall 3D printing times.
- Lesser number of blobs in your printed part.
- Increased in the number of vibrations from rapid changes in the direction.
- Smoother operation around corners and circles of the geometry of the part.
Results of Having a Lower Jerk
- Lesser mechanical stresses to your 3D printer.
- Smoother movements of parts and hence speedier.
- Better adhesion for your filament even when a direction changes.
- Lesser noise from your 3D printer.
- Less lost steps than you may get with higher values.
How Does Binary Search Method Help Get Good 3D Printer Jerk Settings and Acceleration?
The binary search algorithm is commonly used by computers for searching programs and it can be used in this one here to get a reliable calibration method by using ranges and averages.
It’s a stepwise method wherein you have to start by establishing a value that is too low and one that’s too high. After doing so you need to work out the middle value of this range by halving the sum that you get by adding the higher and lower values.
Once you are done with this try printing at your middle value and see the results. In case if the middle is too high, use it as your new higher value and vice versa. In case if the value is too low. Repeat this process until you get your desired result.
This process can take some time but once you find the settings that work best for your printer, it can make an immense difference.
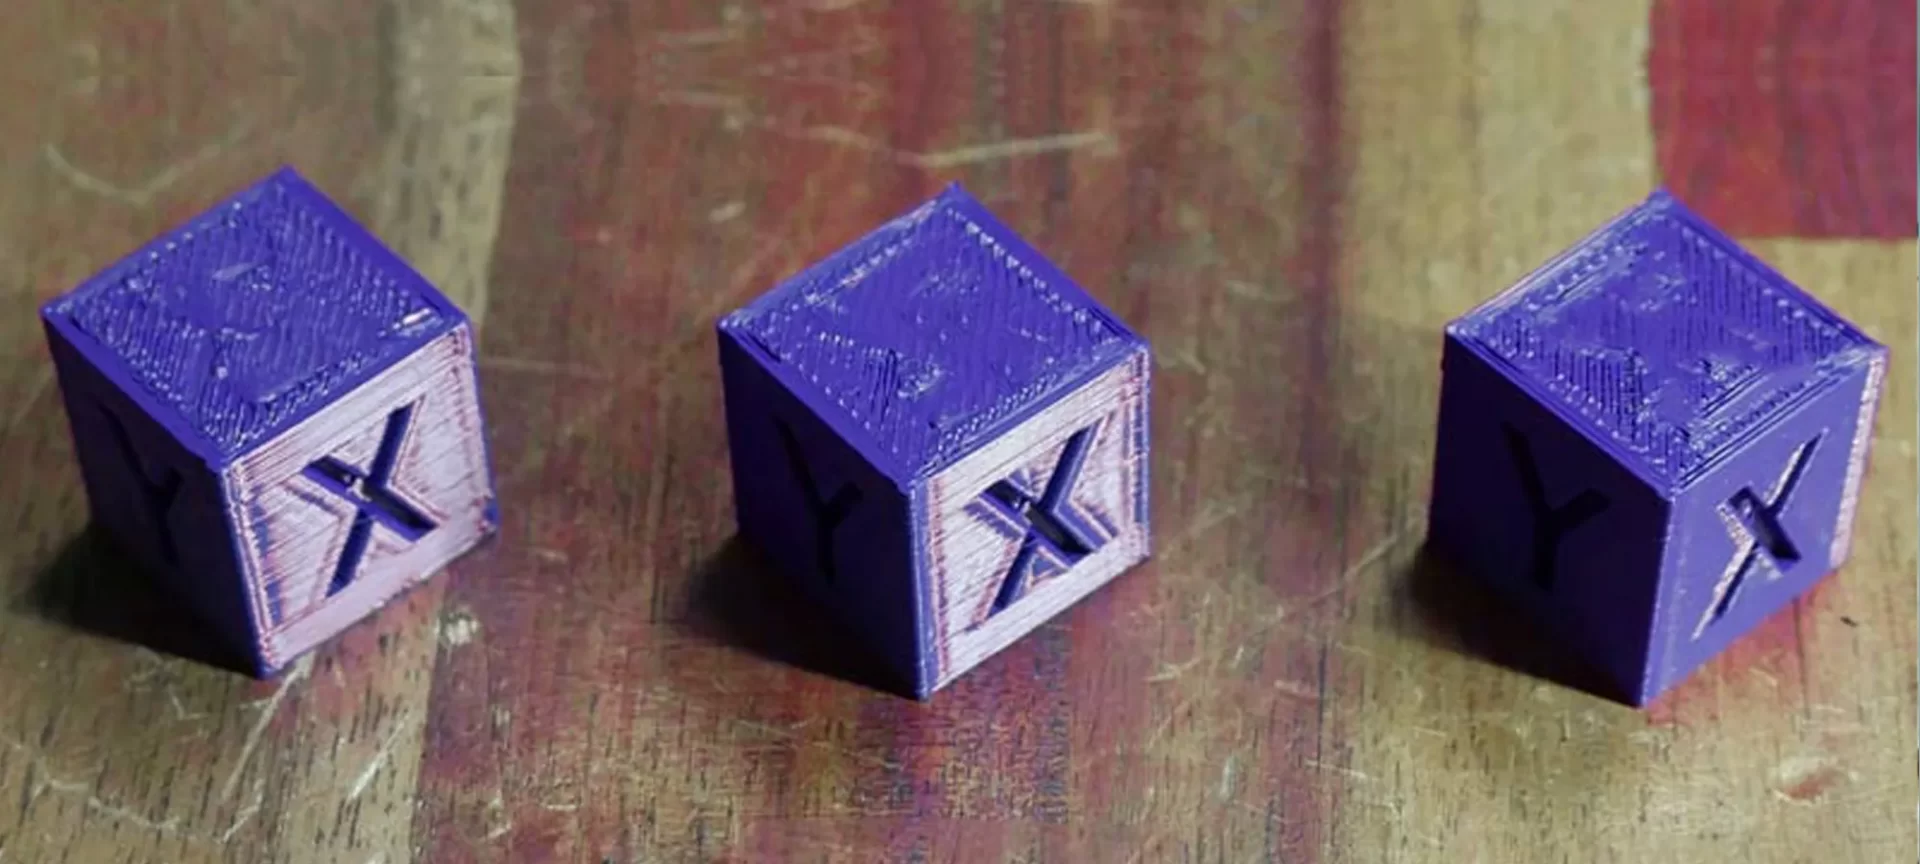
You’ll be able to be decent quality prints and not have weird, wavy lines and artifacts plaguing your print quality. This is a good idea not only to get desired prints but also to save them as a default profile in your slicing software.
This is so that you can get the same settings next time you come to slice your next print, as it will be automatically inputted into the settings. A simple piece of advice here is to write down what the settings were before you changed them.
In this way you can always change it back in case it doesn’t work. Also, if you forgot it isn’t a big deal because there should be a default setting to make it go back to the original settings.
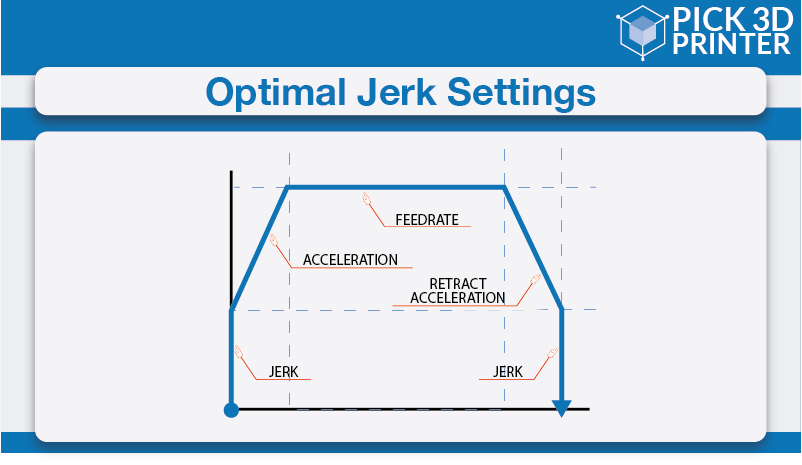
Recommendations of Ideal Acceleration and Jerk Settings
There are certain configurations that are tried and tested in the 3D printing world and by using them you have to do a very little testing to get the best settings for your 3D printer.
You can use these settings as a baseline and isolate either acceleration or jerk. Once you’ve done that, you can then increase or decrease it little by little until you get your desired quality.
For your Jerk setting, you are recommended to try 7mm/s and see how it goes.
- Jerk at X and Y axis should be at 7.
- Acceleration for X, Y, Z should be set to 700.
You can go directly into your 3D printer’s menu to select the control setting in which you need to select the motion option to see and change your acceleration and jerk settings. Keep your Vx, Vy, and Vz at 7 whereas, Amax X, Amax Y, and Amax Z can be kept at 700.
If you would do it in your slicer, renowned ones such as Cura will allow you to change these values without flashing your firmware.
All you need to do is go into Cura settings and click advanced settings or custom settings where you will get to view your jerk and acceleration values.
Points to remember here are that if by lowering your jerk things go too slow, you can increase your print speed somewhat to compensate.
If just lowering the jerk doesn’t fix your problem, then you are recommended to lower the acceleration too and see what difference it makes.
Some people leave the Jerk settings at 0 & have an acceleration of 500 and are known to get good prints. So, ultimately it really depends on your 3D printer and how well-tuned and maintained it is.
The Conclusion
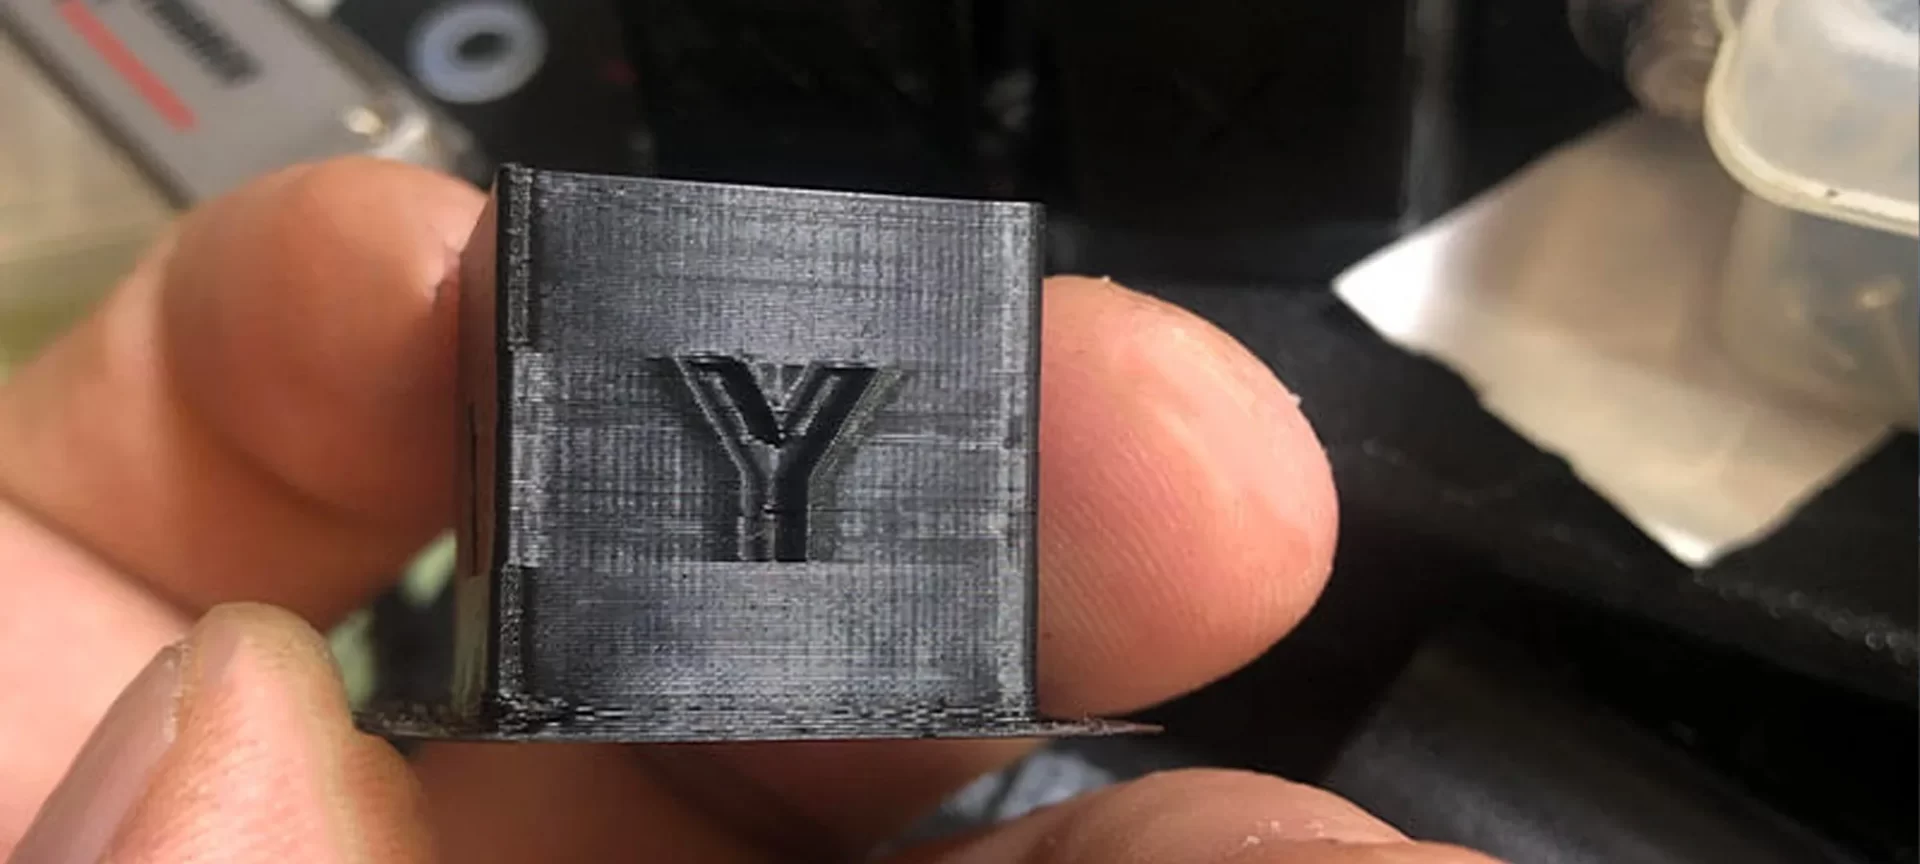
By having a perfect 3D printer jerk setting, it is possible to solve your problems of getting the rough print surface, removing ringing from your prints, noisy 3D printing, wobbling on Z-axis over the printed parts, layer line skips, shaking of the 3D printer and other print qualities in general.
Notice how jerk and acceleration are connected with each other, so if you manage to strike the right balance your 3D printing problems can be solved once and for all.


