Those who haven’t worked with 3D printers may think that the process is seamless and effortless. However, it is not as easy as it seems. There are certain technical knowledge and particular skill one must possess to avoid common 3D printing problems.
From the selection of material to the post-processing requirement, every step must be accomplished with care and caution.
3D printing is highly beneficial in obtaining complex designs as well as accelerating the entire process, however, even a small error can lead to huge challenges, destroying the entire prototype.
It could be inaccurate designs, poor resolution, and many other problems that may occur. Hence, knowing which common problems often cause the failure of 3D printing tasks can save from a lot of hassle later.
Critical 3D Printing Problems and How to Avoid Them
The world of 3D printing is filled with surprises. When you think that you are halfway through, you may realize that the height set was completely incorrect and won’t suffice the size of your 3D printer. These kinds of silly yet devastating problems can lead to the complete fall of the prototypes or parts when printed.
But, staying ahead of your problems could help you manage the 3D Printing process with ease. Instead of worrying about how the part would come up, why don’t carry your routine task and forget about the part being printed with a 3D printer?
Anyone working with the 3D printer has to go through tests and trials before becoming efficient with the designs and 3D printer’s capabilities. However, staying prepared for the challenges that may arise would help to get equipped with 3D printing early.
So, here are a few of the 3D printing problems that you must avoid, either you are a novice or an expert.
Did you Check the 3D Printer’s Material Guidelines?
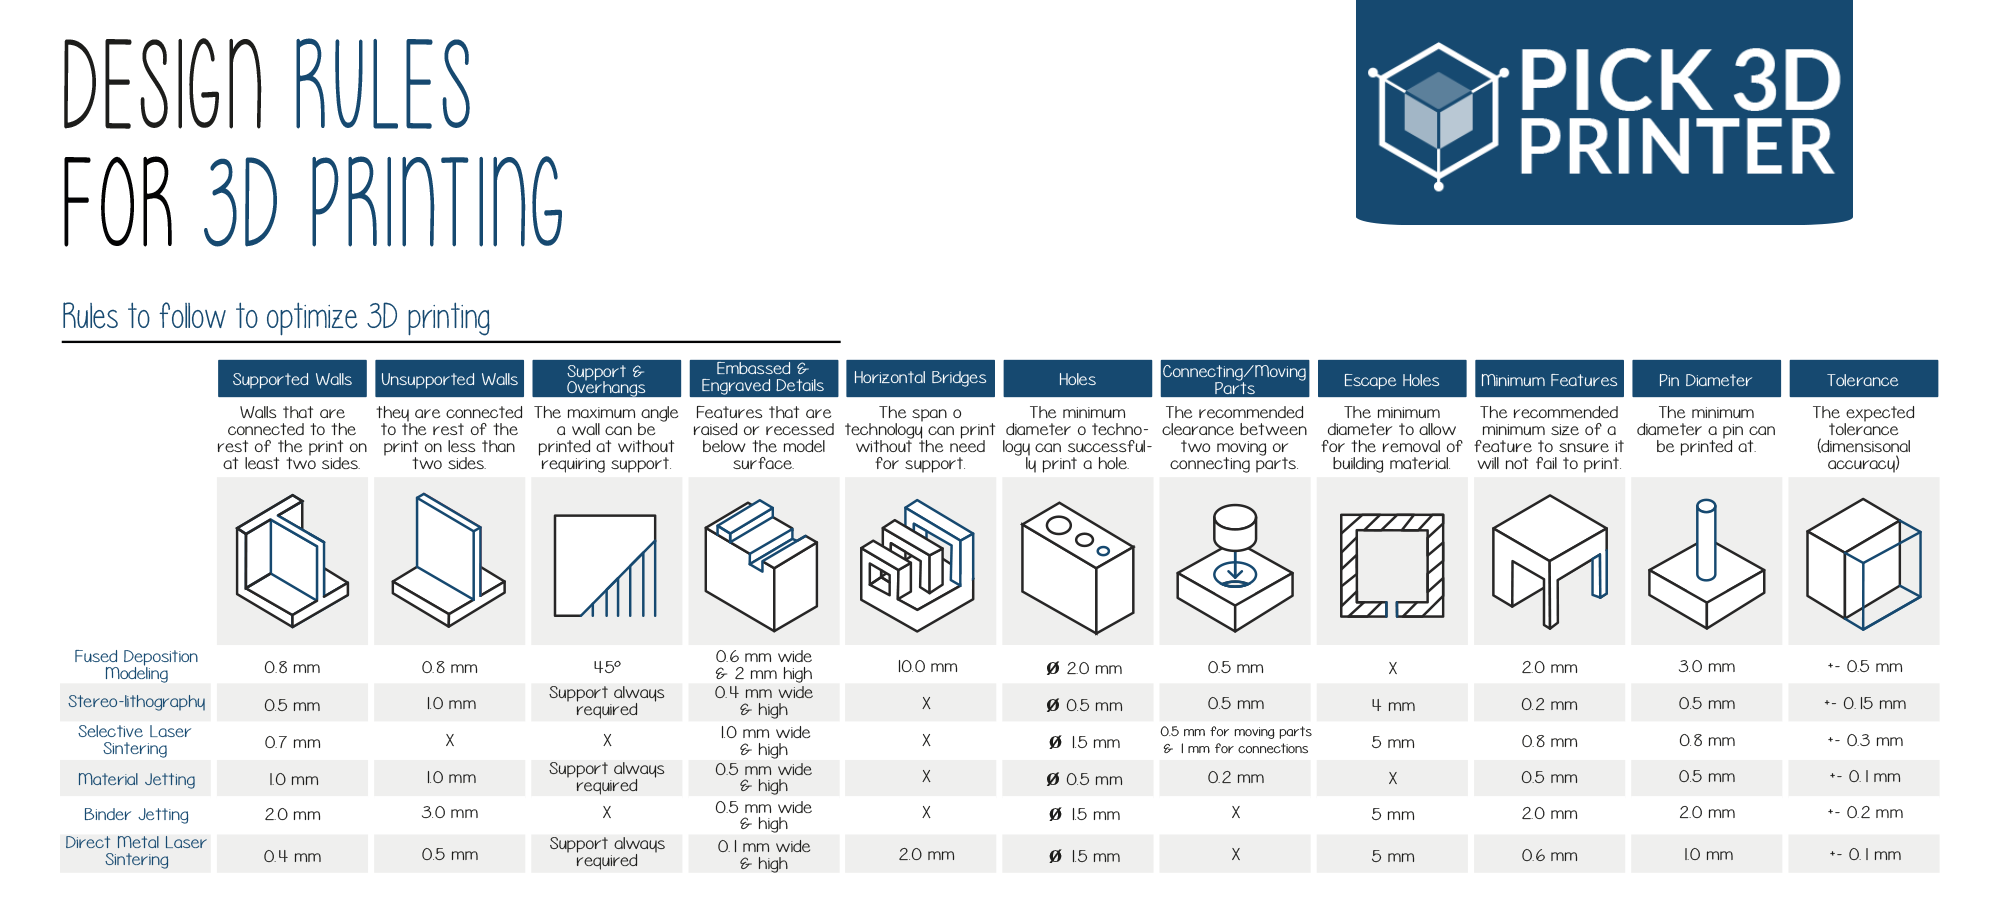
Do you know that there are quite plenty of options when you go for choosing the material for your 3D design? You may not know that until you have been using the 3D printer for long enough. Not just that, the new materials are being introduced every now and then. In midst of all that confusion about how to choose the right material for your specific task, you must check the material guideline.
Every 3D printing goal is different. You may need to print a part that is flexible instead of too hard. Or, you may want to print in colors or like to opt for food-grade material. All these constraints must be visited carefully before choosing the material for 3D printing.
The materials available for 3D printing have different physical properties. Some are stiff and some are brittle. Some solidify and some are flexible. For every job, the need for material differs widely.
Moreover, there is a certain design recommendation when printing with different materials. For example, when printing with steel, you must check the design recommendation related to the soft corners, overhanging parts, etc.
Making sure you have selected the right material and have followed the guidelines specific to your material of choice, you can save a bad print.
What About 3D Printer Stringing?
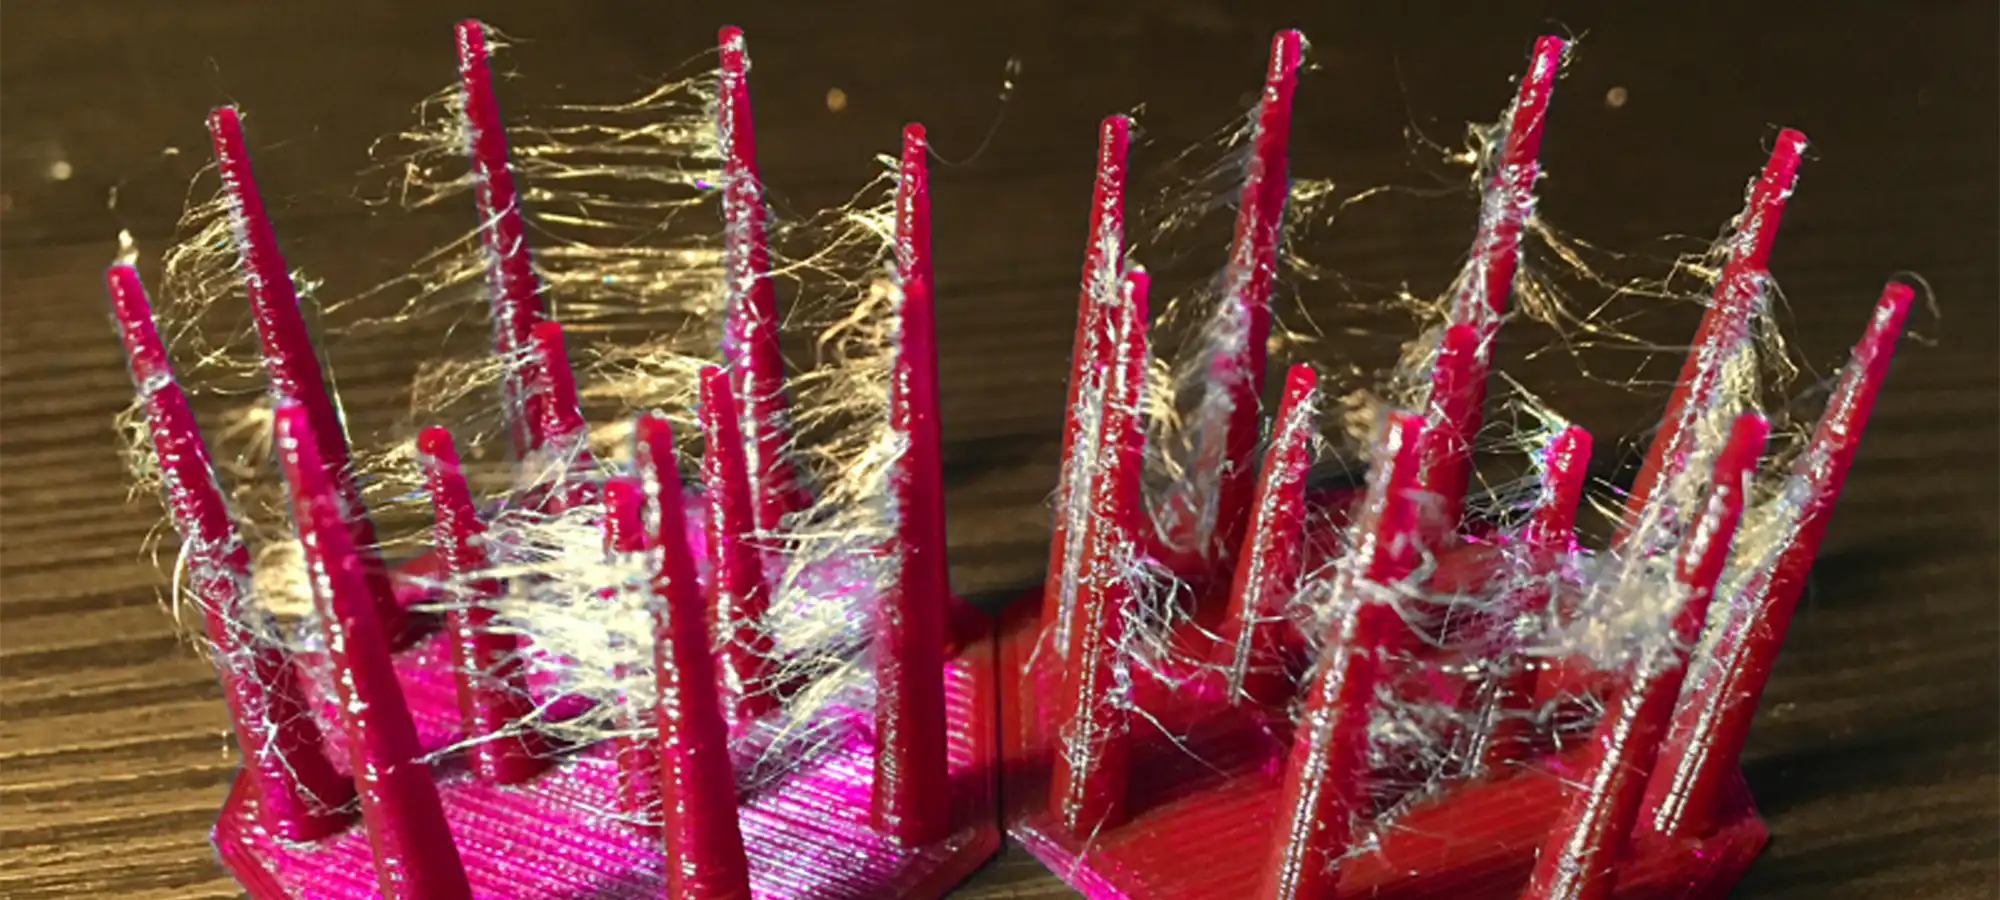
One of the common 3D printing problems associated with FDM printers. 3D print stringing happens when the nozzle unnecessarily oozes melted plastic when moving from one end of the part to another. The plastic deposited solidifies and looks like a string of web when the part is completed. It is hectic to get rid of these strings later during the post-processing methods. So, what is the reason for this and how this can be avoided?
Usually, the stringing happens when there is a leakage of plastic material from the nozzle while passing over the build platform. This could be because of several reasons. One can manage the print by taking into account these causes and progressing accordingly.
- Through Enabling Retraction: The 3D printing experts use this method most of the time to avoid stringing problem. By retracting, it means that pulling back the filament inside the nozzle when it moves over an empty space. This helps in combating the trails of molten plastic after the necessary material has been deposited. After the nozzle reaches the other end where the molten plastic has to be deposited, the material is pushed back. There are some applications that even allow retraction by default. In some, one has to enable it manually.
- The Speed of Retraction: This speed calculates how fast the filament is retracted. If the retraction speed is fast, the occurrence of stringing is further avoided. This is because the filament can be pulled back before it starts oozing when the speed is fast.
- The Distance of Retraction: This is to determine the distance nozzle travels while retracting the filament. One has to very efficient while choosing this metric for 3D printing. For example, if a far distance is chosen for retraction, the stringing is less likely to happen. But, it should not be selected too far as the filament would not be available for a deposition when required.
- The Temperature Setting: With a rise in temperature, the material liquefies faster and takes more time to settle back. Hence, the problem of stringing increases with high temperatures. You may have to test which temperature better suits your 3D printing material and process accordingly.
Apart from all these, you must often clean the nozzle and set the print speed correctly. Too slow print speed may invite stringing.
Are Your Parts Susceptible to 3D Print Warping?
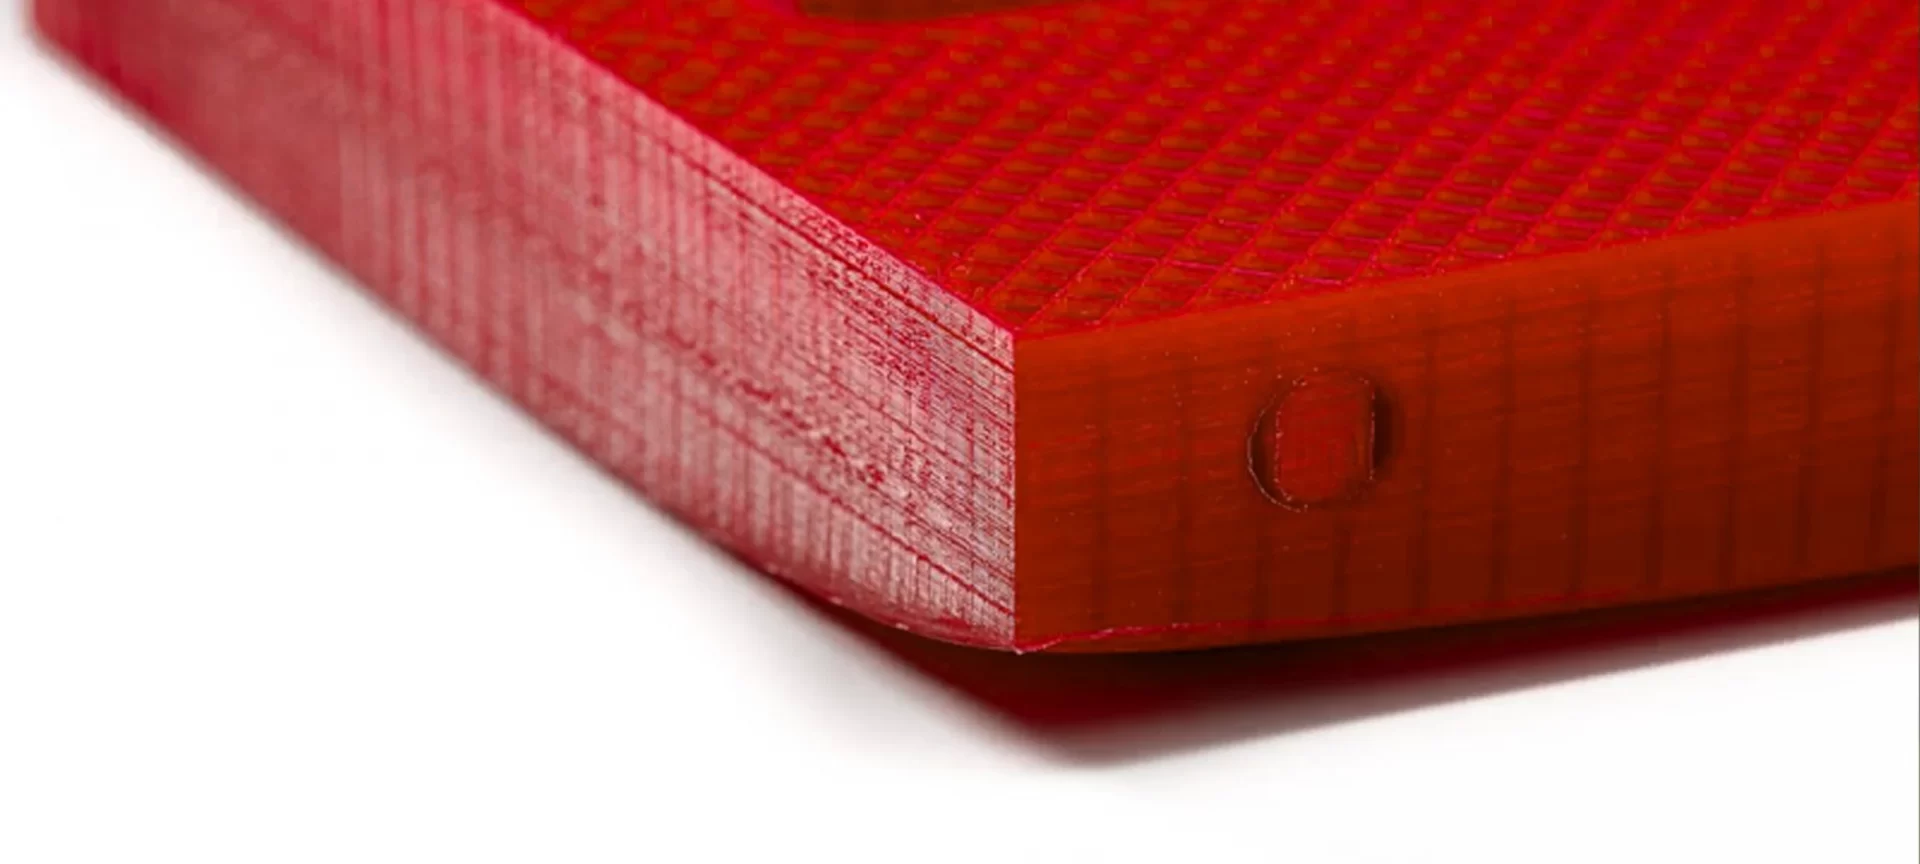
First of all, let us know what warping means. When the deposited material starts cooling unevenly during the 3D printing process, the deformation of parts occurs. This is known as 3D print warping.
The cooling is directly proportional to contraction. Hence, with uneven cooling, the stress is generated along the lateral surfaces. With the increase in the speed of cooling, the surge in stress takes place.
So, how to ensure that the parts aren’t prone to warping?
- Use of Heated Print Bed: Before some time, the heated beds weren’t available for 3D printing. And, warping was one of the most seen 3D printing problems. However, after the introduction of a heated bed, a lot has been taken care of. Definitely, the other preventive measures play important roles too and with conjunction with a heated bed, the solution is appreciable. Because of the heated bed, the layer when deposited takes time to cool down. This, in turn, greatly helps in reducing the problem of warping.
- Build Surface Adhesion: This one is the major do when warping seems like a constant problem. There are 3D printers that have glass or aluminum print beds which may be durable but slippery too. When the surface is too smooth to hold the molten material in place, warping is even more pronounced. This does not mean that one should not go with a glass bed at all. But employing the effective adhesive measures to ensure that the print is perfectly stuck with the print bed can help reduce the problem from the core.
- Often Clean the Build Surface: Dirt, grease and other intruders make adhesion of the most adhesive bed go for a toss. So, never forget to clean the build surface often. Or else, your 3D printer with a great adhesive bed would also fall for warping.
The better you understand the problem with your 3D printing process, the higher your chances of printing without warping issues.
Is 3D Print Pillowing Ruining the Parts?
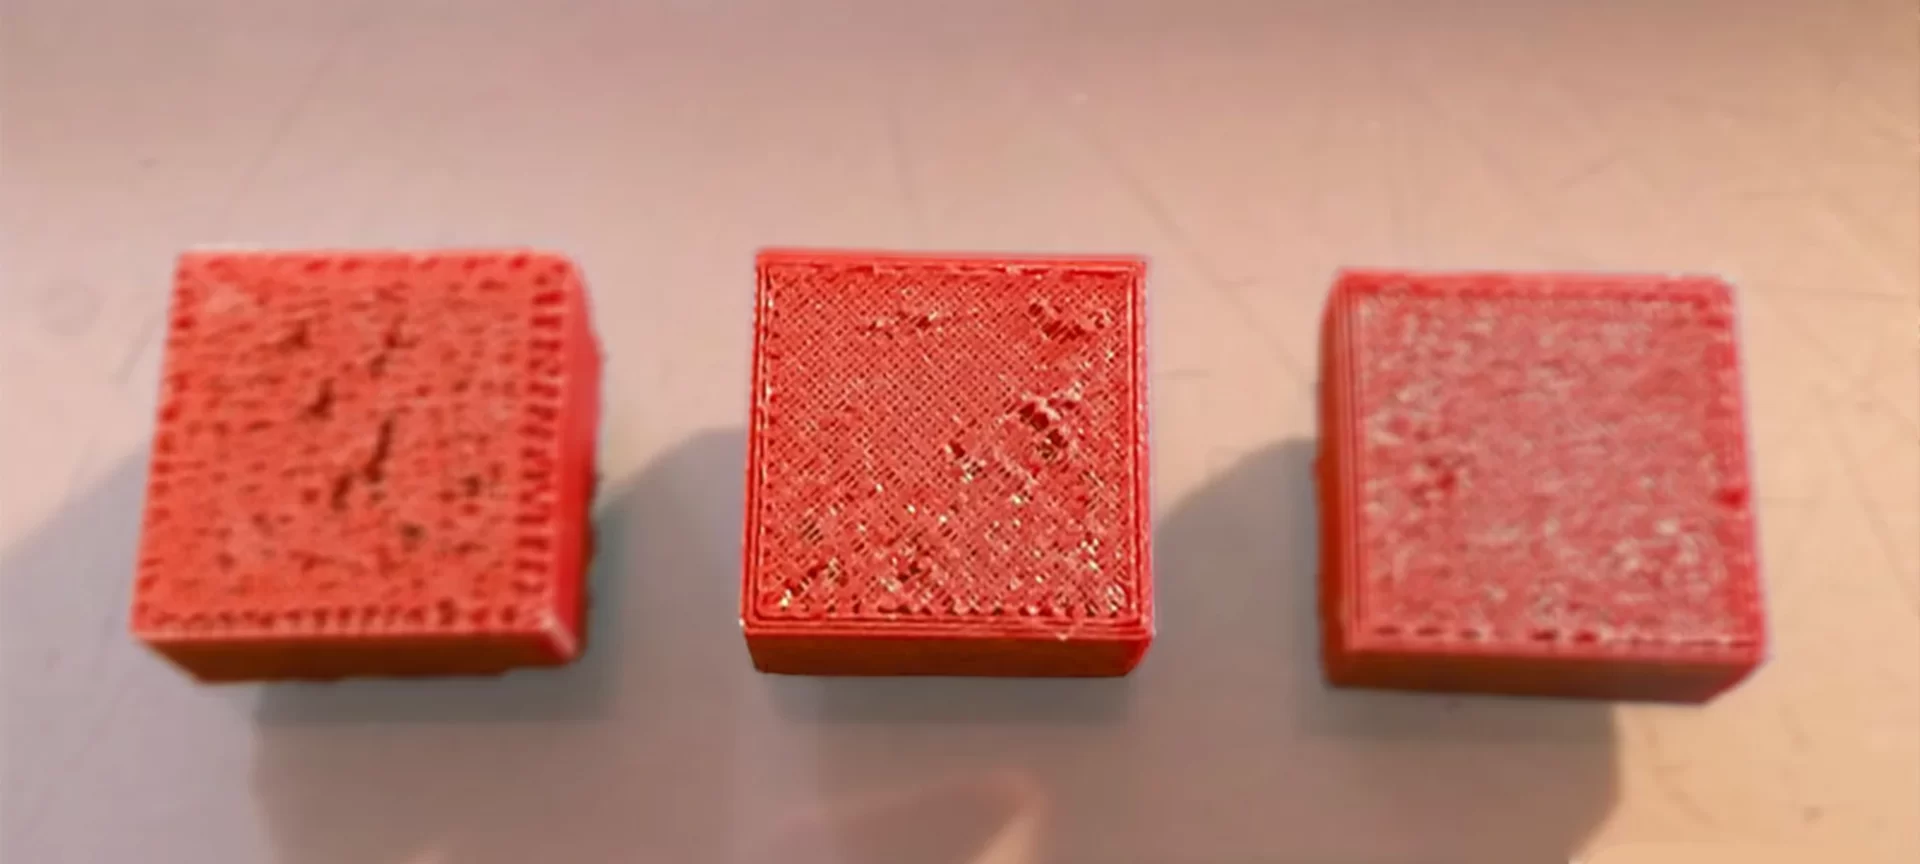
3D print pillowing affects the topmost layer of the parts printed with 3D printers. Because of this, you only come to know in the end that the part was ruined. After you have wasted time, effort and material on the part.
Pillowing happens when you find the topmost layer with holes and deformities. The major reason for this is improper cooling. Sometimes, the top layer does not get enough air to cool properly and leaves behind pillow-shaped patters.
If you think that using certain filaments will restrict the problem from happening completely, it isn’t correct. Any filament can go through pillowing. So, changing the filament is not an answer to stop parts from pillowing.
But you can certainly tackle the problem in advance by taking the right measures.
- Set a Thick Top Layer: Pillowing happens because of improper cooling. Hence, to subsidize the issue, you can increase the thickness of your top layer. All you have to do is increase the thickness of the top layer by changing the settings in the slicer. Most probably your problem would be solved right away.
- Check the Cooling Adjustments: There are chances that using a thick top layer won’t solve one of the most common and easily treatable 3D printing problems. So, the next thing you can do is adjust the cooling accordingly. Check if the cooling fans are working properly. Check if the slicer fan is on or not. If not, you can utilize various other alternatives to ensure that the fans are working properly.
You can also try slowing down the print speed, lowering the temperature, and increasing the infill. These would help in reducing the pillowing problem.
Working with Designing Software
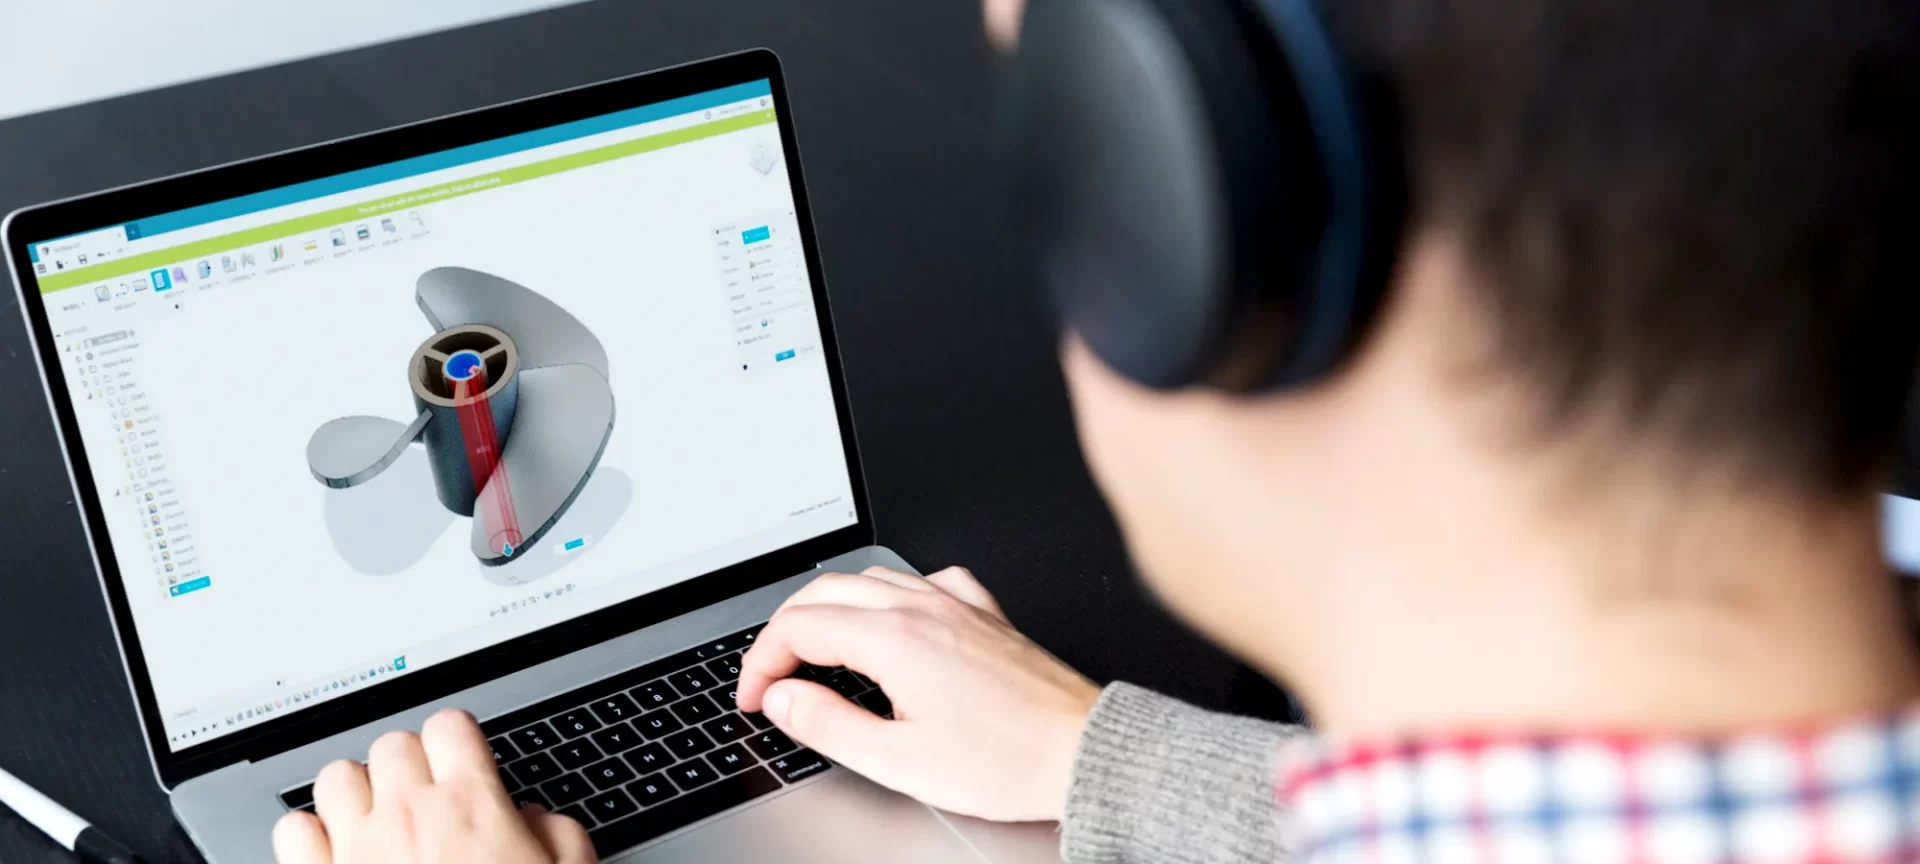
You may think that a simple drag and drop feature would allow you to design the 3D prints in a few simple steps. However, this is not the case. You must learn how to operate the designing software when designing your 3D parts.
Even when using the design from an online repository, you may need to change a few things depending on the 3D printer you are using or any other design change requirements.
So, learning how to operate these designing tools is the best way to stay away from 3D printing problems. Additionally, the 3D designing software is available with many names and versions. Some are free to use and others have paid versions.
To use each of these tools, one must expect to witness the change in usage. Some may come with automatic wall thickness settings and some may not. Knowing how to use the one you are working with may not be based on the experience of using the last one. So, going through the design software guidelines must be at a high priority.
There are users who feel it is easy to work with the beginner’s version with most of the settings taken care of in advance. However, those who think so may not have tried to design the hollow parts using the easiest of all tools.
The Conclusion
3D printing job takes time and effort to master the art. Many experts believe that 3D printing is an ongoing learning process. There are problems that come into the picture with every different design specification. Some can be solved easily, however, some are highly challenging.
When printing at home, users do not have enough room for experimenting because of a limited budget. Usually when one is 3D printing for fun or as a hobby, spending so much because of uninvited 3D printing problems seems intolerable.
So, finding what is going wrong with the settings and how to come up with the proper solution must be tackled patiently. There is no rush when it comes to 3D print with perfection. One may have to test a few parts before understanding what the core problem is.
However, learning more about the common problems would put a user in a better position to judge what’s going wrong. This would reduce the unnecessary steps when correcting the issues and will provide the right direction to proceed.
3D printing problems can be easily reduced to null when reading thoroughly. Going through every guideline and ensuring that you know in and out of the material you are using and the 3D printer you have purchased would take care of most of the 3D printing problems.
The rest, you can sort out by following the above steps. Just look for the clues and find what is going wrong. If the prints aren’t coming out as expected, there is a problem that needs to be fixed.


