3D printers are an investment that you make once apart from the regular maintenance that you need once in a while. However, the materials that we use to print the parts and the object is a continuous investment.
Every time the material ends, we need to order more, or else, we won’t be able to 3D print.
Did you know that you can make 3D printer filament at home at a cheaper rate? If so, then what materials can be 3D printed?
This may ring a bell for many as most of the 3D printing services feel overwhelmed by the expensive price of these filaments when the need for 3D printing is too often.
I won’t say that it is the easiest thing to do. However, those who want to do it yourself would find the guide helpful in many ways. There are machines that let you make filaments at home. But these again are costly.
So how about building these machines at home at a much cheaper cost? This is a great idea for those who like to go the extra mile for saving some bucks.
By following certain steps, you can come up with your own 3D printer filament extruder.
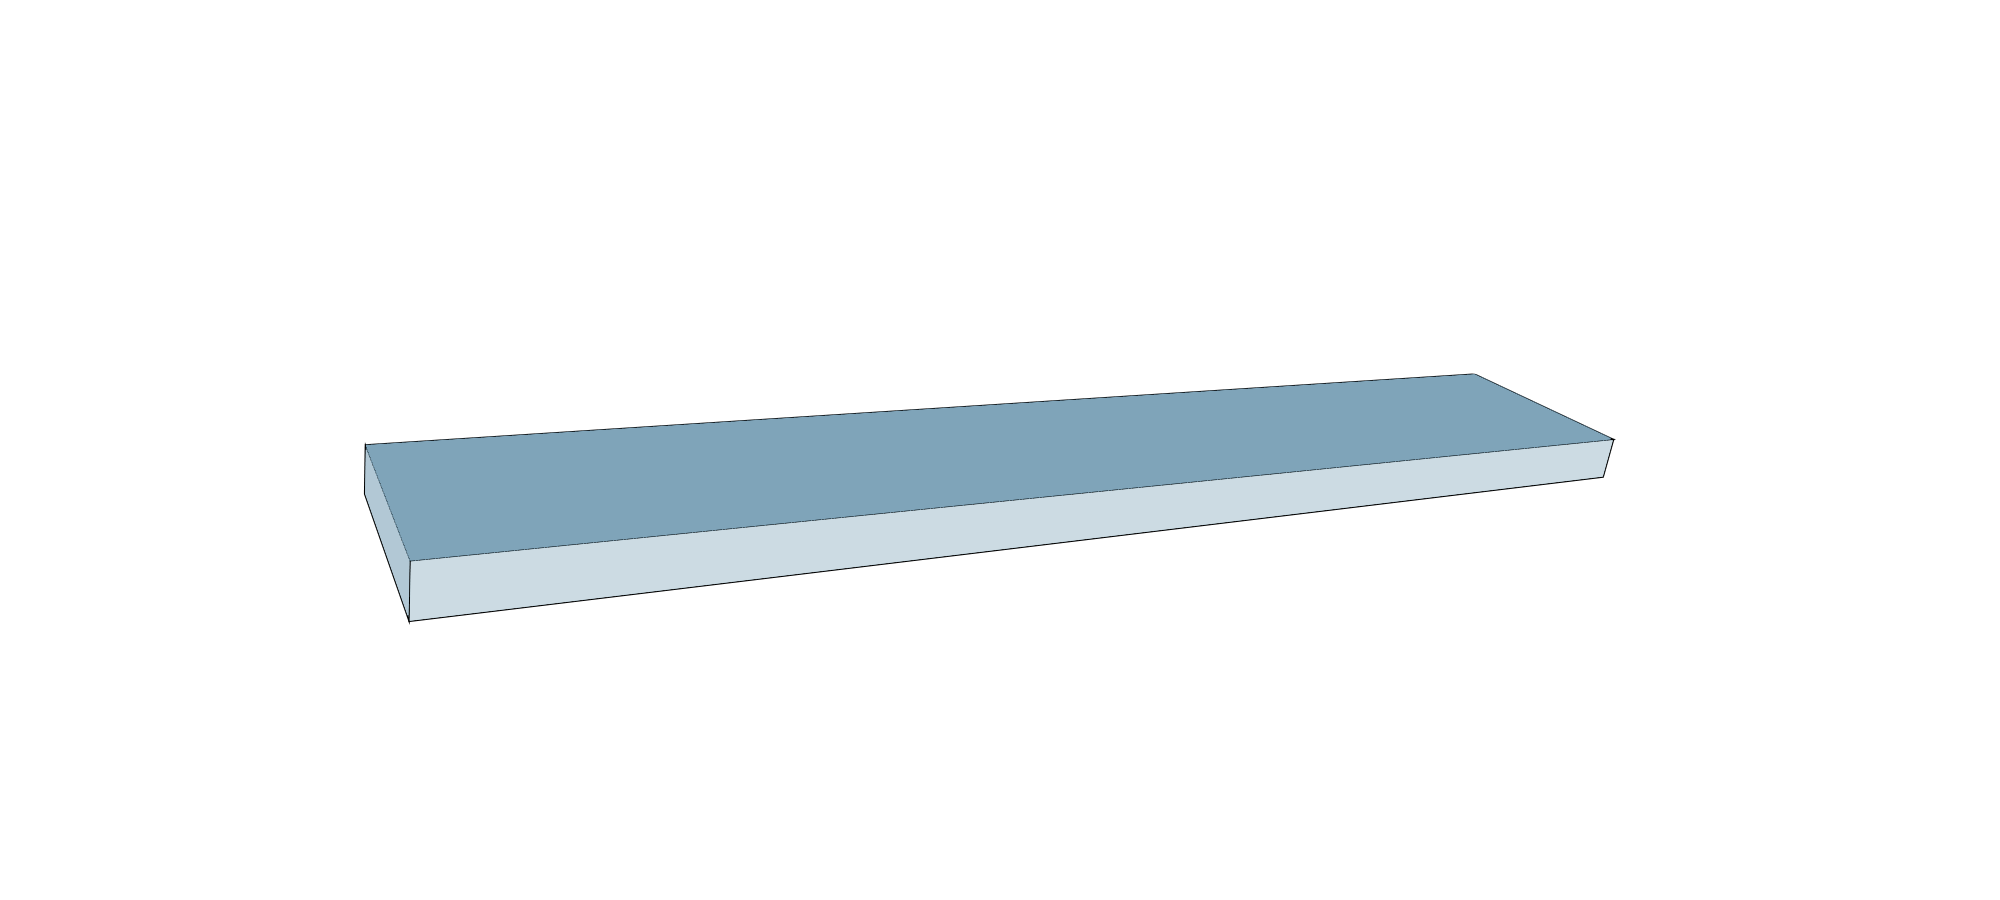
Start by Building Base Plate
Once you have decided to make 3D printer filament, the first thing you would require is a base plate. To make the base plate, you will require two 15cm wooden boards. These would be used as a mount for the barrel as well as the motor.
How to Mount the Motor?
To mount the wiper motor, place it at the end of the base plate. Using the steel angle, connect the mount to the base plate.
Later, use the hex nut to fit the coupling on the motor and put it back in the shaft.
However, the nut can come out while the coupling rotates during its operation.
To stop that from happening, you can put a 2 mm steel bolt into a drilled hole between the motor shaft and the hex nut.
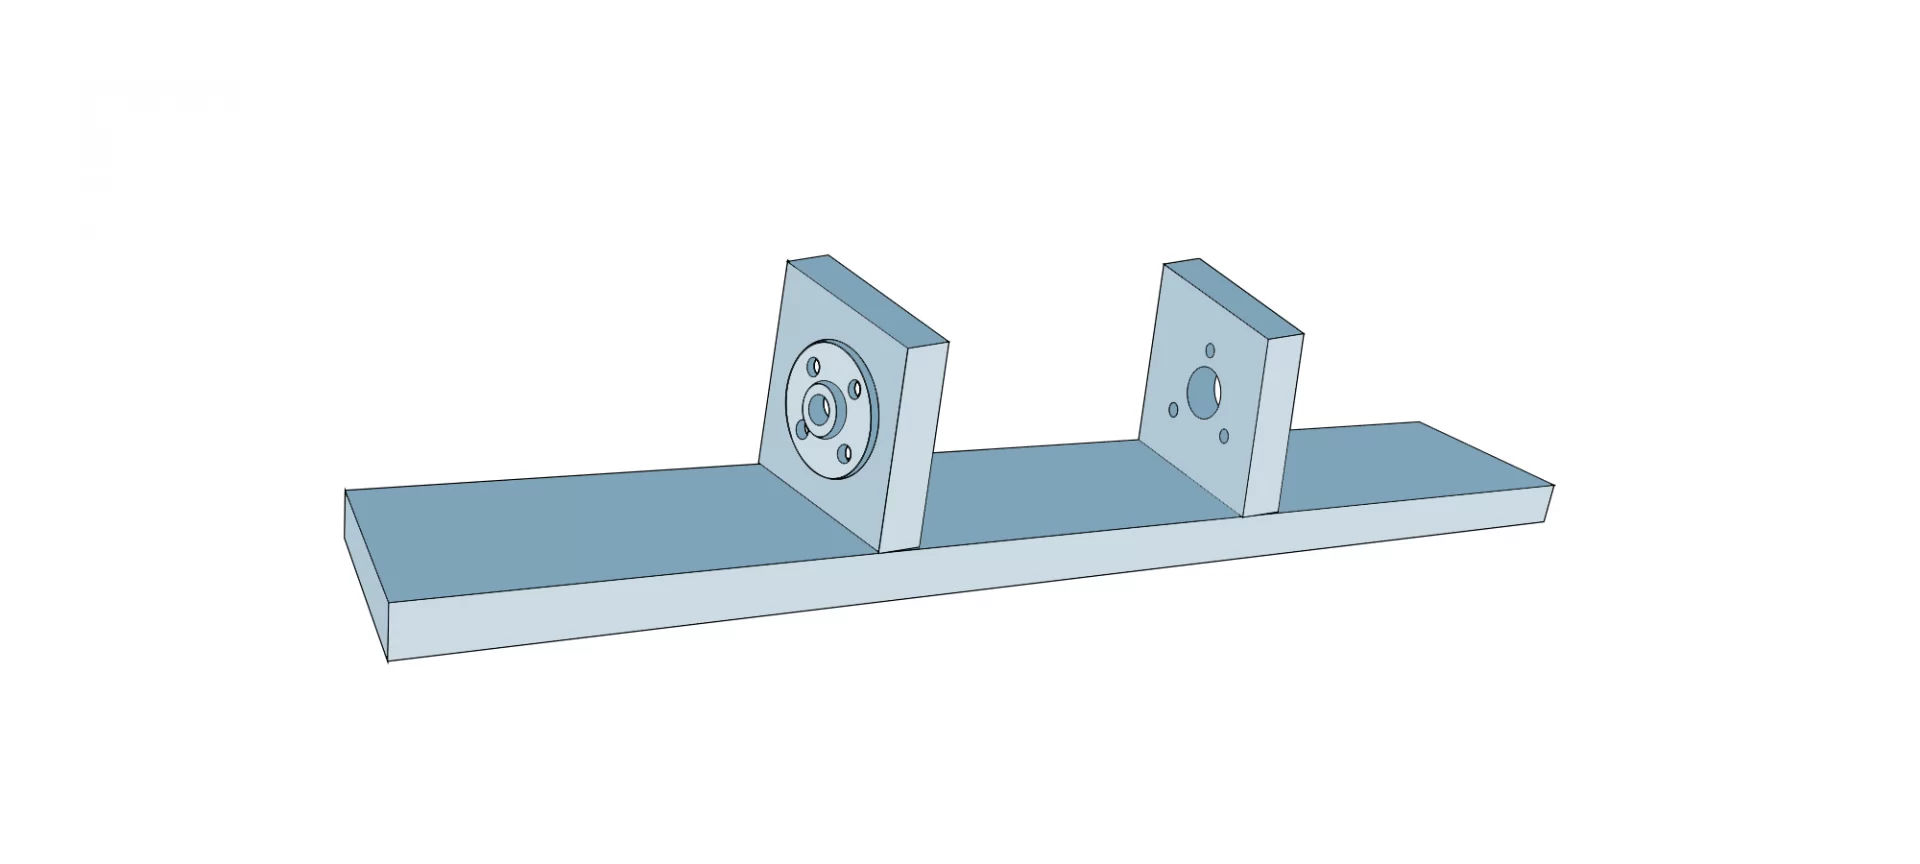
How to Make the Barrel Mount?
This is also easy. You require some drilling to fix things up. To attach the flanges, you would require to make two holes to the right and left of the board. One more hole must be drilled to fit the auger bit.
Make sure that the center of both these mount boards is aligned correctly. This will help in smooth rotation of the shaft axis.
Once done, we move further to fasten the flanges by using a 10 mm threaded rod.
You would require two of them. We have taken a long rod to ensure that the fixing to the auger kickback protection is taken care of properly.
Adjust the Kickback Protection
We need kickback protection to fight the pressure build from the auger bit rotation. If it is not countered, the worm drive could damage.
The question is: How did the auger work? When the auger turns, it is pushed back as it has the tendency to turn backward.
This further causes the auger’s shaft to push against the axial ball thrust bearing. This further pushes itself against the steel angle.
One must remember that there is always little clearance allowed for the coupling between the auger and the motor. This is to ensure that there is no force felt at the motors shaft.
To do so, simply place the steel angle which has the inserted rods in it, at a distance from the barrel mount. By doing so, the auger’s shaft will stick out for about 4 cm.
Making the Barrel and the Auger Bit
The making of barrel and auger bit is very crucial and one must take extra caution to ensure that they are done perfectly.
How to Make Barrel?
The pipe used for making a barrel must be smoothed out from the ends to ensure that the movement of auger bit is easy.
Fasten the pipe to the flanges and note the upper area. Make sure to loosen the pipe before cutting the marked area. This is where the pellets will fall in. So, using the multi-tool, cut the marked area.
Use some PTFE tape at the end of the pipe. The motor is very powerful. Hence, ensuring that the pipe does not move with the auger movement is very important.
Now, pick a square wood. Make a hole length-ways. Make another hole that would be orthogonal to the pipe channel.
The first hole is for the pipe to run through it and the second one is to make sure that the bottle fits perfectly and tightly. Later cut the block into halves.
How to Make Auger Bit?
The auger bit is usually longer than the needed length. You can use an angle grinder to take off the tips. Ensure that the height of the auger bit is exactly enough to reach the heater.
Coupling of Auger Motor
Find two square steel around 2 inches each. These must fit at the rear of the socket.
The coupling must be placed on the auger bit before attaching the motor to the mount. If the coupling fits perfectly in the middle, you are good to go to the next step.
Building the Nozzle
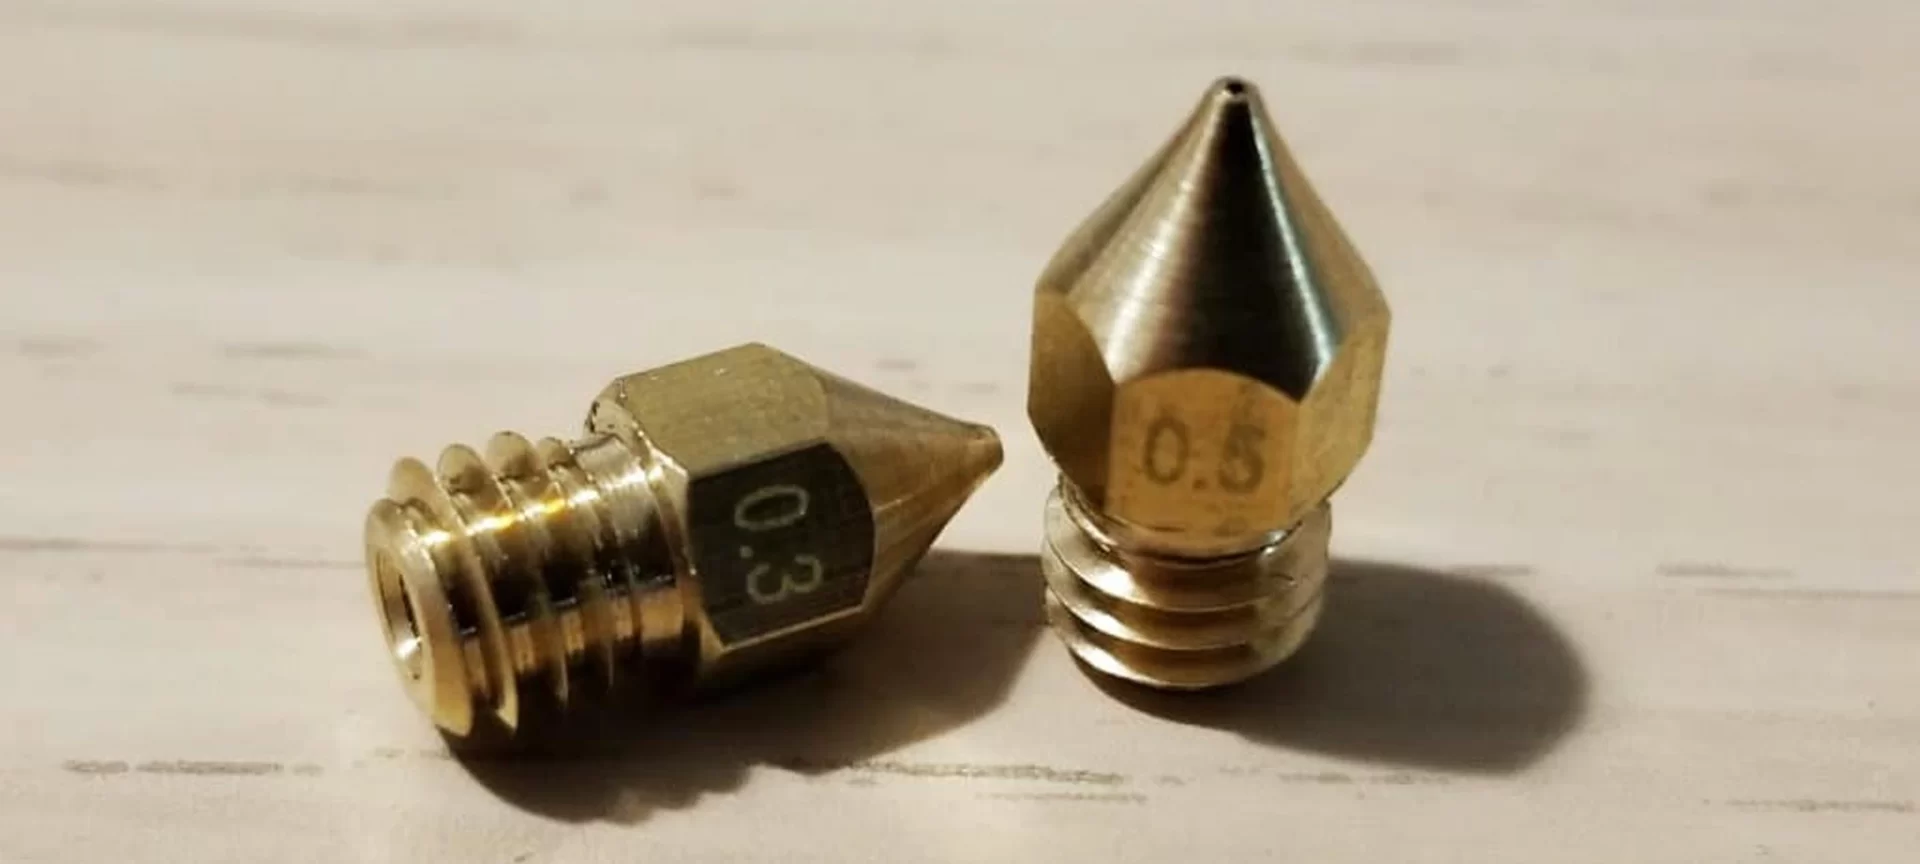
The nozzle is built with the help of the breaker plate and by determining the diameter of the nozzle hole.
Because it is not certain that a definite diameter will go well with every material, you may have to test the size of the hole for different ones.
You may be able to define the hole of the nozzle after certain trial and error results. Usually, if you are working with ABS or PC, a 1.5 mm hole will do the job.
To build a breaker plate, use a faucet-mounted filter. As per your requirement, cut it into half.
The breaker plate filters the dirt and bubbles that may cause degradation of filament. This keeps the surface smooth of the plastic and pushes it through the nozzle for continuous flow.
Do not put it directly. However, place the washer inside the end of the cap and adjust the breaker plate over it.
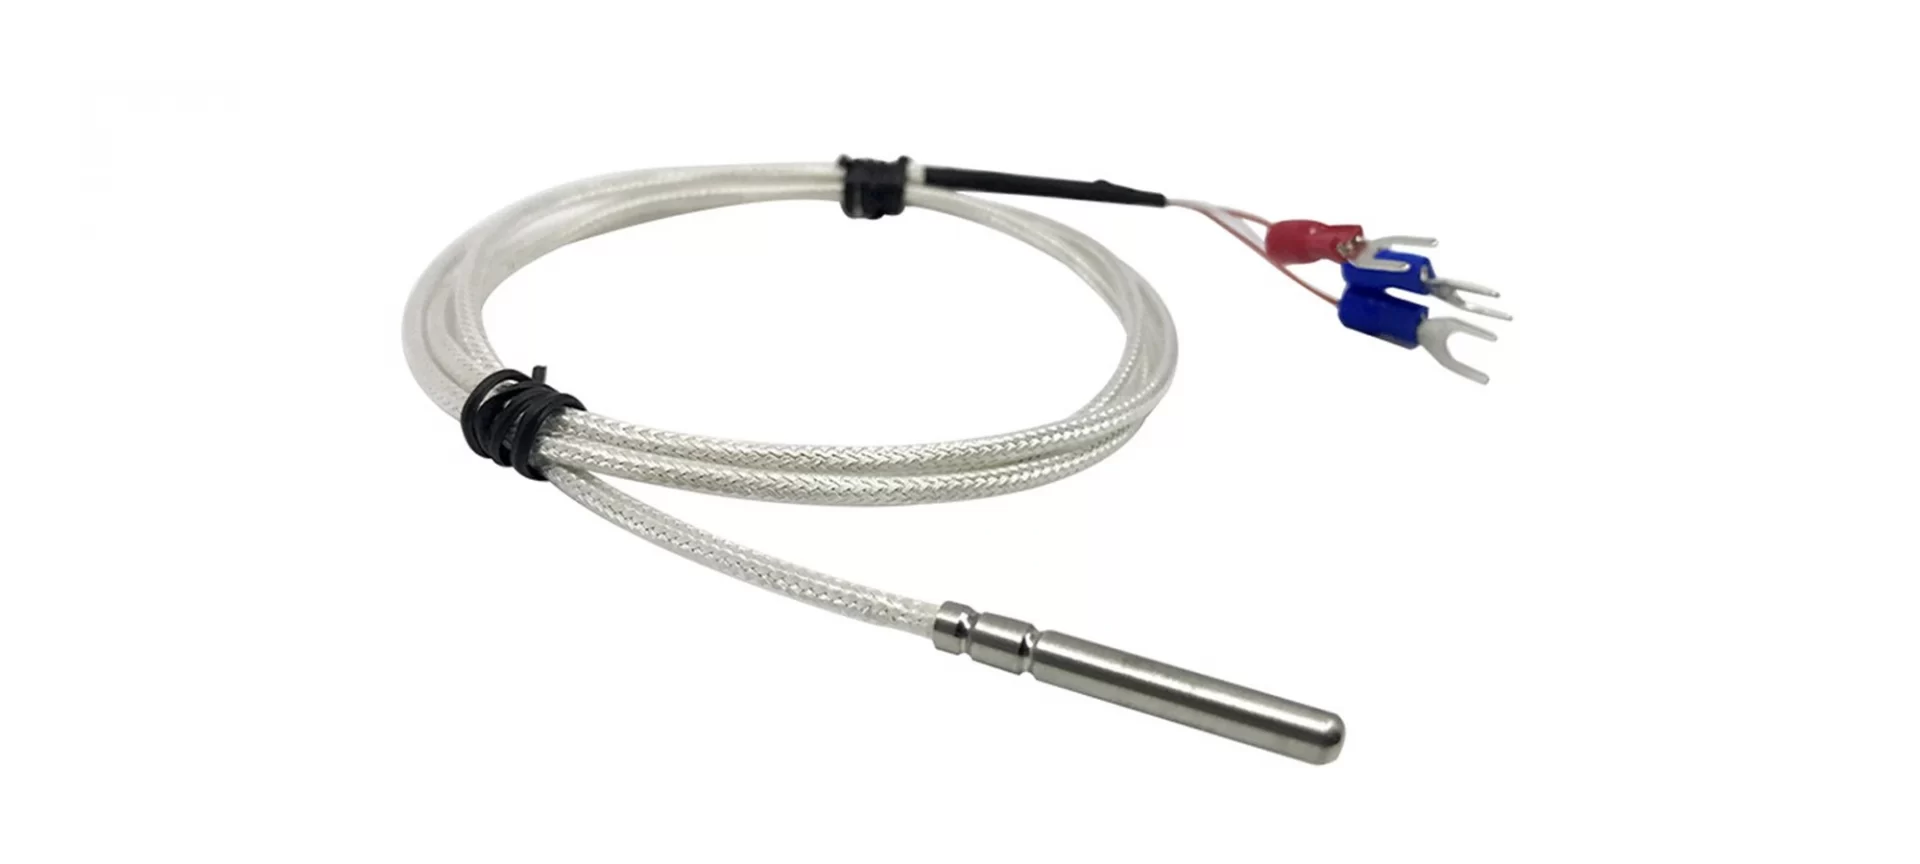
Installing the K-Type Thermocouple
The thermocouple will go in the water tap extender. To do so, make a hole of about 2mm close to the front of the water tap extender.
Use the exact length of the thermocouple wire needed. Make sure that the band heater is seated around the extender’s end. Using PTFE tape secure the thread around the tap extender.
Ensure that the tap extender is fixed using heat resistant tape. Later secure the nozzle.
Get hold of aluminum tubing around 10cm long with a 1cm diameter. With the help of rigid wire, place it in front of the nozzle.
In the end, cover the insulation lying around the heater to make sure that the nozzle is safe.
Set the Cooling Feature
When the 3D printing filament extruder works, the nozzle and the motor stay hot.
While the filament is exiting the nozzle, it is still hot and can stretch more than the requirement because of the gravitational force that is pulling it to the ground.
Hence, cooling at this stage is very crucial. Cooling done at this stage will help in maintaining the diameter of the filament.
The fan attached to the machine will also cool down the motor, keeping it working for long.
Now, fix three rocket switches to a piece of wood that will go in the front closing. Also, attach the PID controller and the potentiometer for controlling a motor. You can use hot glue to fix these things to the wood piece.
How to Install Main Power?
This is where rocket switch comes into play. The power cord is connected using the rocket switch.
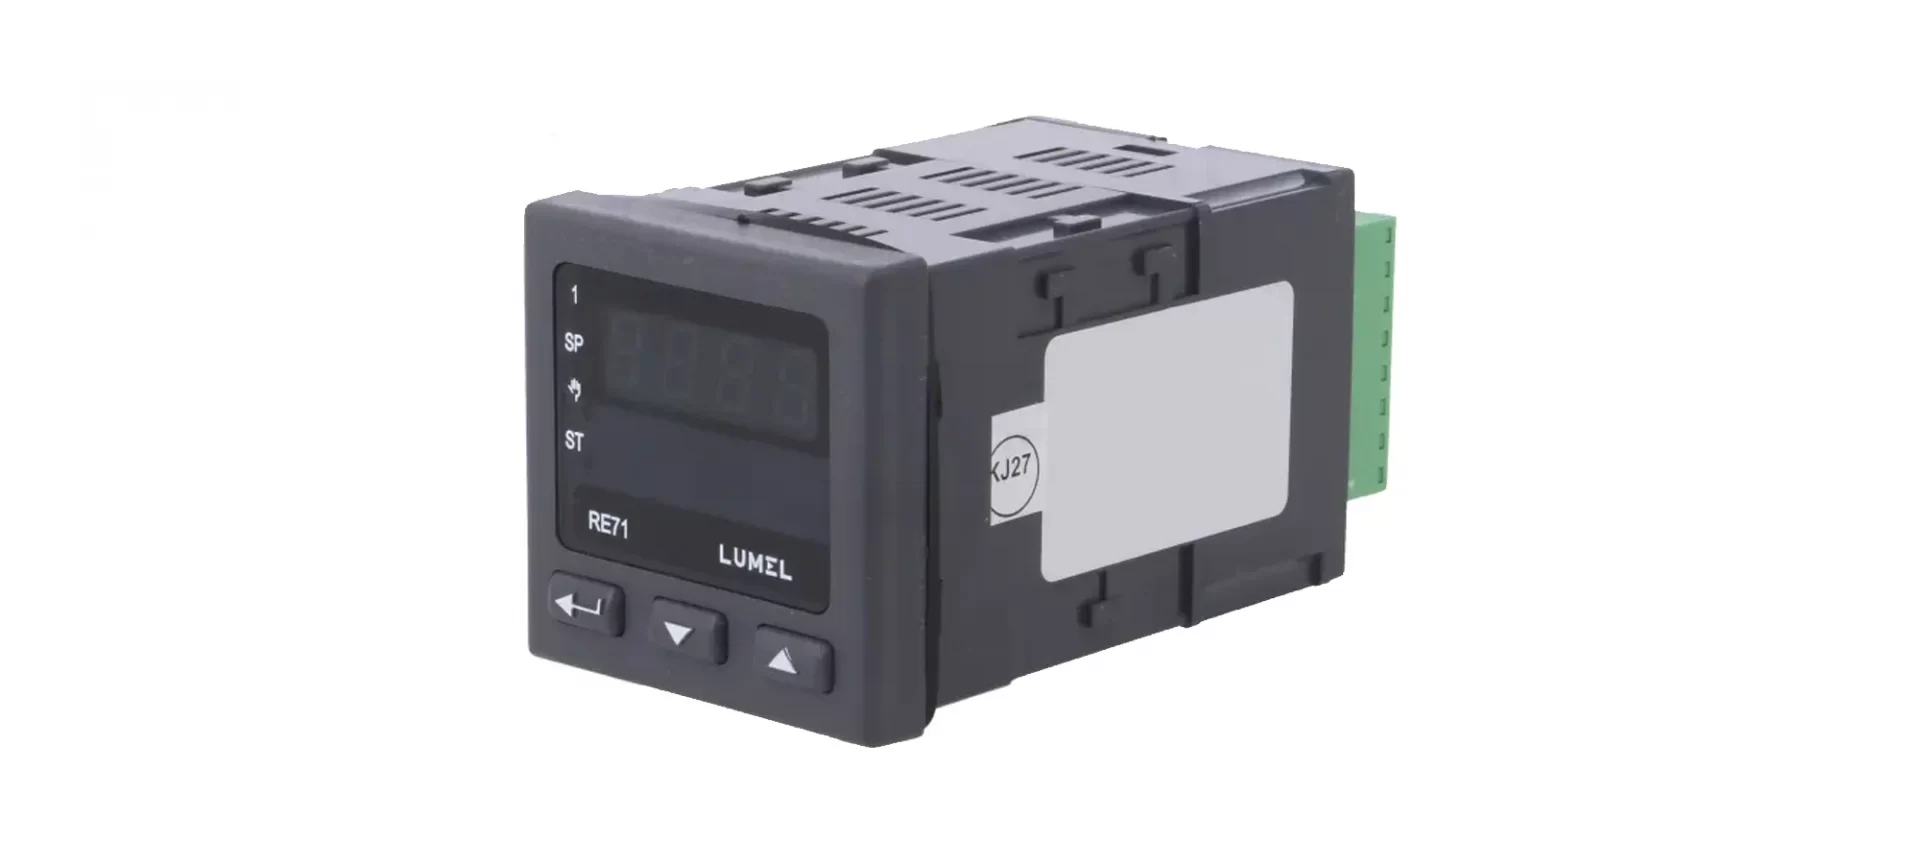
How to Connect the PID Temperature Controller?
Again, use the rocket switch to the PID temperature controller to the power switch.
How to Connect Band Heater and SSR?
Make the connection of the 12V ports of SSR to the port 6 and port 8 of PID. Join the port 1 listed on the SSR to the 220V (EU) /120V (US) port L of the power supply. Now, ensure that the port 2 of the SSR is connected to any one of the band heater’s ports. The remaining ones must be connected to the port N of the power supply.
How to Connect Motor Controller?
First, use a rocker switch to connect the motor controller to the power switch. Once that is done, make the connection of the motor to the motor controller.
For this, pinout the motor to the speed setting. You must know which pin setting is for speed as it differs from model to model.
Make 3D Printer Filament by Setting the Extrusion and the PID
The material is the basic factor to determine what temperature the extruder must be set to. However, to set up the PID controller, you must follow the steps below:
- Long press SET for at least 3 seconds. This will enable the autotune function.
- After you see “HIAL” displayed on the screen, use the down button till you find “Ctrl” on the screen. Adjust the settings to “2”.
- The autotune will be set to 2. Once again start to press “SET” until you get to the temperature setting again.
- You can use the up and down keys to set the temperature as desired. Wait for about 10-12 minutes till you find the flashing stop.
- This is when you must start the motor for filament extruding. This is how you make 3d printer filament at home.
Benefits of Making 3D Printer Filament at Home
Now that you know the steps to start making filaments at home, you must be thinking why to take all the load. The hard work is worth the benefits you get in return.
If you are printing more often, you must know what it means to be able to make 3D printer filament all by yourself. For those, who are not aware, here are few benefits that you may like to look at.
✔️ Save Money:
Making filament at home saves money. You can make a huge difference in the terms of the amount you spend every month on making your parts with the 3D printer.
Also, the money you save can be used to make more filament, hence more 3D printing.
✔️ Make Money by Selling Filament:
There are so many companies that are looking for filaments that are cheap yet high quality. You can make that happen.
You can sell the filament to others and make profits doing so. Once you have mastered the art of making filaments, you can even start a business of filament selling and making money out of it.
As the market for 3D printing is growing, the need for filament is also increasing. This is also a great business option for those who do not want to get into 3D printing and designing tasks.
✔️ Reuse Filaments:
If you think that the leftover filaments are of no use, why not make it again with the help of this machine that you built all by yourself.
So, reusing certain filaments is easier than others. Find which one you could rebuild and save more money.
✔️ Hone Skills:
Those who try themselves, learn more. You can learn a lot of things when trying to build this machine for making 3D printer filament.
Even if it does not work, you still have a chance to research and get to the bottom of the problem. Who knows you can make something better than this?
✔️ Use Your Creativity:
Use more colors and make multi-color filaments with shades and desired diameter.
Only by changing the nozzle with different hole diameter, you can achieve the change that you seek. As easy as it sounds.
The Conclusion
3D printing has changed the way how people use to customize their products. The parts that were difficult to customize can be done quickly and easily with the help of 3D printers.
However, the filament used in these printers isn’t very cheap. And, those selling it at a low price may not provide the quality you can look for.
Hence, to make 3D printer filament at home gives you better chances for saving money and getting the quality you need.
Once you have built the machine, all you need is to use it whenever you want to make 3D printer filament.


