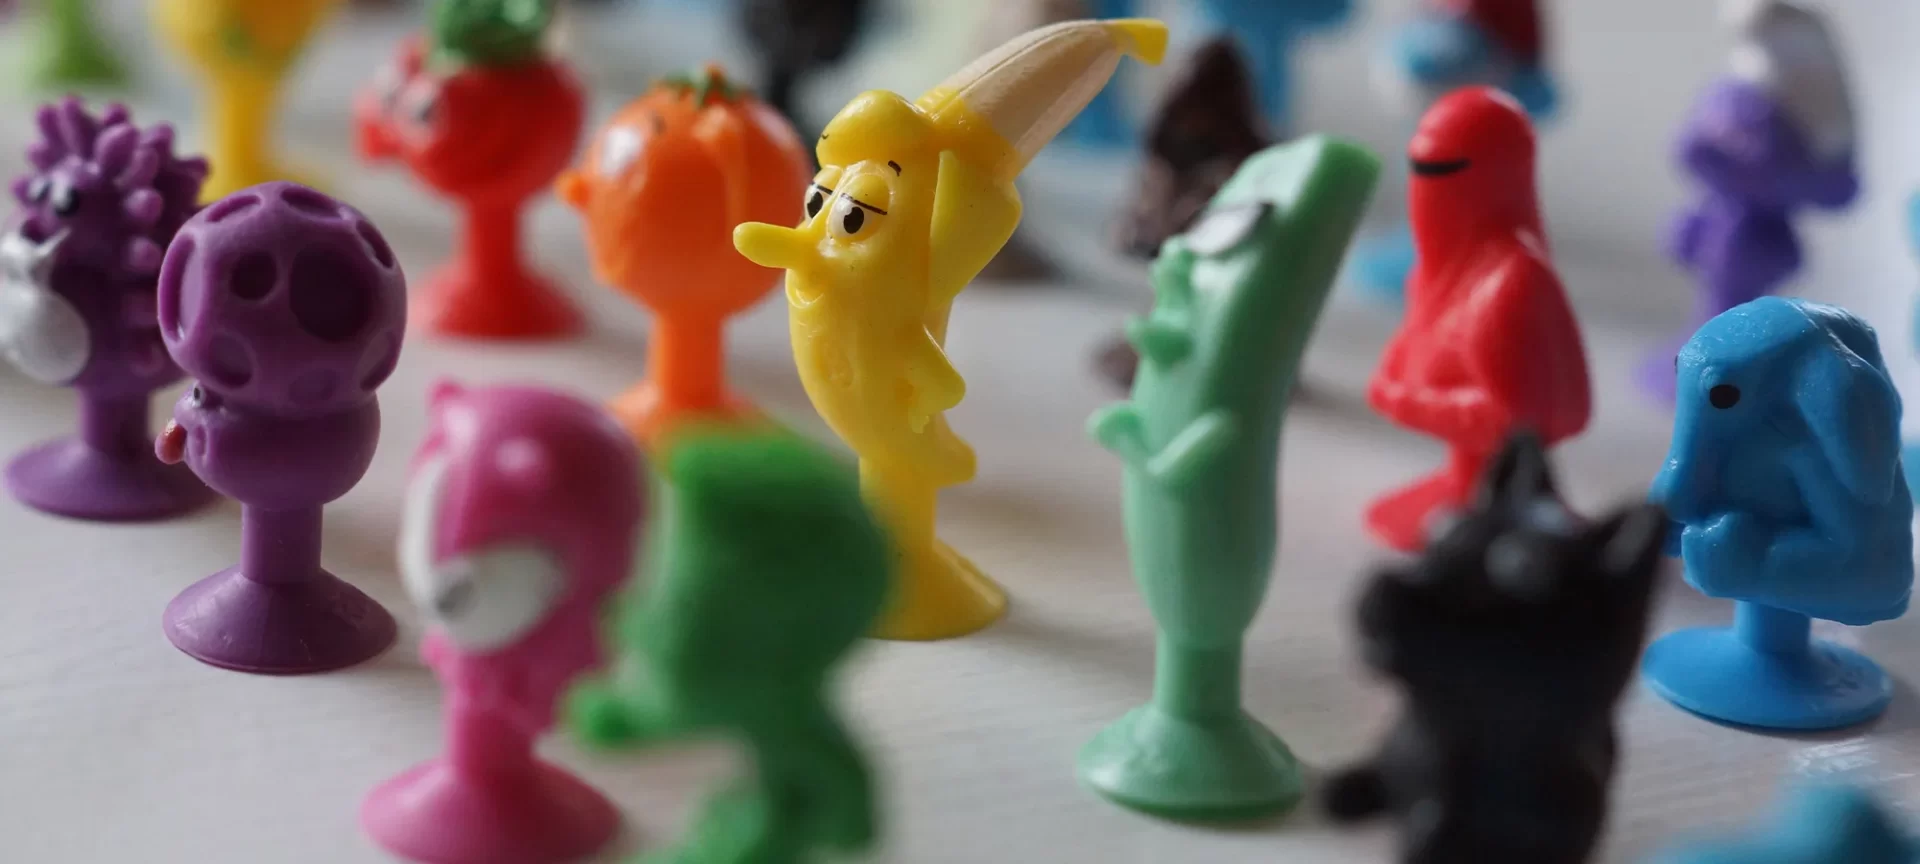
Miniatures are everyone’s favorite. Either its kids or youngsters and sometimes adults too love collecting miniatures of their favorite superheroes and villains.
The market is huge if you wish to take this opportunity to the next level. 3D printing miniatures can let you explore the widest range of creativity lying within the niche.
If you love to play Warhammer or other games based on miniatures, you would know how popular these are.
3D printers have given us the feasibility of designing our own miniatures for fun or for commercial use.
You can do that from the comfort of your home. There is a huge room for those wanting to try their hands on 3D printing gaming miniatures.
You just have to pick the one you wish to print and 3D printing would make it happen in a couple of hours, depending on the size of your miniature.
You may also find the best 3D printer for miniatures. However, the thing that you would need the most is the right tip/tip(s) to get started.
Knowing how to model and perfectly design your miniatures may take some time. You may have to test and try a few options before coming up with the best solution for 3D printing miniatures, but it is not impossible.
What to Remember when 3D Printing Miniatures?
As you know that miniatures are small prints of human models. So, the miniatures must look like one.
You cannot make them too small to lose the details of the model and you cannot make them too big to take away the quotient of a miniature from the context. Hence, there have to be certain guidelines that one must follow to print custom 3D printed statues.
Determining the Scale
This is very important to determine. As mentioned earlier, the determination of the exact height of the 3D model is very crucial and can make or break the appearance of your model.
By understanding how the scale works, you can better decide what scale to choose. After you have selected the model you wish to build, you must look for the scale you would be choosing.
Searching online for the Warhammer scale would get you some idea. Let us say, you go for a scale of 1:35.
That seems like a decent scale to keep the details fine and still have a mini model of the superhero you have selected to 3D print.
To translate the actual height of a war hero into a miniature height, you must follow the scale. Because the ratio is in mm, you must change the height of the war hero into mm.
Once that is done, divide the height in mm to 35 (the ratio is 1:35). You will know what height you must print in mm for your miniature. For example, a 5 feet 5 inches will come to 48 mm in its miniature size.
Creating the Base
You can use open source CAD 3D rendering software to create the base. One such software is OpenCAD.
To start creating a base, you need to create a beveled cylinder. To do so, define two cylinders with different diameters.
The bigger one at the bottom and the smaller one place on the top. Decide the height of the base as per the height of your miniature.
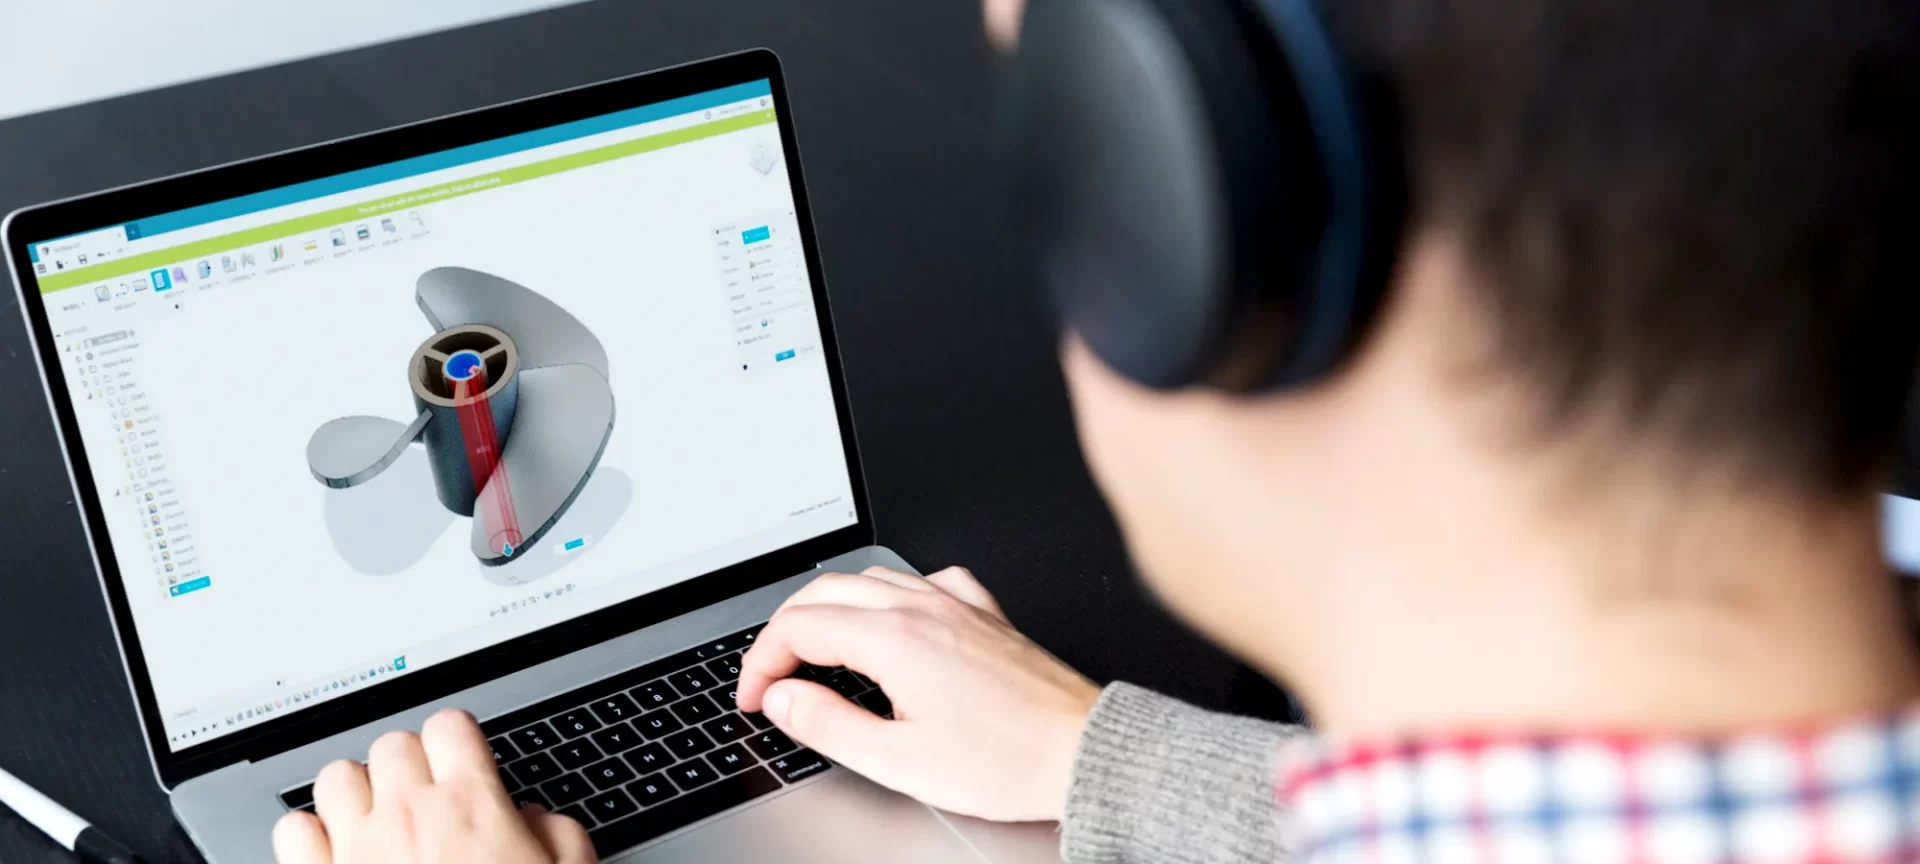
Once the file is been created, you must render the design to check for any errors. If it runs without error, your file is ready to be exported to the STL file for 3D printing.
To follow the perfect coding and designing rules, you must place comments in your CAD file. This will help you and others understand why you made the preferred settings.
To place a comment in one line, use a double slash. If there are multiple lines for commenting, use /* at the start and */ to end the comment.
Creating Model Using a 3D Printing Design Software
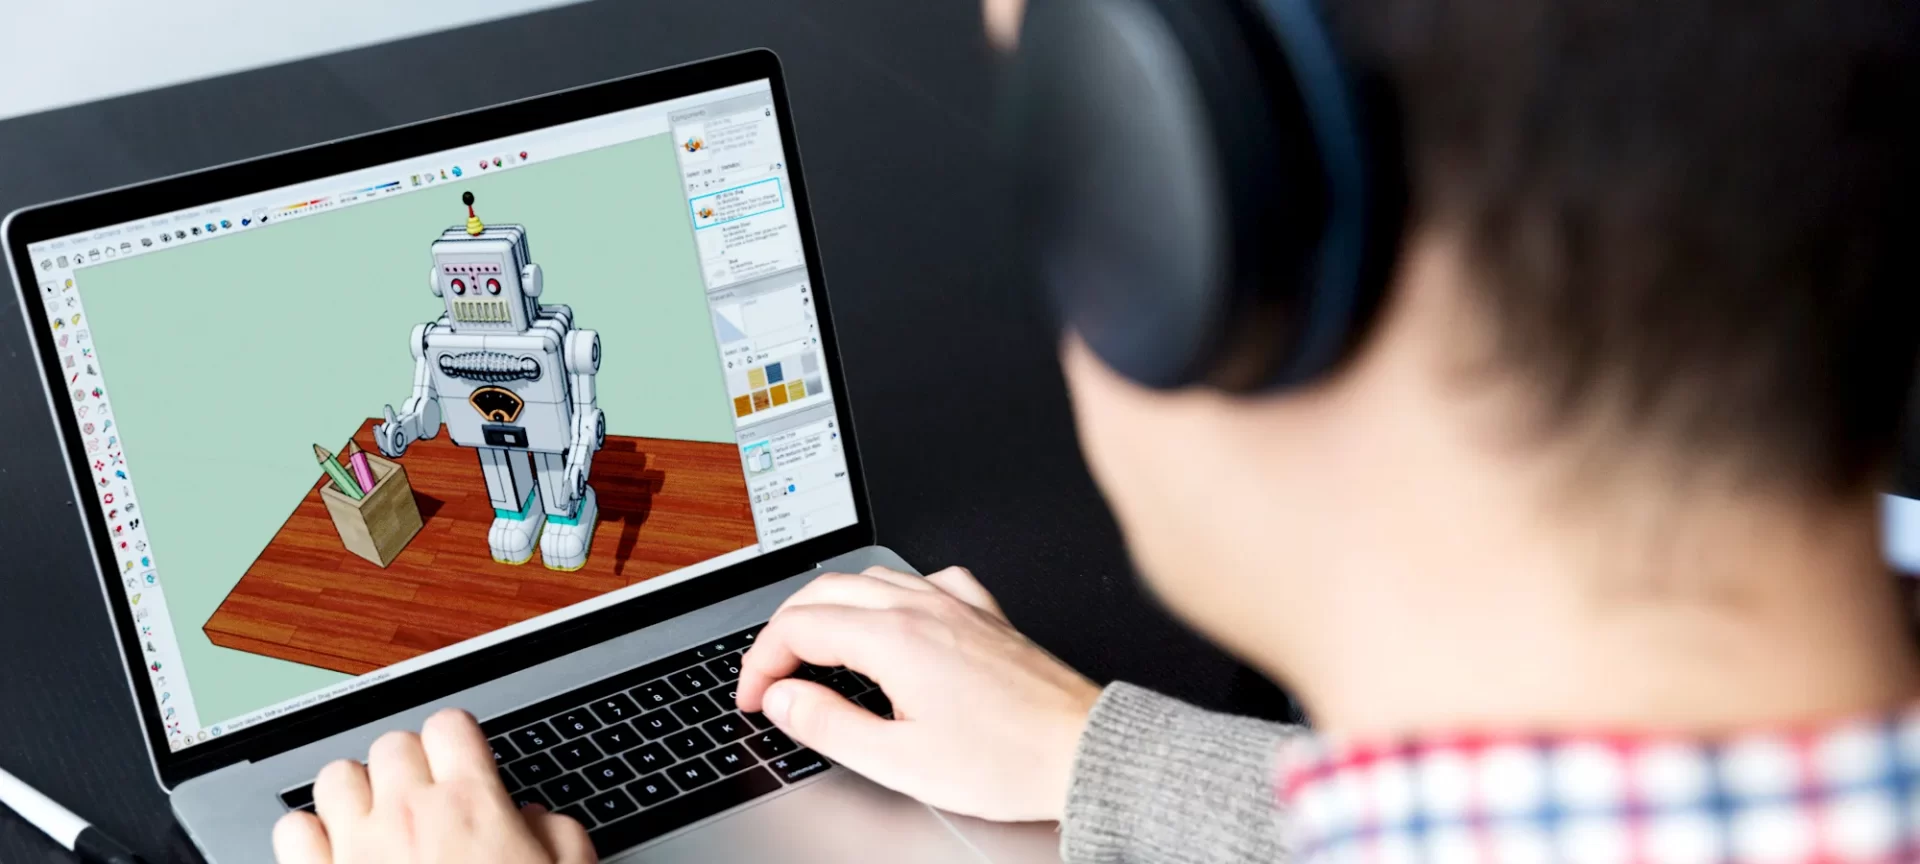
Let us take the example of Meshmixer. This is a very powerful tool if you wish to make complex 3D models. However, we will stick to using a few features for the 3D printing miniature.
Before starting to model with Meshmixer, remember to check a few settings beforehand. Go to file and then preferences to see if the ‘Flip Z-Y axis on Import-Export’ is selected or not. It must be ticked.
Later, click on the import button and select the .stl file to import. Doing this will show you the file that you created using the CAD software.
Make sure the show object browser is on. To select the model, you chose to 3D print, click on the import button again. Select the file of the war hero you wish to print and open it in Meshmixer.
Scaling the Body of the Model
The software will ask to transform the image or repair it as per the previous image. But you must decline the request and scale the image manually for better print results.
To make the changes, select the edit button. You may find it in the left-hand toolbar. Click on transform ensuring that the uniform scaling is selected.
Because the Meshmixer vertical axis is labeled Y, you must change the size of the Y-axis to make changes to the height of the miniature.
Change the Y-axis to 50mm (48mm for the miniature size and 2mm for the base).
You can make changes as necessary. Once you are done with the final view, you can stop scaling.
Position Base and Model Body Together
The last thing to do with the slicer is to use it for combining the base and the body together to make it one print file.
Using the transform tool, move the miniature model upward so that it just touches the feet of your war hero.
The base is 2mm and the height of the war hero is 48mm. This means that the entire miniature size would end up to be 50 mm.
Holding the ctrl key, select both the objects: the miniature and the base. Later, combine these by using the combine tool.
This will turn them into one model. You can export this file to the STL file for making it ready to be printed out of the 3D printer.
Bed Leveling and Setting the Height of Nozzle
Before you command the 3D printer for 3D printing miniature, you must set the nozzle height and the bed leveling must be set correctly too.
To check the distance between the bed and the nozzle, you can use gauge.
Checking the height between the nozzle and the print bed will allow you to print effortlessly.
And, if the height is perfect, there will be less resistance in pulling the paper or the gauge out when measuring the distance between the bed and the nozzle.
Verifying the Temperature of the Nozzle
You must know that a 3D printer setting is as important as the designing of the miniature.
You can lose the quality of the miniature you designed when not able to put the printer settings together with perfection.
You may have to change one setting at a time to find the error and refine the printer for the best quality.
Nozzle temperature is a crucial feature which if not monitored can spoil the quality of your model.
You must ensure that the nozzle is neither too hot nor too cold. If the nozzle remains too hot, it will melt the previous layer resulting in deformation.
If your printer has more than one nozzle, checking the temperature of both is very important. So, look at what best fit your printing requirements.
Monitoring of Build Plate Temperature
Print adhesion is important to maintain the uniformity of the 3D printing gaming miniature. Bed adhesion lets the layer stick without any movement.
This gets you the perfect quality you are seeking. In any case, the adhesion isn’t fine, you may end up with deformed models or even your model can fall off in between of the 3D printing process.
If the bed adhesion is too high, your 3D printing miniature will develop elephant feet. As the layers cool down, it starts shrinking.
This causes a lot of issues while the model is still in 3D printing progress. So, make sure that the bed is neither too hot nor too cold.
All these settings help build quality 3D prints. Hence, you must take care of these before finalizing your printer and model design settings.
Work to Find Your Best Print Speed
If there are finer details in your printing which is sure to be there with gaming miniatures, you must avoid ringing.
These are kind of echoes around the print features and look visually unattractive. The main reason for this to happen is the vibration that is caused by the movement of the extruder. Even the best 3D printer for miniatures may fail to reduce these ringing.
However, there is always a way out if you are determined to 3D print quality objects.
Because the vibrations happen due to the movement of the extruder, working to reduce the speed of the extruder may help a lot.
This can help you combat the fine lines and echoes happening around the finer features. In short, you may even reduce these effects drastically as if they never existed.
All these tricks are very handy and you must master these to 3D print quality models.
Either you are 3D printing for fun or want to use your skills to earn some good profit, these tricks would always help in making your 3D models beautiful and attractive.
3D Printing Miniatures
The last step, before post-processing, would be 3D printing miniatures. Using the STL file that you exported before, you can print the miniature from your 3D printer.
There are designs that can be printed without support and some would need one. Understanding the need for your design, you must add or ignore support.
After the 3D print is ready, you may have to allow a few post-processing steps to finalize the 3D printed miniature.
- If you have used support, removing it with precaution is very important or you will spoil your design that you worked hard for 3D printing.
- You can use a hobby knife or scraper to get rid of the support and smoothen the surface as desired. Remember to introduce the right amount of infill to maintain the quality of the miniature and at the same time, saving some extra on your filament.
- After the 3D print is ready, let it cool down and take the necessary steps to refine its outer appearance.
- If you think there is still some room for improvement, do not shy away from making the changes to the settings in your next print.
With every new experience, you will only hone your skills and become better at what you do. 3D printing miniature won’t come perfect in one go if you are a beginner. But trail and tests would help you print beautiful models eventually.
The Conclusion
3D printing is a fun thing to do. The machines are available for affordable rates which make these printers accessible to individuals as well. Hence, it is easy to try and test and have fun while learning to 3D print.
Although the learning graph of 3D printing is steep, it still is enthralling to see your imaginations taking shape.
If you are interested in a 3D print, you must go ahead. Who knows you can start a business based on your skills?
The 3D printing business is surging and companies are making advancements in the field of 3D printing.
There are more applications being introduced with 3D printing and the demand is growing. You can build anything that you wish to use 3D printers.
This confidence comes from the myriad of things these machines are capable of accomplishing.
So, 3D printing miniatures for fun isn’t a bad idea. You can anytime turn this passion into a full-fledged business.
All you need is the right tricks and tips to ensure that you maintain quality while 3D printing miniatures. The more you try the better your skills become.


