Individuals are getting creative with 3D printing. There is always something new one gets to explore with the help of the technology. There is so much one can achieve with the help of this most revolutionary technology.
From space to medical science, every niche has been benefited from this invention. Started with prototyping, the technology, also known as additive manufacturing has come a long way.
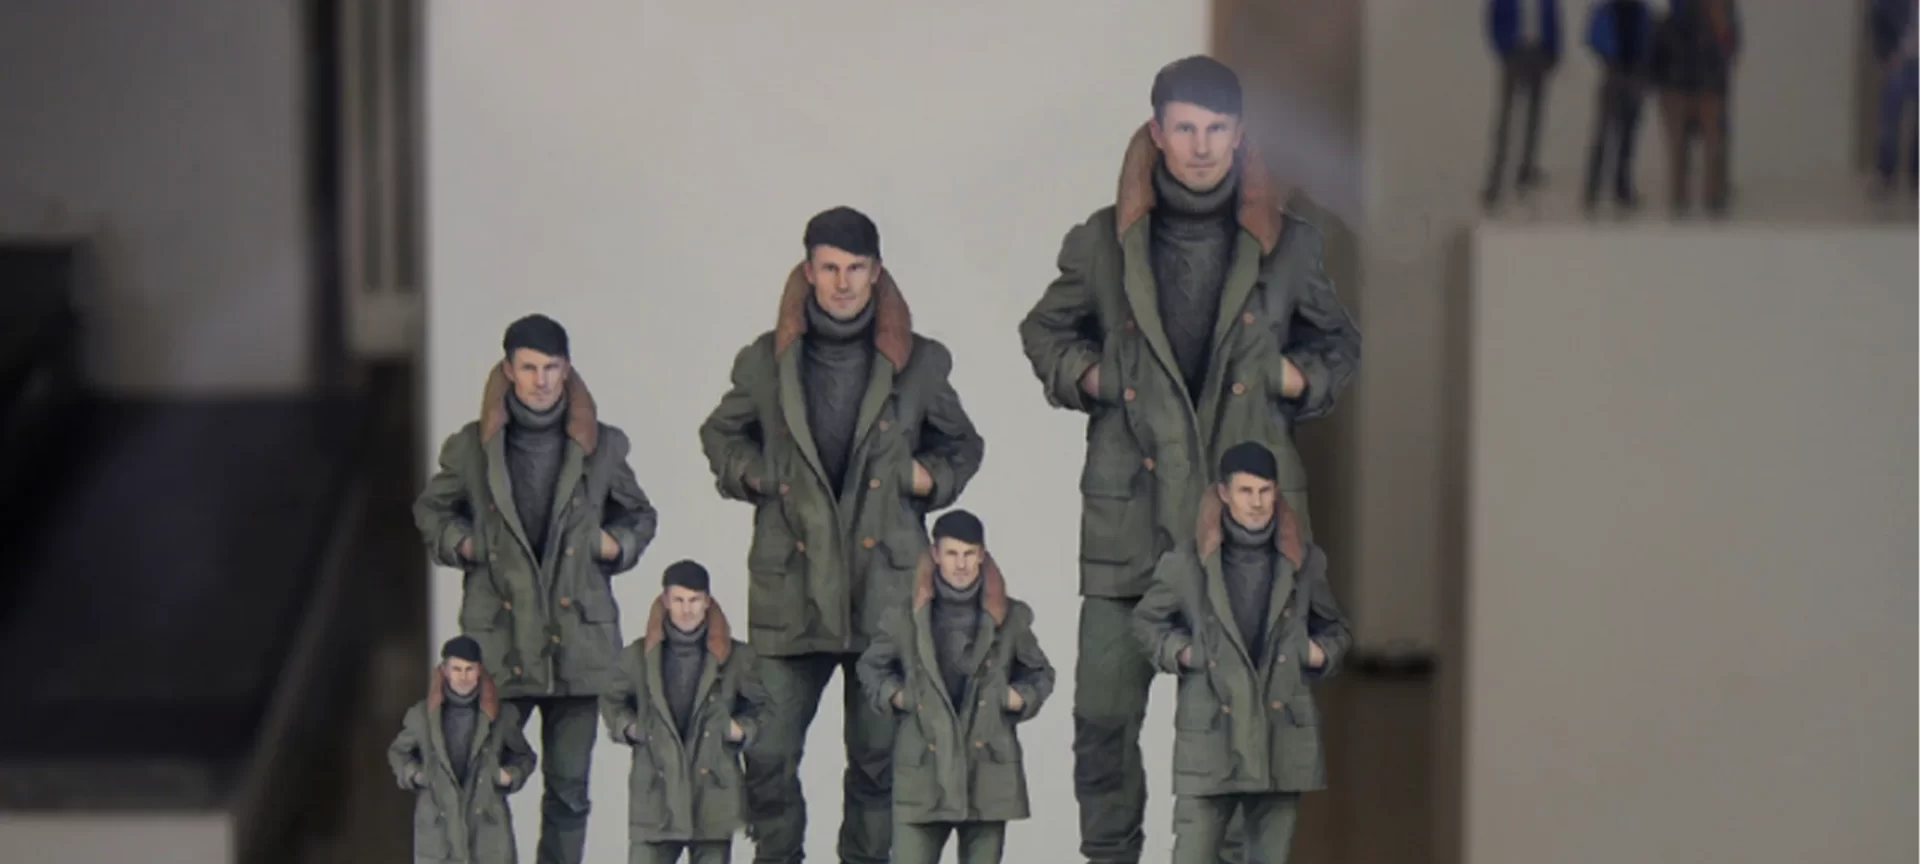
Apart from the various major applications, there are those innovated by experts and enthusiasts adding more shades to the possibilities of 3D printing. One such application is the Portrait 3D printing. You can create a 3D printed model of yourself using the technological know-how.
While this does not sound similar to applications such as prosthetics creation, or pills customization to help mankind, it can be used for professional profits.
One can very much acquire the skill to print 3D portrait for making great profits. By using the skill one can even think of setting business and accepting orders from individuals for printing these models.
The skill can also help those already operating similar businesses of customized photo frames and various connected niches.
So, here is some takeaways for those interested to learn the basics of creating 3D portraits. The steps are simple. However, you must acquire basic operation knowledge of the software used for creating the final 3D model.
What is a 3D Portrait?
You may have sensed what it means. To elaborate it a bit more, you can imagine it as a carving on a 3D sheet. It could be yours or anyone else’s. Frames and 2D portraits are very common as gifts.
People get these 2D pictures done on different materials. Individuals even create collages of beautiful memories in one frame. However, these have been done in 2D space. With 3D printing, portrait 3D printing is also possible. And, it won’t take a lot of time and effort for doing so.
A lot of professionals have already tried it and have succeeded with huge success. The industry is huge and everyone likes to own something unique. This option would indeed offer a lot of dimension to the work of professionals.
Hence, you can think of running a full-fledged business based on this skill. Portrait 3D printing can help earn bread and butter for your family.
And, it would certainly be a trendy business with less competition. You can also offer online services to your customers. Hence, it could get you more exposure and a larger client base.
How Does Portrait 3D Printing Works?
Before making any further plans, it is important that you understand the basic skill to do the job. If you already have experience working with 3D printers, you may not find it challenging.
However, those who have not used 3D design software before may feel it a bit tricky in the beginning. But technology has made things easier for users from every level.
By following a few tips and practicing properly, one can master the skill of portrait 3D printing.
Get the Right Application
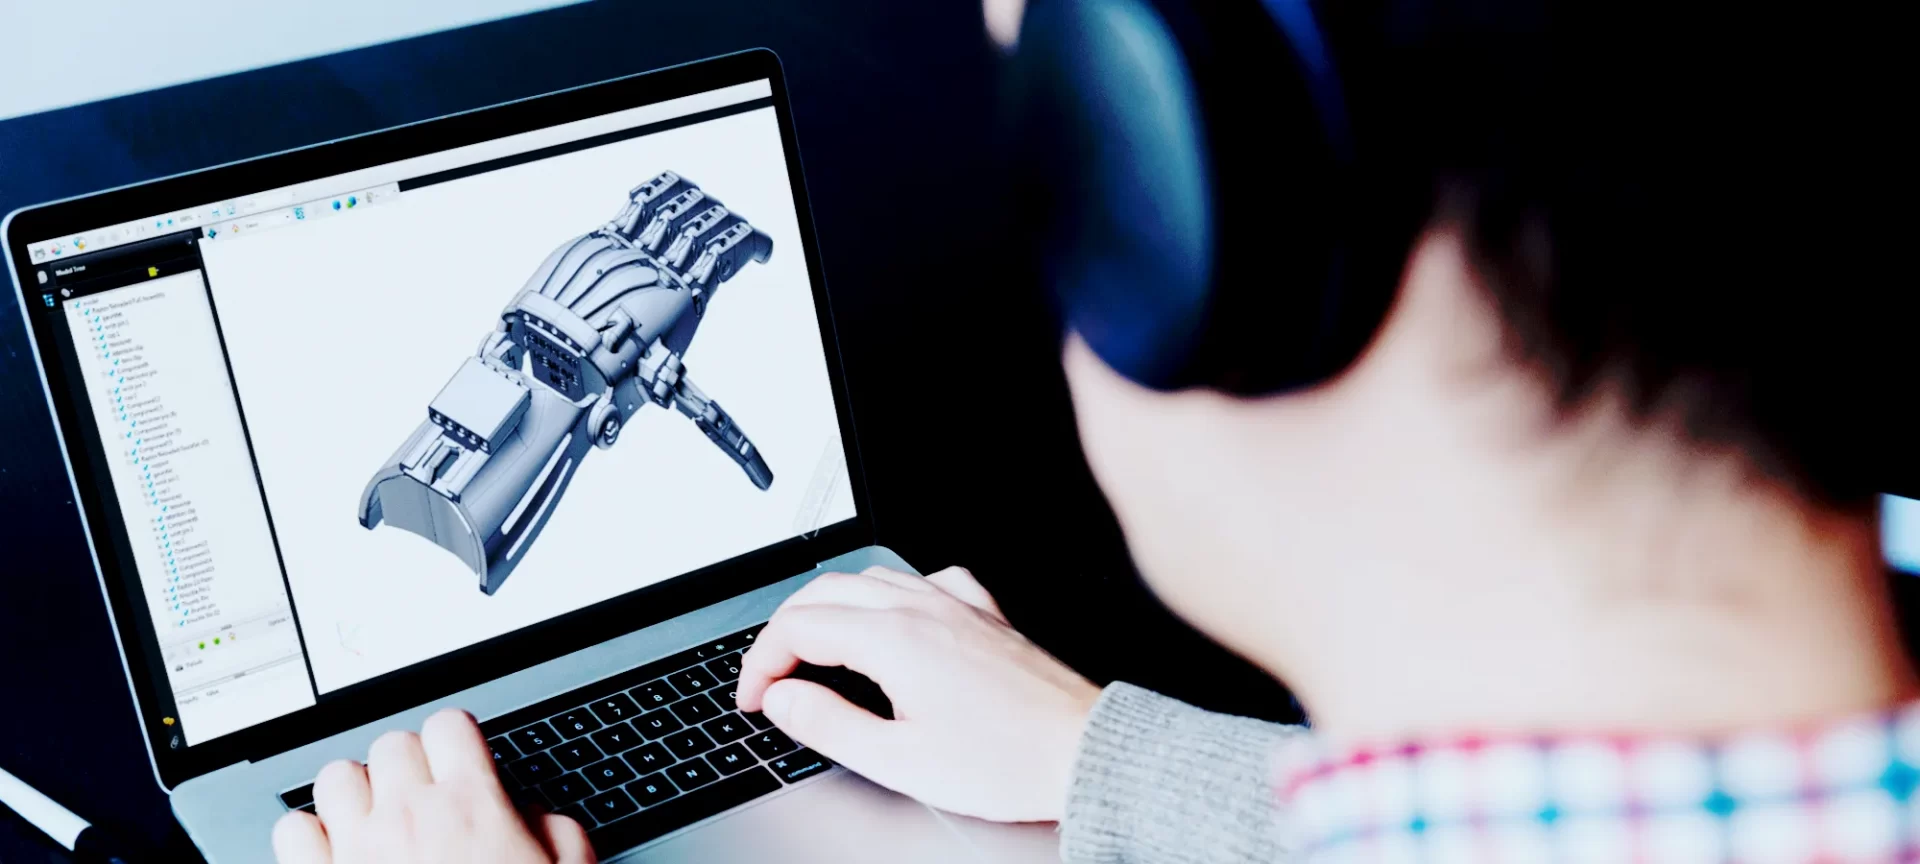
It all starts with the design software. You can download Fusion 360 which is an intuitive tool and provides user-friendly interface and workflow for its users. Hence, easy for beginners and those with limited experience.
The best part is that the company offers 30 days trial for the use of the software. This means that you can complete your learning phase without paying anything. In the meantime, you can also learn about different assorted and amazing features of this software.
To use it for 3SD portraits, you must acquire some basic knowledge of the application. If you have not worked on it before, it is recommended that you try a few basic designs and learn how to operate different tools available within the application.
Moreover, after the trial version is over, you can either go for the professional suite which comes for around $300 per year. Or, you can stick to the limited version which is students and learners.
This does not entail any fee and can be used for free. However, you may have to ignore a few of the blocked features. However, it would still be enough for making portrait designs.
Create the Vector Art
For this too, you have the assistance of technology. An app called Adobe Capture can help turn the simple images into their vector art.
While there are so many features of this app, the one that is important for our job is the vector art conversion of images. The task can be completed in simple steps.
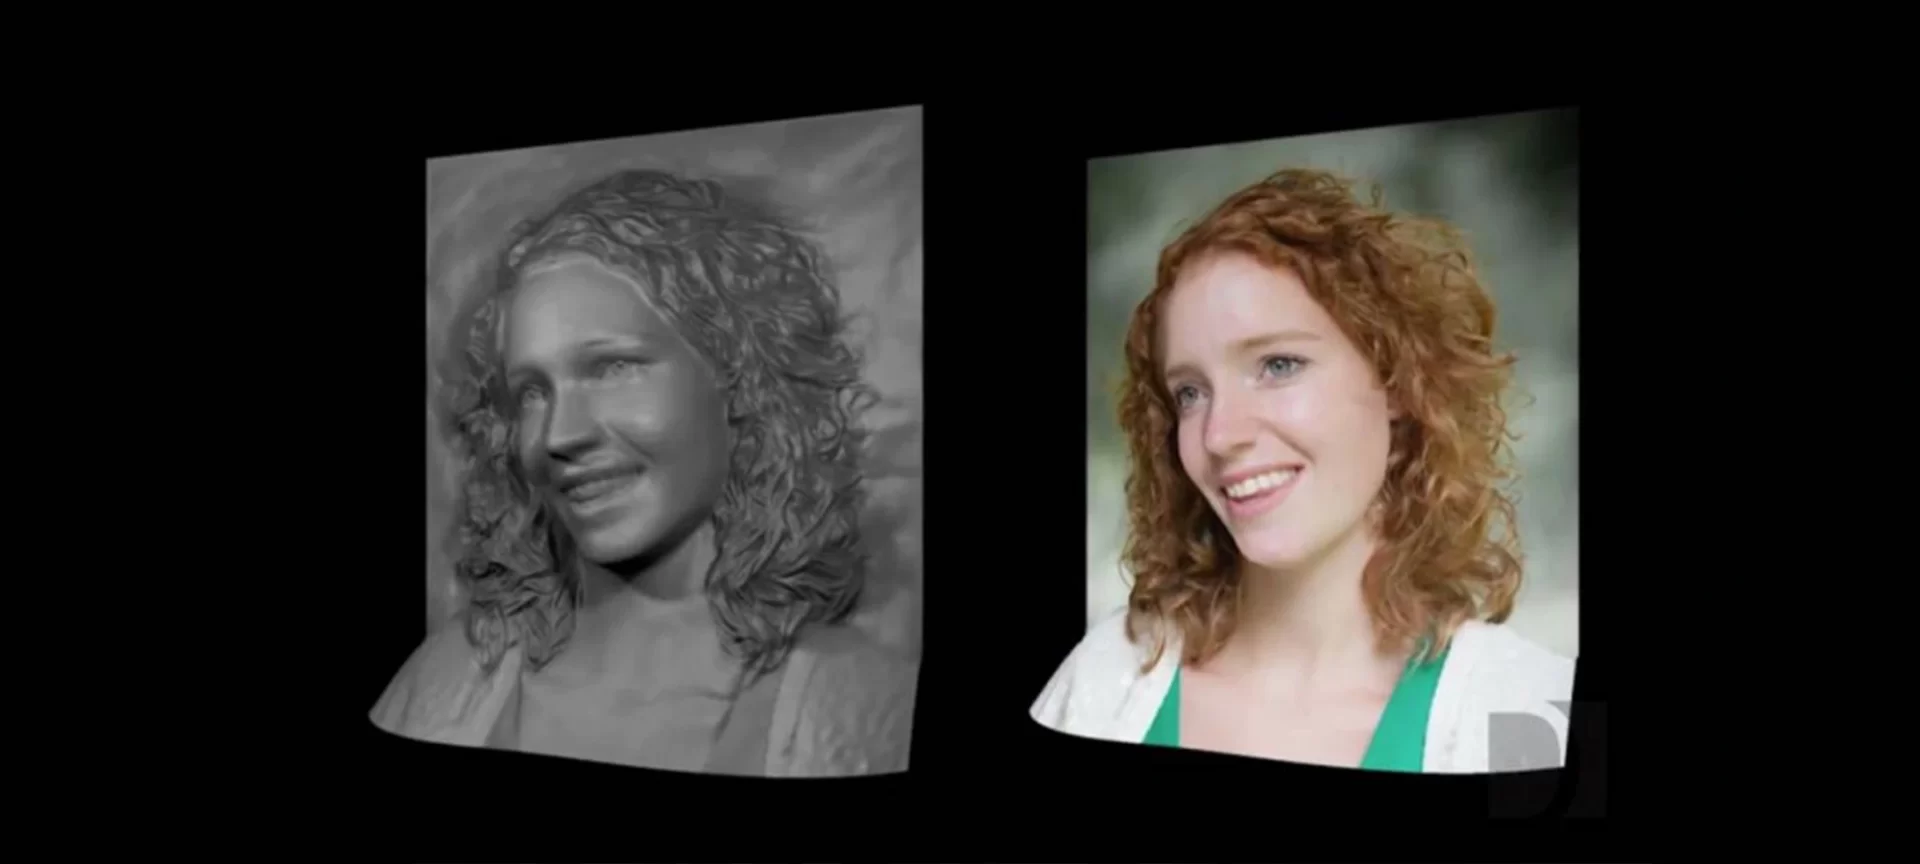
The first thing you would need is a picture. If you wish to create a 3D printed model for yourself, you can choose yours. This can be done from the top menu where it is provided to select the shape of your choice.
Aiming at your photo, keep sliding the bar at the bottom from left to right until you start previewing the vector definition. Once you are satisfied with the result, click the capture button in the bottom middle of the screen.
You can preview the vector art and can even edit it if you need any changes to the slider adjustments. If you ask the experienced professionals, you would get to learn that portrait 3D printing delivers the best results with a semi-dark background.
Hence, you know where to stop when realizing the vector definition of your image. Do not forget to save the file to your smartphone library. Adobe Capture is available for both iPhone and Android users.
Create an SVG File
To do so, you will need another application. You can use Adobe Illustrator as it is easy and also one of the best options.
Start with the new document in the illustrator and select the file you saved in the library. Your image would be available from capture. You will be required to drag the image to the canvas for further editing.
Here, you can make changes to your vector image file. You can rotate the picture, scale it or adjust various other settings. You must understand that these applications need at least basic computer skills to start with. And, you may take a few trails before getting perfect in the skill of portrait 3D printing.
Once you are done with these slight modifications on the canvas, you must delete the images that are not required anymore. Later, choose the ‘Edit artboard’. This option is available under File/Document Setup. To incorporate the shape, use the drag feature. Finally, save the file as SVG format.
Create a 3D Printing STL File
Now it is time to bring Fusion 360 into action. There are several steps that you must complete to convert the SVG file into STL format.
Import the SVG File:
The first thing would be to import the SVG file to the design space of Fusion 360. Hence, choose the new design option and click on insert and insert SVG.
Click on the top plane available in the graphic area and open the file. Change the scale from illustrator point to inches.
You can do that by choosing the 1/72 scale. Later, you can exit from the sketch area.
Creating a 3D Model:
You must start a new sketch to prepare the STL file. Draw a rectangle huge enough to incorporate the image of your face or the imported sketch that you saved earlier. Again, you must exit the sketch.
By now, you must have created two sketches for your model. Find extrude from the create menu and select the rectangle. Set the distance to -.25 inches. Again, select extrude going to the same menu option, create. Make sure to select all the face profiles and choose the distance as -1.25 inches.
Use the fillet tool from the modify menu to add 1 inch of the fillet to the corners of the rectangle. Using the same menu, use chamfer to add .125 inches chamfer for the edges of the rectangle. Click on ‘Make’ and then ‘3D print’.
Choose the model you created and keep it in a high-resolution setting. You can either send it to Cura directly or you can save the STL file locally.
The STL file can be used with different printer’s scaling software, depending on the one you use.
Get the G-Code
If you have automatically selected to send the file to Cura, by now, it would be on your print bed. Here, you can make changes to the settings and can further scale the dimensions and geometry to the desired setting. Again, you can either print from here or you can also save the g-code locally.
Upload the G-Code for Printing
This is the last step of the entire process. For this, you just need to connect to your printer and upload the g-code for printing. Once you hit the print button, the layers would start forming.
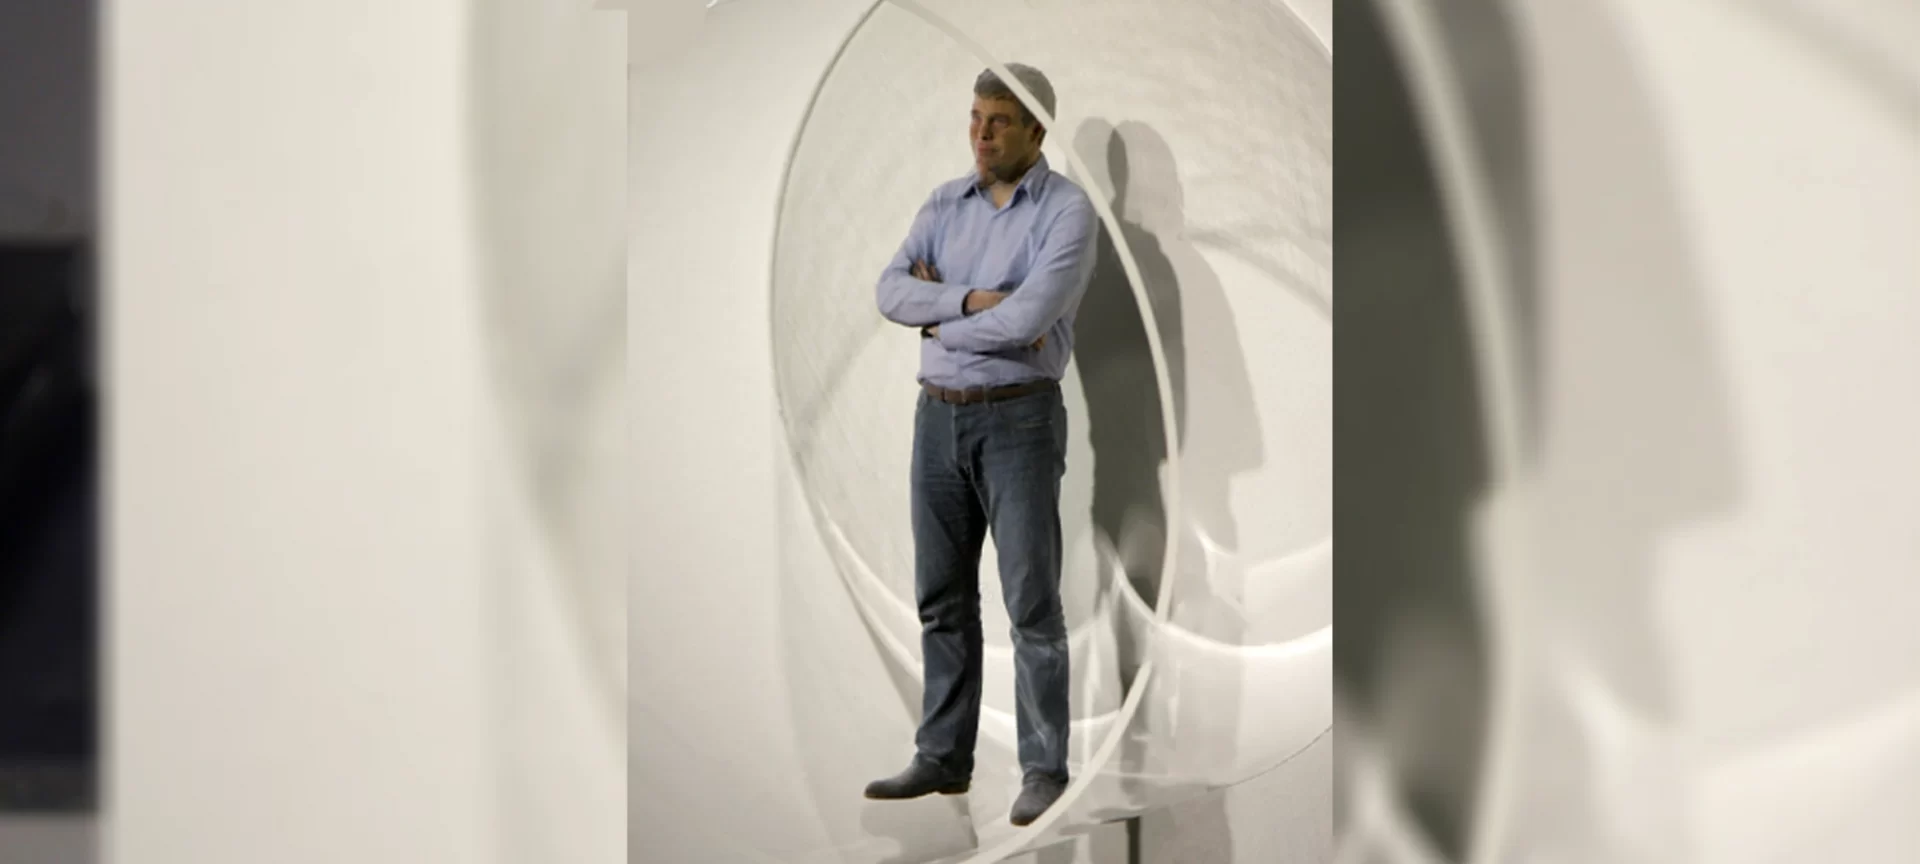
The results would differ based on the selection of the 3D Printer and the resolution you choose. It would also differ according to the material selection. However, you would certainly be able to print great 3D portraits using these steps and software.
How 3D Portraits Can be Used?
As you have already checked how to create these 3D portraits, you must be thinking about putting it for use. You surely can do so. We know that skills never go wasted. And, adding the one more skill to your kitty, would go good too.
You can use these 3D portraits for many purposes. Some of them are discussed below.
For Commercial Use:
Nothing feels better than using your skills for paybacks. You can sell 3D portraits to individuals worldwide by establishing a website or using the existing online portals.
You can even start a local store and create these marvelous models for enticing customers to pay for them.
You can prepare a complete business plan before looking into the further prospects of the business. And, the best part is that you won’t need a very expensive 3D printer to do it.
For Learning Experience:
The skill can be introduced to kids, teenagers as well as beginners who are looking forward to making career in 3D printing.
The creation of these models requires basic knowledge of a variety of tools. Hence, can help individuals get hands-on experience with different design and scaling software.
For Gifts:
If you already own a 3D printer, you can learn to create 3D models for gifting it to your friends and family.
These 3D portraits are unique gifting options and would awe whosoever you would like to impress.
With so many further possibilities, you just need to be creative with this skill. Incorporating stylish frames, playing around with image settings and many other changes would bring huge versatility to your work and smiles to the faces of your loved ones.
The Conclusion
If you do not know, 3D printers have been used for different creative purposes. Hobbyists and enthusiasts keep working around the nuances of possibilities that the technology is capable of exhibiting to innovate something new.
As the experiences are getting stronger and technically superior, the capabilities have also been broadened. One can do impossible tasks using additive manufacturing.
The experiments extend to almost every niche. 3D printing is making its way into the lives of end-users too. And, commercial applications are also growing with the help of 3D printing.
3D portraits may seem like a simple example, but if utilized correctly, it can bring a lot to those deciding to use it as a business model.
The more angles of creativity one would employ in portrait 3D printing, the more unique results would be possible. Thankfully, the skill is not rocket science to learn.
With dedication and a few trails, one can easily understand the basics of creating 3D models. And, can plan to make their career based on this skill. Isn’t that exciting? It could be one of the options for those who are looking to find a product to sell based on 3D printing technology.


