FDM may be the cheapest of all 3D printing processes available, however, the parts printed must go through post-processing steps to enhance the appearance of the models. Sometimes, the post-processing methods could be tricky and messy.
Those who 3D print with an FDM printer must comply with the fact that smoothing 3D prints isn’t a piece of cake. One needs to learn a lot of ways to make parts visibly attractive. The work becomes even more complicated when the models have finer details or complex geometry.
3D printing may sound like an easy task when relating it to the 2D printers where the job is done once the paper is printed out of the machine. This is not the case though. 3D printing has a completely different definition.
Even after the work of a 3D printer is accomplished, post-processing steps such as sanding 3D prints, removing support, etc come into the picture. The question is: How to smooth 3D prints?
Let us discuss a few methods for smoothing 3D prints. By employing these methods, one can achieve huge success in improving the appearance of the models printed by 3D printers.
What to Do Before the Smoothing Process?
Do you know that 3D prints cannot go through the smoothing process directly? The 3D prints must be prepared before applying any of the alternatives to smoothen the surface of the models. And, these are important steps to include in your post-processing task.
Remove Support
This is the first step for any model printed with 3D printers. Removal of support differ for different parts and material used. Some supports are dissolvable insolvent. However, some require manual intervention to make that possible.
So, ensure that the support is removed properly without creating many problems for the surface of the model.
Glue Parts Together and Fill Holes
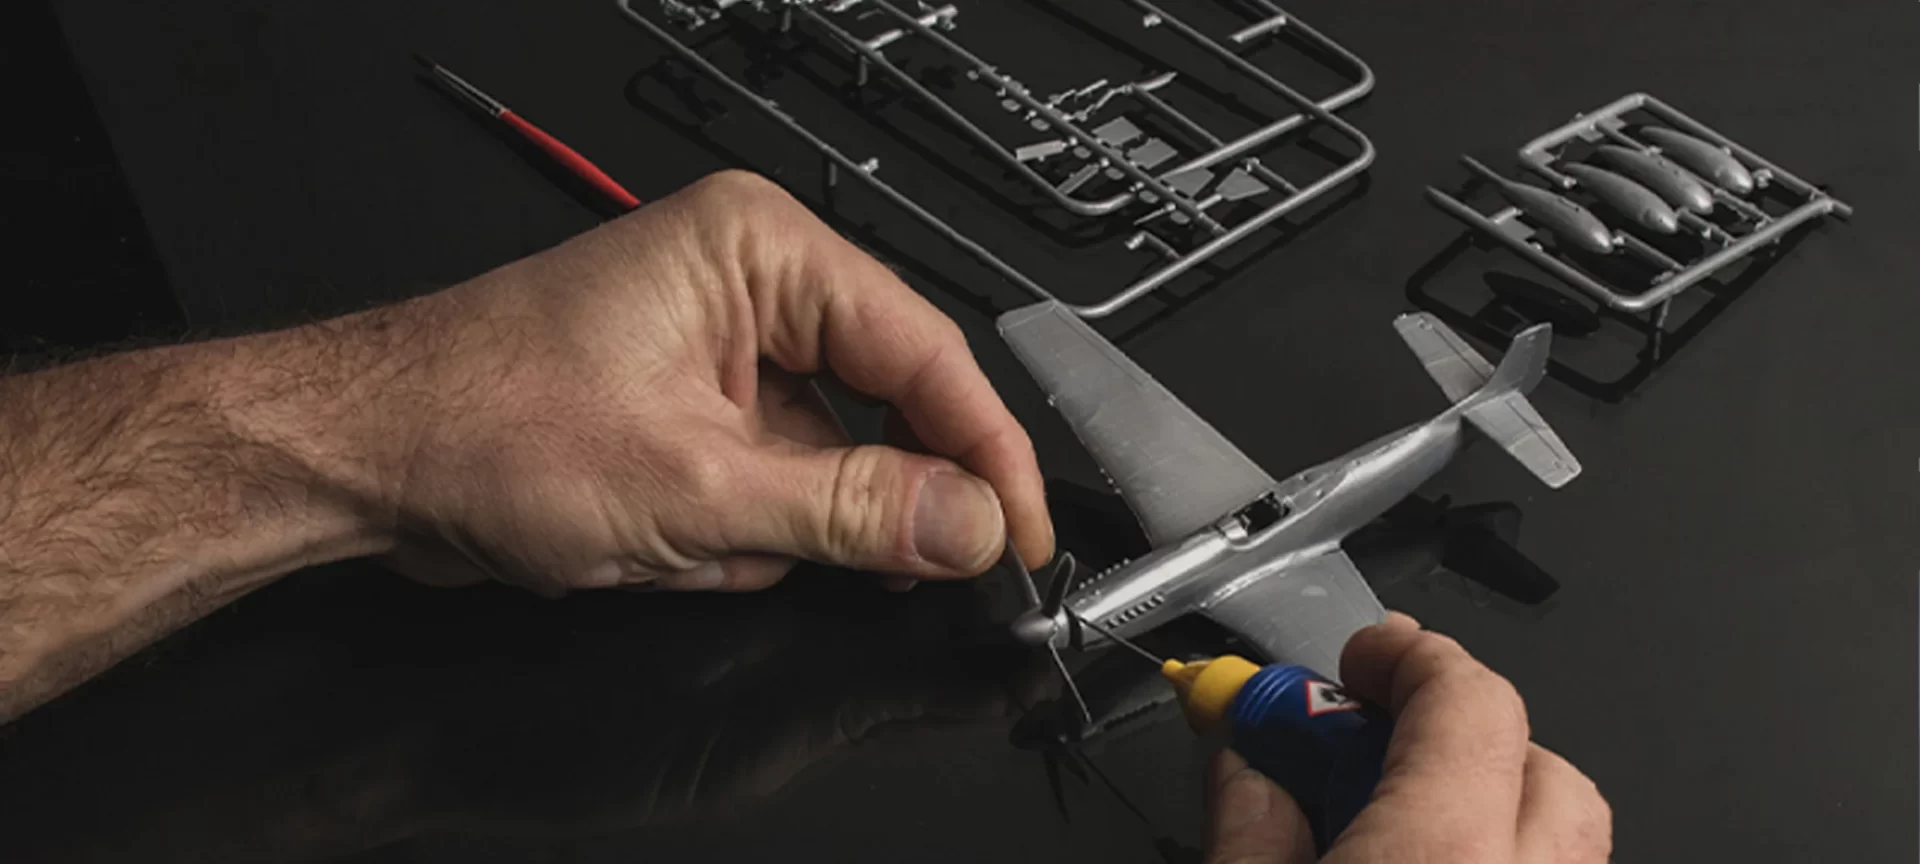
If your model is printed in multiple parts, remember to glue them together before starting any smoothing process. However, if a few parts have finer details and others don’t, smooth the parts using different and appropriate smoothing processes and then glue them together.
As finer parts may need a different smoothing process. Fill the holes, if any. Most of the users fill with wood filler. However, you can also try autobody filler. It sticks easily to the PLA material.
Use Primer
Spray primer all over the body of the model evenly. Let it dry completely before putting the second layer, if necessary. You can coat multiple layers of primer but make sure to keep enough interval between coats to ensure the prior coat is completely dry.
And, before applying another layer of coat, you may have to go through the sanding of the model, described below. Both of these steps work alternatively.
Sand the Model
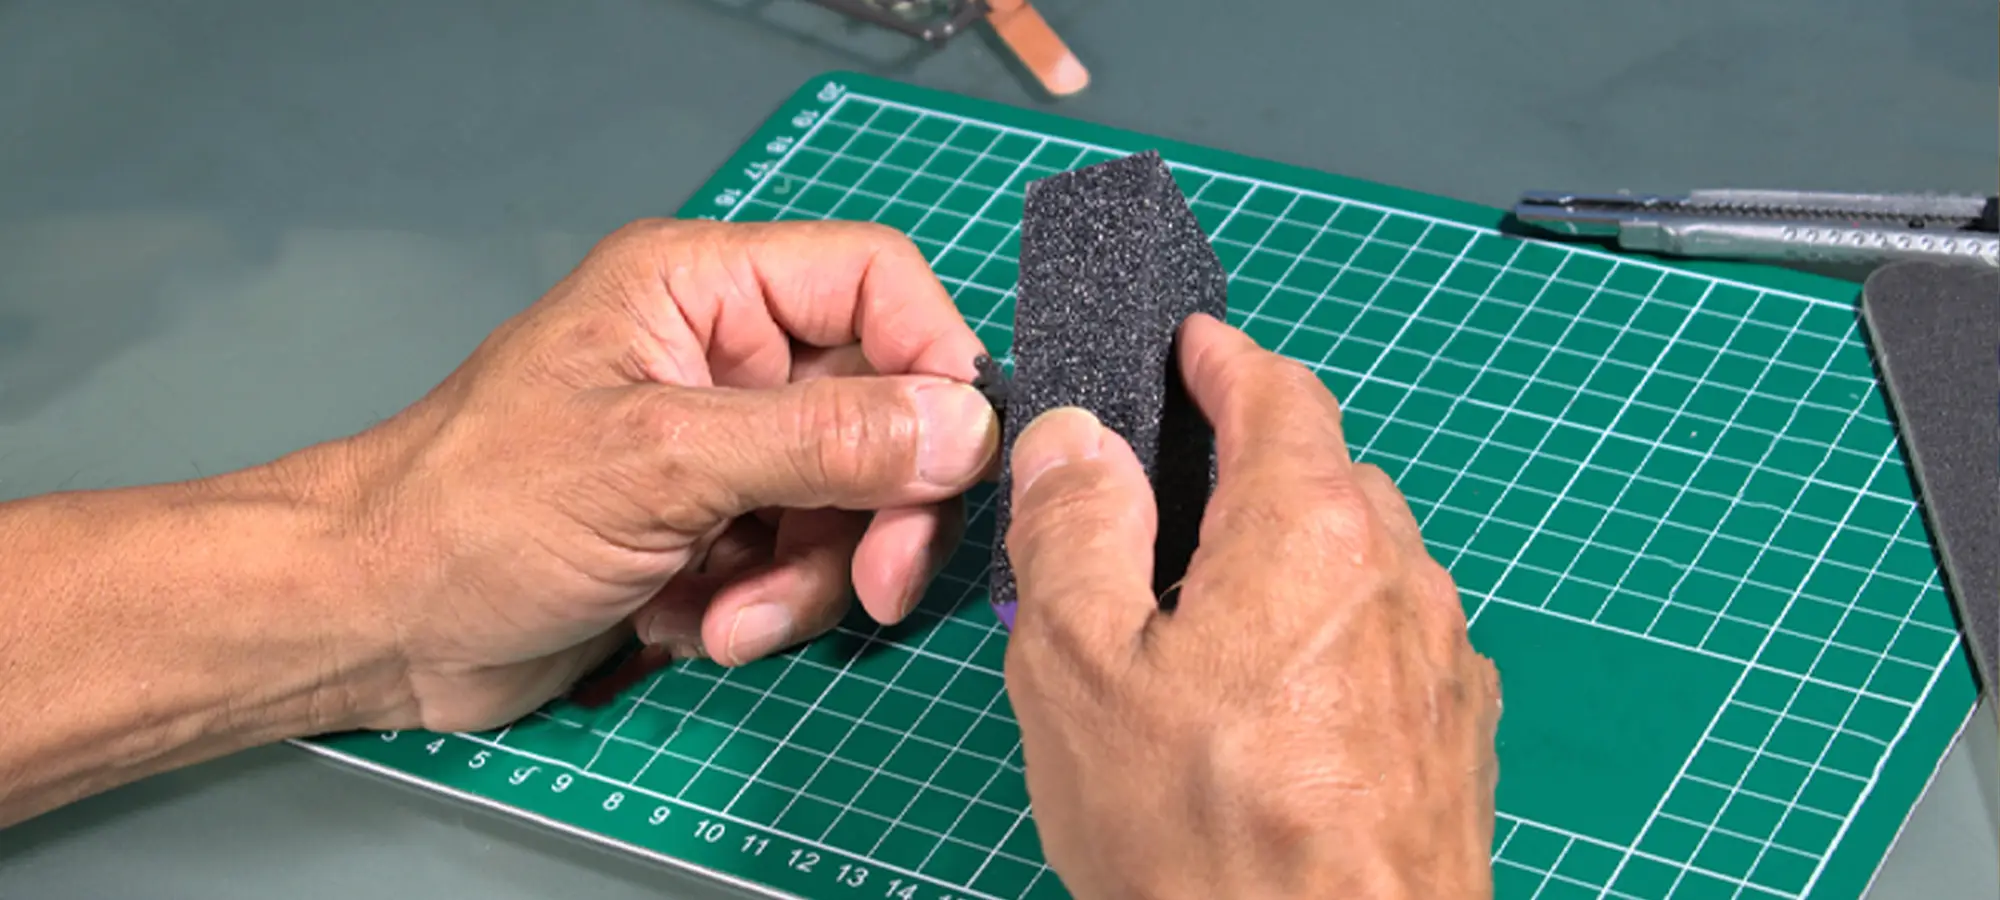
If you are working with PLA, you cannot get rid of sanding. If not much, a small amount of sanding is required for every model. Sanding is used for removing imperfections.
If there are bumps or layer differences, these can be reduced impressively using sandpaper. But the finishing still needs more effort. To get the best results, try using assorted grits of sandpaper.
Starting from 200 grit to 4000 grit, depending on the designs and requirements. While sanding, remember to use the circular motions against the layer lines. And, keep your pressure moderate to avoid any mishandling of your model.
How do you Make a 3D Print Smooth?
FDM might be the fastest and the easiest 3D printing process, but the end parts aren’t amazing in terms of finished resolution. The layers are visible and support removal causes marks and uneven surfaces.
So, what are the best methods to smooth the 3D print surfaces? This question is pretty obvious when printing with an FDM printer, especially PLA. Companies use different methods, but let’s concentrate on the most prominent ones that give desirable results.
But to start with the alternatives for smoothing 3D prints, we must learn how to prepare:
Using Paint or Epoxy Resins
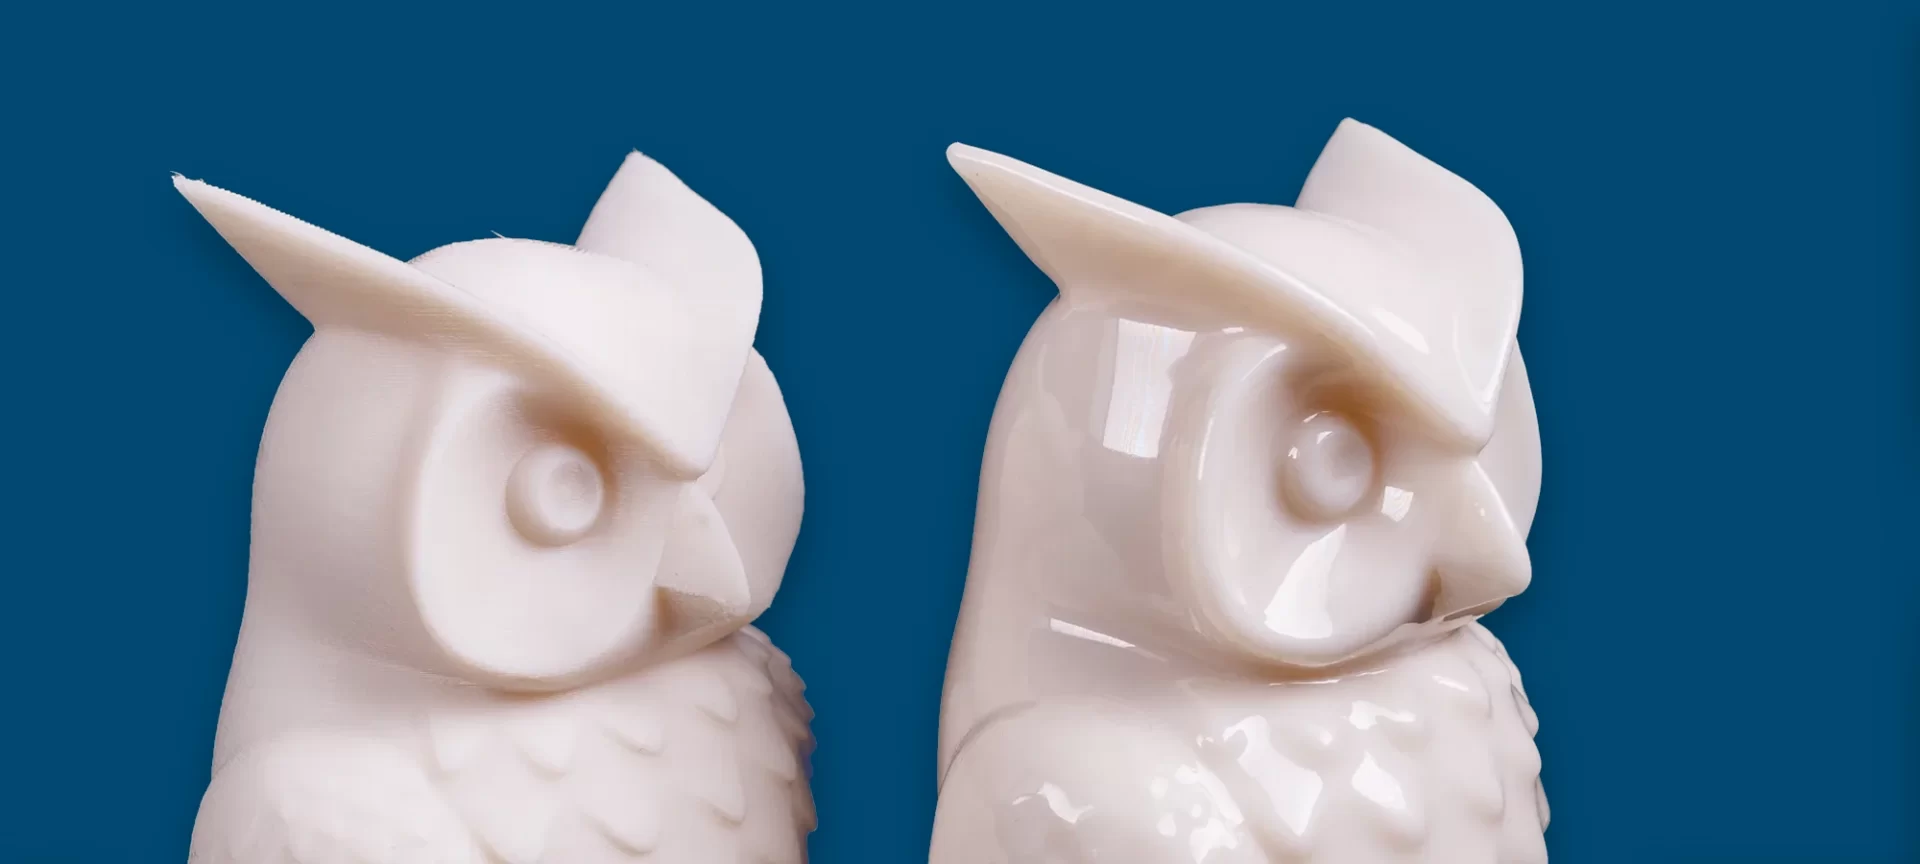
This is one of the safest methods to smooth the surface finish of the PLA parts. Once the primer is set, you can start applying the color coating or the Epoxy resins. These two can be brushed onto the surface of the model. You can also use color spray for best results. These are helpful in painting in thin coats that dry faster.
Epoxy resins are also a great option. You can use as many coats as you require. But as said before, remember to wait between coats to let it dry and set on the model.
These two coating options are easily available and can be used by anyone. Because these are safe, you will not have to worry about safety measures. However, try to keep the surrounding of the model clean, to avoid any spills or accidents. Or else, the model will be ruined.
There are downsides to using these two options too. Epoxy resins are sticky even after the model completely dries up. And, paint can stuff into the areas where it is not required. Such an instance is very common and one should take the right measures to avoid it.
Using Heat Guns
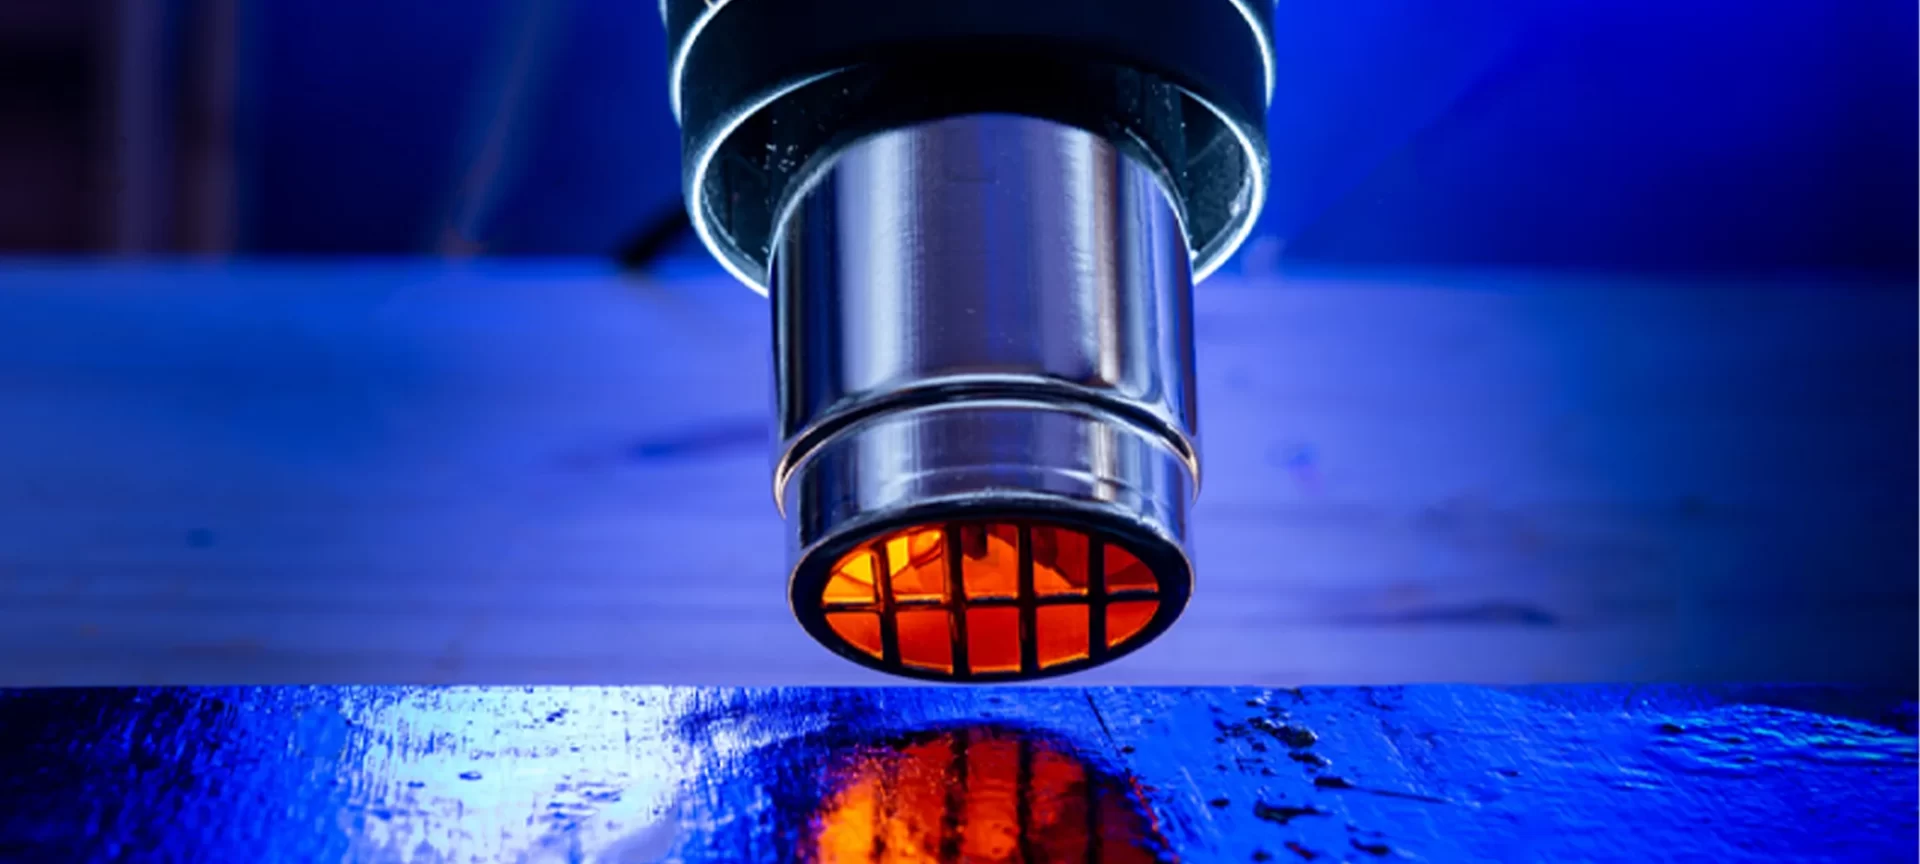
Heat guns may seem like a risky option as it emits heat which can melt the plastic for distorted results and it is true as well. Working with heat guns requires practice.
You cannot expect to get it right in the first go. Even when you are well aware of the right way to use heat guns, you must try it on different models to get the hands-on experience.
Because of the risk, it involves, many experienced designers also prefer not to use this technique. However, the results are amazing.
So, if you are ready to put some hard work in learning the operation of a heat gun, you can go for it. The trick is to keep moving your hands when exposing the model to the heat gun. If exposed for longer at a specific area, it can melt your model, destroying it completely.
The best way to find the astonishing result with a heat gun is to pre-sand the model. Pre sanding would help expose the plastic, hence, allowing better results.
Moreover, exposing plastic to heat would certainly emit fumes. Although it is not been noted as dangerous as ABS fumes, it still should be carried in a well-ventilated room. Whatever technique you use, always choose a room that has large windows and spaces to let fumes pass.
Using THF
THF has been classified as H351 which means ‘Suspected of causing cancer’. Being a solvent, it does come under the category of H225. Hence, it is a highly flammable liquid that emits vapors and can cause serious irritation. If you forget about all those and the smoothing of 3D parts seem worth taking that risk, you can go for this option.
Before you start working around this solvent, do not forget to use gloves. When choosing the right pair for you, keep a watch on which one you are picking. Not every other pair of gloves would work with THF.
It would penetrate through the layers and get to your skin causing serious problems. PVA gloves would cover you partially, and is easy to find in stores. Apart from gloves, you will also need a pair of safety goggles when working with THF.
Storage is another challenge with THF. If it comes in contact with air or light, it may be hazardous. It can create peroxides that are explosive in nature. Again, working in a well-ventilated area is a must and keep anything that causes a fire, far away from your workstation.
Another alternative to THF is Ethyl Acetate. Because THF has been found to cause cancer, a lot of users do not like to work with it. Hence, you can use Ethyl Acetate instead of THF. However, this liquid is highly inflammable and must be used under complete safety conditions.
After you have selected the solvent you wish to use, you must learn about the different ways to use these liquids.
Usually, there are two common ways of using these solvents for smoothing 3D prints. You can either use a dipped cloth insolvent to wipe the model or using vapor.
When using a cloth dipped in solvent, make sure to use some pressure for an even result. You may have to repeat the process of covering the model with solvent. So, wait until the model dries up first and then start over applying the next coat. For complex and tidy regions, use Q-tip.
Using Acetone Mist
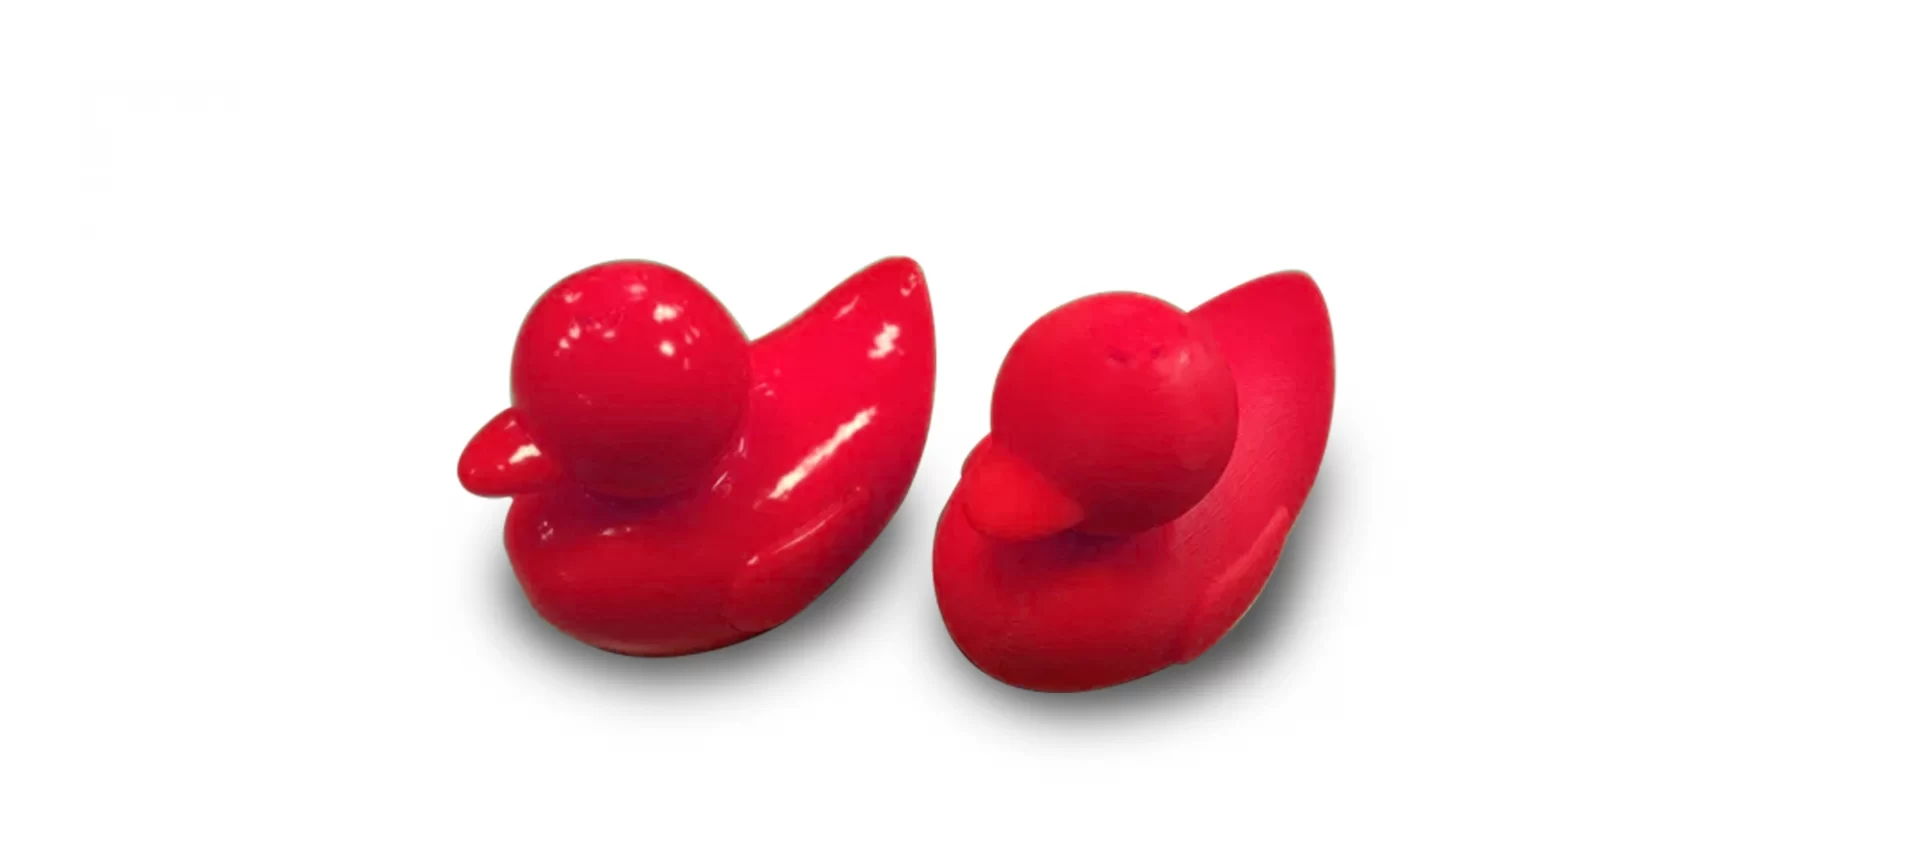
Before you go on trying this option, remember that it only works on the ABS model and not PLA parts. If you are seeking to smooth ABS parts, this option is the best so far. And, it is simple too.
How does this actually work? It is very easy to use. All you need to do is put the ABS part in a sealed container that is filled with Acetone Mist.
There is one company called Polymaker which has come up with this solution known as Polysher. In this solution, isopropyl alcohol is automized inside a sealed container.
This starts releasing the mist around the model. The 3D print is kept rotating inside the chamber submerged inside the solution. The mist reacts with the surface of the plastic and melts it for a fantastic finish.
As the time duration and the exposure to the solution will increase, the smoother the 3D print will get.
It does require some time for drying up. Once that is done, the model will be smoother. It is a very amazing process that lets you enjoy the view sitting in your chair, without a need for actually working for smoothing the 3D prints.
Acetone mist reacts with the ABS part and starts melting the plastic in a very controlled and slow manner. This results in a smooth surface. The worst part is that the Acetone mist does not work for PLA. Or, it would have been easier to smooth the PLA parts too as it to smooth ABS parts.
This is the only option that can be started without sanding. However, if included, the results will certainly be much better.
Using Sand Blasting
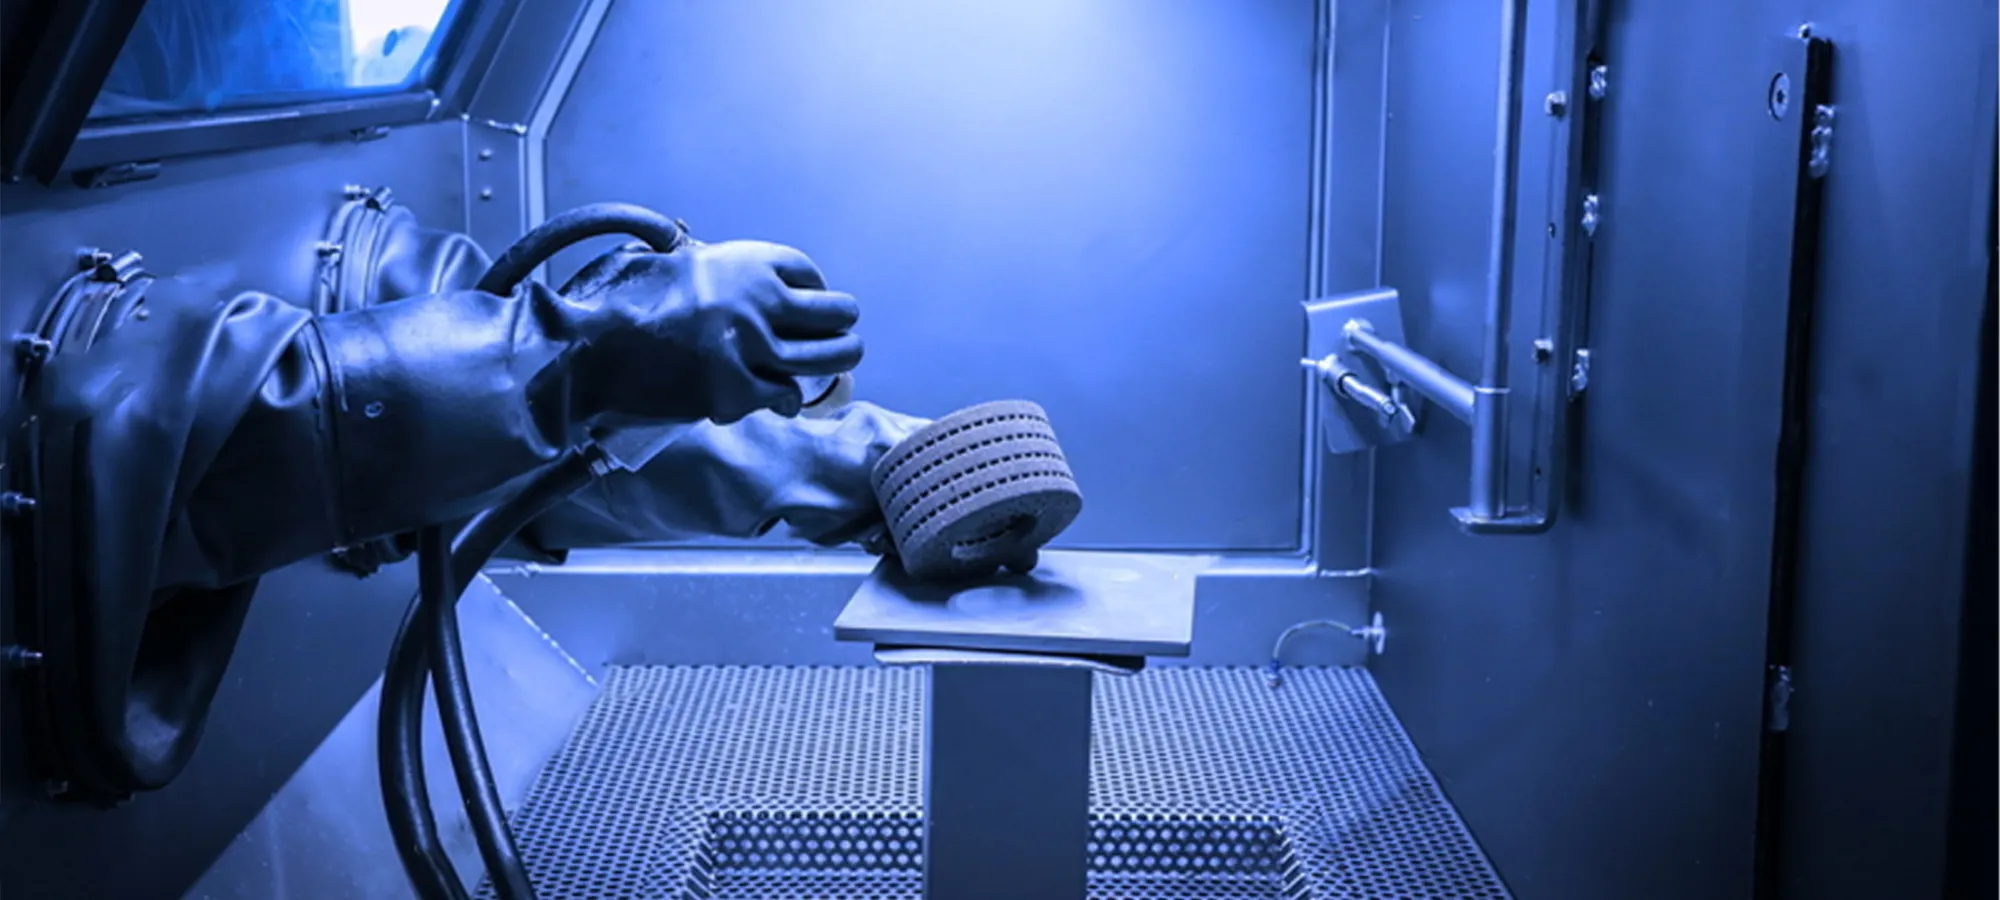
Sandblasting is another process for smoothing 3D prints. This process though works by changing the surface from anything to matt, and may not work when polished with paint as the layers start appearing, hence not very common.
There are different mixtures available for sandblasting. For example, a mixture of silicon dioxide and aluminum oxide will work together as a blasting abrasive.
Using a grain size of 0.2 to 0.5 mm with a pressure of 116 psi, one can achieve decent results. However, the same combination may not work for lighter parts, leaving stains on the model. Hence, you must experiment with yourself to understand what works for your models.
Moreover, if the matte finish does not compliment your model, this method would be a waste of time. As stated above, sandblasted models won’t work with paint. The layers will still be visible if the models are exposed to paint after being sandblasted.
The Conclusion
3D prints, especially created with PLA would require some amount of smoothing process. Some parts would be easier to work with than others.
However, you can expect to put effort into getting the final model. 3D printers would get you the models at the different surface finish, depending on the choice of filament you use. PLA being the cheapest, would need most of the post-processing job.
While doing so, the material will be rubbed from the model because sanding is needed to prepare the model or parts. Sometimes, sanding would get you decent results without a need for further processing.
However, smoothing 3D prints rarely ends at sanding. Remember to have patience when trying to smoothen the surfaces. You may destroy the sharp edges and the finer details may irritate you being tougher to work with. Keeping calm would help you concentrate on your designs.


