If you have worked with 3D printers, you may have faced the problem of warping. Being one of the most common issues that users of 3D printing come across, it is no surprise if you are experiencing it too.
Fortunately, there are easy remedies to fix the problem and continue to print successful models. There might be few failed prints to start with, however, once you find the right settings for your 3D printer, things would be easier.
The setting would differ based on the material you choose to print as well as the printing condition. If you know how to twig the settings depending on the factors responsible for 3D print curling, the rest would be all fine.
To some, 3D print warping may sound like a slight deviation from the original design. However, this could be so severe that the entire 3D part is destroyed. Hence, it is important to check your prints for the best results.
Warping is the most annoying issue if it is not checked on time. One can lose a lot of material and time trying to get to the right settings. Moreover, there is no way to correct the part after the problem has happened.
Who would like to own a deformed part, especially if it is a functional model? The parts become unpresentable and are discarded right away if the problem is too severe.
So, why not look for ways to combat the problem before it takes over your work? This post discusses some of the most common reasons for warping and the ways to avoid it.
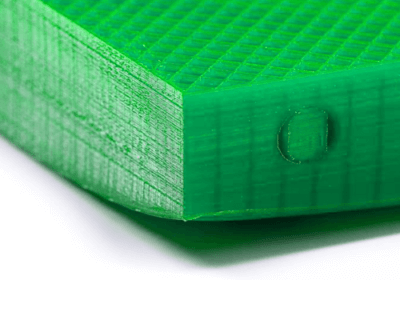
What is 3D Printing Warping?
 Credit: dddrop.com
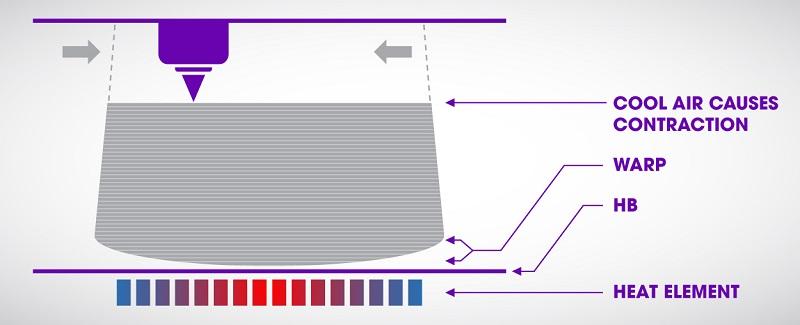
Warping is one of the most popular 3D printing problems. You must know what does the term means to start finding ways to avoid it. As the name suggests, curling or warping means shrinkage of corners as it leaves the build plate while the printing is still on.
This gives the corners a curled look facing upward. There are times when you may feel that the adhesion to the build plate is just fine for the first few minutes.
And, then it would detach from the surface, running the entire 3D model. When that happens, it feels frustrating and anyone who has had that experience would vouch too.
Problem isn’t only the failed print, however, the efforts that go wasted which users put to get the model done in the first attempt itself.
This kind of problem is known to happen mostly with very large parts, especially when printing with high-temperature materials, for example, ABS. So, how does it happen?
The foremost reason is the property of the plastic itself. The plastic tends to shrink after cooling. In the case of 3D printing, the same thing happens. The layers are cooled for solidifying.
During that process, with every layer, the shrinkage increases as the temperature difference increases. Ultimately, the corners are curled and deformed.
For example, when printing with ABS that requires around 230C for melting, shrinks to about 1.5% when brought to room temperature. With larger parts, the percentage of shrinkage is even more in terms of millimeters.
And, the shrinkage is more obvious. And, as the layers are deposited, the shrinkage further worsens. Finally, separating the layer from the build surface. It does sound horrifying.
Looking at the failed print that was just fine some time back isn’t a fascinating scene. However, almost every 3D printing experts have to go through the challenge once or multiple times.
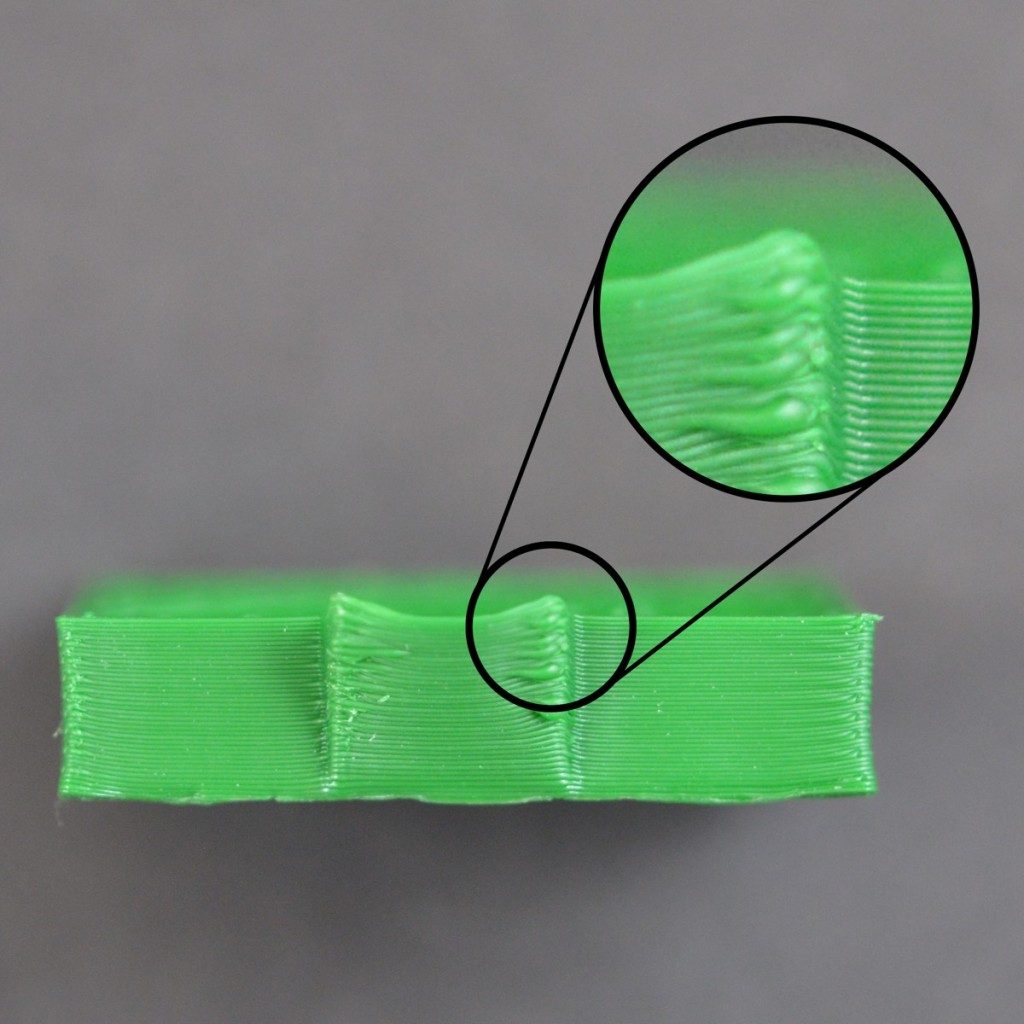
How Does Curling Happen?
 Credit: simplify3d.com
Although we have discussed the topic earlier, let us put some more light on it. The materials used for printing parts with an FDM 3D printer are usually thermoplastics. Thermoplastic has the property of changing the property at a certain change in temperature ranges.
In an FDM 3D printer’s working mechanism, the filaments used for printing parts are heated to a high temperature beyond their melting point (temperature differs for different filament).
This is done to convert the filament into its liquid form. This is later extruded from the nozzle head and deposited onto the build plate, layer by layer.
When these filaments are heated to liquidity, they expand. Once the filament is deposited, it is cooled down to set again to the solid form. This is when the plastic shrinks back again.
When the next layer is deposited, while the root of the layer is still cool, the top most deposited layers aren’t. This creates a temperature difference, hence a difference in the shrinkage of each layer.
This is how the grip is lost and the parts leave the build plate at corners, resulting in curling or 3D printing warping.
The worst part is that the problem may occur once you have completed a good amount of print job. Knowing in between of the print that you have wasted all the material and time is very upsetting.
You may think that maintaining the constant temperature throughout the print process would help your case, which is correct theoretically.
However, it is impossible to maintain the exact same temperature practically. One can try to maintain the closest temperature variation as much as possible to avoid warping.
And, there are other ways too for helping the prints run smoothly without encountering 3D printing warping.
How to Avoid 3D Printing Warping?
There are a few common ways to avoid 3D printing warping. These are easy to follow and if included religiously for every print, one can get rid of the problem, forever. 3D printing isn’t easy and one must learn a variety of tricks to ensure the best results.
Ensuring High Adhesion to Build Surface
Most of the 3D printers manufactured these days provide nice adhesion. However, when working with different materials, the results vary. Some need a lower temperature for adhesion and others to seek higher degrees.
There are times when adhesion won’t be very strong with specific materials. For those cases, using adhesives would double-check the print process to make it smoother and risk-free.
There are many kinds of adhesives, however, few are common and widely used. You can depend on these options too for strong adhesion of the first layer.
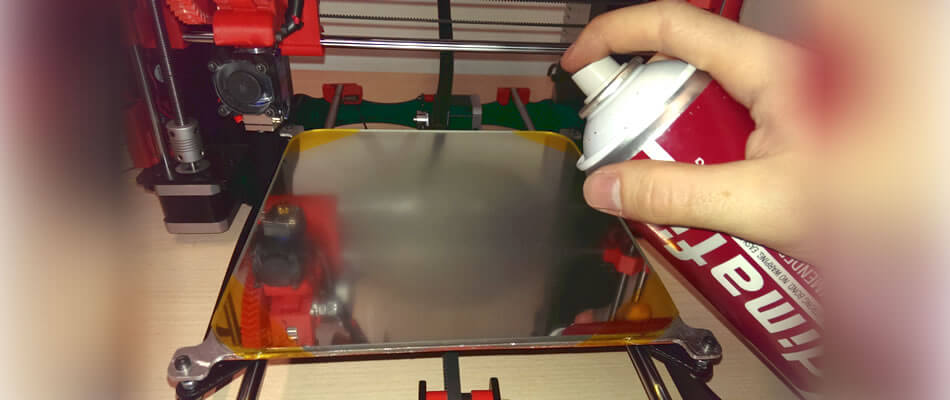
Hair Spray or Print Bed Spray:
 Credit: 3dprintingindustry.com
When talking about a strong grip, one must understand that the layer shouldn’t be difficult to remove either. Or else, the part can be destroyed when separated from the build surface.
Hence, using a good grip that is not too loose and isn’t too strong is what users should aspire for. And, hair spray could be a nice option for most of the filaments available for 3D printing with the FDM machine.
There are special 3D print bed spray as well such as 3DLac. Users can opt for these too. You can test the spray with small parts first to check the intensity of the grip. If you find it too strong, do not use it with the tried filament.
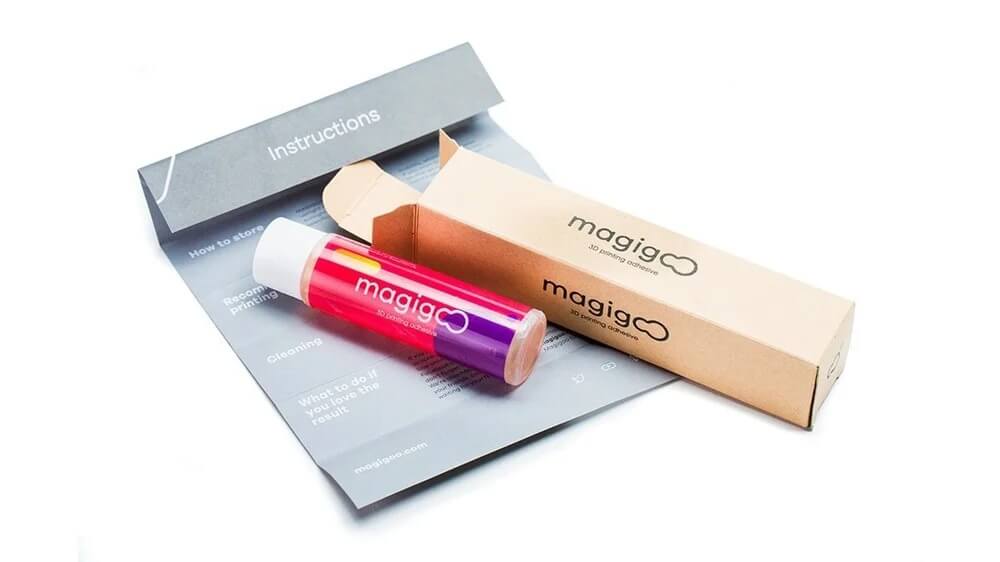
PVA Glue Stick:
 Credit: Magigoo
PVA Glue sticks are articulated bed adhesion products and help increase the adhesion of the first layer. For example, Magigoo is a nice choice and popular among 3D printing users.
These glue sticks create sufficient adhesion between the build plate and various different materials. You only require a thin film of PVA glue stick to formulate the adhesion of the print bed.
However, test with different materials and print beds. It may build a strong adhesion, difficult for removing the parts after completion. Hence, damaging the entire print.
Correct Leveling of Build Plate
To have good adhesion, the first layer must be deposited correctly. The distance between the print bed and the nozzle shouldn’t be too wide. Or else, the first print layer of a print won’t be pressed firmly over the build plate.
This is very important to have a strong bond between the build plate and the first layer. By allowing the wider distance between the nozzle and the build plate, one would lose the grip that is required for good adhesion between the surface and the first layer.
If you think this is why you are having trouble with the first layer adhesion, re-leveling the print bed would help for sure. Use different guides and videos to understand the best setting for your 3D printer.
Heated Build Plate
 Credit: all3dp.com
Sometimes, using a heated build plate solves the problem completely. This has been known as the most common way of avoiding warping.
Although you may need some more help in a few cases, a heated build plate does help a lot of times. By doing so, the correct temperature is maintained that is just below the range where it solidifies.
This keeps the layer connected with the build plate and flat during the entire print process.
However, it is important to check the temperature setting for different materials. As the properties differ for different filaments, one must set the temperature of the heated build plate accordingly.
Users must read about the properties of different filaments and the temperature ranges where these solidifies. For ensuring good results. Otherwise, there won’t be much help a heated bed will offer.
Working on the Settings of Initial Layer
The settings of first later matter a lot. There is not much to remember when checking the parameters for the first layer setting. Just two important points that one must take note of when having trouble with 3D printing warping.
These two settings are the height and speed of the initial layer or the first layer. By increasing the thickness of the initial layer, one can ensure good adhesion as compared to the thinner layer.
Moreover, when it comes to setting the initial layer speed, one must not set it too high. When set high, the material may not get enough time to stick to the plate and drag around with the nozzle while never able to acquire a nice grip with the build surface.
Cooling Accurately
The 3D printers have fans to cool down the layers for solidifying the melted filaments. While these fans are important for setting each layer, overdoing it may cause 3D printing warping. Hence, one must take care of the same. By proper cooling, one can avoid the problem of shrinkage around the corner with ease.
Use the fan settings properly
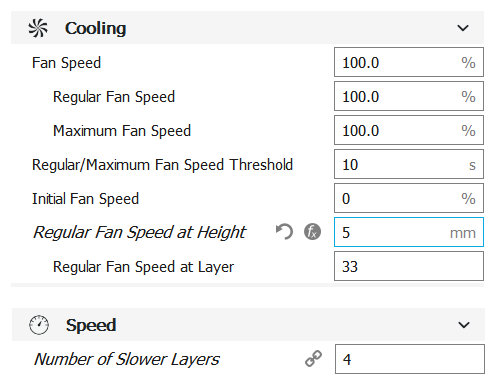
As already discussed above, fan setting is very important to avoid warping. For achieving optimum results with the models printed with FDM machines, one can try keeping the print head fans off for the first layer.
This helps in increased adhesion of the first layer. Later, the fan speed can be increased gradually with the layer height. Software such as Cura and many others offer functionality to do so. One can use the fan setting to change the way cooling happens during the printing process.
This helps is avoiding excessive cooling of the first layer. Hence, avoid 3D print warping or curling. You can check if the slicing software you use offers these privileges. If not, you can try the one that does.
The Conclusion
3D printing may be challenging at first. However, those who are involved in the process for long do find these challenges exciting too.
Finding new ways to solve the issues with 3D printing is another way to hone your skills and become even more familiar with the world of 3D printing.
Some may feel daunted when not able to get to the bottom of the problem such as warping. However, not to forget, every problem brings with itself the solution too.
With patience, one can solve any issue related to 3D printing. The technology is advancing and more experts are finding additive manufacturing fascinating.
So, users can expect better and easier solutions for problems like 3D printing warping in the coming future. In the meantime, these solutions aren’t that difficult to follow.
By figuring out the cause for curling, related to your print process, one can select the solution from the above list. One of the many listed solutions would definitely be helpful.
These are tested and have been tried by experts for the best results. And, these can help you too when trying to get rid of warping and the frustration related to it.


