3D printing has proved to be one of the fastest-growing technologies in the last few years. Apart from the limitations that the 3D printing technology holds, the possibilities are many.
Because of this, many start-ups are finding 3D printing a huge opportunity for building their business around it.
One can manufacture various shapes and sizes while keeping the design intact and perfect. However, to start, one must get equipped with the 3D printing basics to understand what the niche entails.
3D printing machines are not like inkjet printers. One must understand the technicalities of the machine and how it works before getting into 3D printing.
A business requires a lot of expertise, but to choose a field, basics must be lucid. Either it’s about rapid prototyping or low volume production, one must know the 3D printing fundamentals to start it right.
Why Is 3D Printing Called Additive Manufacturing?
Let us start with the most basic question. Why is the name additive manufacturing given to 3D printing?
Why 3D printing is even necessary understanding that the parts printed are small and weak as compared to the ones manufactured through CNC?
All these questions are very important to answer when you are choosing 3D printing over traditional methods.
This will help you differentiate the reasons for starting a 3D printing firm. And, will also provide answers to what you need to do with 3D printing.
So, the reason why 3D printing is known as additive manufacturing is that it solidifies or cures the material layer by layer and adds one over another to form the object.
Because of this addictive nature, technology has been coined as additive manufacturing.
Also, 3D printing is popular in spite of the weaknesses that it holds because the setup cost is nothing when compared to the CNC machine or any other subtractive manufacturing methods.
Moreover, the customized parts can be printed easily without much hassle with the help of 3D printing. Where old machines require extra steps such as making proper molds and fixtures, 3D printing does not require any of that.
Once you plan what you are looking for, it can be 3D printed right away in a few hours which could take weeks with other methods.
Why 3D Printing is Best for Rapid Prototyping?
As stated earlier, the manufacturing of rapid prototyping when using older methods is very time and resource consuming.
To create a customized part, one must prepare the mold and fixtures. Every time a change is introduced to these customized parts, the entire process of mold and fixture creation must be repeated.
Hence, it is very tiring and economically unviable. However, when it comes to 3D printing, these parts can be produced without so much of hassle.
Once the design is ready, the part can be printed right from the 3D printing machine.
Even the changes introduced later can be made to the CAD file without any need for mold or fixture creation.
3D printing is a cheap solution for rapid prototyping. That is why it is so popular among those industries which require to test functional and appearance prototypes, every now and then.
These prototypes are easy to print through the 3D printers applying the additive technology.
For every material, there is a different set of processes (discussed later) required while printing. Depending on the prototype one seeks to print, the desired process must be used.
Complex Designs with 3D Printing
The time has gone when 3D printing was limited to prototyping. Nowadays, 3D printing is being used for different applications.
If you are thinking of starting a business with 3D printing, you can choose between so many available options. You can even think of something of your own. There is no limit to your creativity.
3D printing basics are the first step towards understanding what you are going to work with. 3D printers are easy to use and can get your exact object matching to the image you designed.
Instead of drilling, mining, and another tooling, 3D printers do the job single-handedly and reduces the error susceptible to manual intervention.
Although there are some post-processing steps are required. But, that is very minimal with most of the 3D printers.
3D printers are even able to make things that aren’t possible any other way. You can design and bring your imagination to life by using 3D printers.
You can create objects with natural shapes, human and animal models, prosthetics and much more using these small machines.
The opportunities are higher with 3D printing. If you are ready to take up the challenge and build something that people like, your business is never going to sit idle.
3D Printing Basics: The Major Processes
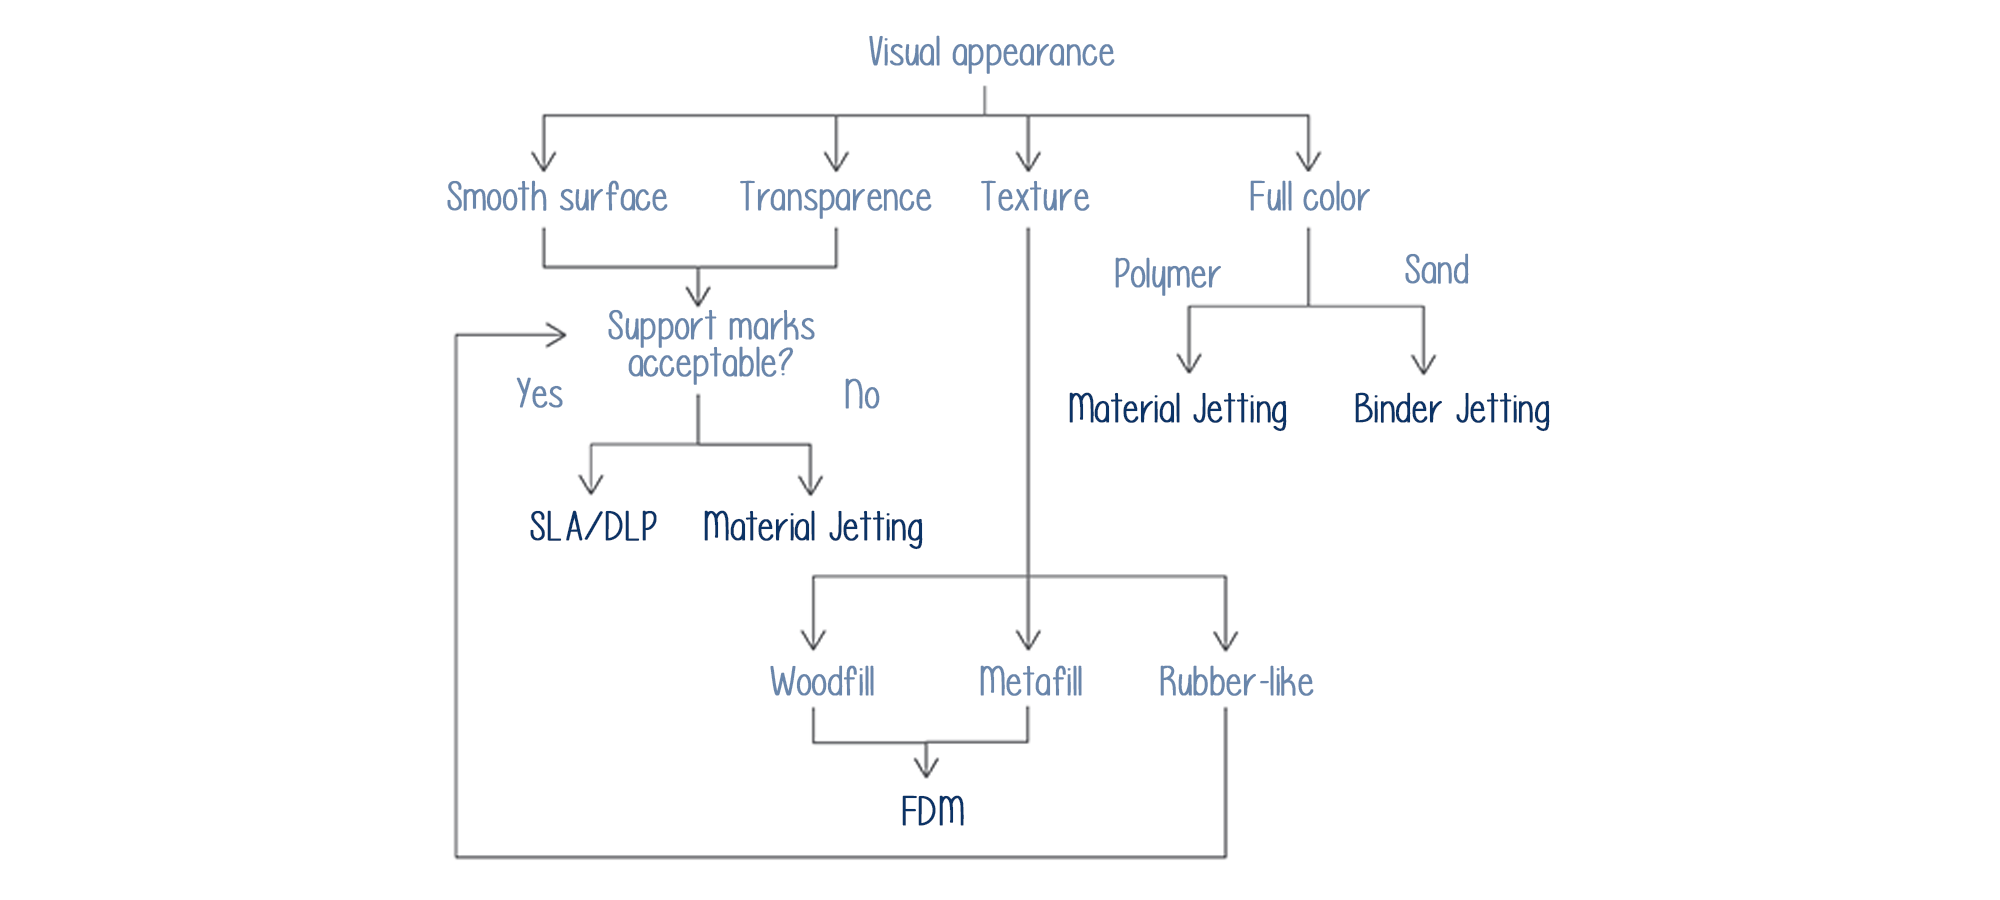
There are various processes involved in 3D printing. However, some of those are used majorly as compared to the other ones, when it comes to commercial use.
Here are a few of the processes that are used in 3D printing and widely used among small- and large-scale industries as well as for individual use.
FDM:
-
- Fused Deposition Modeling which is abbreviated as FDM is the most common of all processes used in 3D printing.
- FDM is the easiest as well to understand and work with. In this process, the ABS or PLA material is melted and deposited layer by layer to form the object.
- These printers are very cheap and can be built with ease.
SLA:
-
- This is the oldest form of 3D printing and was introduced for rapid prototyping.
- The process involves laser light to solidify the liquid resin and from the layers of the object.
- The SLA printers are fast as compared to FDM and produce better parts.
- These are very reliable and can be used for complex geometric designs as well.
- At first, the 3D printing machines with SLA were restricted to industrial use as they are expensive.
- However, the new desktop models are released which are comparatively low in cost and affordable to individuals.
SLS:
-
- Similar to SLA, SLS uses a laser to sinter the powder layer. In place of liquid resin, the powder material is used in SLS.
- The powder layer is deposited over the print bed which is cured by the laser light.
- Once the powder particles sinter, another layer is deposited over the previous one.
There are more than 10 processes in total that are currently available. However, these three are the most common among commercial usage.
How To Design 3D Prints? What software do You Use for 3D Printing?
Once you are through with the choice of printer and the process you are looking forward to, you can get to the next step of 3D printing basics.
You must find out the best 3D printing design software for your business. There are many available for designing 3D prints. The design is done through CAD software.
There are many free CAD software available as well. If you are a beginner and want to try hands first before purchasing one, you can go for Autodesk 123D or Tinkercad. With an easy drag and drop features, you can learn a lot about the 3D CAD software.
You can also seek 3d printing classes and online courses. With videos and lessons, you can master 3D designing.
These 3D designs are like a blueprint of what you want to print or manufacture. So, knowing how design works is very crucial.
You may find out free 3D designs online. But, if you are looking to print unique objects to maintain the uniqueness of your business, you must learn to design.
Why Print Orientation is Important?
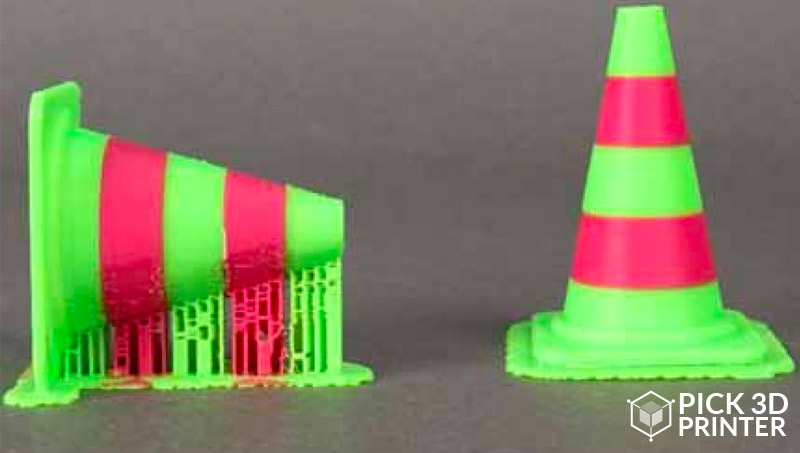
Print orientation decides where the parts will start to be printed. As the print usually happens to start from the print bed, the best way to optimize the parts are very necessary. This can help in many ways.
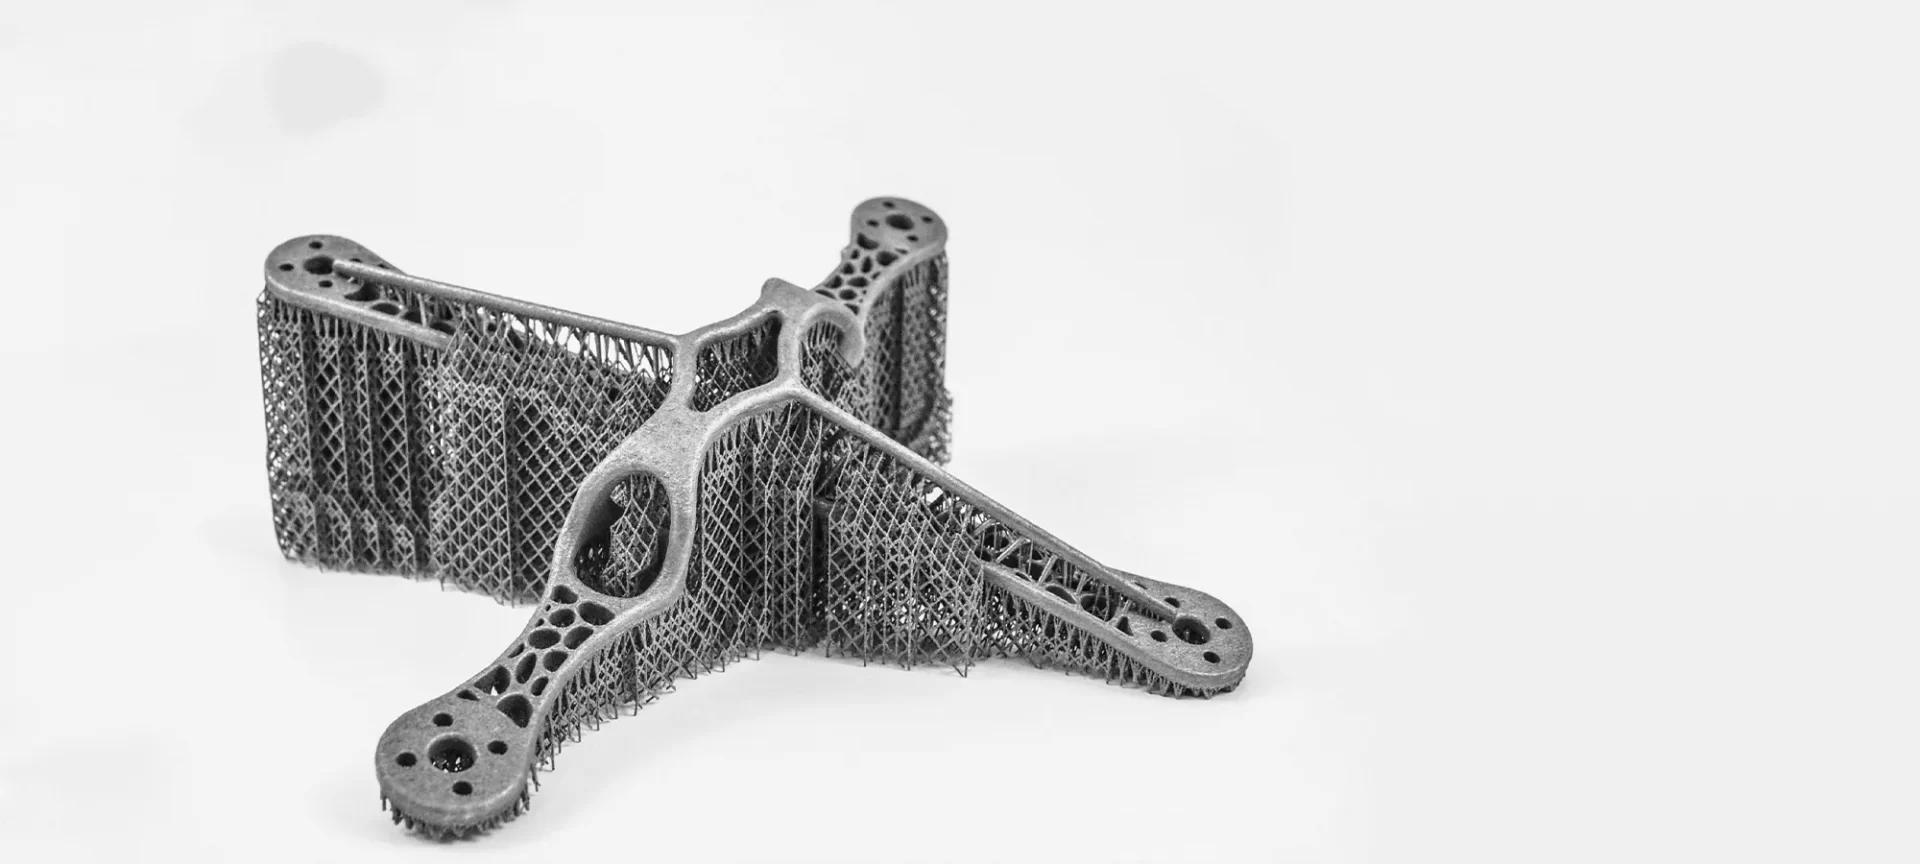
By giving it the right orientation, you can eliminate the need for support parts.
This not only saves time but minimizes the time required to print the object. Also, support materials are difficult to remove later and can leave the surface rough.
So, to maintain smoothness, one must decide for the best orientation that may not require support or very little of it.
Also, when you are 3D printing, the parts are vulnerable along cross-sections, especially which are parallel to the build plate.
As the material is cured each layer at a time, they do not fuse well at cross-sections. Hence, you must align your part in a way that the force is not applied to the cross-sections directly.
Moreover, the layer close to the build plate sticks to the build plate to ensure that the parts do not fall down.
A good practice of 3D printing includes facing the part’s huge surface area towards the build plate to increase adhesion.
When Do We Need Support Structure?
3D printing is easy if you know the 3D printing basics clearly. However, it can be tricky, if you do not know how technology can be utilized for the best results.
There are many parts that require support and others don’t. So, when one needs support to include in the design?
To support the flat overhanging parts of the design, one must include support structures. However, this is not necessary every time. Most of the printers are equipped for handling overhang to 45 degrees.
You can avoid support structure as much as possible by finding the right orientation to reduce the low angle overhangs.
Can Interfacing 3D Parts be Printed?
As we know that parts that interface other parts must be in sync to be connected at the desired points.
For example, such as gears, holders and other parts that are required to be used with other parts, cannot be printed with even a slight error.
In 3D printing, as the process involves melting and heating, the parts usually shrink after they are cool down.
So, to make it possible, parts printed to go together are left with some clearance tolerance. You may have to try a few test pieces as the amount of required tolerance will differ with varying printers.
Also, when using the 3D printers for printing holes, one must be ready to cope with the unsymmetrical problems and size of the holes.
To counter the same, one must keep the holes smaller than desired. Later, using a drill, one can acquire the desired holes.
How to Secure Bed Adhesion?
To securely stick the parts to the build plate, one must take the required action. Most of the printers come with a heated bed which does not require such steps.
However, there are still those 3D printers that do not have the prior arrangement for bed adhesion.
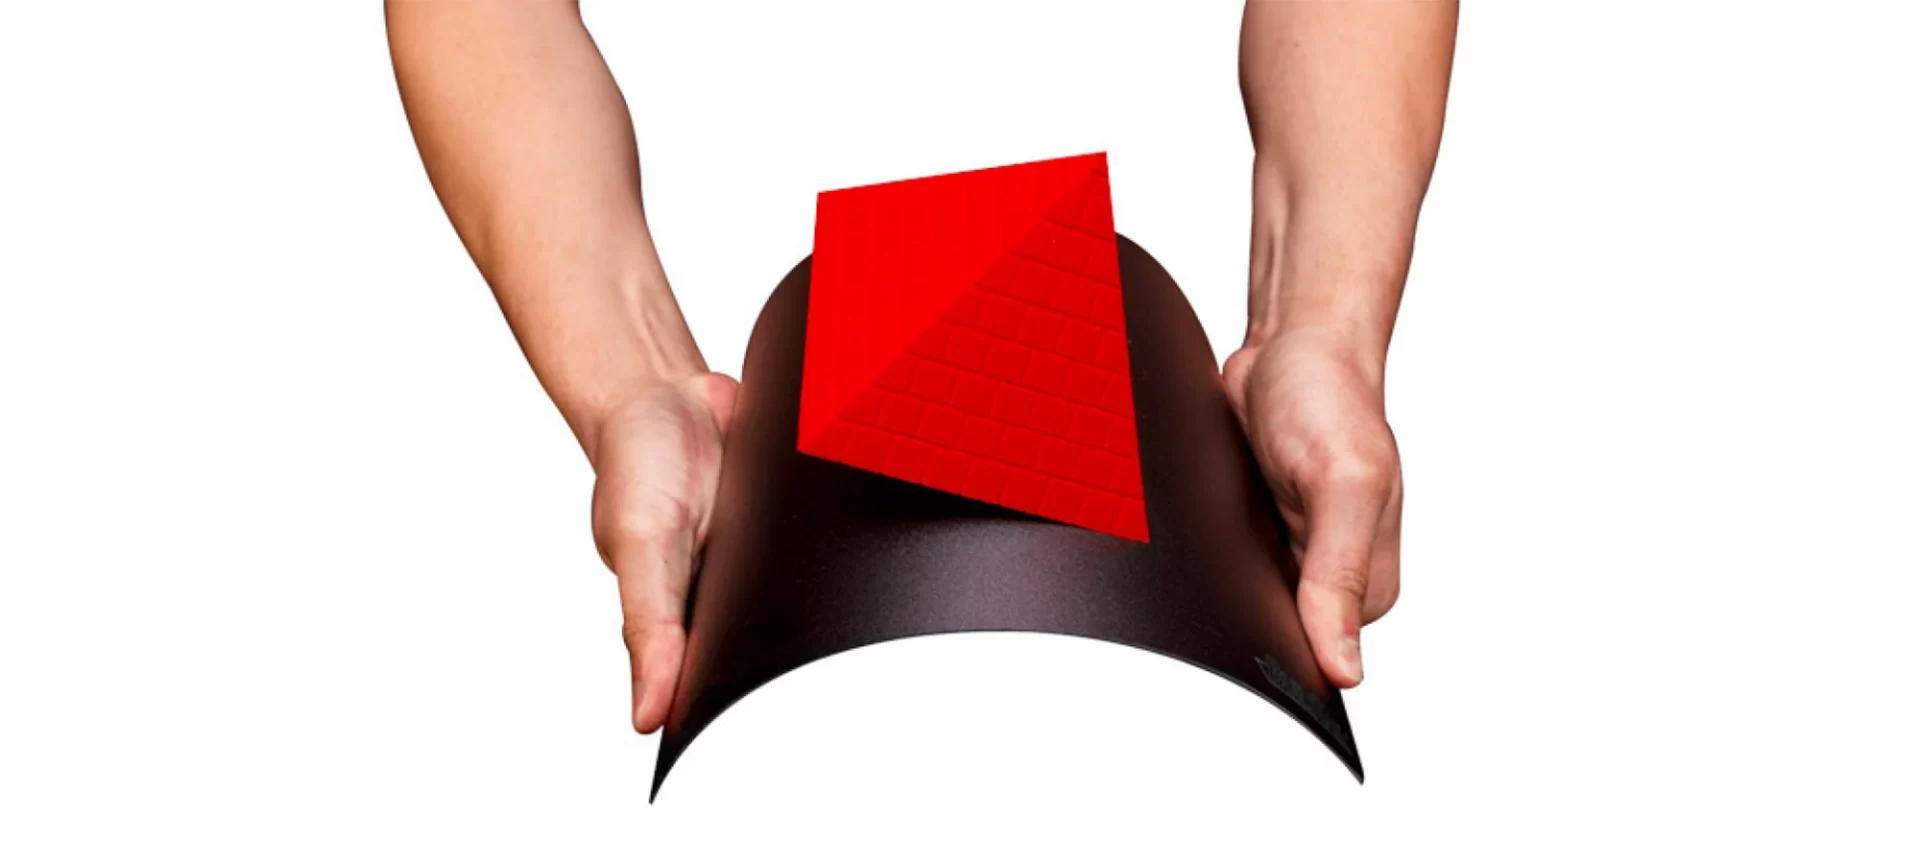
In such a case, finding the right alternative is the key to secure 3D printing. You can still upgrade the 3D printer base plate with the BuildTak FlexPlate System for better security. Or else, your part can slip in between. Or, your design can come distorted.
If you are working with Nylon, PLA or TPU, PLA glue can do the trick. Aquanet Hairspray is best when it’s ABS that you are printing with. Kapton tape is good for all the materials. If combined and used in tandem with hairspray, it works amazing.
You can also read the 3D Printer Guide for suggestions. As instructions do compromise of bed adhesion steps.
Keep the Required Set of Tools
Just because you are working with 3D printers, does not mean you won’t require tools. They are an important part of 3D printing during the removal of support as well as for post-processing.
-
- Bed Adhesion: As mentioned before, you must have the right bed adhesion that works with your material.
- Spatula: To take the parts out of the build plate, the most used tool known is Spatula. Because of the handle angle and flat end, it is easy to take out the parts easily out of the print bed.
- Calipers: Very important if your parts are going to fit somewhere else. Or if, you want to measure the height of the parts.
- Flush Cutter: This is useful in taking off support material from the building part.
There are various other tools that come handy when refining the shape of the 3D printed parts.
The Conclusion
3D printing basics are not just a few instructions but anything that can help you start printing the parts from a 3D printer. So, look for the right signs and never miss on honing your skills as you practice further.


![10 Important 3D Printing Basics You Need to Know [Updated Sep, 2025]](https://pick3dprinter.com/wp-content/uploads/thumbs_dir/3D-printing-business-qi4hr9xd7yc55euqbrc4gmmg0ngm38kh9bn53fdmws.jpg)
![10 Important 3D Printing Basics You Need to Know [Updated Sep, 2025]](https://pick3dprinter.com/wp-content/uploads/thumbs_dir/3d-printing-companies-qi4hrbt1lmepsms00s5dlm5d7f7cimrxxky41zaukc.jpg)


