3D printing has been there for long, however, the experience does not mean one won’t face any problem. With simple changes such as new nozzles or different filaments, one may feel using the printer for the first time.
These circumstances and many others can bring problems to your 3D prints. 3D printing stringing is one such issue that is very common among the experts as well as beginners. This problem can lead to a complete disaster. You can end up with nothing but a pile of plastic with no use.
3D print stringing covers the entire model with the string of plastic which weren’t meant to be there at all. These strings form a web of plastic around the model making it completely useless.
Almost every user faces this problem once or multiple times in their 3D printing regime. Trust this, you can feel no more frustrated when looking at a destroyed print knowing that the 3D design had nothing to do with it.
You expected a quality print when uploading the design and it resulted in a misprint. Because of the problem, users may lose a lot of money and effort in printing the model again and again.
The good news is that the problem can be prevented completely and there are handful of ways to do that. Users can employ these methods to eliminate the problem from its root. And, to do so, one must learn about the reasons for 3D printing stringing.
Why 3D Printing Stringing Occurs?
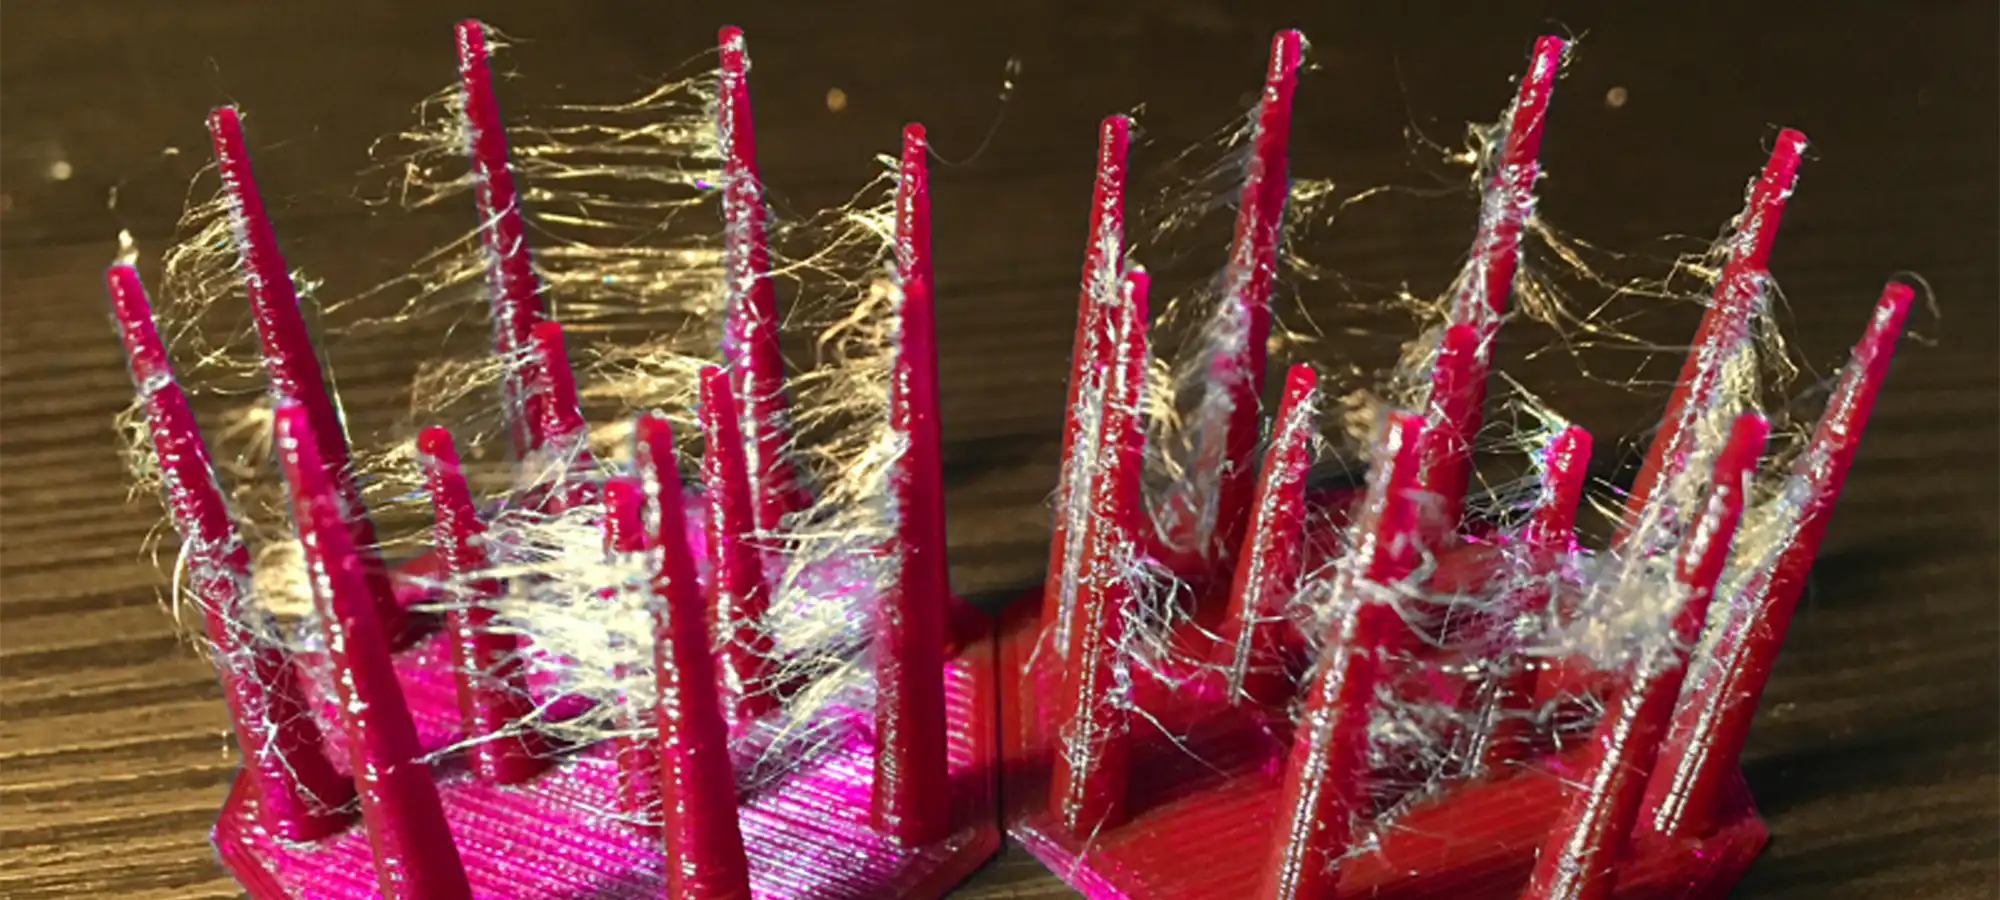
You may have got an idea of what 3D printing stringing is. If now, here is the refresher. The problem is related to the FDM printers which works by melting the filament and extruding it out of the nozzle while it crosses the build space to fill the layers.
During the process, there are times when the nozzle has to cross the large spaces where no printing is required. However, the melted filament at the tip of the nozzle tends to ooze creating strings of plastic.
This happens as the extruder does not receive any command that it must carry to the filament as it crosses the space that does not need printing. And, the filament that is already melted, drips off naturally, when solidifies leaves behind thin plastic strings, making the entire print unusable.
Another cause of the problem is the high temperature. This usually is a case with materials that need a high temperature to melt such as PETG or Polycarbonate. These materials are highly susceptible to cause the problem.
Some users may think of removing the strands of plastic with mild to moderate stringing.
However, the strands of plastic are not only difficult to remove using the post-processing methods but could create unnecessary marks on the model. It may also hamper the surface quality of the model. All these efforts aren’t worth at all.
Ultimately, one has to discard the model and reprint the design with updated settings.
How to Avoid 3D Printing Stringing?
There are couple of methods that one can use for getting rid of the problem completely. With few changes in the existing settings, one can carry string free printing in no time.
By Enabling Retraction
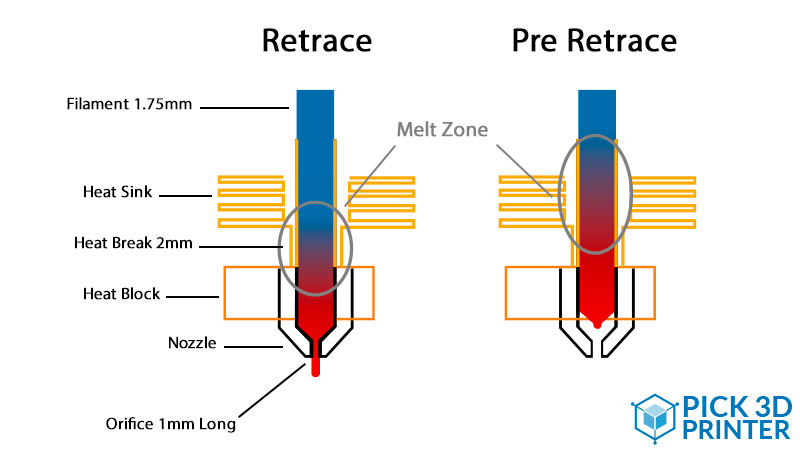
This one can help you immensely in getting fine prints without worrying about stringing. By enabling retraction, one can fight the problem of 3D printer stringing with ease.
Being one of the most common methods against stringing. So, how does this work? After you enable retraction, the extruder will be pulled back when the filament crosses the space which do not need printing.
The extruder is pulled slightly by the feeder without disturbing the print process. Hence, the melted plastic stuck inside the extruder tip stays back and does not leave trails behind.
Once the job is done, and the extruder needs to deposit the layer again, the extruder is pushed back to the printing position and the process resumes as usual.
The good news is that the retraction setting is embedded in most of the slicing software, however, you may witness the problem with some others. Is the stringing is causing you trouble, you must know how to adjust the settings manually.
Distance
You can also call it a retraction distance. Being the most critical setting, one must ensure that it is done accurately. Why is it so important? Because, the retraction distance calculates the length the filament travels when pulled back.
You may take a wild guess and retract the nozzle farther to ensure there isn’t any stringing in the empty space. However, your nozzle won’t be pushed back when needed to extrude the filament.
Hence, the deposition of material would be delayed, leaving gaps and other issues. The distance differs for different type of extruder. You must check the one you are using and read about it clearly before applying any setting.
You may also have to perform few tests to ensure you are on the right track. Use the models that require very less filament, hence wasting as low as you can.
Speed
Retraction speed is another parameter which is very crucial. This speed calculates the speed at which the filament is retracted. While one may think that faster retraction would be best for avoiding stringing completely, but it has its own side effects.
With excessive high speed of retraction, the filament may get disconnected with the parts inside the nozzle. This may result in a jam as well, which could happen due to the quick movement of the drive gear.
This may further lead to gaps in filament deposition. Hence, you should aim at exploring the spot which falls between slow and fast retraction and works just fine for your prints.
The retraction speed would vary for different 3D printing materials. Hence, you may have to test the settings when changing the filaments.
The retraction speed and distance help determine the extent of the problem you can solve using this method.
If you have found the right speed and distance settings, you can completely avoid retraction from happening in between of your prints.
By Ensuring the Right Print Speed
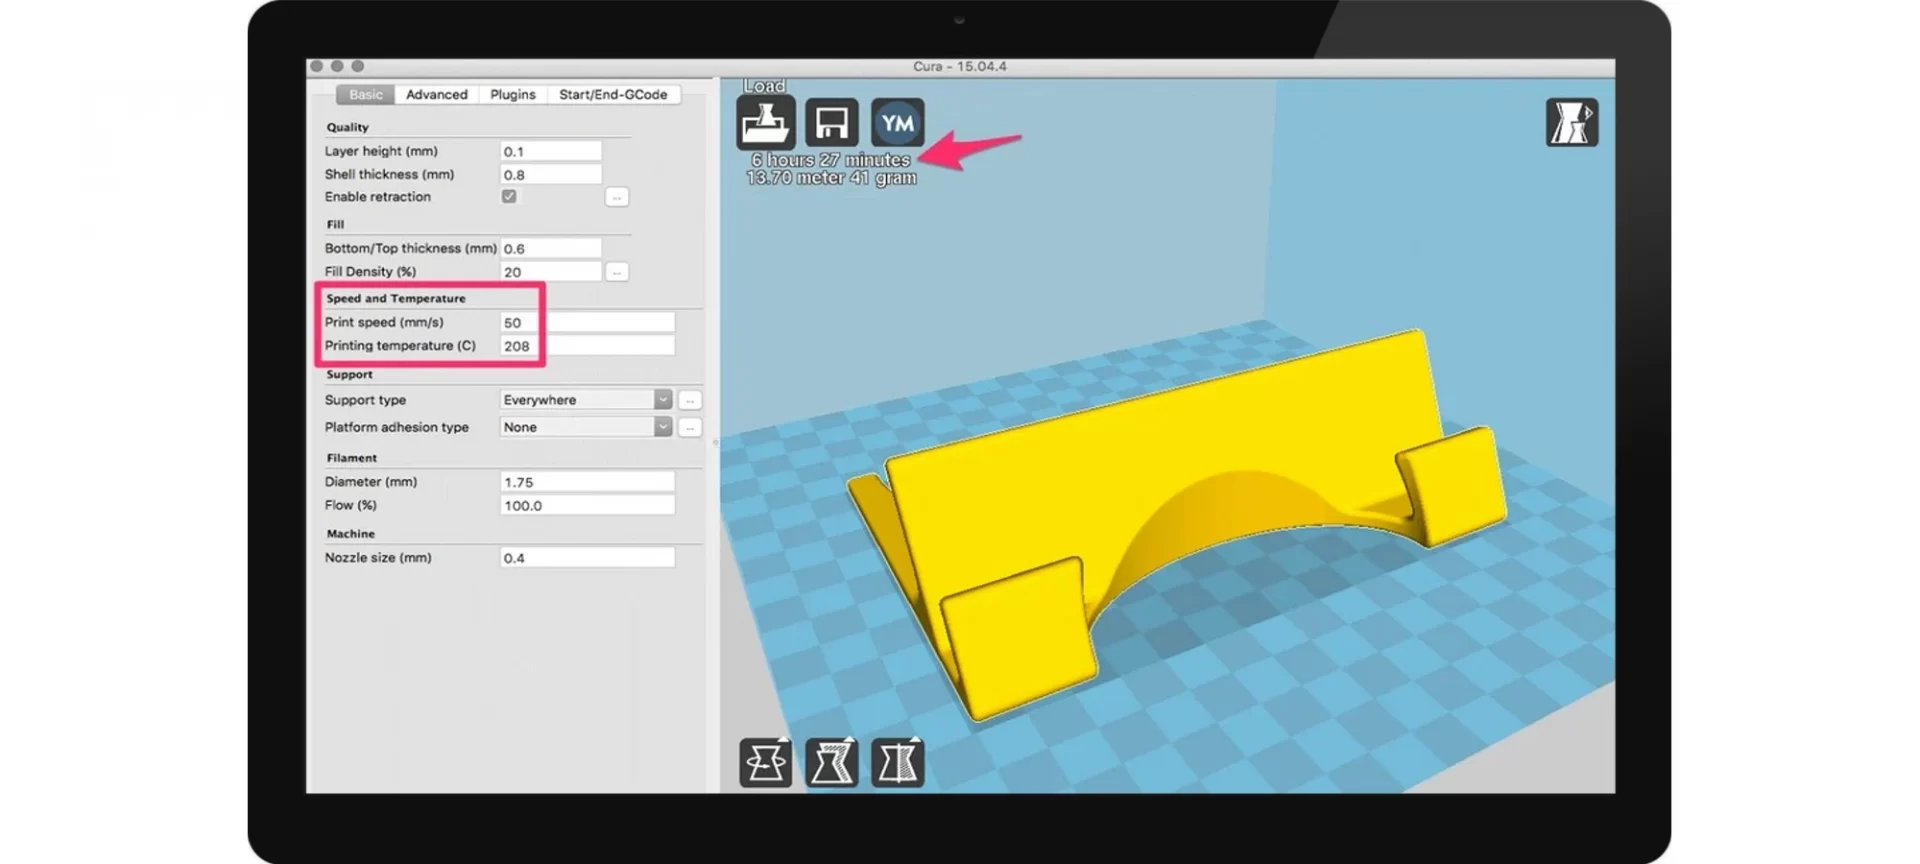
This is again one of the reasons why you may fall trap of plastic oozing. The print speed is capable of keeping 3D printing stringing at bay. Think of a situation where the extruder takes longer time to move from point A to point B.
In between, there is no requirement for the deposition of plastic. During this move, with such huge time of travel, the molten plastic would have excess time to drip and create strands of plastic.
However, when the print speed is faster, the nozzle would travel before any of the molten material falls off or oozes from the nozzle.
By surging the speed of the nozzle when there is no extrusion happening, one can easily avoid stringing. However, in such cases, one must keep an eye on the temperature around the nozzle.
With low temperature alongside with higher speed, users may notice under extrusion. This is caused by the lack of enough time for plastics to drip.
Once again, you may have to test a few prints, smaller ones, of course, to avoid wastage. This will let you determine the best possible setting for the print speed and where you need to enhance the same for the best results.
By Checking the Print Temperature
All the settings go hand in hand. Perfect coordination between all the print settings is the ideal way for removing 3D printing stringing from its core. Hence, how can we miss the extrusion temperature?
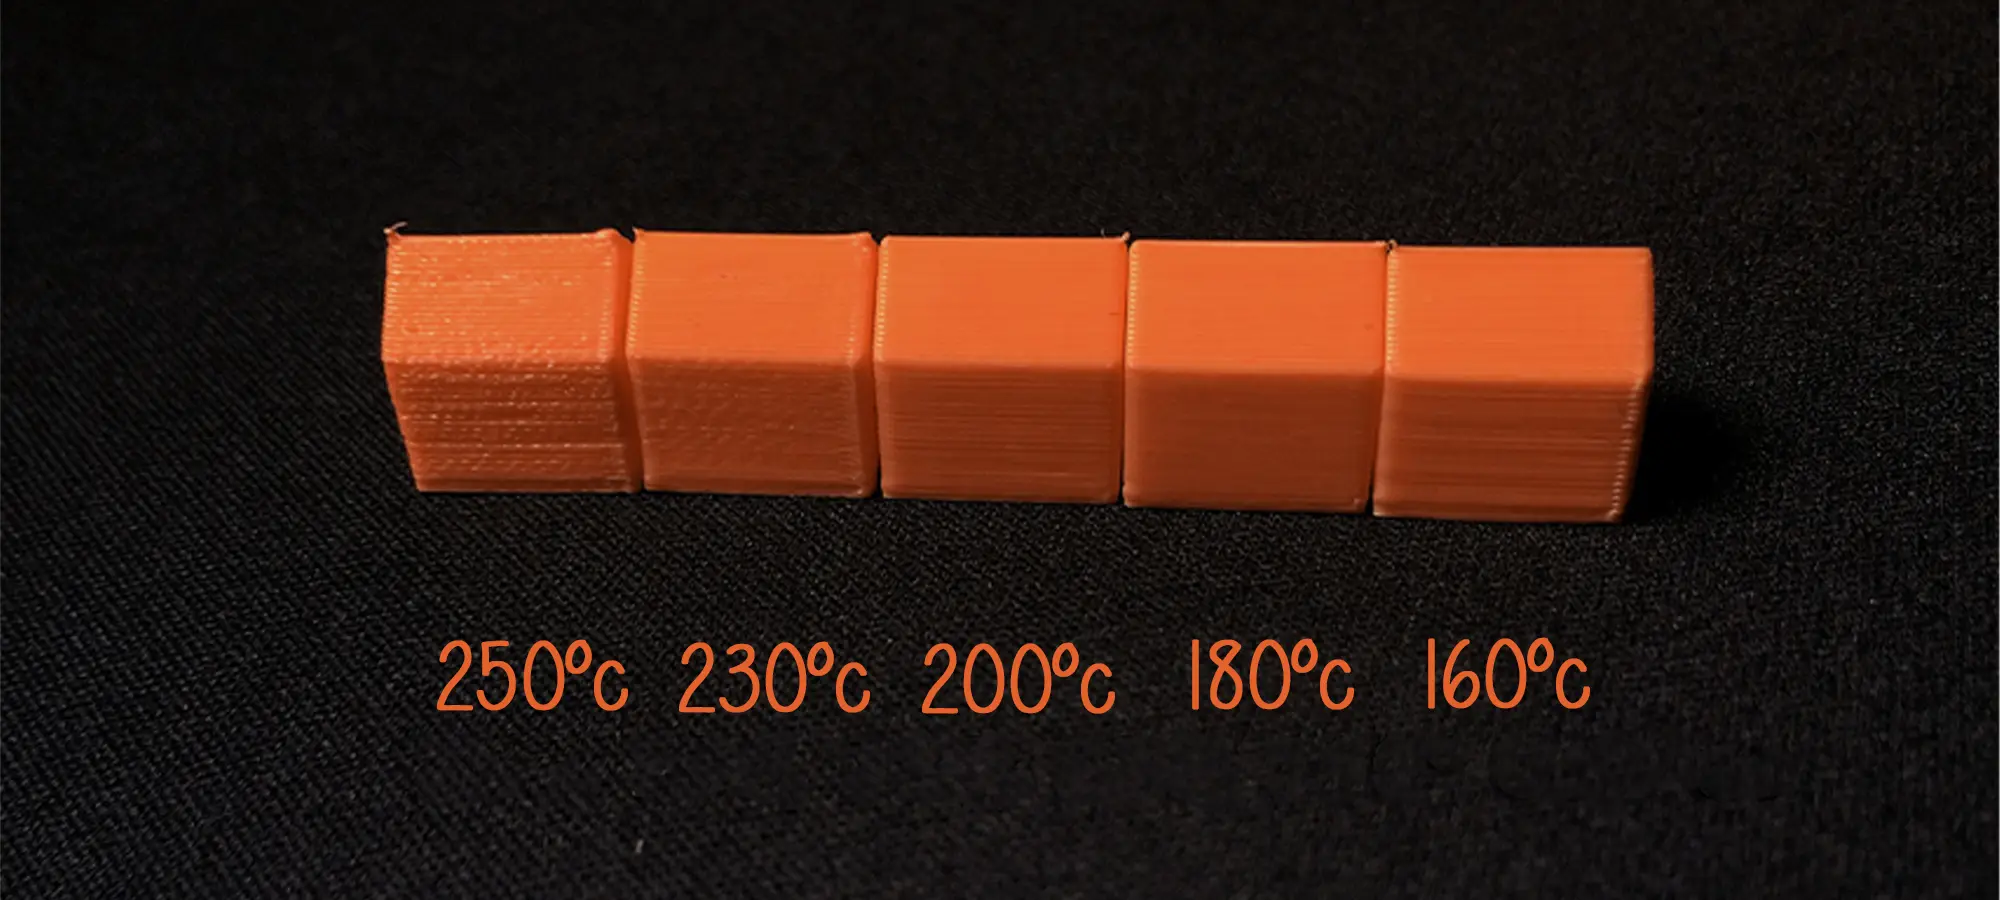
You can very well guess what we are trying to conclude here. High temperature means more liquified material traveling from one end of the print space to another.
When that happens, there are excessive chances of molten liquids dripping across the print area. This can happen even when you have ensured the best retraction settings.
To avoid this, you must determine the right temperature which must not be too low either. Or else, the material will have problems melting. This won’t be enough for smooth extrusion, creating sites of missed filling and failed models.
The temperature would vary for different materials as well as in accordance with the other setting parameters. To come to a conclusion, you may start with test prints.
If the problem of stringing occurs, you can lower the temperature and check again.
At once, do not reduce the temperature with huge difference. Try plummeting the temperature by 5 to 10 degree C increments. However, make sure the recommended minimum temperature specification isn’t overruled.
Saving Your Filaments from Moisture
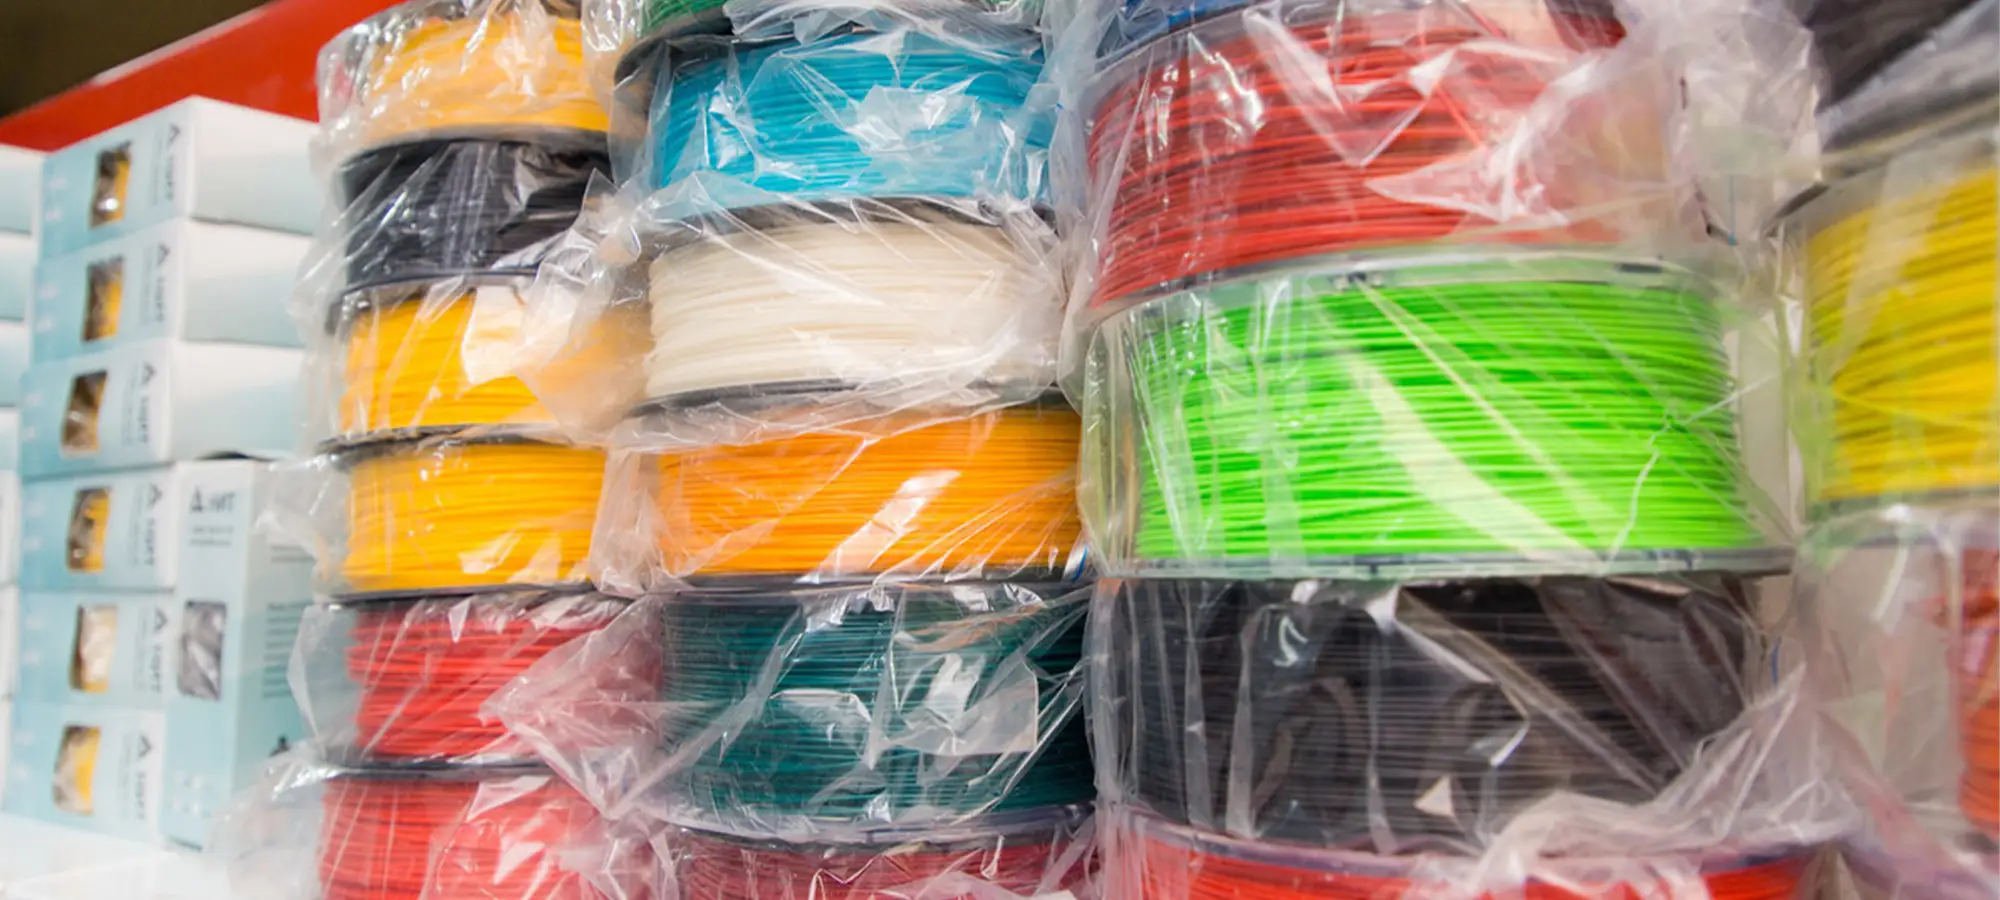
You must have heard that moisture can spoil your filament. This is when you realize why it is important to keep your filament moisture free. Different materials have difference in the rate of moisture absorption.
PLA absorbs more moisture when compared to ABS. The moisture converts into steam when the material heats up, increasing the tendency of oozing or stringing of plastic.
To avoid this, one must ensure that the filaments are tightly covered when bring used. This is really important if you are working in a humid environment. Keeping a tab on minor things, you can ensure that your prints stay out of trouble from 3D printing stringing.
By Cleaning the Nozzle
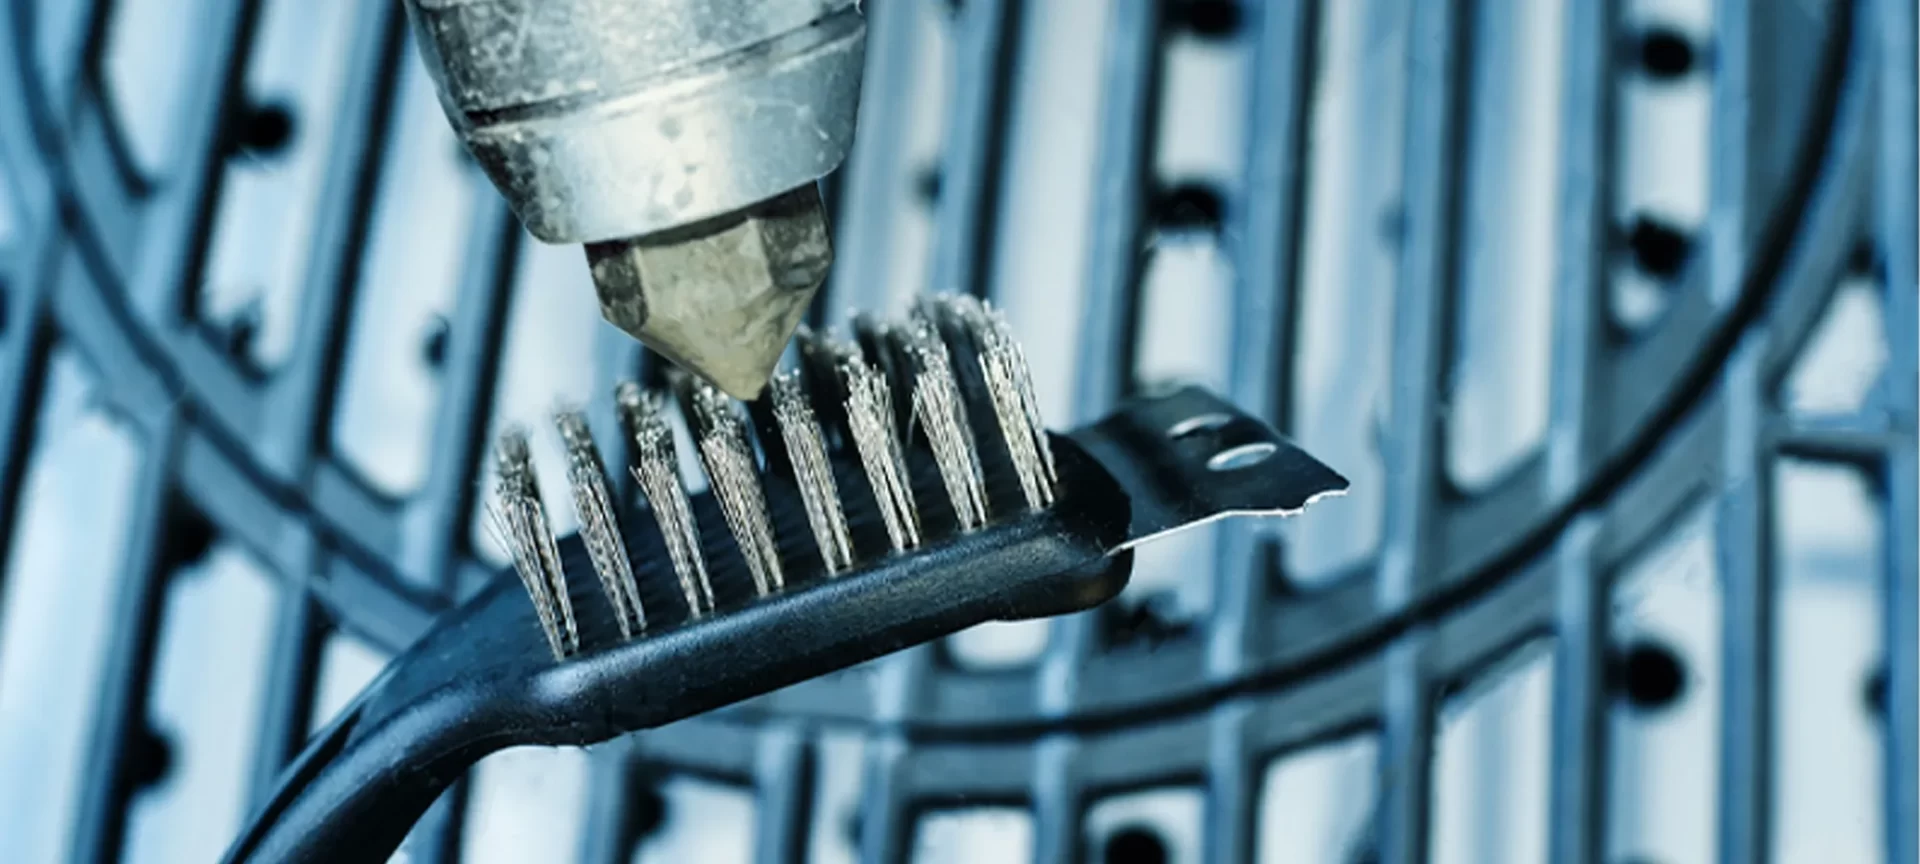
Sometimes, we miss minor things while looking for a greater cause. This usually happens with users when the nozzle is not cleaned on a regular basis.
While users try to adjust and test different settings, while nothing works, they forget to clean the nozzle. Cleaning nozzle before starting prints must be made the primary step for 3D printing.
Otherwise, a clogged nozzle can increase the probability of 3D printing stringing, a problem that is very devastating.
When the printer is working for a long time, it may hold on to the residues left after the prints complete. These are thin layers of left out filaments.
When these get stuck, they can ruin the entire 3D model. And, no one would like to have a failed print after working so hard to get the right set up and running.
Cleaning nozzle is easy and must be done after each print is completed, especially, when changing the material, you were working with before. These smaller steps when included in your 3D printing routine can pay huge returns over time.
The Conclusion
Stringing is a very common problem that is often faced by those working with 3D printed models. There are hardly examples when one does not have to encounter the problem at all.
This is just one of the many problems one must expect to experience when starting the 3D printing task. If you haven’t come across the problem, you may eventually be introduced to it later.
This happens mostly when you are working with a material you have not used before. And, who can avoid that situation?
Hence, knowing the problem and its cure is important for every hobbyist and professionals who think they are lucky enough not to get tangled with the issue till now.
The best part is that the problem can be solved and there isn’t no rocket science behind it. Solving stringing is easy if you know what to look for.
With few adjustments to the printer settings, one can completely remove the stringing of plastic for smoother and fine prints. The best part is, you do not need any additional tools or fixtures to make things work as it is expected to.
The first thing that you must remember is to stay calm as these problems take time to go. Make smaller changes to the settings instead of jumping into huge differences.
Keeping it slow is recommended at all times when working with the printer settings. Even with smaller changes, you would notice the change in the quality of the prints.
As you will progress, you will better understand the working of your 3D printer. Hence, making the issue even shorter and smaller. 3D printing stringing can be fought wisely and with patience. If you can demonstrate these traits, you will sooner get rid of it.


