In one sentence, 3D printing is a process of making three dimensional solid objects from a digital file.
The creation of this object is achieved using additive processes, meaning that there will be one material that will be added and processed with others and something would be made out of it.
In this complete process, an object is created by laying down successive layers of material. Each of these layers is sometimes visible as a thinly sliced horizontal cross-section of the eventual object.
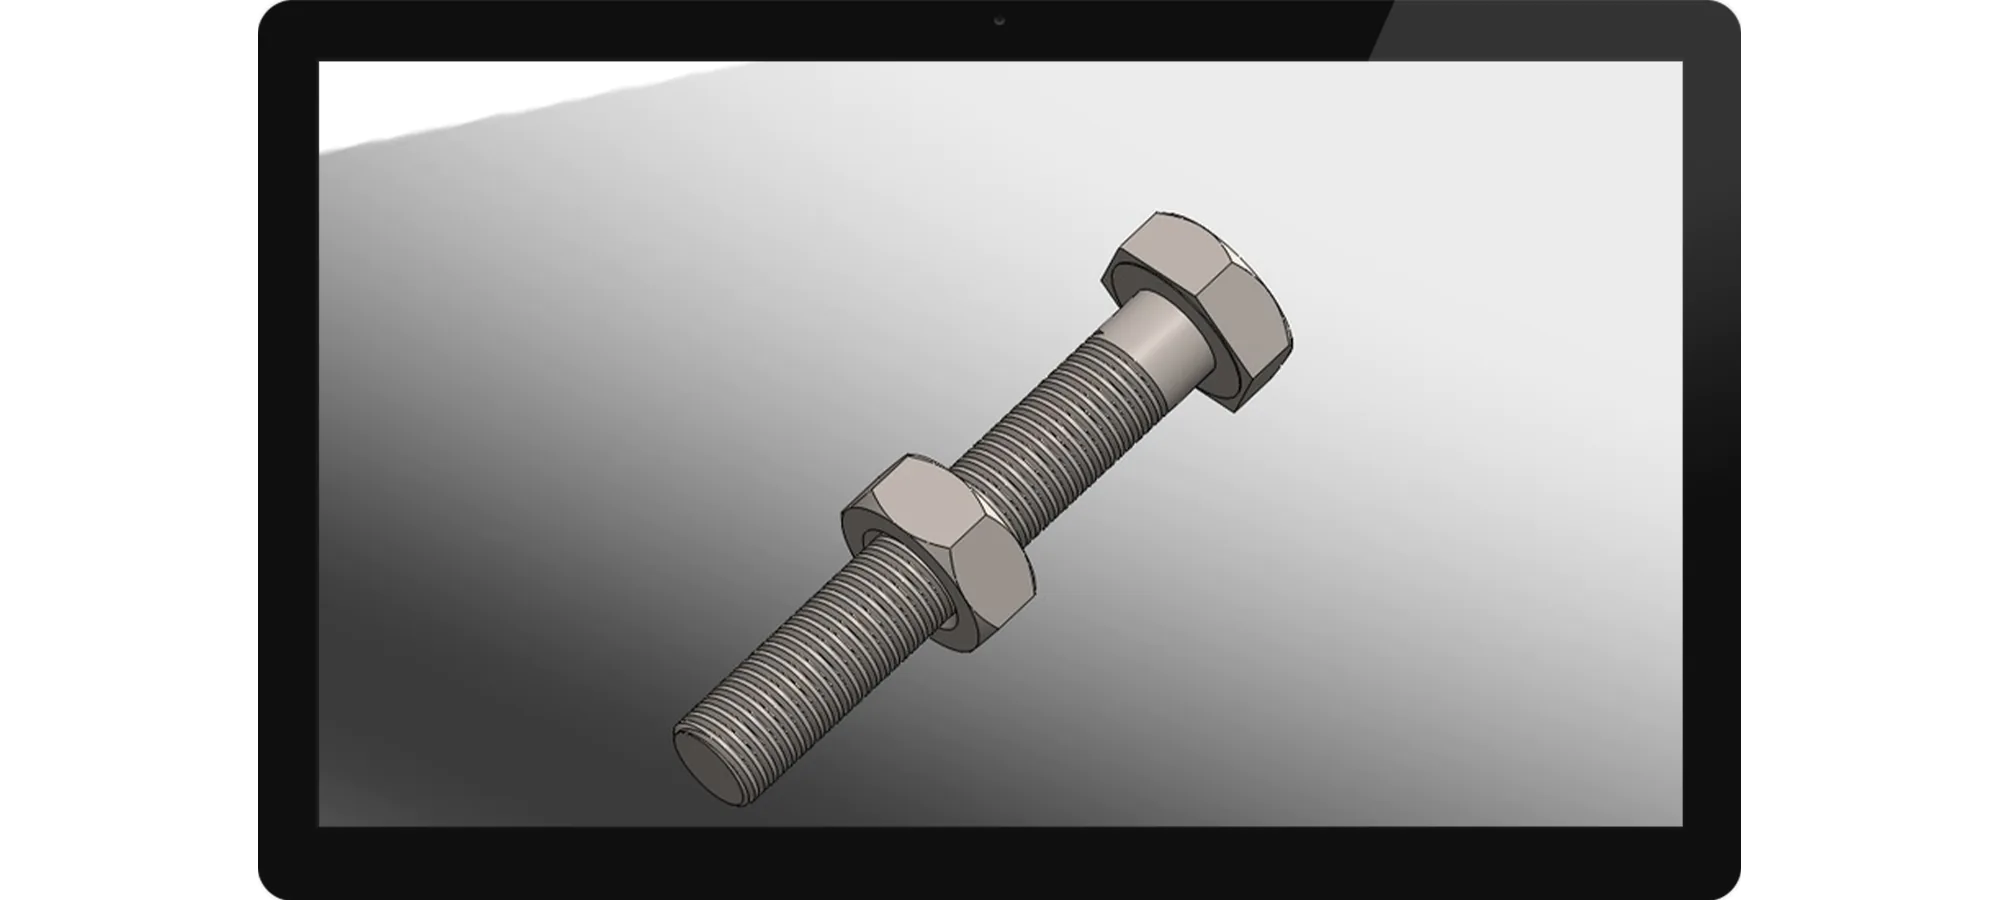
Comparing it with the traditional manufacturing method, 3D printing is the opposite of subtractive manufacturing i.e. cutting out a piece of raw material. Amongst the many things that you can manufacture, you can 3D print a door lock.
In this article, we bring to you a stepwise procedure to print the door lock. By printing this door lock you can use it for your benefit in many ways.
For 3d printing anything, you need to have a 3D printer, a 3d model, and the filament or resin as a raw material.
So before getting started here is a little basic about 3D printing. If you already know this, feel free to skip it.
Basics About 3D Printing
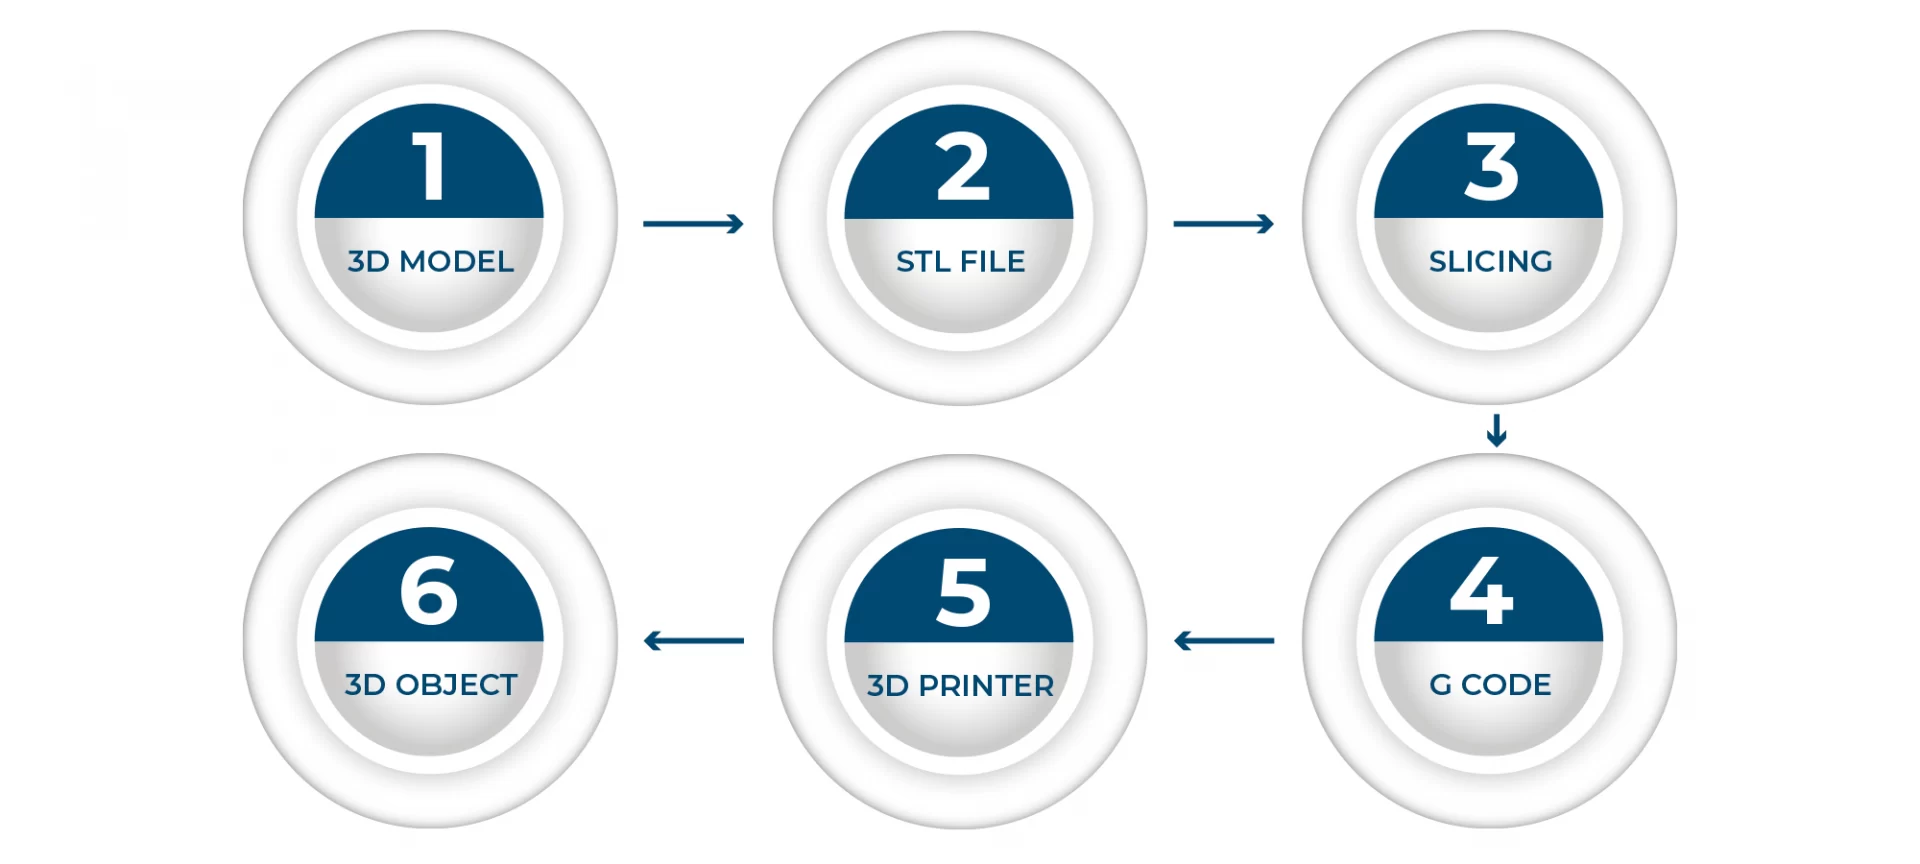
3D printing starts with a model. For 3D printing, you have to create a model for yourself or download it from a 3D repository.
If you are creating it yourself, you will have more options like choosing from a 3D scanner, an application, haptic device, code, or 3D modeling software.
The market is full of 3D modeling software tools. On one end, there is industrial-grade software that cost thousands a year for one license. On the other end, there is open-source software that costs nothing.
Once you have a 3D model, the other step is to prepare the file for your 3D printer. The process is called slicing i.e. dividing a 3D model into several horizontal layers. This is done with slicing software.
There are 3D printers available in the markets that have a built-in slicer. Such printers let you feed the raw .stl, .obj, or even CAD file. After your file is sliced, it’s ready to be fed to your 3D printer.
Connecting can be done via USB, SD, or the internet. For making you understand, we have mentioned here the procedure assuming you will print by Thermal extrusion which is the most common form of 3D printing.
The Digital file that you send to the printer for printing would be in STL format. You need to avoid intersecting surfaces while making this file. Avoid sending multiple objects in a single file. And try to limit the horizontal curves.
Step 1: Understanding the Overview to 3D Print Door Lock
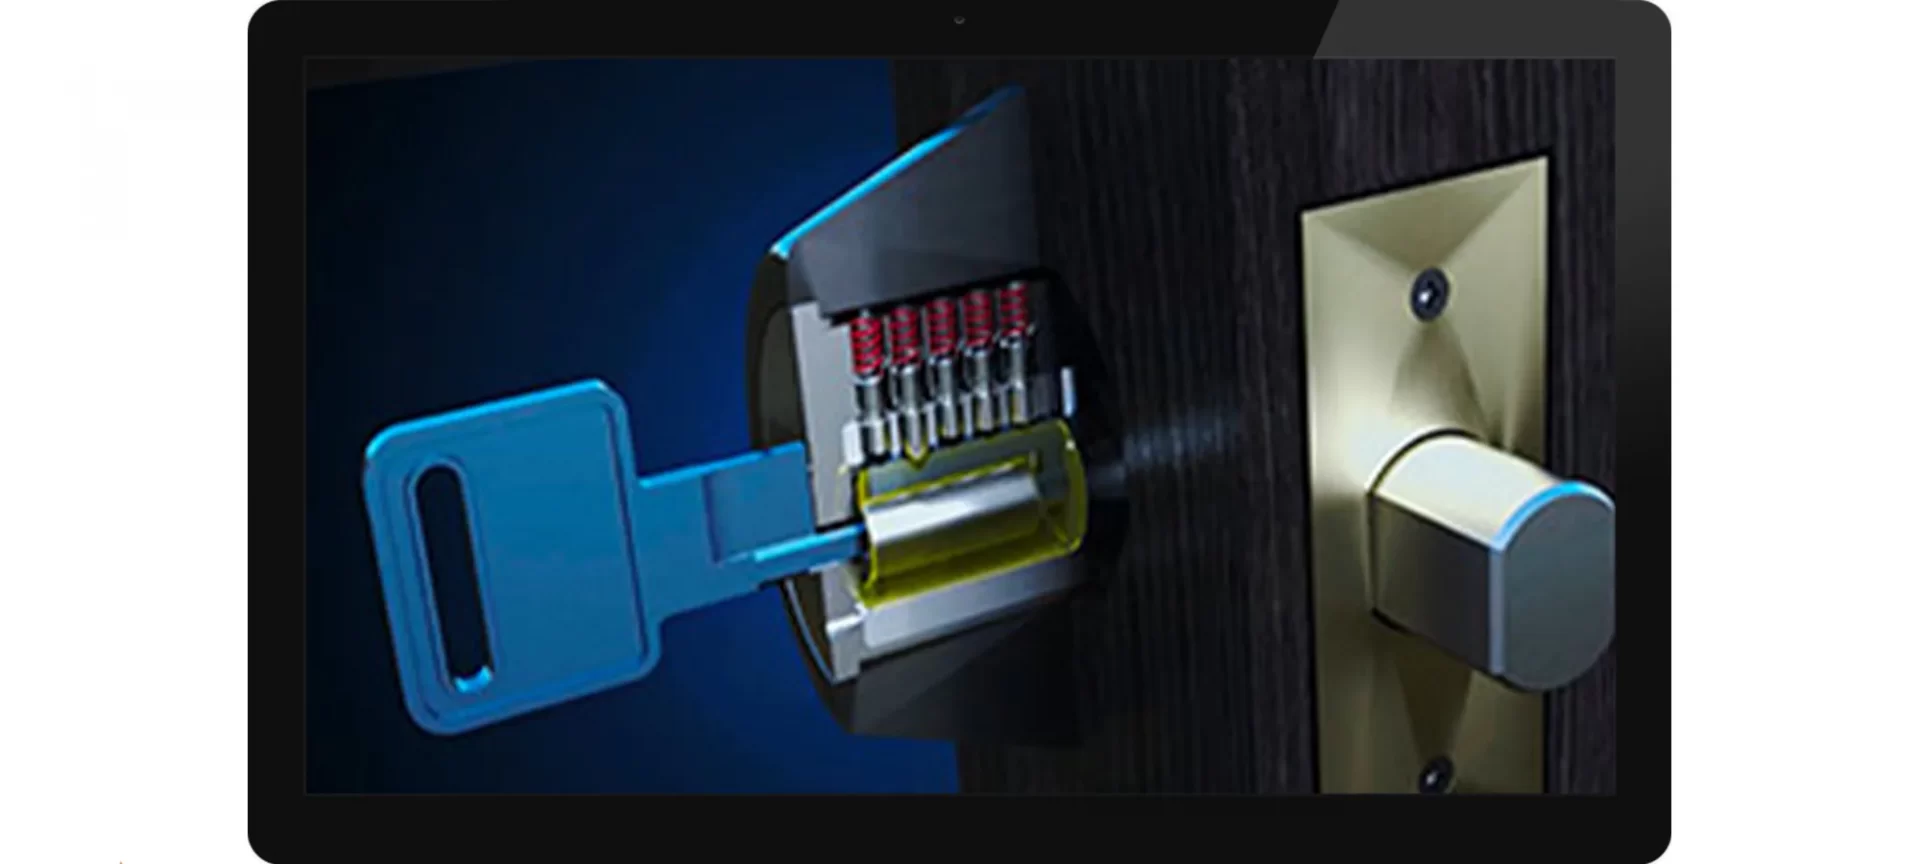
There are a various number of locks out there, but we are going to demonstrate the procedure for 3D printing a mortice lock. The lock is one of the few that can be made without using any springs.
So, practically you do not need any other external parts for making this. Arguably, there are several types of a mortice lock, so we will be making the standard 5 lever lock, which is practically found in most homes.
The mechanism for the lock is simple, but what is difficult is getting the shapes to fit together and flow smoothly. The mortice lock that we are printing will have seven notches.
The function of two extra notches is that they will be used to push and retract the bolt that locks the door. Now, for the key to work from both sides, the lock needs to be symmetrical.
Generally, the key once entered sits inside a small cylindrical container called the “curtain”. The container opens with pushing that is done by the key.
The levers of the lock have notches that hold onto a section of the bolt. These sections need to be lifted to the correct height to open a gateway for the bolt to escape.
There are curves at the base of each lever that matches the height of the corresponding pin on the key.
These are all the requirements of the lock, beyond these all we need to worry about is building a casing to house the components. Alongside this, you need to ensure everything that is supported and able to move to its full range of motion.
Take, for example, the curtain for example pushes the bolt using a smaller segment at its back but has larger support that will help to steer the bolt.
Just in the same manner, the levers rest on the notch of the bolt when open, but once the device is locked they need something to rest against.
Step 2: Start from the Slicer and its Setting
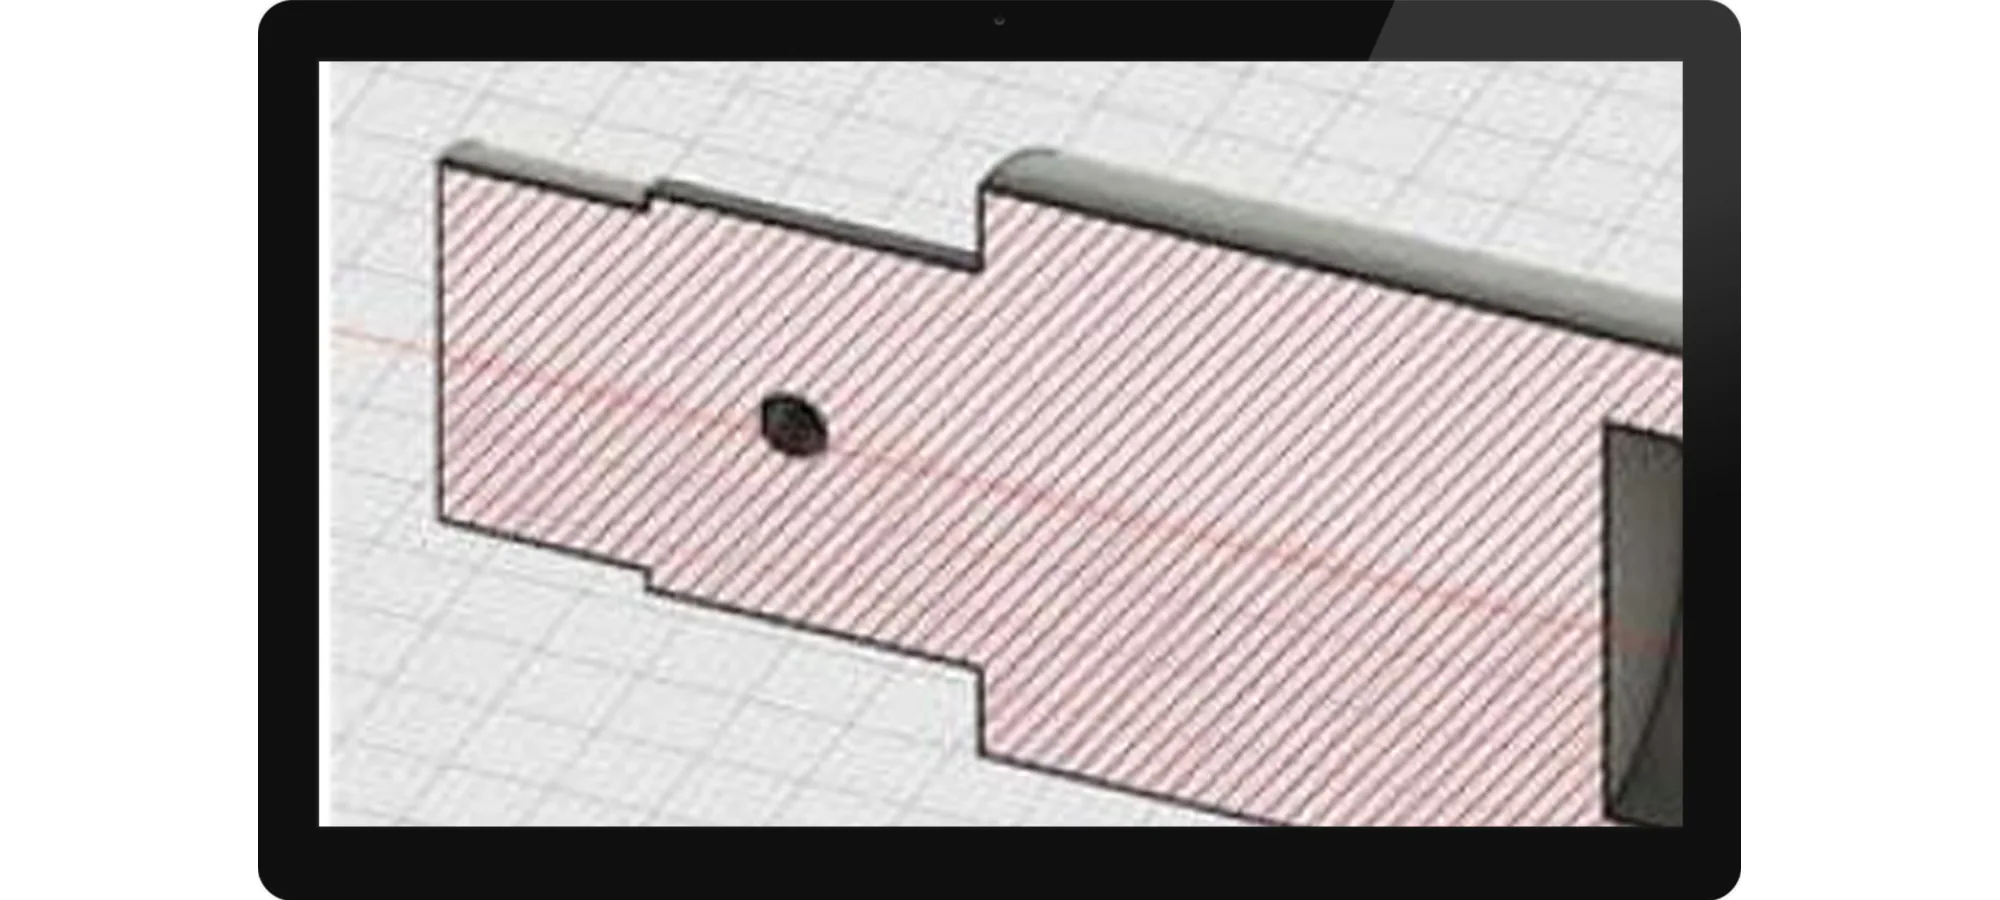
You will have to choose 3D slicing software from the number of different available in the market. To begin with, we would like to tell you that it is easy to consider the key as it is the center of all the action.
But you need not make the actual key, for now, instead, you simply make a cylinder of about 3mm radius, and then keep on increasing the segments.
The important thing to remember here is that smoothing won’t be considered here while when printing.
So, we recommend you to set everything to ‘Hard’ surface in Properties. This would enable you to exactly see what will be printed.
You will have to convert to an editable poly and, using tools like connect and extrude, you can divide up the surface. This will help you to pull out the basic shape of the key.
You will have to take into consideration the scale you’re working at. Also, try keeping the notches tall enough for making a difference of 1mm. The last point to ensure is each pin is about 2mm wide. This is the design of the basic shape of a door lock.
Step 3: Making the Curtain for Your Door Lock

This is the most important step while 3D printing your door locks. Curtain’s function is to open up when the key is not present in the door lock and vice versa.
To 3D print the door lock, we need to ensure that it sits in the casing and is supported, at the same time it’s running freely.
Because of this reason, we need such a section, that we can use with every layer. To make sure that the curtain fits, you’d have to take the shape of your key.
For doing this you need to select the faces on one side and then extrude outwards in the group. Keep in mind and extrude the same amount that you have done before.
Knowing that this will be the largest section of the curtain, which is going to stabilize the bolt, you can shape this and make it egg-like. Then, delete everything except the curved section, and bridge the remaining gap.
Step 4: Designing the Levers of your Door Lock
The function of a lever inside a door lock is to sit inside the bolt. So it will be small and in our design, we have five levers.
The difference between these levers would be at the curves which are present at the bottom and this difference helps the keys and the pins.
So, you are advised to start with a small box which is wider and tall. The measurement that is recommended is 2mm.
For designing any lever you need to establish a pivot point which ideally should be as far as possible. The lever is recommended to have been rotated by 15 degrees upwards, but you can use the size according to your need.
And for creating curves for the key pins, you will have to create the cylinder for each pin. After designing the lever, you have to design the bolt.
Step 5: Designing the Bolt
Designing this piece requires a lot of accuracies. The holes inside a bolt determine the forward drive of the curtain.
While making this piece if need be you will have to revise the levers. So you can start with a box that has 1.5 times layer height and double the width.
The depth should be the same as the width of the keys pin. You will have to position it in a way that the cylinder of levers rotation is halfway on its right.
After doing this you will have to rotate the levers until they reach their opening position.
Adjust the bolt height in a way that it fits inside and then angle the top of the bolt in a way that the levers have them and they are prevented from going beyond levers.
Now that the curtain, lever, and bolt have been designed, you will have to work on the door lock’s casing.
Step 6: Model the Casing of your 3D Bolt
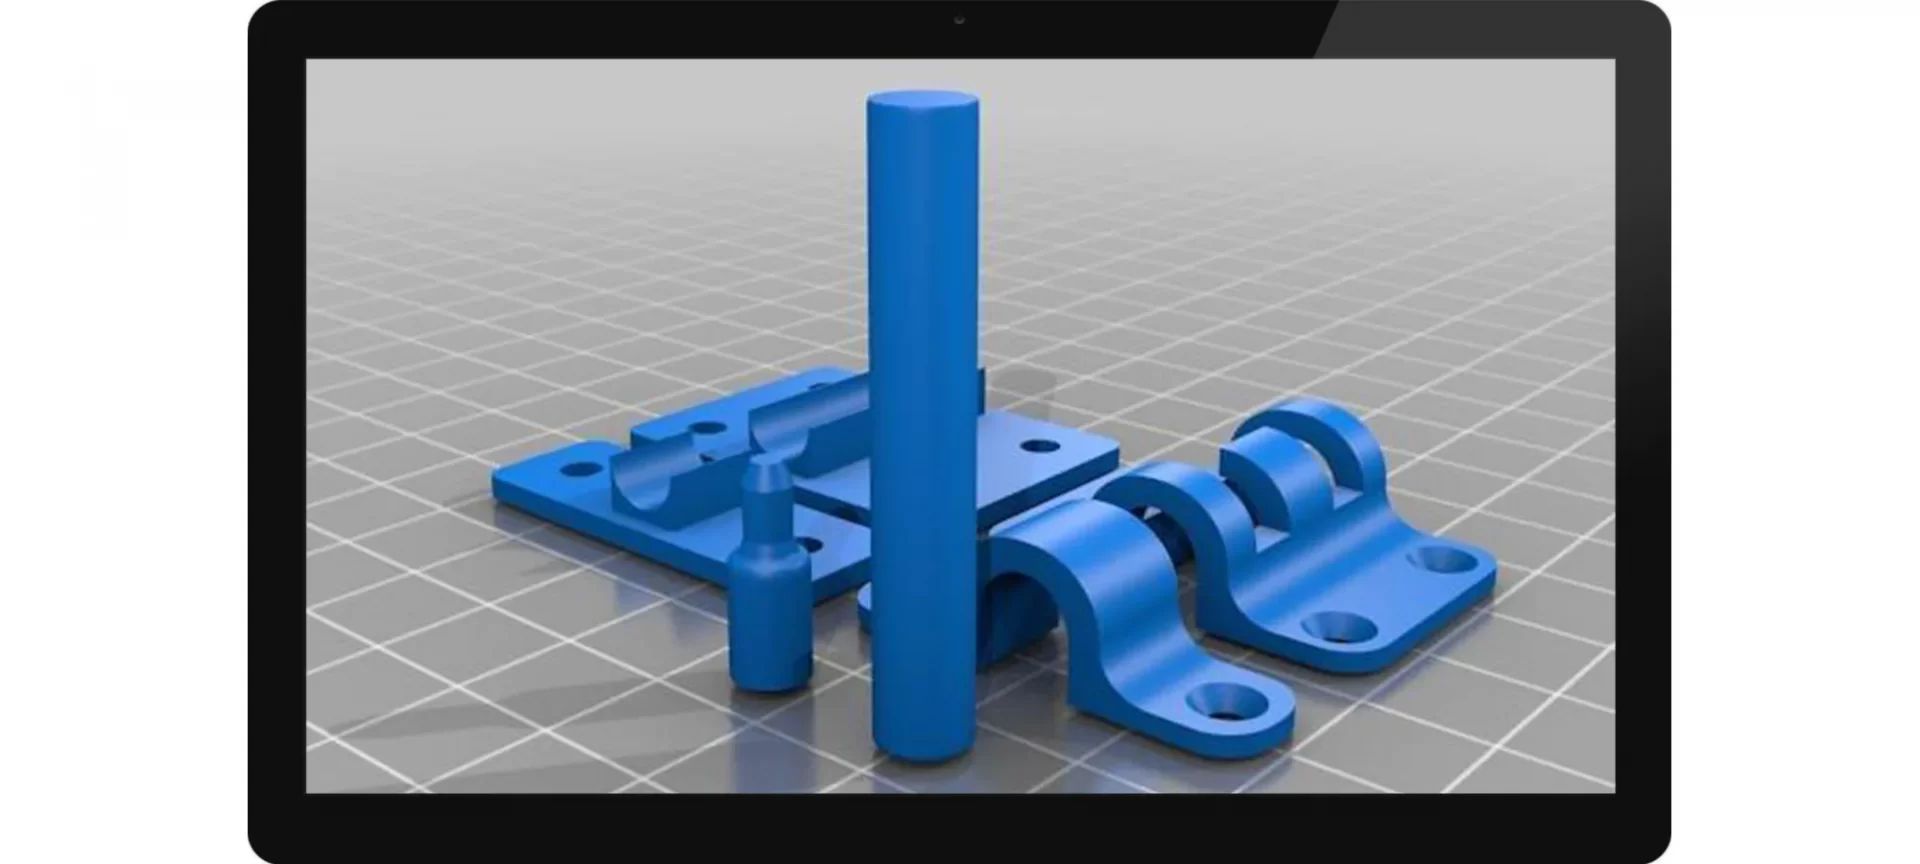
For creating the casing, you need to begin by creating a box that is wide enough. It should be able to incorporate the full rotation of the curtain.
The casing should ends with the bolt when it is in the open position and the flush should be against the edge. You need to ensure that there is some space between “above the bolt” and the bottom of the curtain.
The thickness of the casing is something you can decide on your own and can vary on the material that you intend to print with.
Extrude the front, once you have duplicated the model and then create the other half after deleting the rest.
Based upon your wish for screwing up the models together, you can simply extrude a few blocks that are present on the back casing for the screws to settle into.
Sometimes, these can double up as supports for the bolt, but those are only the times when you align them with it.
So, if you are in any doubt of where everything will move, you better try placing cylinders over any rotating thing for seeing the arc.
After doing this, cut and extrude the small section for meeting the back of the levers when resting.
What this will do is that it will prevent them from moving without the bolt in place. Note that it will need to come in from the sidewall, as the curtain will have to rotate beneath it.
Recommendations for 3d print door locks on Thingiverse
- Ninja Lock – Indoor Child Door Lock by bslayton: The designer mainly recommends this 3D design for the kid’s door. Times when you do not wish your “kids” to slip away from the use, that’s when you can use it.
- Motorized Door Lock by IamTeknik: This door lock is inspired by Spiderman, as per the profile of the designer says. It makes use of a rack and pinion that converts the rotary movement of the motor into a holder which is connected to the door frame.
- Automated Door Lock by markslewis62: The door lock is built to understand our dogs and let them go when they wish and stop when they don’t. This lock is controlled with the Arduino system.
The Conclusion
Although the design is a little bit technical, if you have a slicer and you have worked with it, you will come to know.
See that there are four parts, the designing of which you need to know for designing the door lock. Those parts are curtains, levers, bolts, and casing.
We start with the part on which the designing of every other part depends i.e. curtain followed by lesser dependent ones.
To 3D print, a door lock is an easy task compared to printing many other things. We have tried in the article to make the language look not as techy as they are. To 3d print a door lock, you need to follow the steps mentioned in this article.
The following mentioned steps are the easiest way to benefit yourself by 3d printing the door lock. And then there are also websites on which you can upload your product to sell it.


