Once seen on a Television or a movie as an upcoming scientific project, drones or unmanned aerial vehicles have now become as common as television itself.
Not only have drones given plenty of new perspectives to photography or videography, but they have also tried to demonstrate their application in other sectors. Agriculture, military, aerospace, cinema, or Security, drone serves it all. The good news is that you can 3D print drones at homes now.
In this article, we will put in front of the various points about why 3D printing a drone should be considered. What should you consider when you are 3D printing a drone at your place? What parts of drones can you 3D print? What accessories would you need to 3D print drone? What is the stepwise procedure that you need to follow for 3D printing your first drone and what are the best materials with which you can 3D print a drone?
Those who are familiar with 3D printing technology would know that there are plenty of materials with which you can 3D print. While those who are not at all familiar with this technology would also gain a brief understanding of how this technology works, by this example of 3D printing a drone.
Before concluding we would also give you some recommendations of drones that we consider as very useful. So, let’s get started with the first point that we think arises in every person’s mind i.e. Why to 3D print a drone?
What are the Benefits Of 3D Printing A Drone?
Drones are machines that demand every RC pilot driving it, to have a certain sort of command and experience which does not land the machine into any sort of trouble.
The fact that its parts are expensive and rare to find makes it price starting from $135 and going as high as $1785. So, while buying your first drone you need to extremely careful about being able to ride without breaking or damaging its parts.
Now, this special care goes away if you have a 3D printer at your place and are printing the complete drone or its parts at your place.
The fact that you would be able to 3D print your spare parts as and whenever you need it, would let you ride it with the confidence that you need.
The other thing is that when you have a 3D printer at your place, the parts and the design of the drone can be upgraded and further developed for improving the performance of your drone.
Even if you do not have a 3D printer, you can design the parts in 3D and then print it on any website that offers 3D printing service online and that’s it. The drone that you get on another e-marketplace for hundreds and thousands of dollars can be made available to you within a hundred dollars.
We would now present to you a stepwise procedure to the 3D print drone. All you need for following this procedure is 3D modeling software, a 3D printer, or an account in any of the websites that offer 3D printing service online, shouldering iron and screwdrivers.
How to 3D Print Drone?
Step 1: Design the Frame of Your Drone In 3D
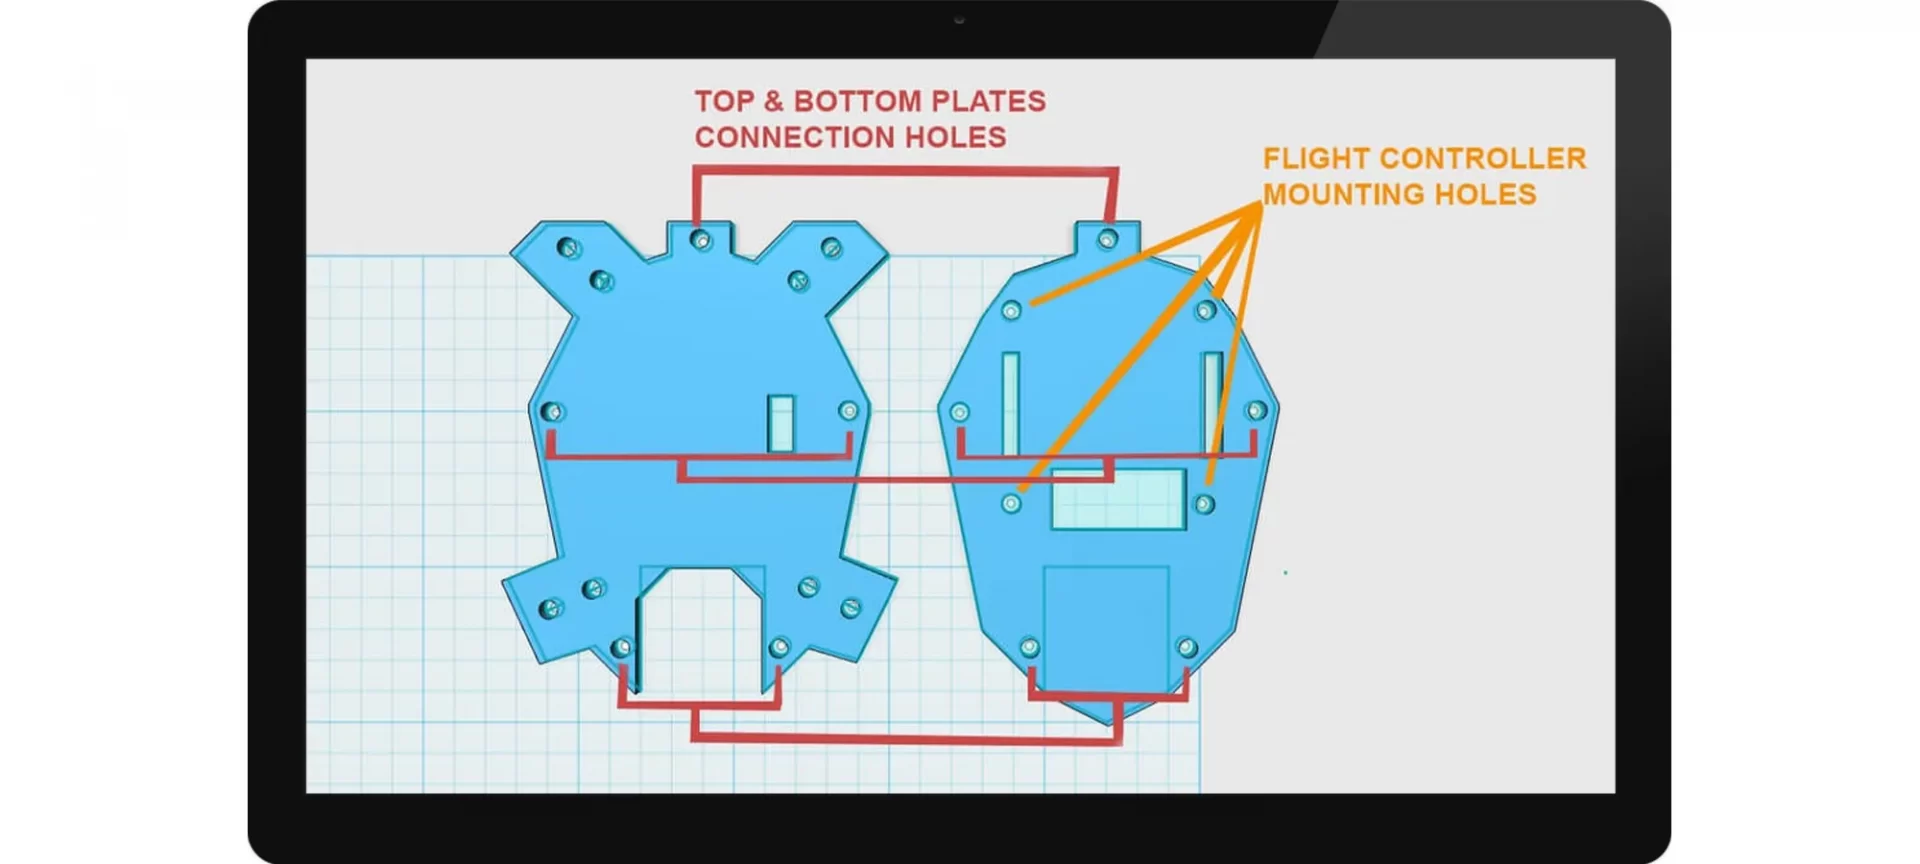
Thickness, Motor Holes, Flight controller mounting area, FPV Camera Area, Battery area are the most major things that you have to keep in mind while designing the frame of your drone.
The thickness of the drone should be designed by thinking that no matter how expert your driving skills are, you are going to crash your drone for sure. So, if your frame size is above 150 mm, you’ll at least want you to have a 3mm thick plate and so on.
For motor holes, you can choose the motor size that you are willing to mount before designing the arms of your drone. The hole pattern is usually described on the product page of motors and that can be of help.
A typical example of this can be DYS motors that have featured the hole pattern of each motor size on their website.
Most flight controllers have four holes for mounting them on the frame and the best place to locate the flight controller on the frame is in the center. But the point to note is that a flight controller must be on a flat and leveled area.
The FPV camera is optional and not a must to have a thing. So you’ll have to have a dedicated area of this part on your frame especially since the FPV camera is oriented looking upwards, it would be convenient if the camera is looking at the top plate.
The last part is the battery area. Usually, batteries are mounted using straps on the top or bottom of the drone, but they can be mounted anywhere. So, in the first step which is designing a drone, you need to take care of the parts and where you wish to keep them and design the frame accordingly.
Step 2: Printing the Frame of Your Drone
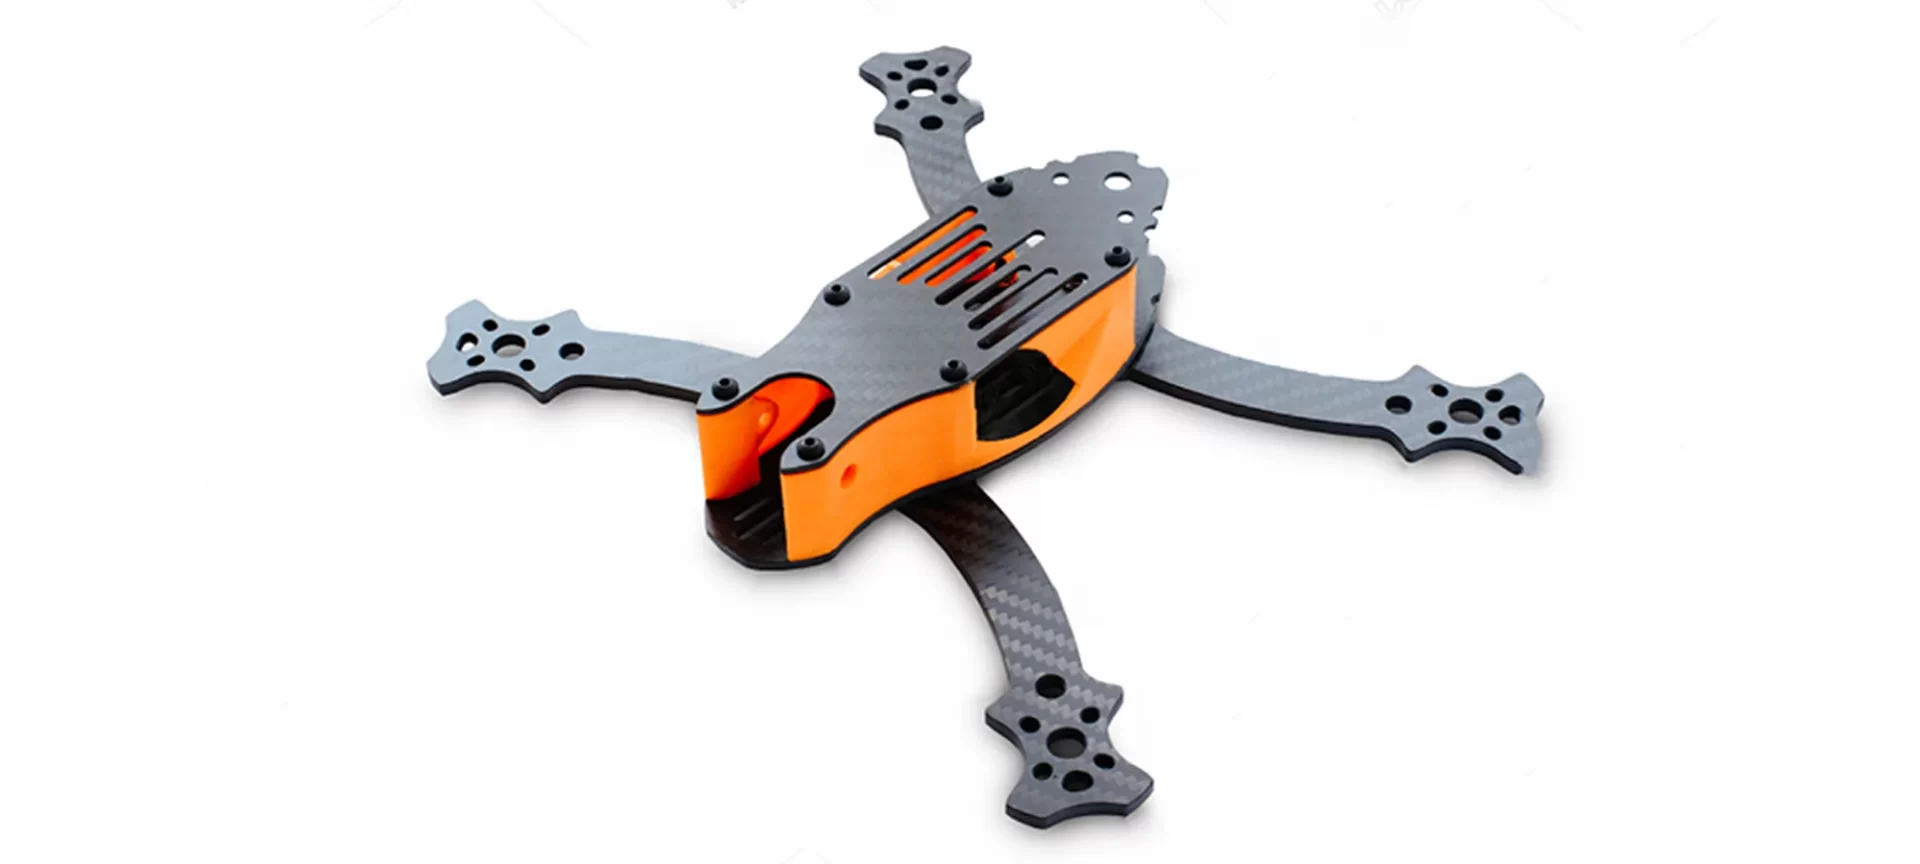
Before printing the frame of your drone some recommendations are related to infill, filament, and finalizing of the print. The higher the infill is, the lower the probability is of the drone getting damaged or breaking during a clash.
Although designing a high infill would mean that it has a higher weight comparatively, but then you can use the motors accordingly.
So, it’s your choice to decide whether you wish to have a drone that has high strength or a drone with lesser strength and lighter in weight. The basic recommendations for infill of the central frame in 60 percent while that for the arms is 80 percent or more.
You can print your drones using PLA, ABS, or PETG. Printing with each of them has an advantage. The main advantage of printing a drone with PLA is that printing with PLA is very easy because the material is easily available.
Also, the print has the most amount of stiffness compared with the other two. When the thrust of motors occurs, the drone won’t bend. However, the downside to it is that while crashing, the drone would break more easily than ABS or PETG.
ABS is stronger than PLA and also more flexible. However the downside to it is, printing with ABS is more difficult than printing with PLA. PETG is an alternative that stands in between ABS and PLA.
It’s a lot stronger than PLA and more flexible than ABS. The limitation of PETG is that the arms need to be reinforced to make them more rigid. So they won’t bend and break with the thrust of motors.
Step 3: Adding the Electronics to Your Drone
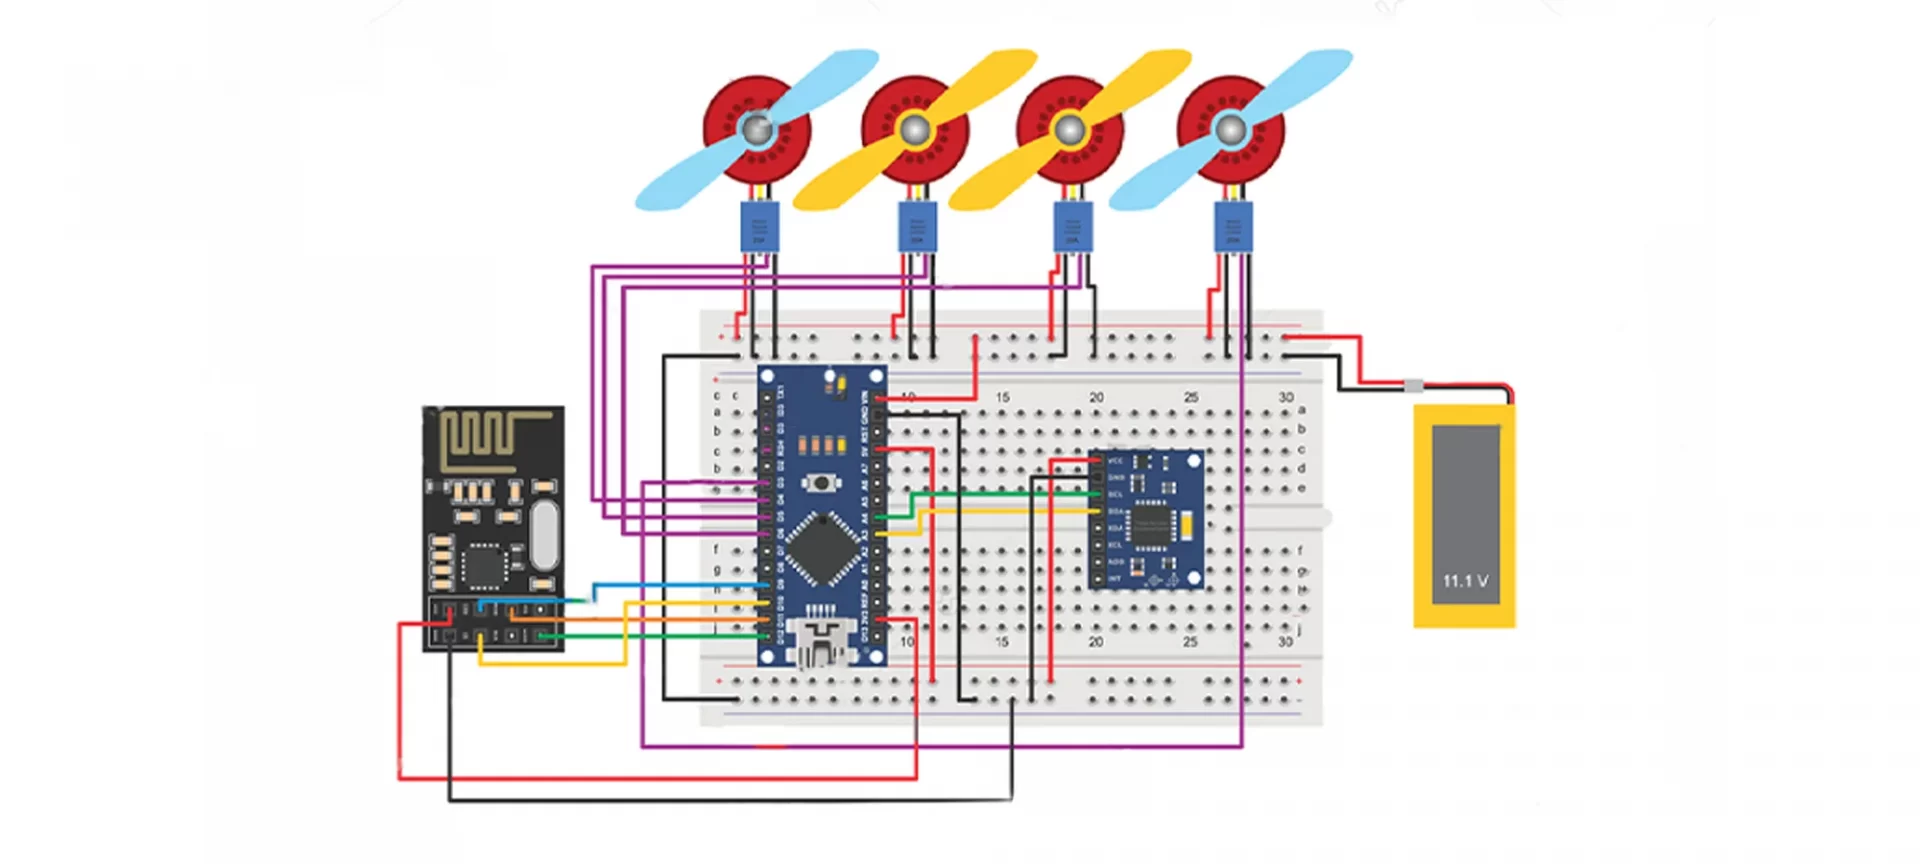
The parts that you need for electronics of your complete drone are:
- 4 motors
- 4 ESC
- Flight Controller
- Power Distribution Board
- Radio and Receiver
- Battery Cable And Connector
- Camera And Video Transmitter
- Propellers
- Hardware
Brushless motors, depending on the size, usually 160mm 1306 diameter -3100kv motors are used for drones. These motors typically start at $7 per motor.
The second part is ESC which is an abbreviation for Electronic Speed Controller, the part that will control the speed of your motors. This part needs to be chosen according to the configuration of your motor, a 2204 motor is best with 20A ESC, 1306 motor is best with 12A ESC.
The basic rule is the higher the diameter, the higher the amperage of ESC. ESC’s typically start at $5 per piece. SimonK and BL Heli are two main firmware for multirotor ESC.
The flight Controller is also said to be the brain of your drone. The two most top-recommended Flight Controllers are Naze 32 and CC3D, both work according to different configurations and have their software. CleanFlight, BaseFlight, or Betafight are some names of software with which these flight controllers are operatable.
Power Distribution Board is optional, some people recommend it, others do not. If it’s your first drone, you probably have a lot of other things to concentrate on, so it’s okay if you skip this one.
Radio and Receiver is the most expensive part of the equipment till now. It costs around $50 and you need to make that it should have at least 6 channels. A camera and Video are again optional.
An ABS printed propeller can work fine with your drone, they cost around $2 or $4. And the hardware costs around $1.
Step 4: Configuring Your Drone With PC

Once all your hardware is set up, you just have to configure your drone and that’s it, you are done. Depending on the flight controller that you have used i.e. either Naze 32 or CC3D, you will need Cleanflight, BaseFLight or Betafight, or Openpilot.
The drivers for this software will be the one that recognizes the Flight Controller whenever it’s connected with the PC.
With this, you also need to know about the ESC programming, which isn’t mandatory but is highly recommended. And the best part about Flight Controllers as well as ESC programming is that you can find tutorials on how to use them on the Internet.
After completing this step, you are all ready to ride. Make sure your ride is always safe and ethical.
Recommendations
There are some 3D drones available online that can be useful to you. Here’s the list you might want to consider.
3D Printed Quadcopter Pixxy
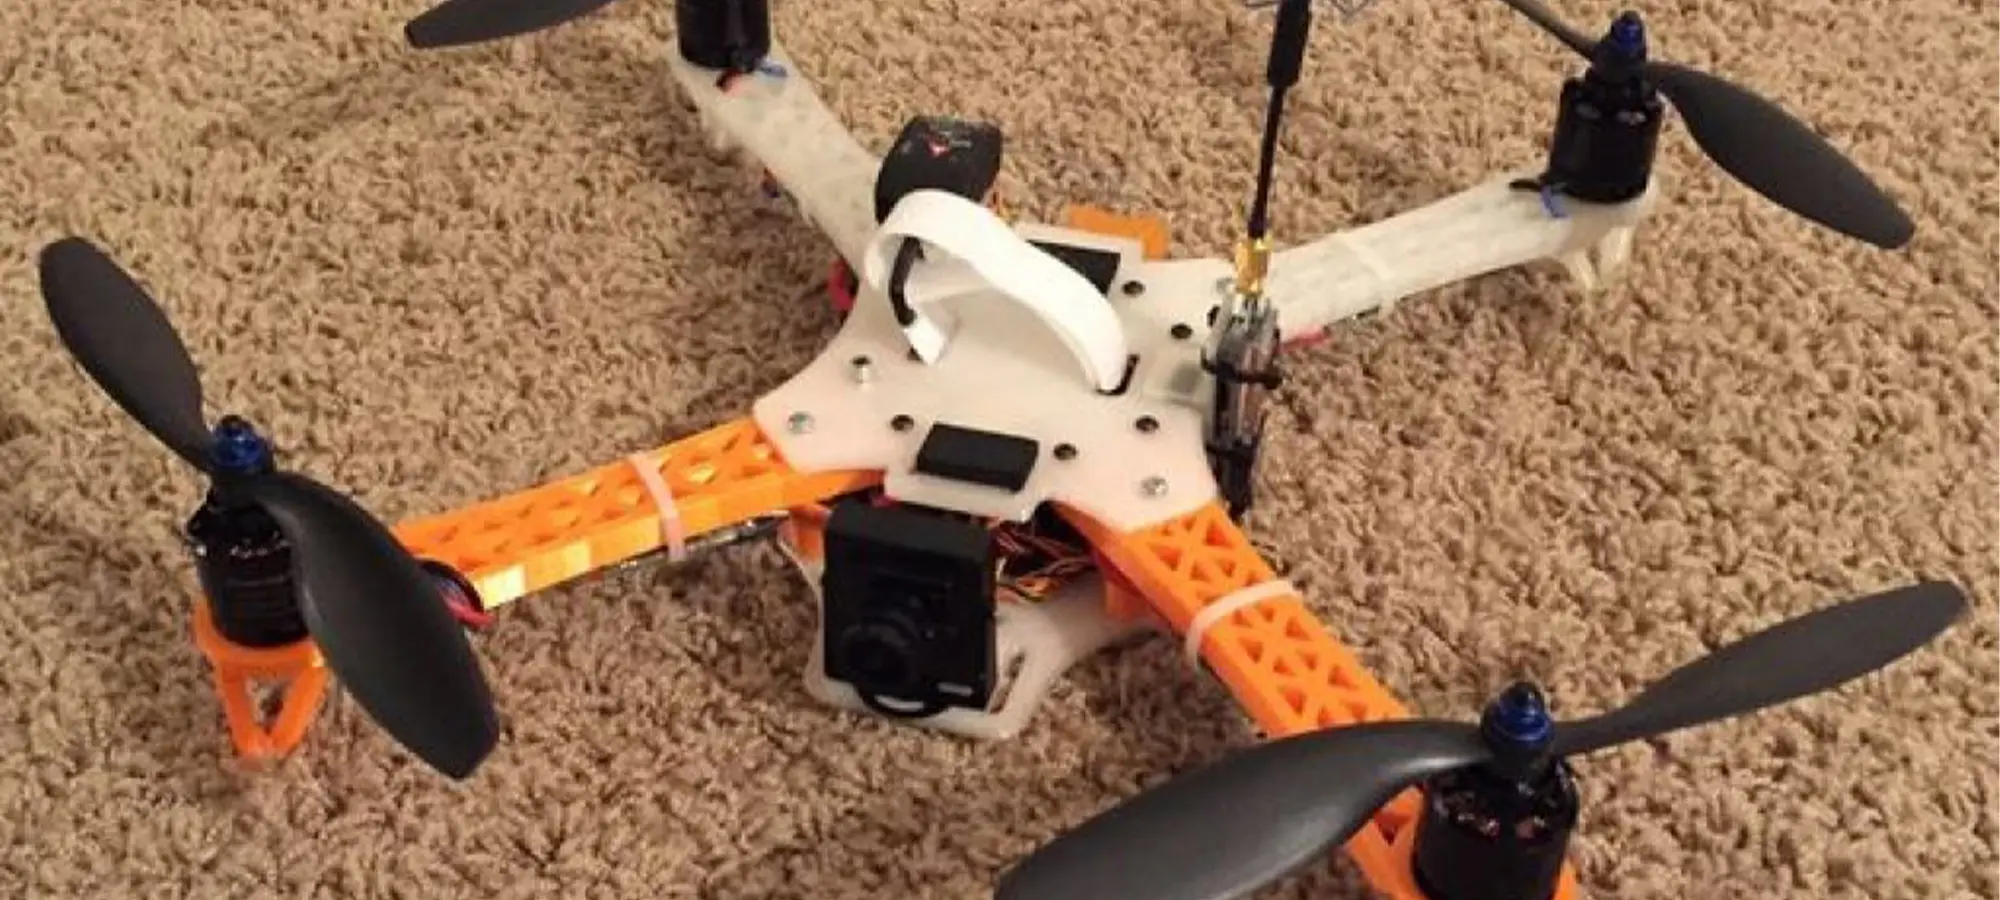
Pixxy is one of the smallest drones that you can build yourself. It weighs only 4 grams and can be stored relatively easily and is very easy to manufacture.
All you need to get Pixxy is a little bit of shouldering skills and the parts that are commonly available at online hobby stores and toy shops. The cost of such drones does not exceed more than $100. You can get this at Thingiverse.
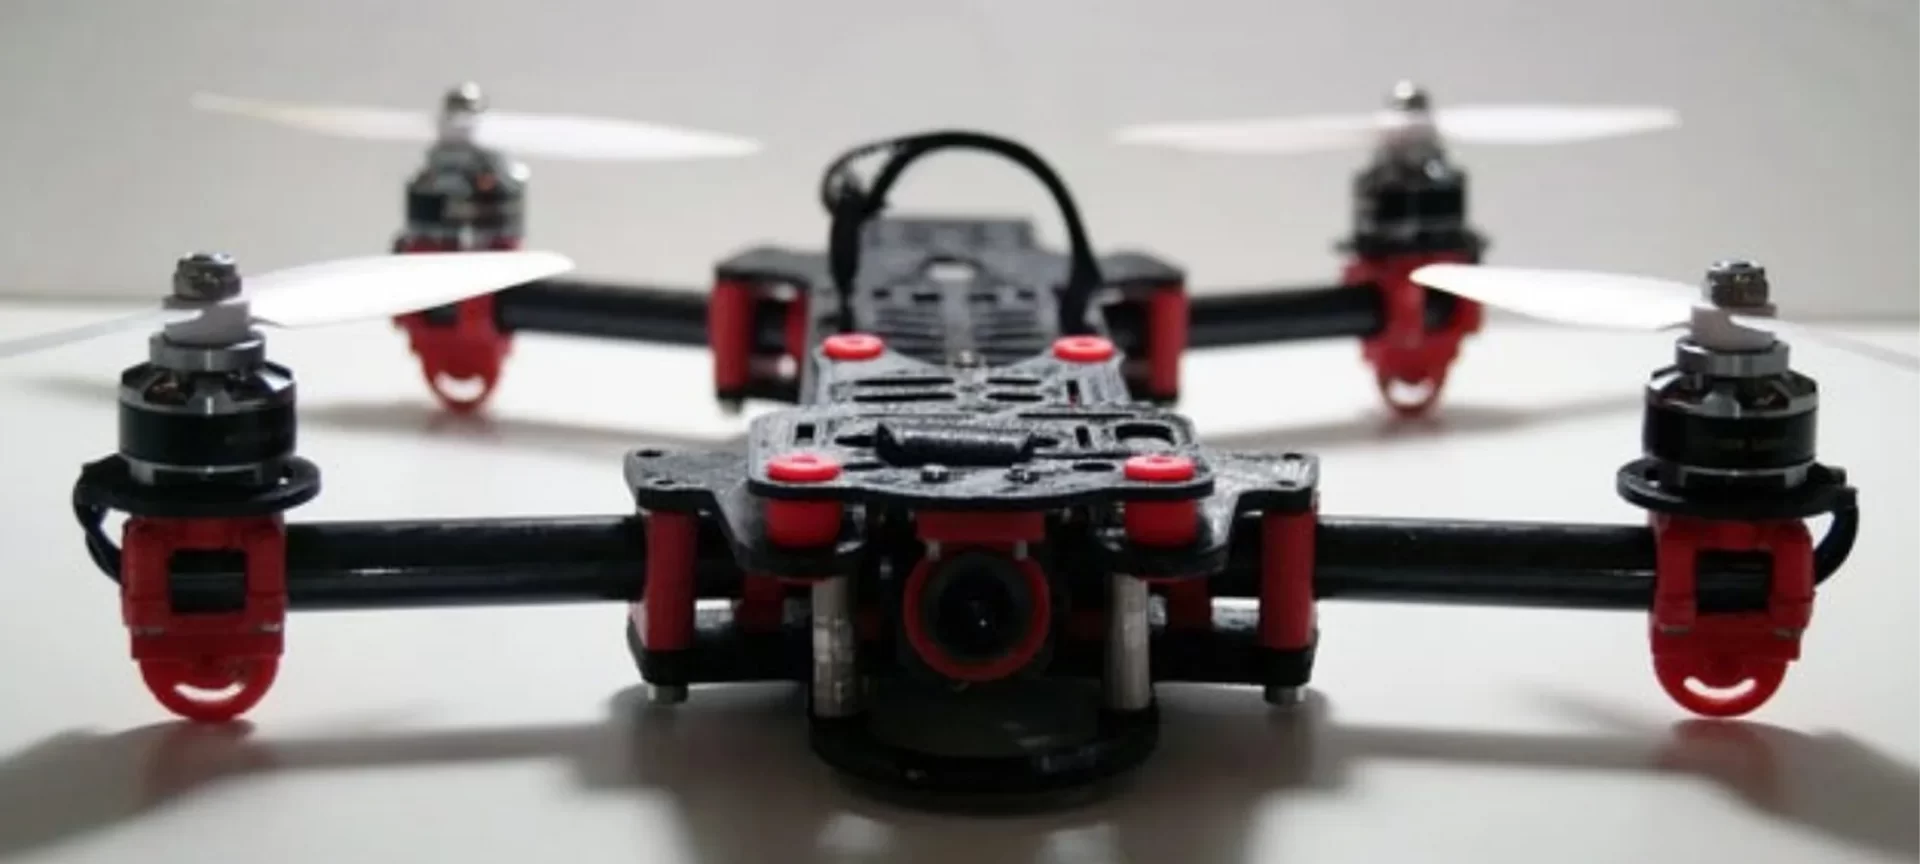
Hovership MHQ2
Hovership is one of the most popular designs for 3D printed drones. When you will notice it closely you would get to know how it is redesigned MHQ2 by folding the mini quadcopter as if it’s not a drone by a tank.
This is the second version of the very famous MHQ design. An improved functionality, durability, and stability give every reason to MHQ2 for becoming even more popular. The drone is available on Thingiverse.
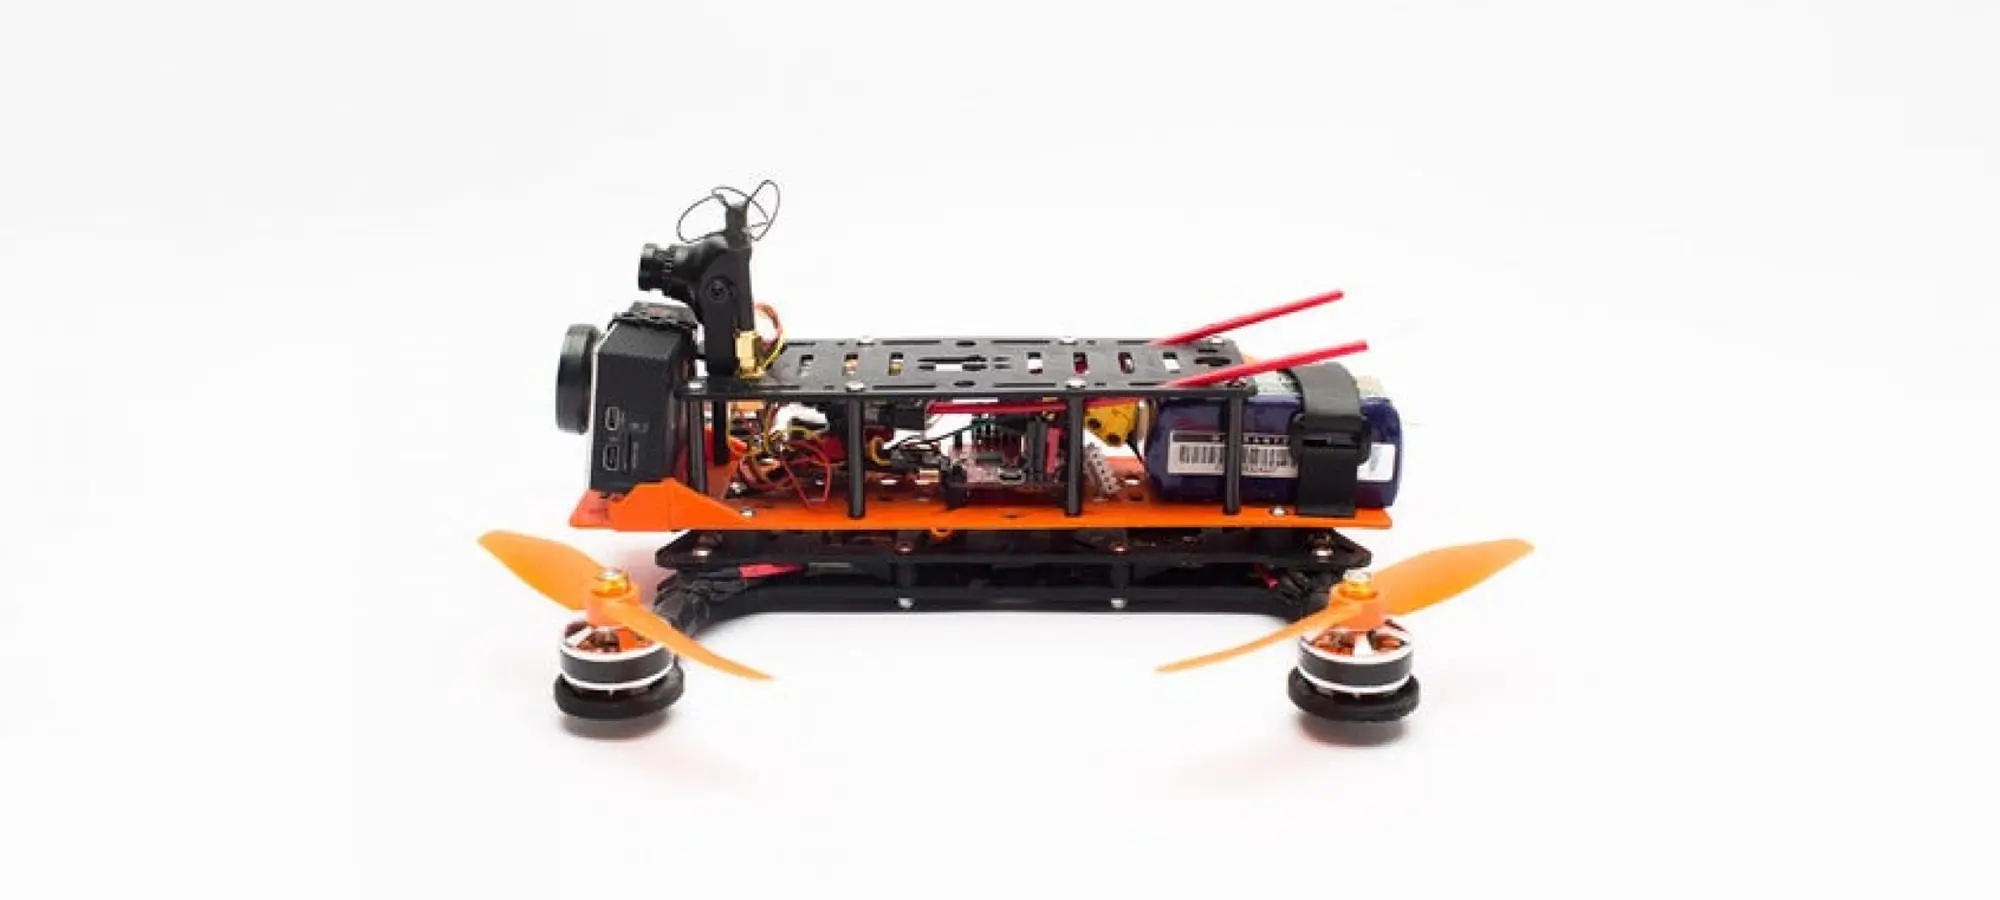
Firefly
The speediest till now on the list of recommendations is Firefly. It is a racing drone that can challenge any other done in the market for being able to reach faster, depending on the driver’s skill set. So, if you are confident enough to race out your skills for the flying drone, you might want to consider this drone.
Rey’s Speeder Bike Quadcopter
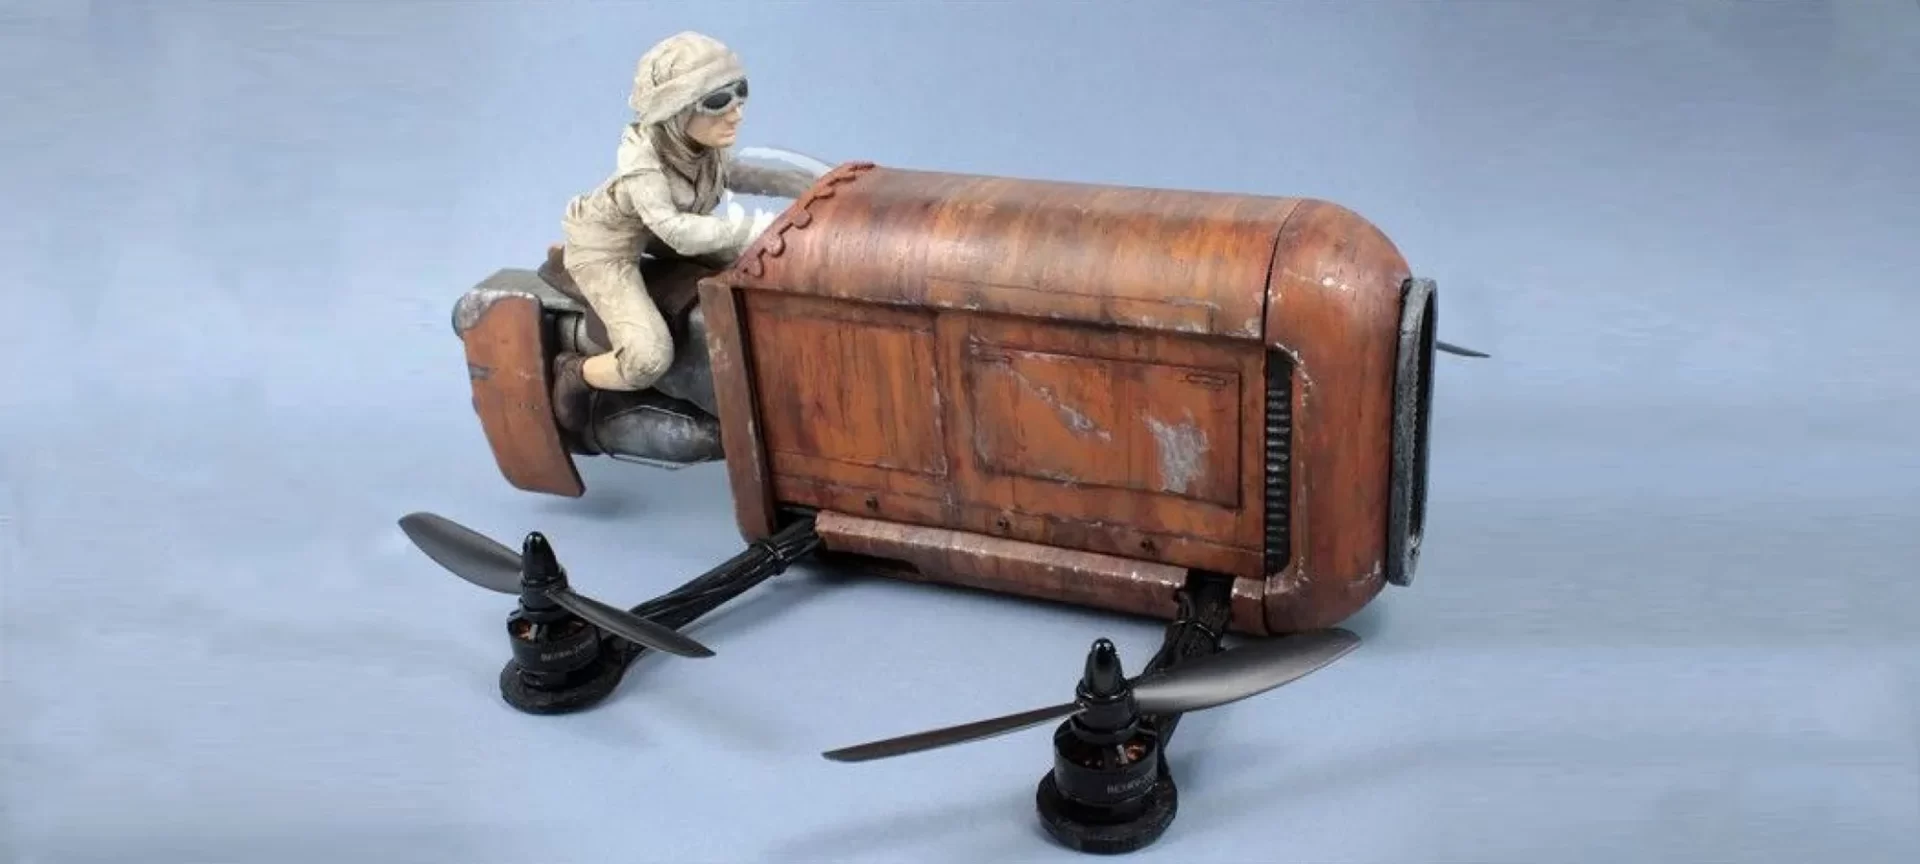
Inspired from Episode 7 Star Wars ‘The Force Awakens’, this Quadcopter is known for having a fancy look. You can get this one on Thingiverse.
The Conclusion
Having Drones is a trend that’s growing day by day. 3D printing technology comes as a tool that can help you manufacture your drone by spending lesser than the other way.
And this doesn’t mean you are bound to have your 3D printer or files anything at all. Every is available on the Internet, all you have to do is to search for the design that impresses you the most or find out the designer that can custom make your design.
The application of this device is something that you already know. It’s wide-spread over areas and is still increasing. With an increase in its application, its demand is going to increase, so it makes sense for you even if you wish to earn using this idea, it’s a fantastic opportunity.
And rather than doing that in any other way, 3D printing technology which has the concept of additive manufacturing is the easiest and the most affordable way to do it.
The best part when planning the 3D print drone is also the freedom of customizing it. You don’t need to follow any standard measures and you can customize your drone’s designs and parts according to your need or your customers.
To help you with anything there is also plenty of information available online. We hope this stepwise information helps you to 3D print drone at home. Fly soon!


