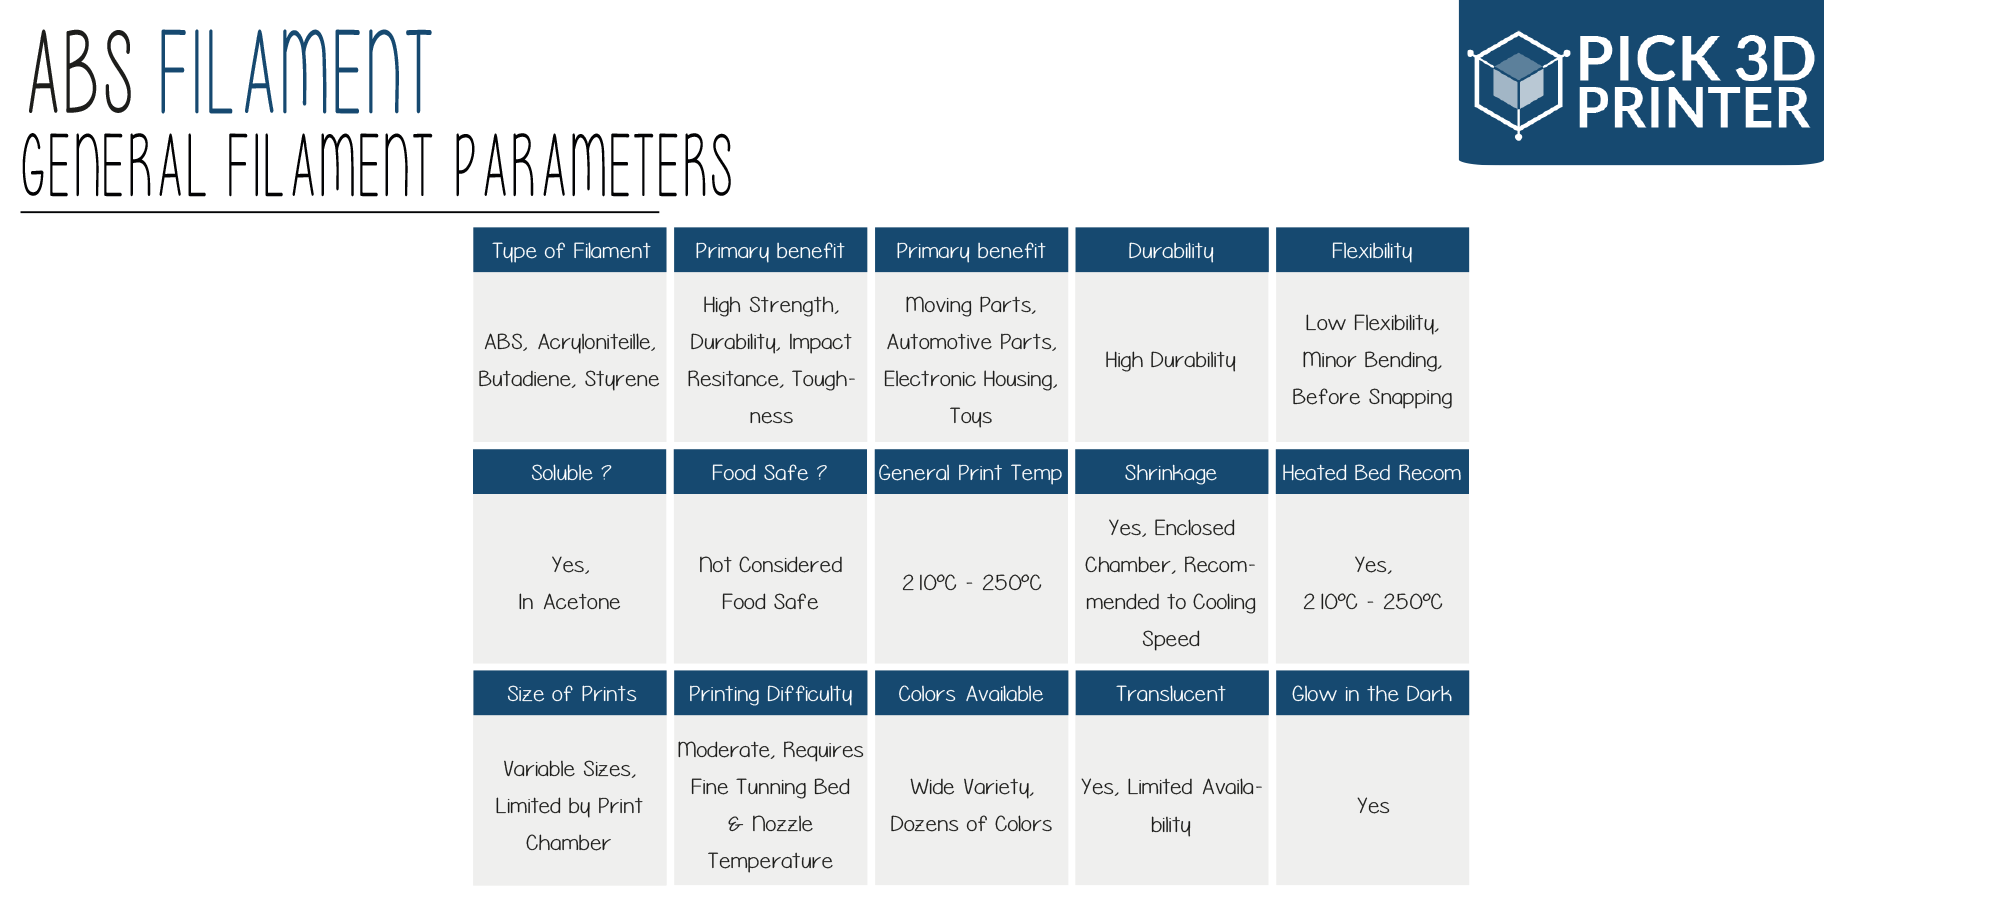
ABS is a thermoplastic polymer that is one of the most commonly used materials in 3D printing of parts aimed at producing functional prototypes.
Acrylonitrile Butadiene Styrene is known for having good resistance even at low temperatures. This characteristic of the material makes it a suitable one for creating lightweight parts.
Till now, ABS has been mainly used to make parts in the household appliance sector. Boat hulls, decoration pieces, toys, and especially the famous bricks developed by LEGO are some other areas where the ABS 3D printing’s application is noteworthy.
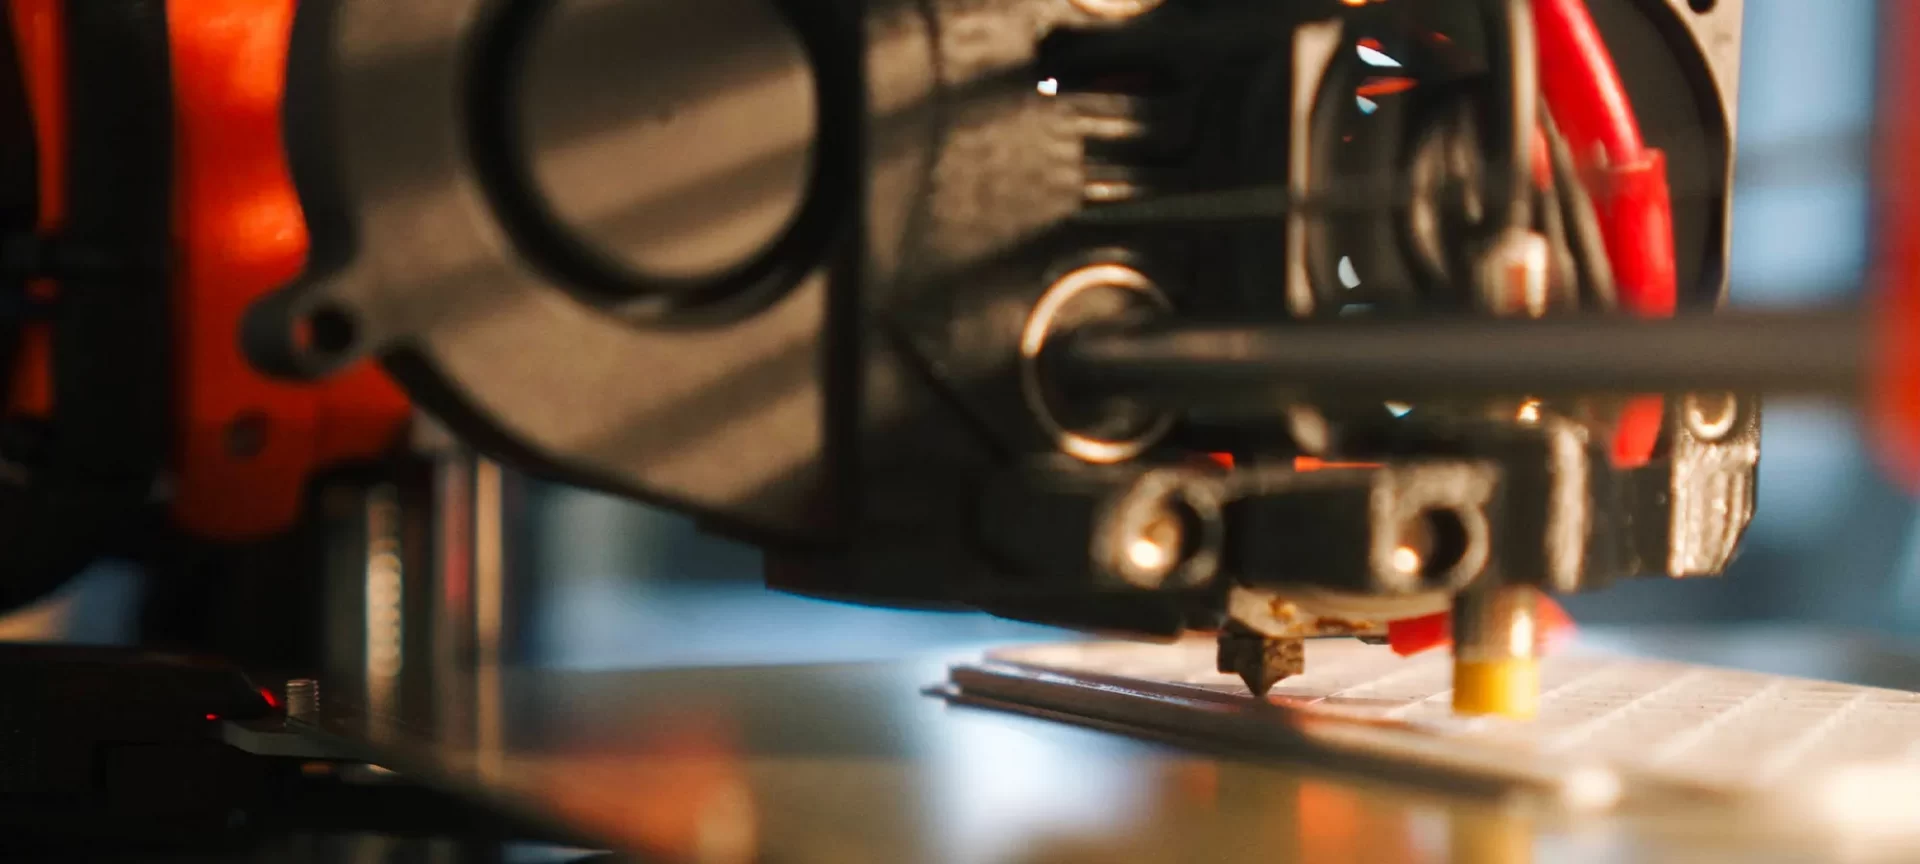
FDM or Fused Deposition Melting is the most widely used technique for manufacturing 3D parts and functional prototypes. Apart from ABS, the other printing material that is equally popular is Polylactic Acid, also known as PLA.
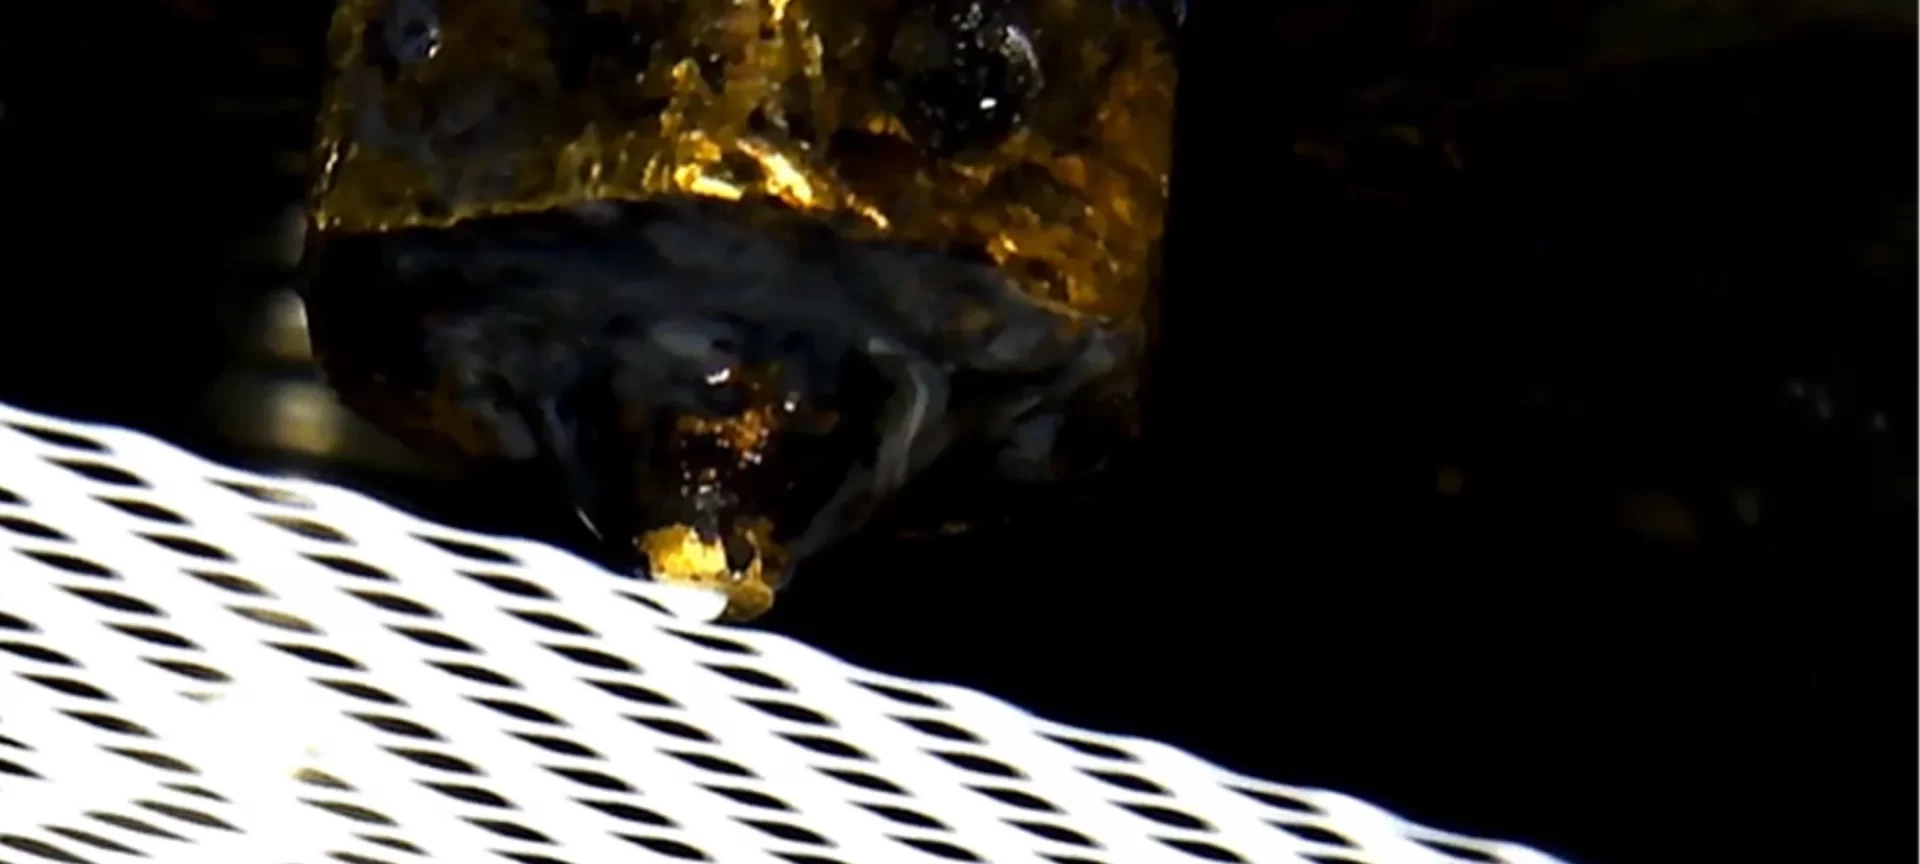
In FDM 3D printing there is a major role of 3 parts, 1) printing plate. 2) Filament Coil and 3) Extruder. The 3D printer begins printing when the required temperature that is necessary to melt the material has been achieved.
Once the filament is hot enough, it’s extruded onto the platform. Doing which, moves through the nozzle on the X, Y, and Z-axis. And the platform adjusts itself to another layer until the complete object is printed.
In this article, we will show you the general setting that is required in printer and slicer while ABS 3D Printing. Basic Tips, characteristics of ABS filaments, and its pros and cons would be also presented in front of you to make sure you get an overall idea of ABS 3D printing.
This will help you to take some measures in advance while printing with ABS. So, when you are finally printing with the material, the complete process is smooth. Let’s start our journey with Printer Settings.
What Settings Should I Use for ABS 3D Printing?
While continuous printing with different materials, there are two specific areas where printer settings must be changed.
They are Extruder and Heated Bed. Changing the settings now and then can be very hectic, but with the correct knowledge, it takes very little time. Printing with ABS is hard overall, but with the right kind of settings, it can prove to be very much easier.
The first fact that everyone printing with ABS should know is, the material melts somewhere between 210 and 250 degrees Centigrade.
So, as far as the temperature of the extruder is concerned you know the range wherein you are allowed to play in ABS 3D printing.
Experts suggest that 5 more degrees than the average of these two i.e. 235 degrees Centigrade does a pretty good job.
Running the extruder hotter than this would make you observe a lot of strings getting created between walls of your 3D part. While running it too cold would get your part under-extruded.
The temperature settings of the heated bed of a 3D printer determine the warping in the object that would be 3D printed. The setting of the correct heated bed temperature eliminates warping.
For knowing which temperature to set the heated bed on, one should know the glass transition temperature of the material.
This temperature is defined as the temperature at which plastic changes itself from a solid to molten liquid. ABS’ glass transition temperature is 105 degrees Centigrade.
Hence the heated bed temperature of 110 degrees Centigrade should be set in printers while printing with ABS.
Whether you have a beginner level printer, an intermediate one, or an industrial-grade machine, these settings apply to each printer that allows you to print with ABS.
How to Adjust The Slicer Settings While ABS 3D Printing?
The slicer has multiple setting options which can be changed to benefit your 3D printing process. Like the brim and raft settings which is very useful in case of warping takes place.
These settings enable you to give additional surface contact between the 3D part that is to be printed and build a plate of the printer. This also helps with first layer adhesion.
Another setting option that you can change in the slicer is the first layer height. The thicker the first layer height is, the beneficial it is for 3D printing of parts and functional prototypes.
Having a thicker layer increases the overall surface area of the part which promises to hold the print firmly for a steady printing process. The golden rule here is to set the first layer at 150 percent height of the regular.
Now that we have talked about the first layer height, the other aspect of dealing with the first layer is its print speed. It is tacit to keep the first layer print speed 70 percent less than the actual print speed to ensure accuracy.
Especially if the corners are sharp, minute detailing is required. During sharp-cornered parts, if the hot end moves at higher speeds, it tends to get peeled off.
Notice the slicer settings are specifically for the first layer because it is printing of that layer, which determines the complete quality of the print.
Noticing the time taken to cool the temperature of the printer down, after the print is completed. Cooling fans are now accommodated inside the printer.
They create a considerable amount of airflow around the nozzle and helps in cooling the plastic quickly. Although this can have a negative effect when printing the first few layers. But, there is also a facility to turn off the fans for the first 5 to 10 layers.
What are the Characteristics Of ABS Filaments?
Due to its interesting properties, ABS remains one of the two most popular materials that is used in filaments for 3D printing of parts and functional prototypes.
ABS filaments are available in various forms and colors. The two most common diameters of ABS filaments are 1.75 mm and 2.85 mm.
Although some people argue that printing with ABS is more difficult than printing with PLA, ABS has maintained equal popularity with PLA.
This popularity is due to its resistance to impact and high temperature i.e. between -20 degrees Centigrade and 80 degrees Centigrade.
Opaque in appearance, smooth and shiny according to the requirement of surface finish, ABS filaments can be welded by the chemical process using acetone.
A heating plate set anywhere between temperatures 80 degrees Centigrade and 130 degrees
Centigrade should be used while printing with ABS. While printing with large parts, expert’s advice to use a special adhesive named Kapton or lacquer.
In terms of support, while printing with ABS, HIPS is much recommended. This material has the same tray and extrusion temperatures. The material is also known to dissolve itself quickly in D-limestone which is a lemon-based solvent.
Post-processing is required in little amounts when printing with ABS. However, there is an advantage here that while printing of complex parts, it’ll save time.
ABS is a material that can be painted and its resistance is commendable compared to resistances of other materials. Although, it must be kept dry because it absorbs moisture when kept in open.
This absorbing nature proves to be difficult in achieving the exact amount of accuracy in 3D printed parts.
Having looked at the characteristics of ABS filaments, let’s look at some basic tips that can improve your overall ABS 3D printing experience.
What are ABS 3D Printing Tips?
One of the most common issues while printing with ABS 3D Printing is, warping. As the plastic cools from its extrusion temperature to the room temperature, its shrinks, and contracts.
For controlling this problem the best tip is to set the extruder temperature 10 to 20 degrees higher for the first few layers of your print.
When printing larger parts, it is also recommended to use an enclosure for preventing wind drafts that could rapidly cool the 3D part during printing.
When printing with ABS, you will have to deal with a strong odor of melted plastic. This sounds silly, but in practice, it can be much of a headache.
For avoiding this strong smell, you have to avoid confined spaces, like placing your printer in a corner of your house. Advanced 3D printers have realized this problem.
So, they come with a separate air-filtration system. Air filters are also called HEPA, they help you to deal correctly with these strong odors that could potentially be harmful to health if inhaled in a large quantity.
When printing large ABS parts or thin delicate ones, the problem is to get these parts properly adhered to bed. In such cases, adding a brim or a raft to your print can be of great help.
A brim or a raft act as an anchor that will ensure that parts remain in complete contact with the bed, all the time.
A brim typically adds several rings of plastic around the part of the functional prototype, as if creating another structure. This will remain in contact with both, the part and the bed and make sure that the layer adhesion takes place in enough amount.
These are the three tips for most common issues that you will find while printing with ABS.
Pros And Cons
- ABS is a material that has excellent thermomechanical properties like high strength even at good temperatures. Because of this quality, it can be used at places where materials with high-temperature resistance are preferred.
- Printing with ABS gives you a good surface finish. Its nature to react with acetone gives a smooth and polished surface in the 3D part or functional prototype that’s printed using it.
- Cost is much of an issue when you are 3D printing. Often you get printers that won’t cost you much, but the materials with which it offers you printing are very costly. And remember, the material is the fuel that is going to keep the engine of the 3D printer running. ABS is available at a low cost.
- ABS 3D Printed parts will have good wear and impact resistance. Also, they will ooze less and give you a striking smooth finish.
- There have been reports of heavy warping while printing with ABS.
- ABS 3D printing needs a heated bed or heated chamber to ensure smoother printing of parts. This increases the overall printing cost.
- The odor of melted ABS is a headache when dealt with. Because of this, the post-processing of ABS 3D printing becomes an issue. While cleaning the parts of the printer and changing the filament, you will have to deal with this awful smell.
- ABS 3D Printer parts, because of shrinkage generally do not provide the dimensional accuracy that can be seen while printing with other materials.
The Conclusion
Apart from FDM, ABS is also used in SLA. In the latter, the material is used in its resin form, just like it’s used in its thermoplastic form in the former.
Although, both, the resin and the thermoplastic form have the same mechanical properties. After learning the settings, characteristics, and basic tips of ABS 3D Printing, you’ll be able to ease your experience while printing with the material.
Reading about its pros and cons would let you compare ABS with other materials and decided which one is the best for your use.
Remember that every material will have some of the other pros and cons, printer, slicer settings that needed to be done for ease of use. There isn’t a material that will give you the easiest experience without having complete knowledge about its settings and tips.
So rather than trying to figure out which one has fewer cons than the other, you can simply experiment with materials and their 3D printing processes according to the output that you wish to have.
Given in proper hands, any material can produce parts and functional prototypes that make them lucrative in the eyes of people.
On the other side, given in improper hands, even the best materials can prove to be a failure. So, if you are a beginner always keep in mind the settings and tips that are mentioned in this article.
For, they will help you with ABS 3D Printing with ease even if you are not as techie as an intermediate or professional in the field of additive manufacturing.


