Textile is currently the third-largest consumer of water in the world. This fact also gives an alarm about how textile is a large threat to the environment.
Can 3D printing, which has already taken the world to awe, be a solution for this threat? The answer is yes. Not only can 3D printing be a solution for the sake of it, but it also can print minutely in a way that has never been seen before.
Reputable fashion designers all over the world are experimenting with this new technology that has shown and is showing a lot of possibilities.
In this article, we will try to go through a stepwise procedure to 3D Print Fabric, things that you need while doing so, and some things that you need to take care of.
You should be excited to know that 3D printing of fabric is the area that is currently the most trending thing that’s associated with 3D printing technology.
After additive manufacturing has shown amazing results in the field of aerospace, medical, automotive, and jewelry, it’s ready to take over the fashion clothing industry to a toll.
Here in this article, we have mentioned the six most basic steps that you would have to follow for 3D printing on the fabric of your choice.
Depending on the fabric that you choose, the filament that you alter, the 3D printer that you have, and the 3D printing technology on which the printer is based on. These steps need to be altered a little bit. So, let’s get started.
Step 1: What Fabric DO You Wish To 3D Print?
 Credit: facfox.com
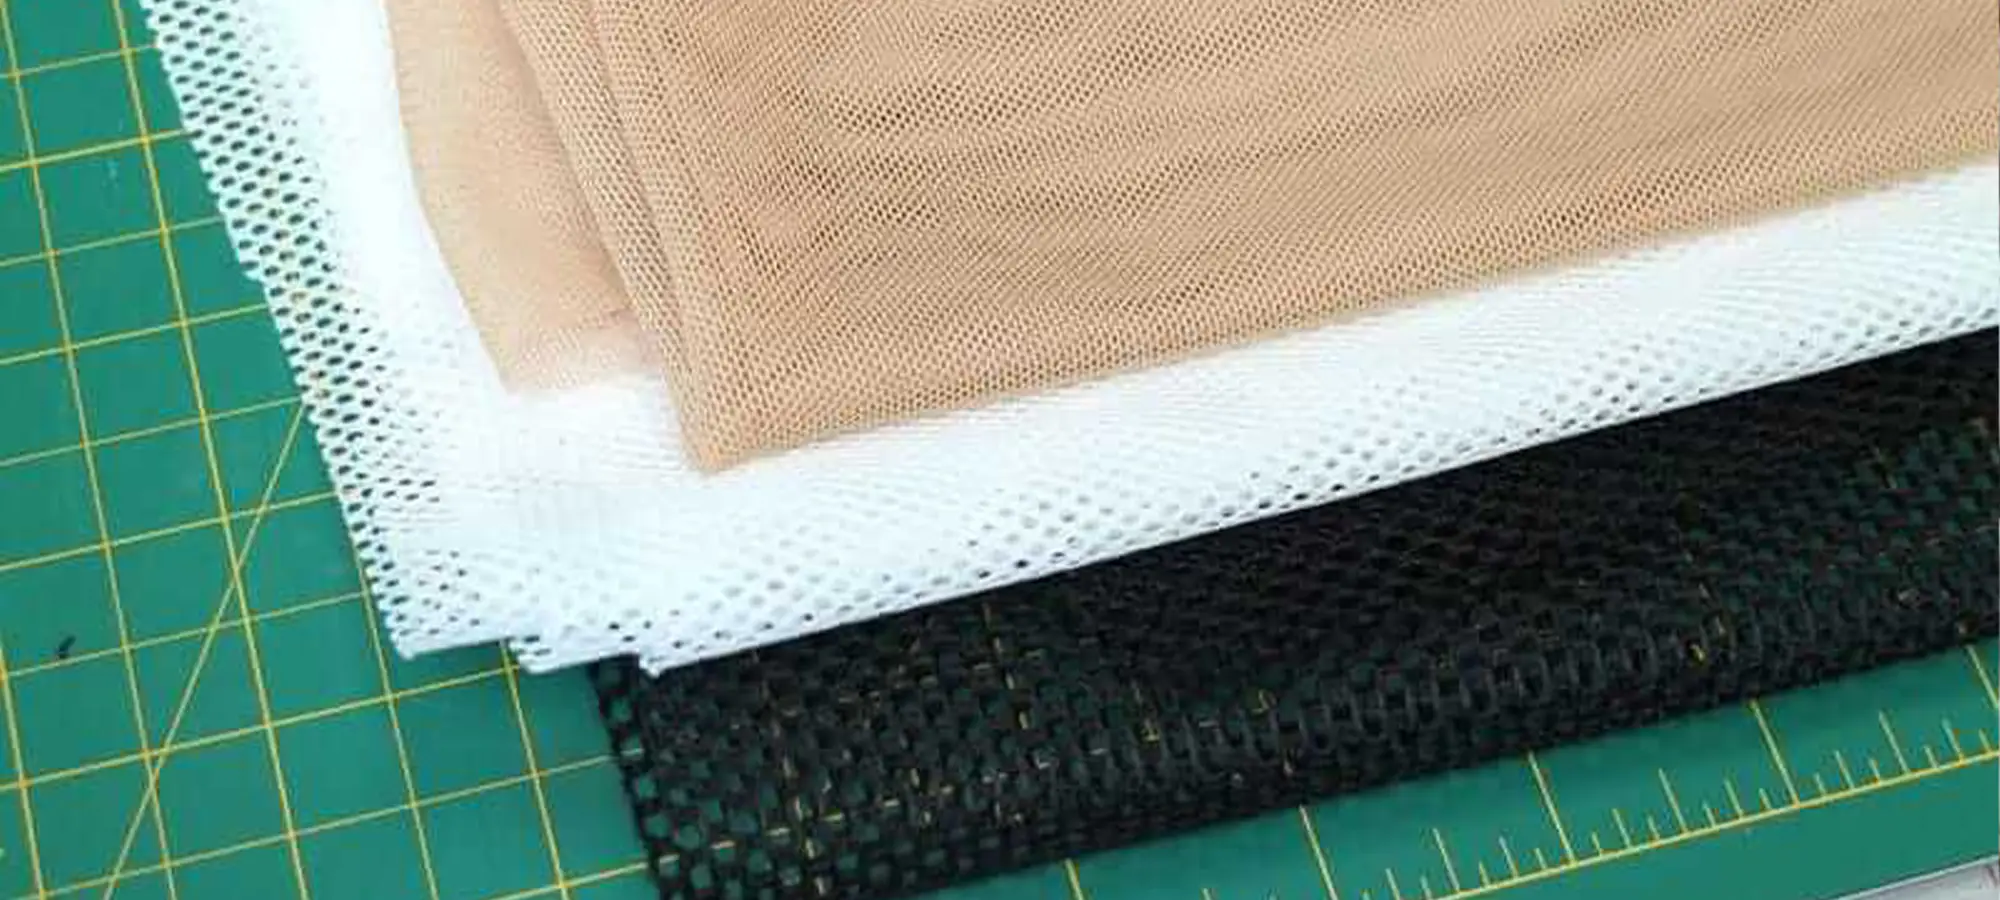
3D Printing is done using filaments of various materials like ABS, PLA, PETG, etc. For these filaments to stay on the fabric that you choose, you have to ensure that the fabric is perforated or coated with a hot-melt polymer.
Freedom is given in the sense the perforated fabric can have meshes or there can be netting over it. But the fabric has to be placed in between the filament material to make contact with itself through the holes.
There are heat-sealable fabrics that are coated with polymers that bond to themselves whenever their temperature rises. This treatment is especially good for creating clothing without using a sewing machine and for items that have to be air or watertight.
Although many sealable fabrics work, Seattle Fabric’s 30 denier heat-sealable coated nylon is preferable.
There is only one way in which you would be able to get a print for staying on a fabric that is neither a mesh nor can it create holes with a laser cutter.
Such a thing can be done using poly blend so the laser can cut its seals and prevent the newly coated mesh from fraying with time. A cotton/poly broadcloth is preferable.
Step 2: What Filament that You Wish Use?
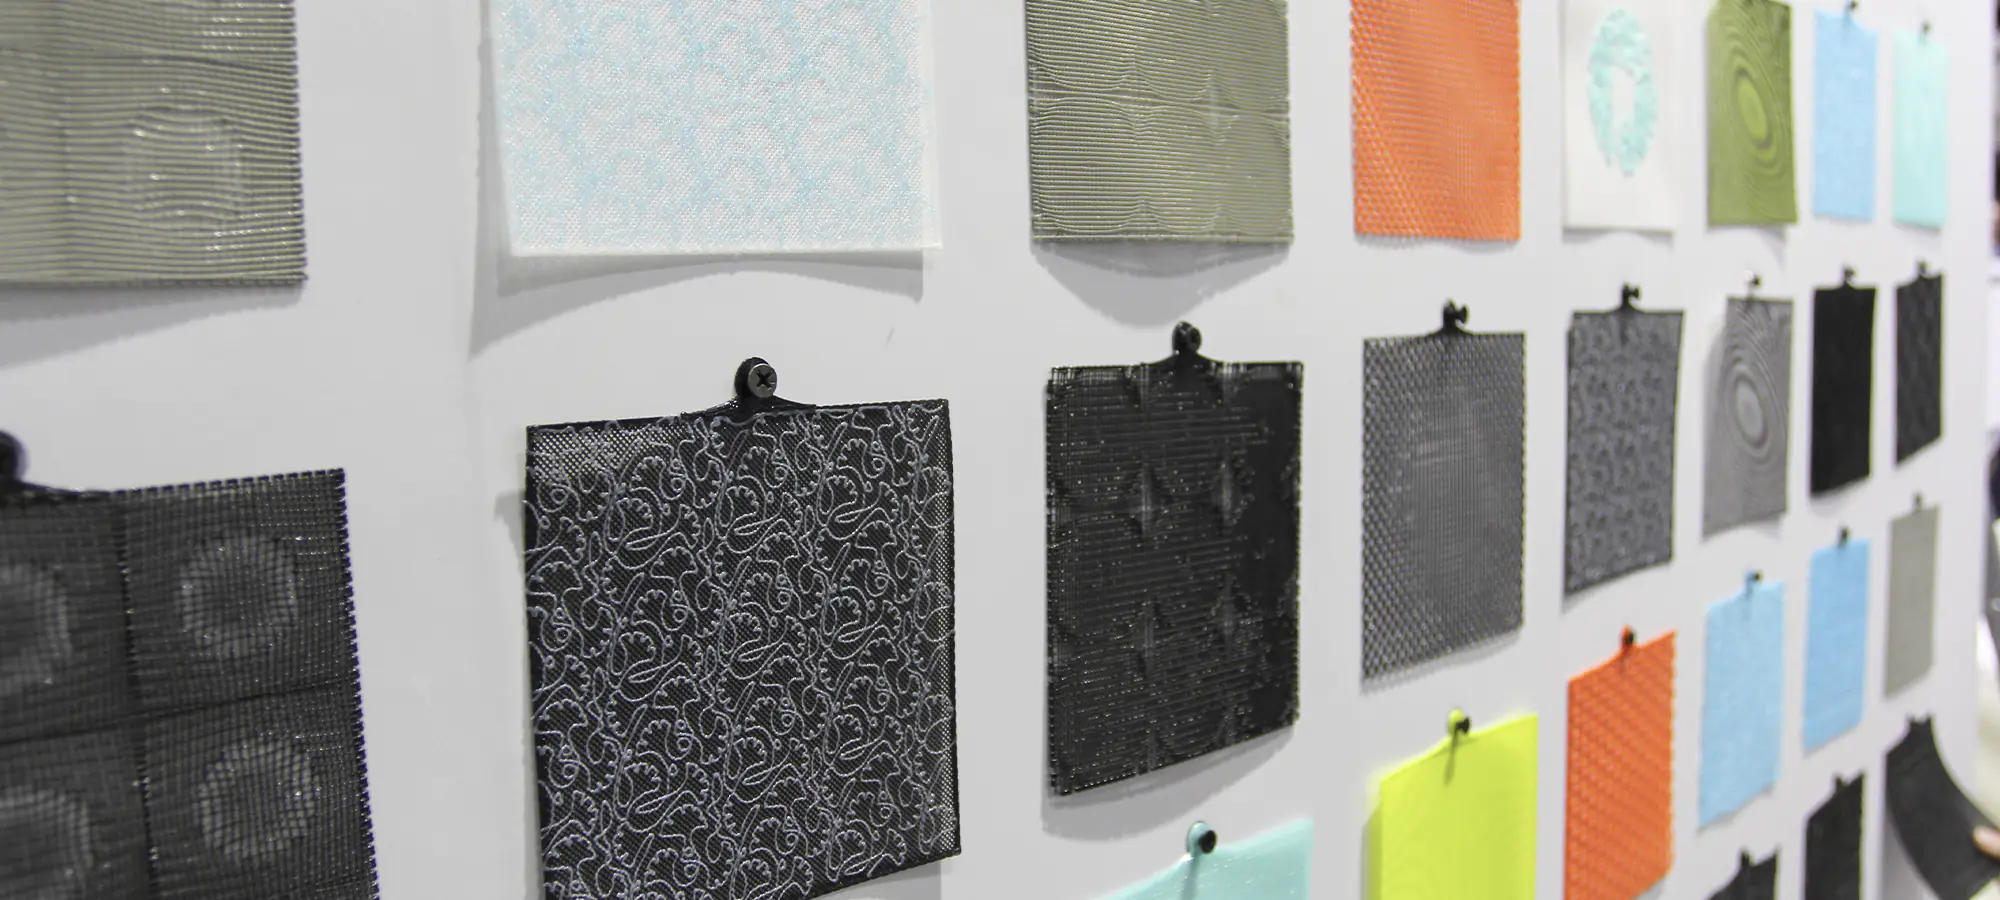
PLA filament doesn’t work with hot sealable fabric, so if you decide upon using that fabric, please avoid using PLA. Apart from PLA, ABS, NinjaFlex, and TPU work fine.
TPU especially is a flexible filament that is harder than PLA and so is used for the snap design. The flexibility of TPU can be taken into account and is extremely useful because it allows the stud to fit in.
Also, if the tension allowance is given the freedom to adjust a little bit or in another way if the walls are thinned out, working with PLA can be flexible.
Another aspect of PLA is that it’s available in almost every color that you wish to print in. PLA is also a bio-degradable plastic so it’s environmentally friendly.
If PLA is known for its flexibility, ABS is known for being highly durable. It’s the material that can withstand high temperatures.
For this reason, ABS has found its application in various areas like household appliances and consumer goods. As mentioned above, PETG is considered to possess the flexibility of PLA and rigidity of ABS.
Because of these characteristics, it finds its applications in areas wherein ABS and PLA don’t because of possessing flexibility or rigidity in more amounts.
Reading the characteristics of the material in this way can let you decide upon the correct filament that you wish to choose for your purpose.
Step 3: Collecting the Materials Needed And Changing the Settings And Export Options
 Credit: instructables.com
Typically for getting a 3D print fabric, you need to have a filament as discussed above. The most recommended one is PLA or TPU. Apart from the filament, you need a fabric that should be meshed, netted, broadcloth, and heat sealable.
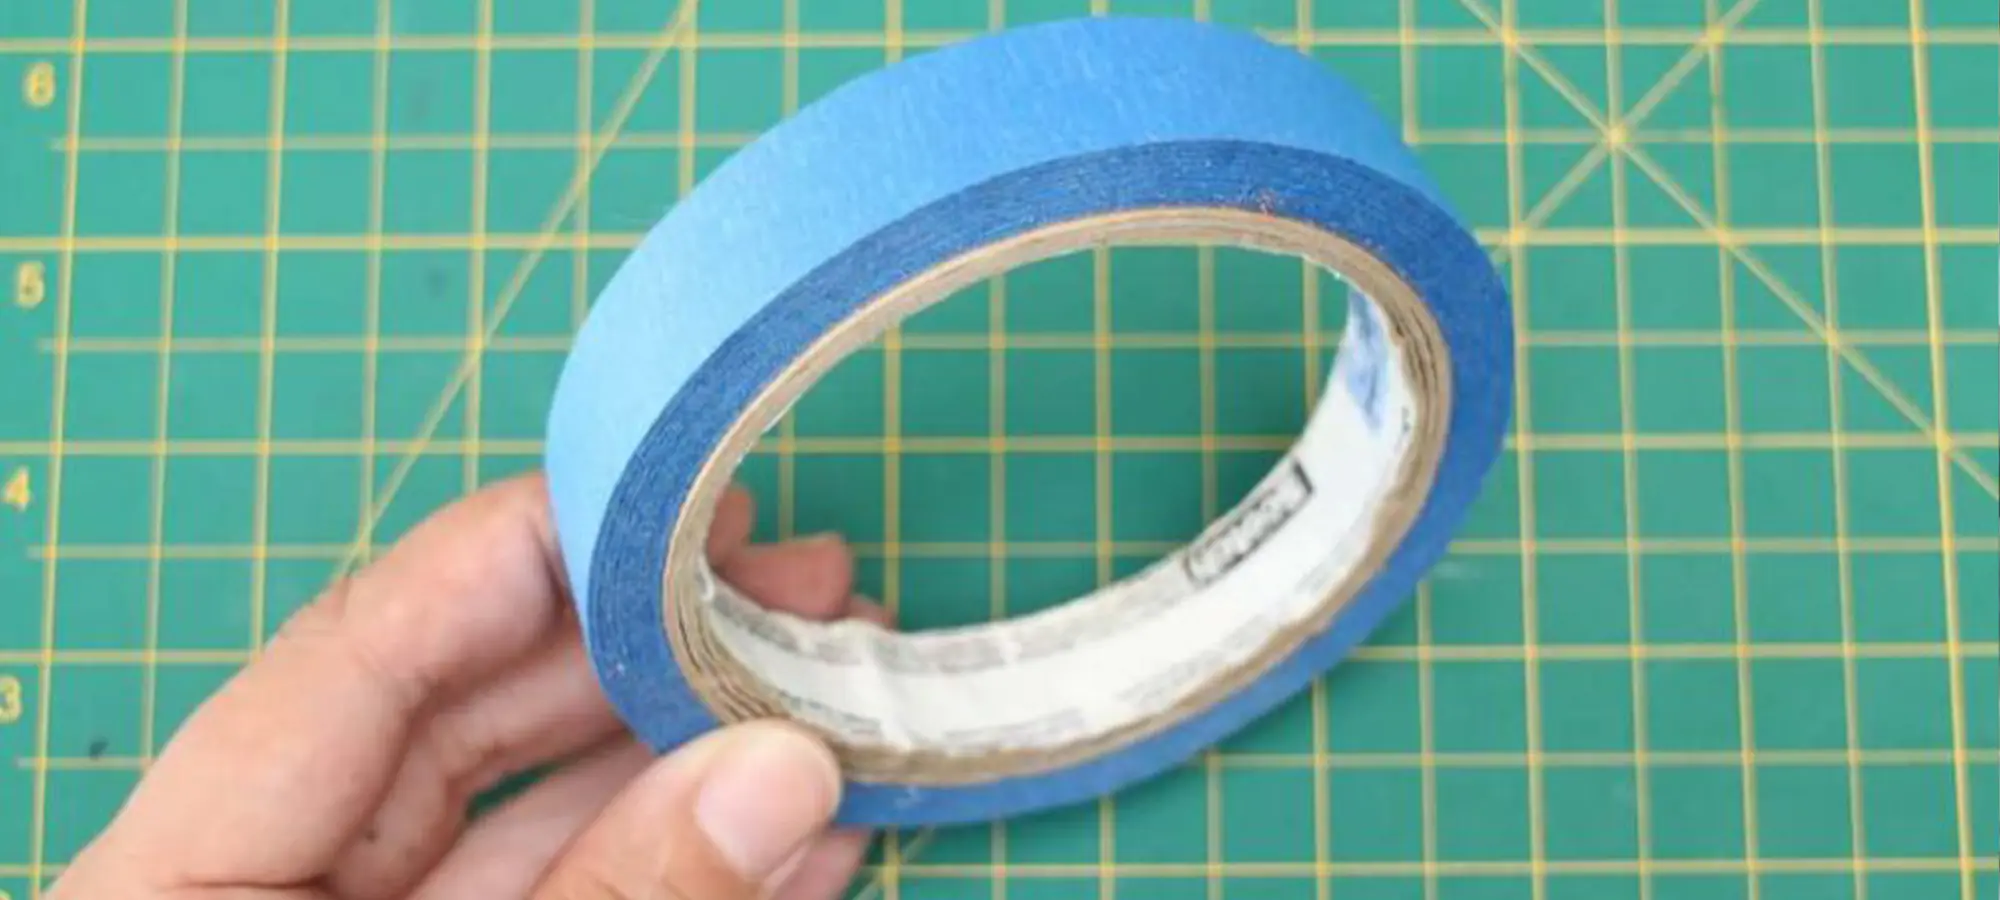
You need a blue tape to hold the fabric, scissors, ruler, laser cutter, and a desktop printer.
Depending on the filament that you are using, you need to adjust the settings in your 3D printer. Typically for TPU filament, the infill should be 75 percent, the temperature should be 220 degrees Celsius, and the speed while extruding should be 80 mm per second.
Please note that if you are printing using a PLA, ABS, PETG, the settings are going to be changed and in that case, you can even use the printer’s default settings.
Different software is known to have different settings. So the choice can also go on the software that you are choosing.
Step 4: Laser Cutting the Fabric And Starting To Print
First cut a small piece of fabric. Ensure that it is smaller than the printable area of your 3D printer. Every 3D printer comes with its build volume, so it isn’t hard to know.
Then comes the exciting part, which is creating holes or mesh. To create a mesh you can cut holes with a 1.5 mm diameter placed apart from each other at a particular distance. If you have downloaded the file for this, the snap design for it gets a raft at its base for ensuring the bond is proper.
Because the snap has a small diameter, it does not stick with various laser designs. Typically for a 120-watt laser cutter, you can speed it at 90, keeping the power at 15 and frequency at 500 Hz.
Once this is done, you can load the design that you have on your printer, either by SD card or by connecting it on your computer by using a USB cable. Ensure that you have the blue tape and fabric swatch nearby because soon you are going to need them.
You can get the 3D design from many sites. Look for the best one that suits you by comparing one with the other. The trick to 3D print fabric is to pause and print and then put the fabric on top and again resume the print.
Although this does need close observation. You can start the printing process, but need to watch closely.
Step 5: Placing the Fabric and Printing On a Meshy Fabric
 Credit: instructables.com
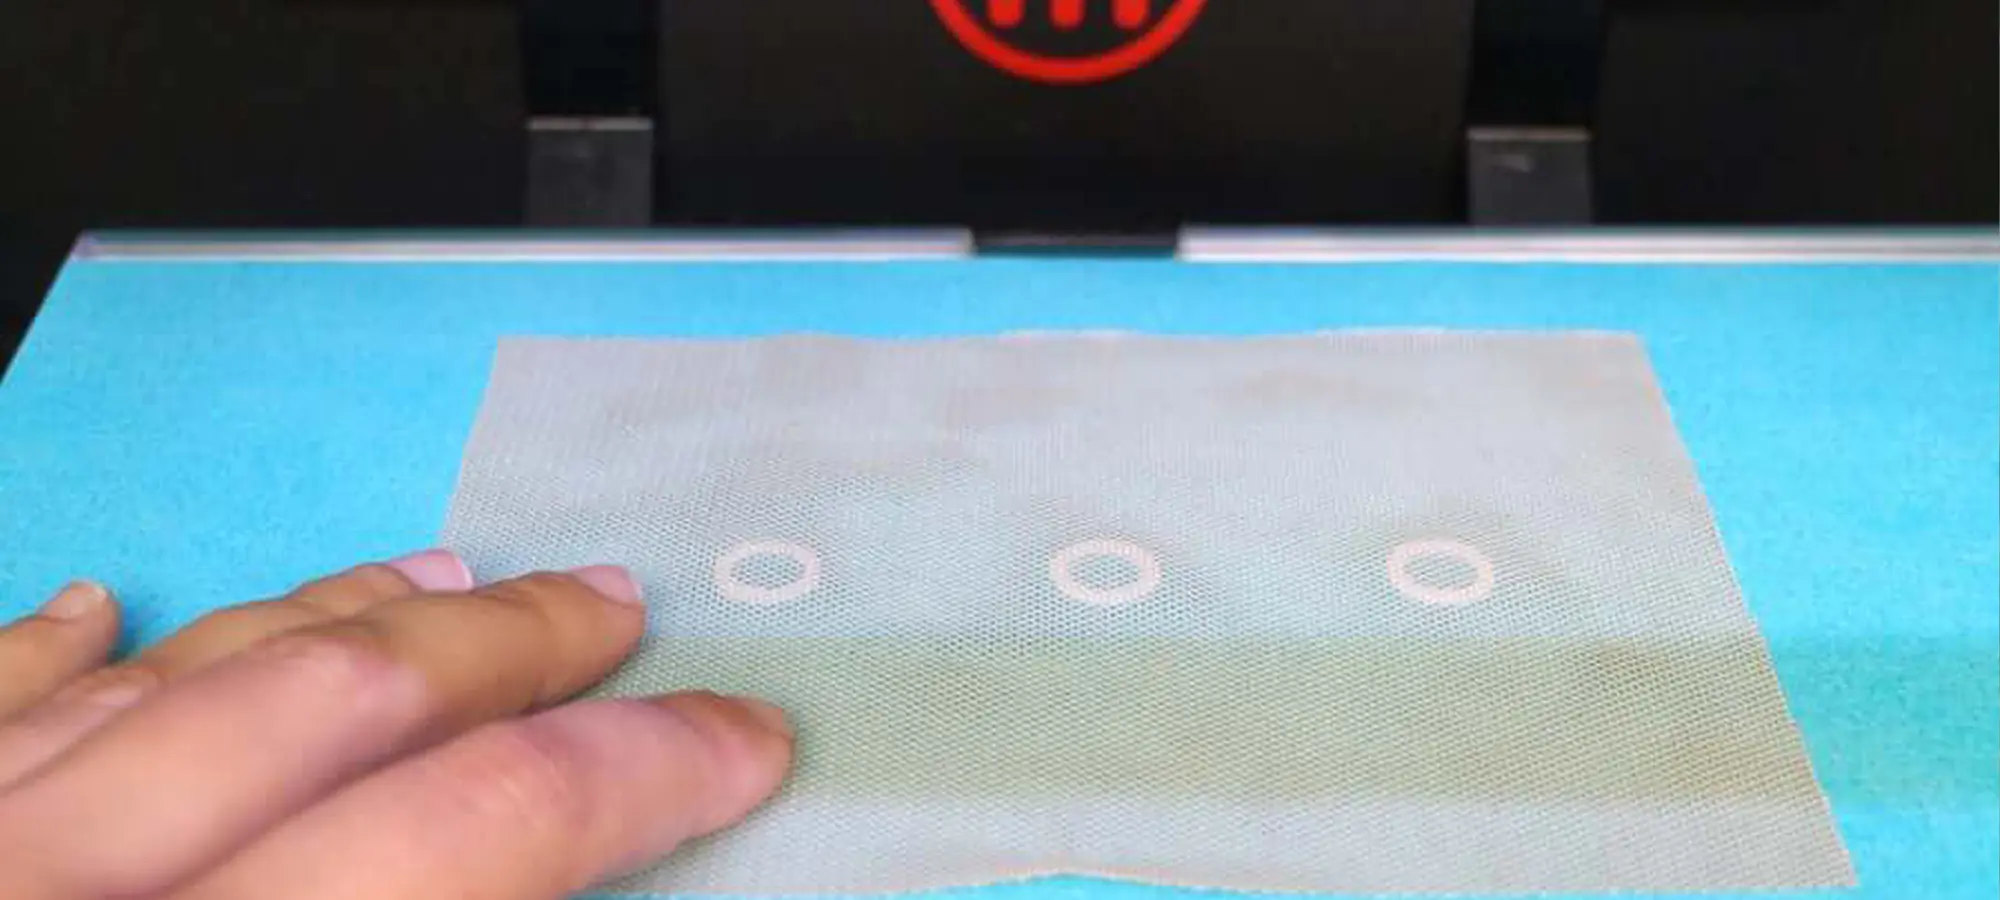
You will have to place your fabric on the top of your print. If you are placing a laser-cut woven, ensure that the print bed is center-aligned with the laser-cut holes.
Whilst if you have a stretchy mesh, as you have in the power mesh, to makes sure that the arrangement doesn’t move while printing, you can tape it one side down and then stretch the fabric.
Repeating this process in another direction will make the fabric slightly taut. Although you would know when it’s perfect, only after experimenting.
After the fabric is located where its meant to be, choose to resume the print and be ready for tweaking the platform distance from the nozzle. This can be done in printers generally by twisting the three knobs under the platform.
How much do you need to go and do you need it at all, are the questions that can be answered depending on the thickness of the fabric that you are using.
You will get the correct feel after once you get a hand on it. After doing this, you can allow the printer to finish its procedure. After this is completed, you can remove the tape for which you might need a spatula or printer scraper for freeing the bottom part of the print.
Step 6: Printing On A Heat-Sealable Fabric
 Credit: instructables.com
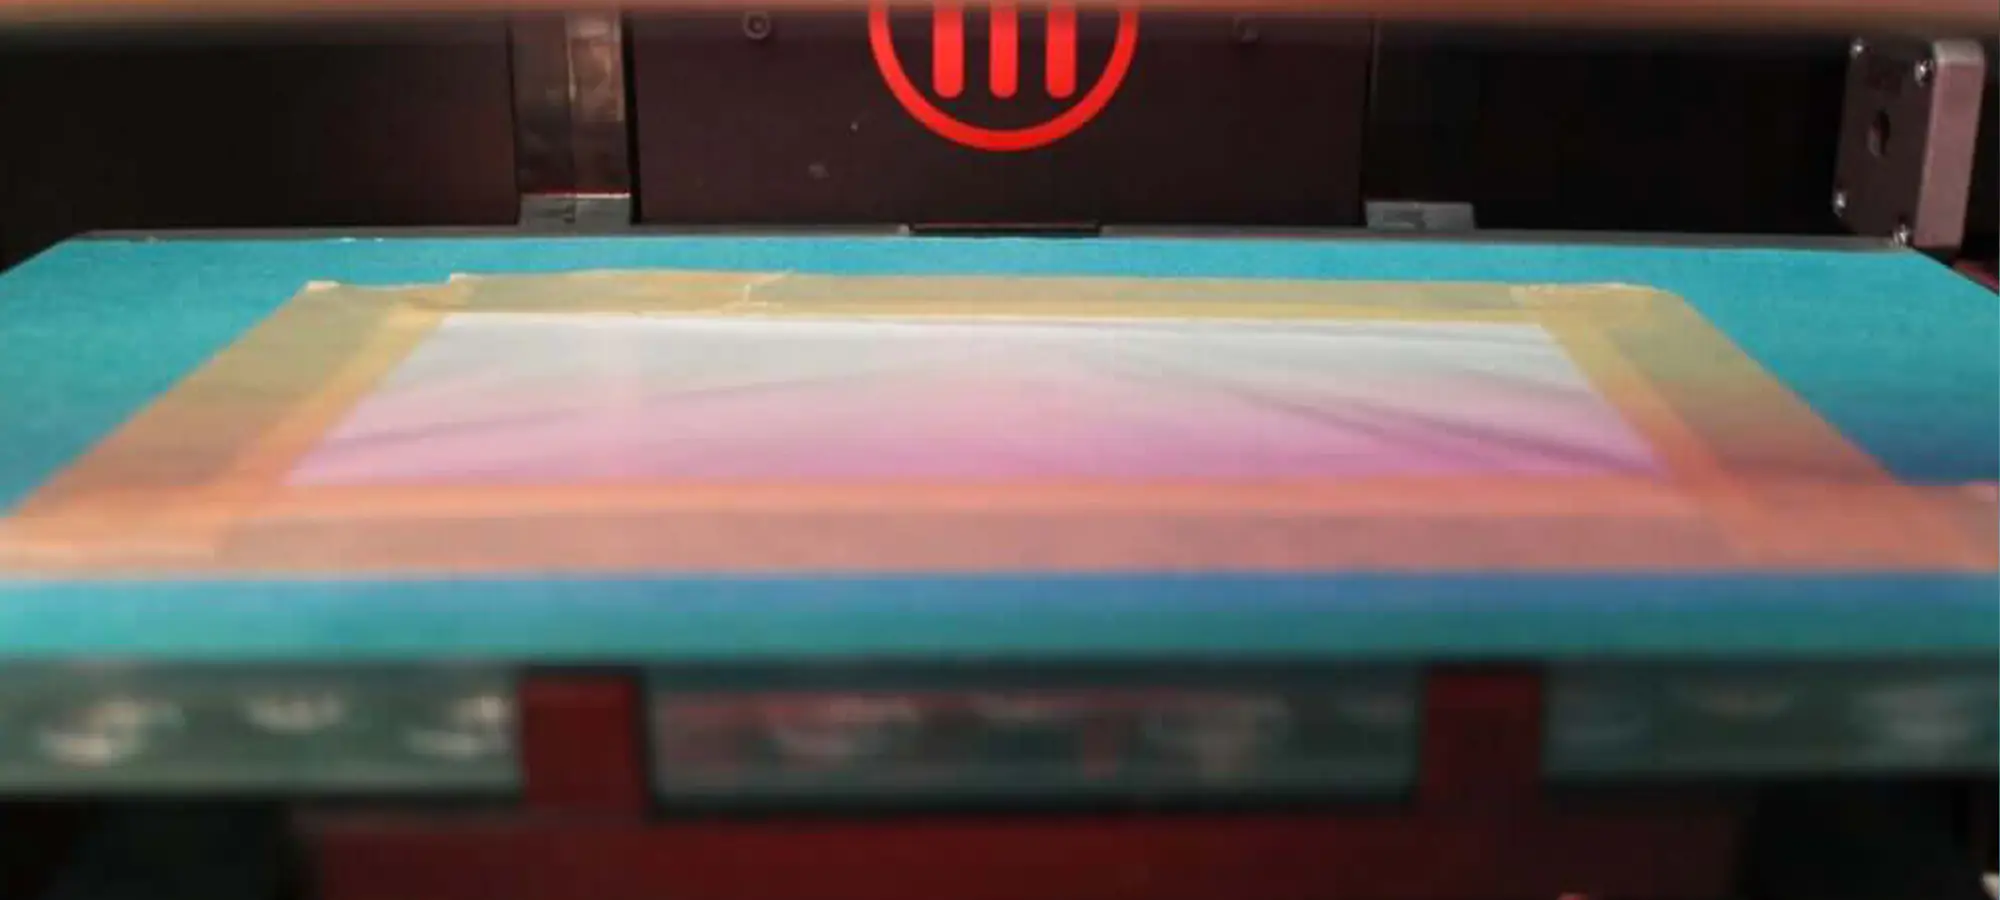
In comparison with the meshed one, printing on a heat-sealable fabric is easy. Because the effort that goes in laying down the fabric isn’t necessary.
The filament here bonds to the polymer coating which is on the fabric. So the whole stretching and again seeing it from one direction and the other is not meant to be done.
TPU is known to bond beautifully and creates a very strong connection, however, when you use PLA, it doesn’t bond as flexibly as TPU.
Here what you need to do is to, tape down the fabric onto the platform and then adjust the height of the platform for compensating with the thickness. Load the print and then start printing.
Recommended Projects Which You Should Keep an Eye On
If this is the first time that you are doing 3D printing of fabric and you’re looking to make a future in this industry, here are some of the huge projects that have been announced recently which we believe you should keep an eye on.
MIT’s Soft Fabric
 Credit: 3dprintingindustry.com
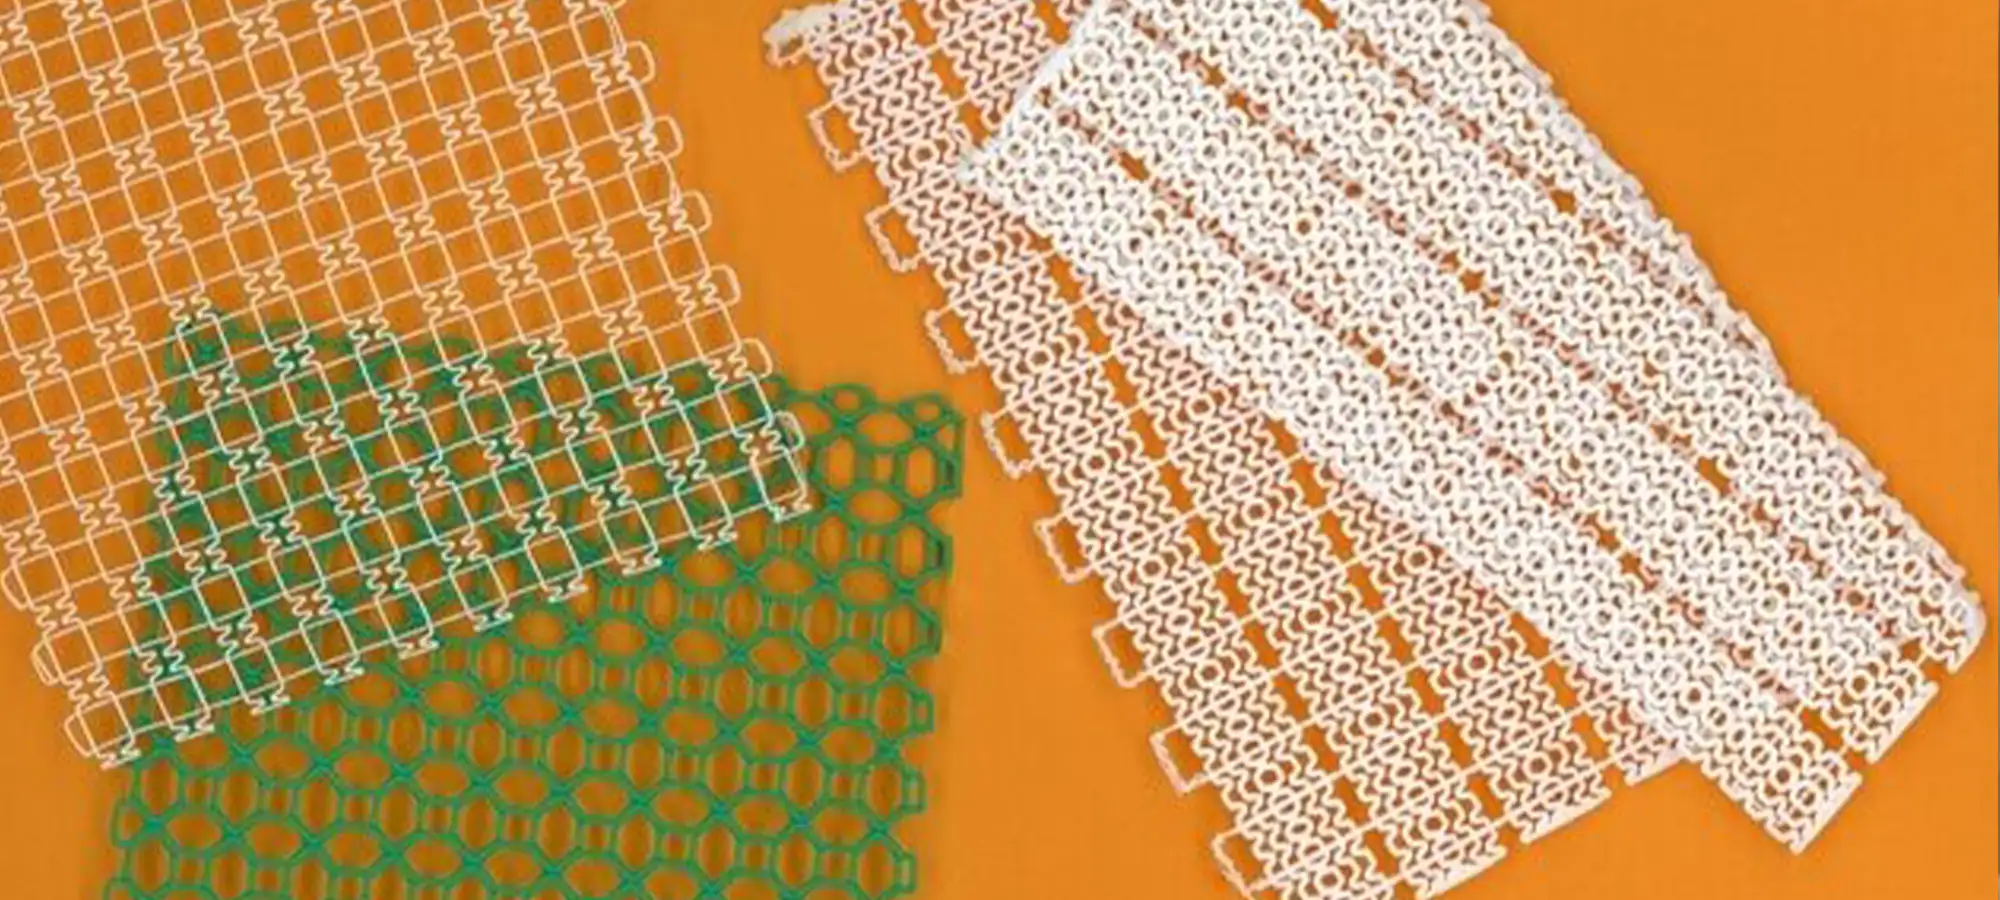
Traditionally the biggest problem that has been faced by the fashion industry is to achieve comfort and flexibility in the products. For achieving this, the team of MIT researchers is trying to fix the roughness of the fabric.
They are working on achieving a desired texture over the materials and are primarily focused on the basic structure.
TPU is, by them pronounced as the material on which they could achieve phenomenal results. The designs which they experimented on TPU were very effective and a flexible yet strong fabric as soft as the skin was generated from their experiments.
They believe that the use of fabric is not just limited to the field of fashion but also could be used in the medical field as a surgical mesh.
Danit Peleg’s Homemade Clothing
 Credit: racked.com
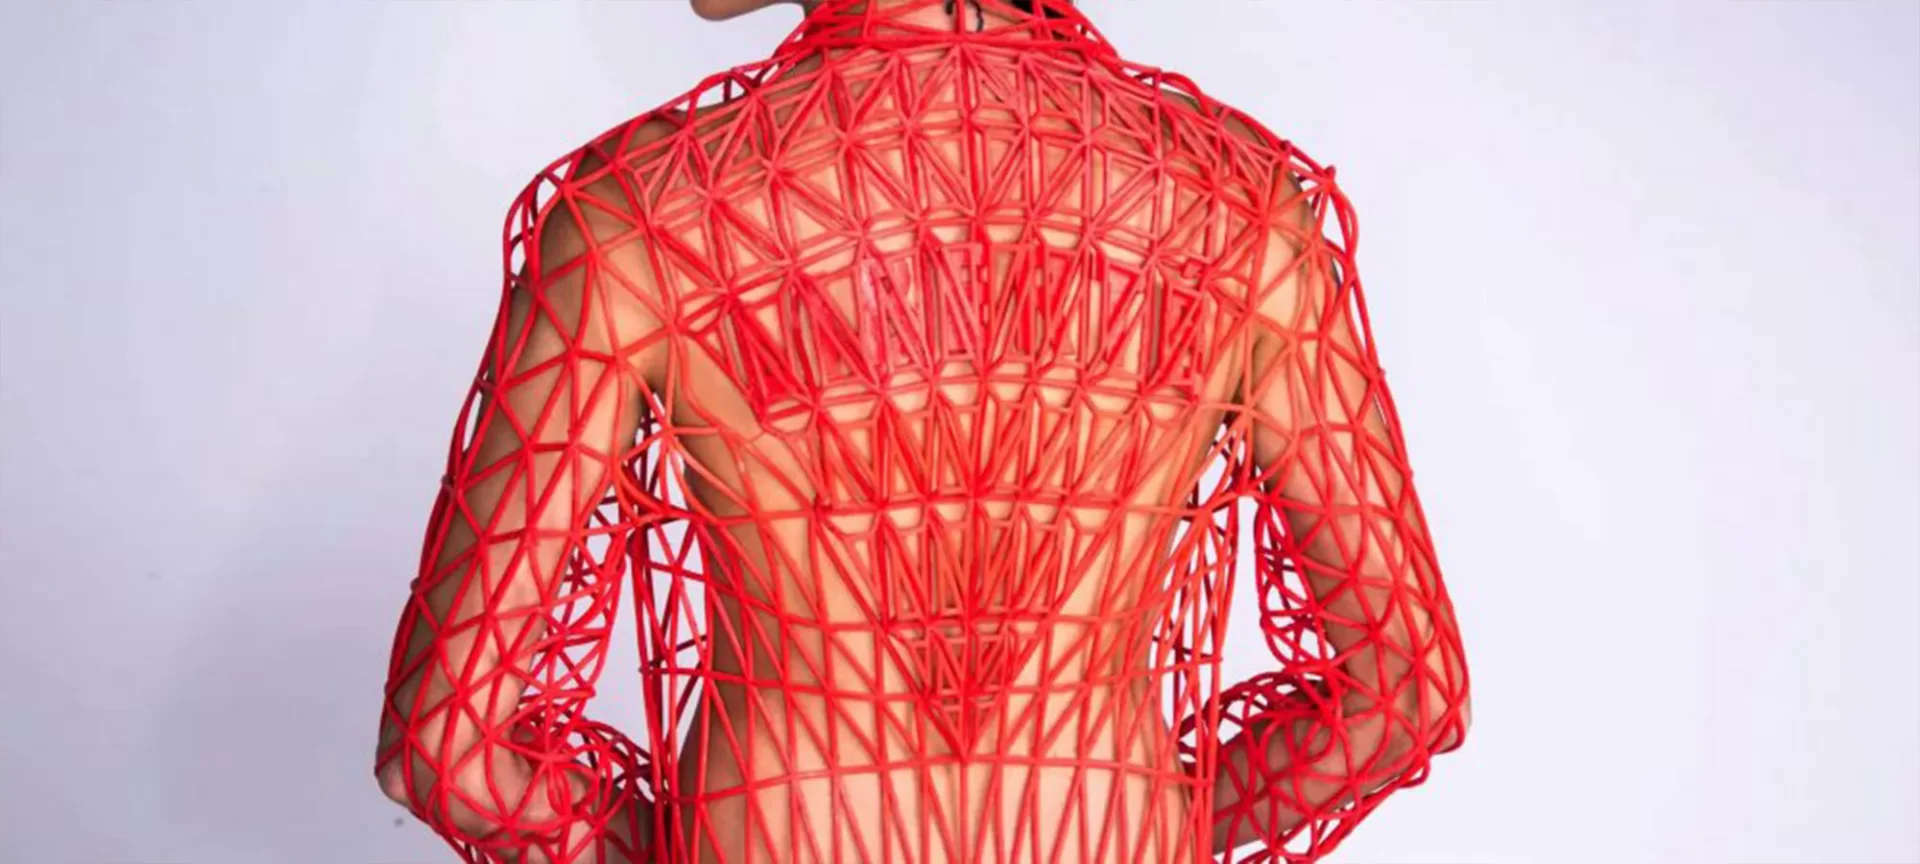
A student at Shenkar College of Engineering managed to print FilaFlex TPE on a desktop printer as a part of her final year project. Although the outcome printed in sheets is not larger than A$ size paper, but who cares as the design was only meant for conceptualization. The complete see-through of these outcomes does require one to wear fabric for covering what’s underneath it.
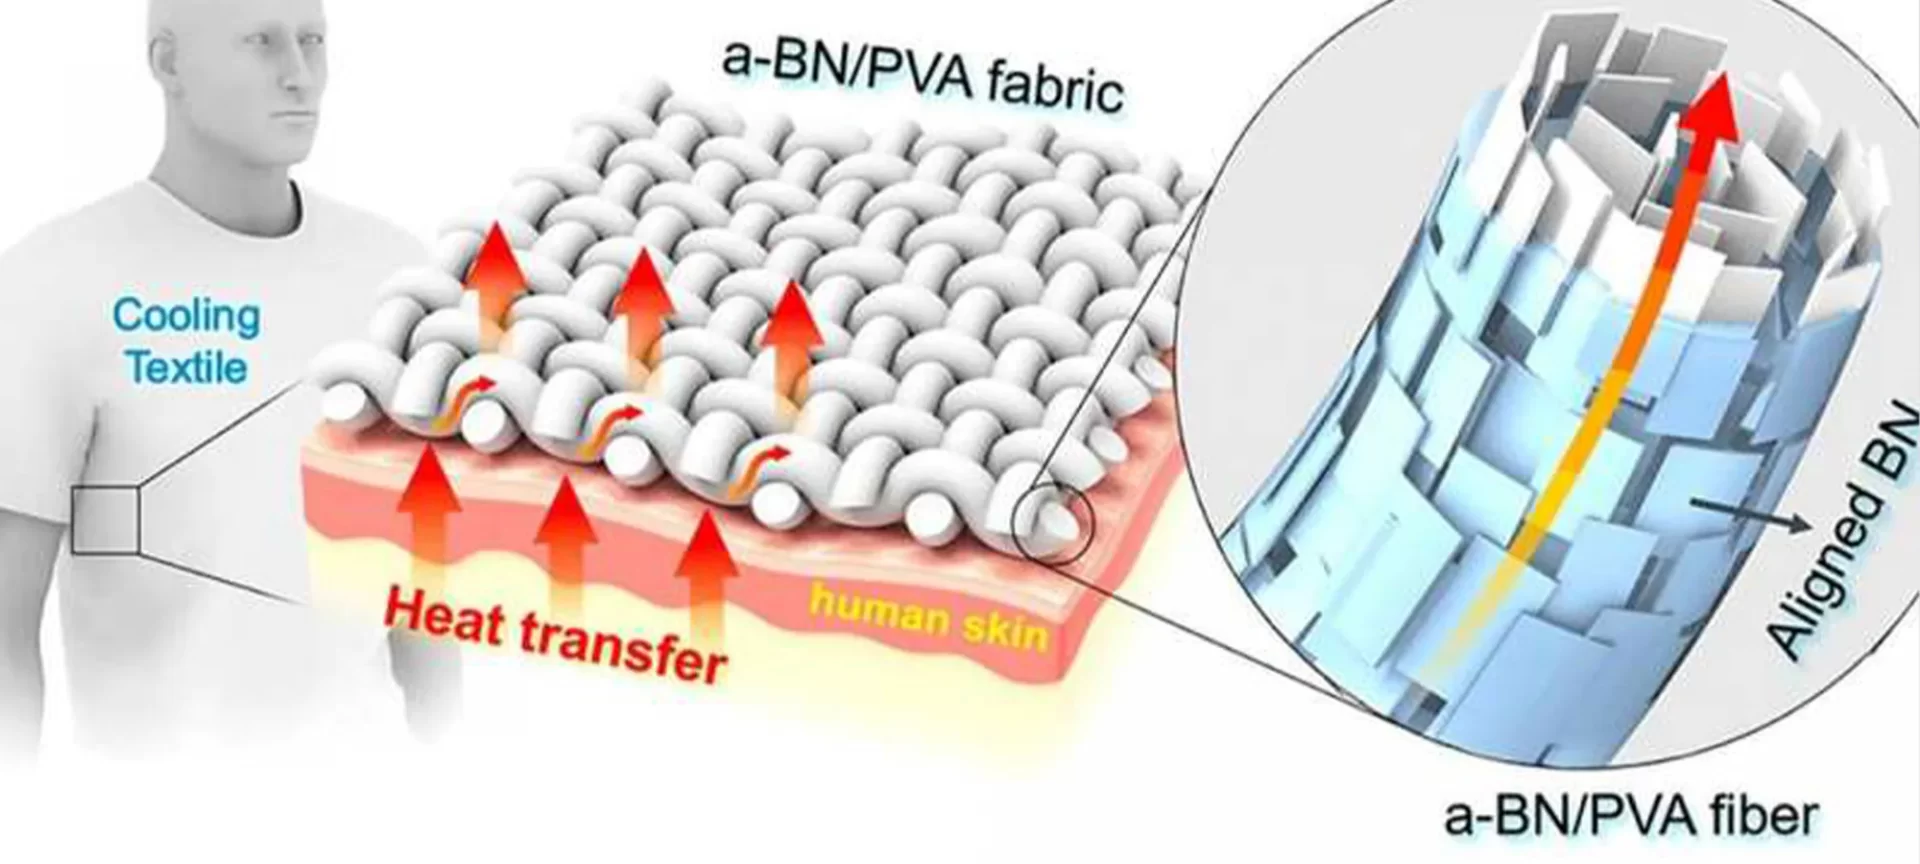
Heat-wicking material By University Of Maryland
 Credit: phys.org
The students at this university have with the help of their faculties, developed a fabric structure that pulls the heat in one way out. Now you know from where the material name did come into existence.
3D printing has allowed them to use a unique material which is a mixture of PVA and boron nitride. And what this mixture does is, it maximizes the thermal conductivity of the fabric. Isn’t that amazing?
The Conclusion
The topic of 3D print Fabric is so interesting that almost every top fashion designer is busy getting their hands on it and learn the basic concepts of 3D printing.
This is to check if the claims that are made by this technology i.e. to provide the minuteness in clothes like no other, is correct or not. Some fashion designers have employed a complete department in their office to research this technology and experiment with the textile industry.
With the growing times and the concerns over waste produced by the textile industry and its damage is done to the environment, chances of 3D printing and textile revolution is very possible.
Hopefully, this article was helpful to you in gaining the confidence that you need for 3D printing fabric using your 3D printer.
There are files available on websites from which you can download the design and experiment more related to 3D print fabric. And if you do not have your 3D printer, you can look online for a website that provides you this service.


