Having a logo for your business is nothing new. Every establishment has one. A logo provides a unique identification to every company.
That is why 3D printing logos are also trending these days. Creating a 3D logo is again not something that only started with additive manufacturing.
Especially the entertainment companies, hospitals, and other different niches usually get their 3D logo in front of the offices to advertise the brand name.
3D printing has just made that easy. One can now create any design, either simple or complex using 3D printing.
Those who were not able to put their 3D logo on the company’s gate because of the complexity of it can now do that. Also, it has exponentially reduced the cost of creating such logos.
But is it possible to make it in the house? If you own a 3D printer, you should not worry about getting it done from somewhere else. This is because it is very easy to 3D Print.
The 3D printing logo can be accomplished in just a few steps. All you need is a bit of basic 3D designing knowledge and some patience to deal with failed prints. And, you can create almost every design.
Before we start figuring out how to 3D Print a logo, let us talk about the importance of 3D printing logos in the house.
There are many reasons you must go for this option if you have a 3D Printer. And why not, that is why you got your 3D printer in the first place.
You wanted to experiment and try out things using the machine that has such huge potential. Most of all, you can learn a lot when working on your own.
What Are The Benefits of 3D Printing Logo?
3D printing has been making every niche find a better way to get things done. For example, one can now create better and affordable prosthetics using 3D printers.
So, the medical industry is under the influence of technology in a good way. Other companies such as those related to aerospace, automobile, dental, entertainment, etc are making huge shifts in their workflow to include 3D printing for different processes.
If not everything, but the most that you can get from 3D printing is your logo created in 3D space. This could help highlight your identity as a business.
The next question is: Why to use 3D Printing for logo making over conventional methods? Isn’t the answer simple enough?
- You can get the logo in minimum lead time possible
- 3D Printing logo would get you the most accurate and precise design
- You can choose the material in which you want your logo to be 3D Printed
- It is much affordable than any conventional method
- Plus, you can do it yourself too
There could be many other perks too. However, sticking to the basic ones, let us find out how the 3D printing logo is possible with your 3D Printer.
How To 3D Print Logo?
Usually, the logos that we have at our offices are in the image form. Rather than generated as text, these are saved as image files. Hence, it creates a bit of a problem, especially for beginners to 3D print directly from the available file.
Many users experience problems when rendering the image file into a 3D model. Therefore, concentrating on the same basic problem faced by most individuals, we have come up with a solution that would utilize commonly available tools.
You can count on Microsoft 3D Builder and Microsoft Paint to convert a standard logo into a 3D Model. Later, you can 3D print it without any issue and as you work with any other 3D model.
Preparing for Rendering the Image to 3D File
![]()
As you know, logos have been more popular as a branding solution used over packaging designs. Hence, these are usually created for 2D mediums.
In many cases, these 2D logos provide us a 3D look. Thanks to the artists to use the shades and color to emulate a 3D environment. However, this only makes the problem even worse.
Hence, the first step when preparing a file for rendering is to clear the image a little and make it as simple as possible. Yes, we go back and try to get the basic form of the image.
To start with, you must select an image that is large enough to go through the different processes of refinement.
You must be knowing that with every pixel-based format, the increase in resolution leads to degradation of image quality. However, vice versa does not stand true.
You can decrease the resolution but the image quality won’t be harmed. That is why selecting a large size image would keep you on a safer side.
Although you can always depend on Microsoft paint, if you have any other free Paint program in mind, you can utilize that too. The app would help you in filling and erasing the edges.
You may have to remove or re-color a few areas. All this may result in a shortening of the image. Finally, you can get a reduced size fit for 3D printing without any degradation.
For example, if you have a logo with shading and shadows, you must get rid of those. These shades and shadows are for increasing the 3D appearance of the 2D image.
And, for actually 3D printing, we do not require those advanced editing techniques. Isn’t that such a cliché.
After removing the shadow and unnecessary edits, you must fill the image with a solid color. This is possible with the help of the bucket tool. Doing so would help ensure your image has the consistency of color all over the image.
Before transferring it to the 3D format, you must ensure that the highlights are erased. You can also add any more images that you wish at this point.
You may find the edited image simple when compared to the initial file. However, this is what we need to cleaner transfer to 3D as well as for better scaling.
Add a 3D Model
The good news is that your 2D file is now all set for further processing and you can add it to the model. So, you must add a 3D background first.
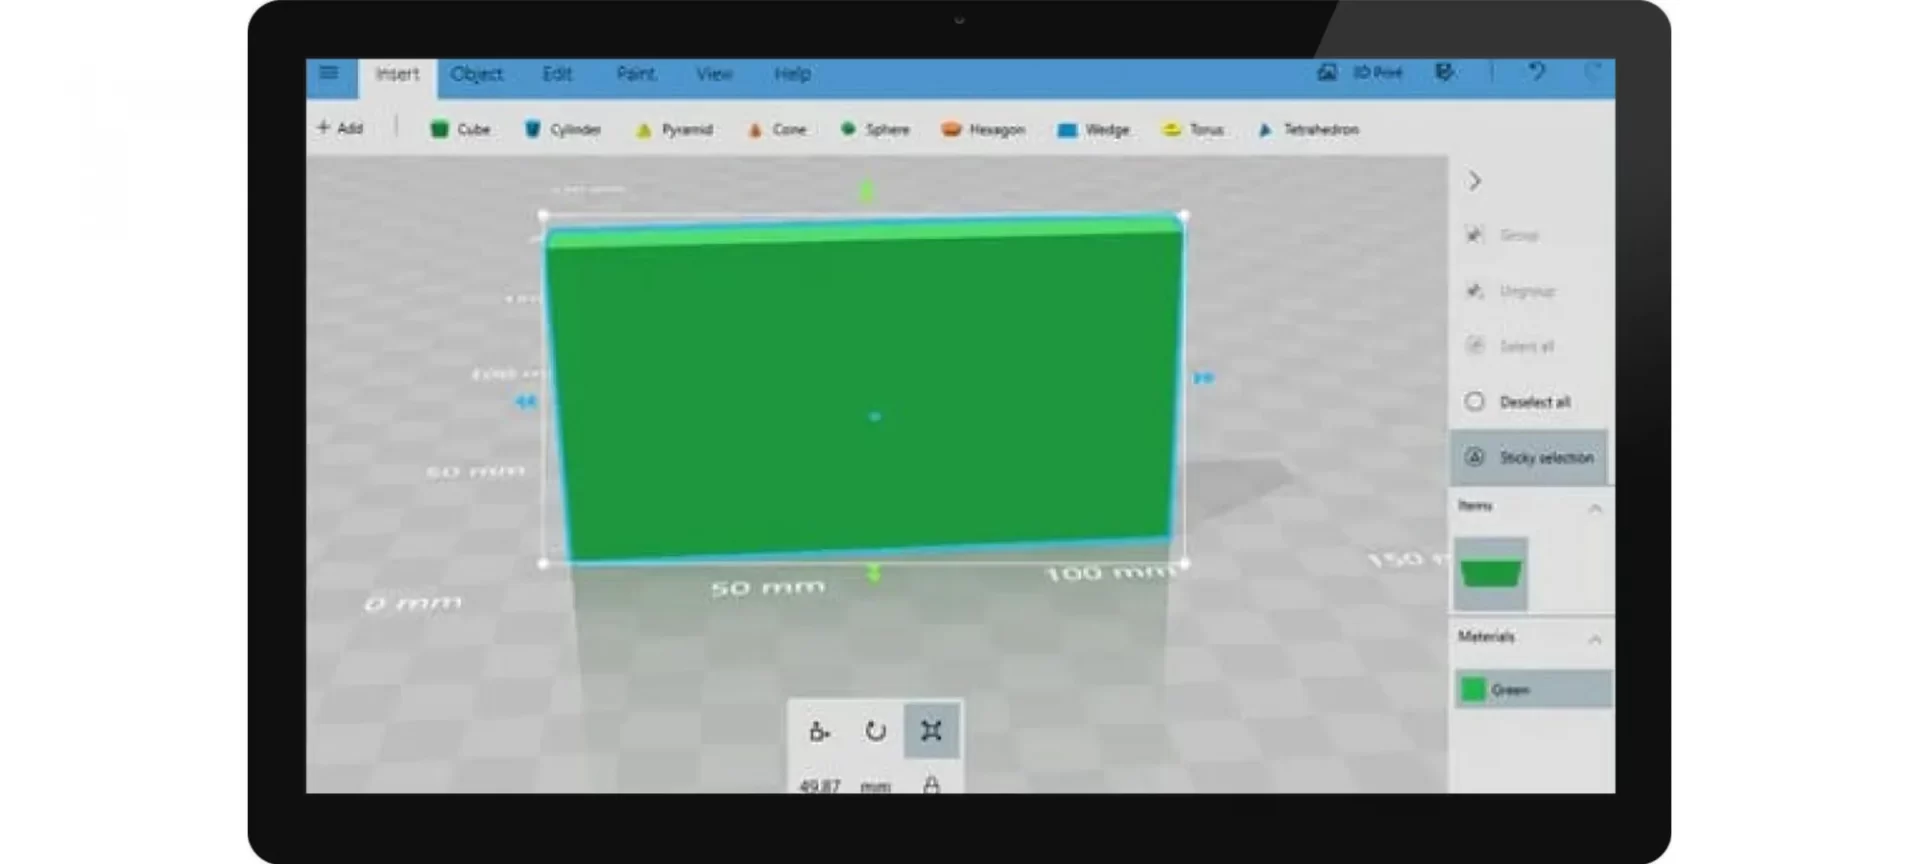
To do so, you will need a 3D Builder. You can use the one you like. You can either use a target model for holding the logo or alternatively, you can even create a background cube for placing your edited 3D Logo over.
To add the image to the 3D space, you must use the Add function. Further, you must select the Load Image option to process the background model into the 3D builder workspace.
Time for Importing the Logo
![]()
Now that you have your backing prepared, you are ready for importing your logo to the workspace. You must import the logo first.
The 3D builder has the import option and you can make use of the same for adding the logo over the selected background.
You also have the option to make use of various controls available with a 3D builder to edit the model as needed before finally printing it.
If you do not know what you exactly need, you can try a few controls and explore the looks before making the final decision.
Here are a Few Controls that you May Like to Experiment With
Contour: It provides a solution to fill the contours, if any, detected in the image. You can use the Inverse toggle for the same. This tool helps in checking the positive or negative solid object of the files imported in the 3D workspace. The tool is best for well-defined images as well as solid texts.
Height Map: If you are working on a photo or some complex image, this tool would be very handy. It provides users with the height of the resultant solid as per the transitions of the image. However, you must note that many details are lost when a single color filament is utilized for a 3D printing logo or other similar files.
Edge: If you need to define the edges clearly, this is what you will require. It would help highlight the edges of the imported logo. It won’t scale though.
Stamp: This control does pretty much the same as the contour does. However, this works by leveling the image to a completely flat surface. You can very well get an idea from the name itself. As the name goes, it transfers the ink from a stamp pad making use of the resultant printed model.
Time to Scale

As you may have already decided and created the 3D model on which the 2D logo would tag, it’s time to fit them together.
First, you must scale and position the 3D logo (you just created) over the selected model. If you are not satisfied with your final image, you can even add a few more model elements by importing it to your final 3D workspace.
The controls will help you scale and position the logo as desired. You can rotate the image as well, depending on the results you are looking forward to.
You can use the different and assorted list of controls to size and make other changes to the logo before positioning it over the target image.
It wouldn’t be any difficult. And, because you have already reached this step, you are through with the difficult parts of the 3D printing logo. And, we are very close to the next step.
3D Printing Logo – The Final Step
![]()
Done making all the edits and satisfied with the final looks. If that is so, no more waiting. You can go ahead and save the 3D model as the .STL file.
STL extension is accepted by almost all the slicer and some of the 3D printers as well. If your 3D printer is capable of slicing the image all by itself, you can skip this step. Or else, you must slice the 3D model using your preferred slicing software.
This would provide you with the G-code that your 3D printer understands. Feed the same to the 3D printer and there you go. Hit print. You can now rest and let the 3D printer take care of the best part.
Before you hit the print button, you can also visualize the 3D model as it would look after being printed. So, you know what you are going to achieve after hours of hard work.
Simple and plain, isn’t it? The time of the 3D Printing logo would depend on the complexity and size of the 3D model.
The Conclusion
Just a few minutes before, you were thinking of letting your 3D printer rest and get the 3D printed logo from somewhere else. That’s not done.
You got to see what it is like to 3D print your company’s logo all by yourself. Not only the process is easy but highly satisfactory.
Either you need a small 3D model to fix it on the front of your cabin’s door or a bigger one, with connecting parts for somewhere at the reception, you can create it using your own 3D printer.
You can also select the material you wish to use. Remember to use the correct 3D printer settings, depending on your material of choice.
The surface finish and other properties would also depend on the choice of the 3D printing process as well as the material you opt for 3D printing. However, one thing is for sure, you would love to see your logo come to life in the real world.
It is a great way to showcase your company’s existence and make yourself loud and clear to your customers.
Stay focused and find out what more you can do with a 3D printer apart from the 3D Printing logo for your business or other companies.
There is a lot of possibilities still waiting to come out. And, you can be the one to nudge the technology a little bit and find out what more. Until then, 3D print logo and see how it comes out to be.


