One of the user-friendly names in the field of slicing software is Cura Ultimaker software.
This software is famous for not requiring users’ conscious attention in what it’s doing.
All you have to do is load the file in the software, select the quality, and start printing.
In this article, we are going to bring in front of you, Cura Ultimaker tutorial in terms of texts.
Essentially, Cura is a software that is used for getting a digital file from your computer to the 3D printer in a format that is read by your 3D printer.
You can download the software for free, also the software is open-sourced.
Once you start comparing this software with others in the market, you get to know how easy this is compared to others.
It is simple to use, does not have too many options that can confuse you, you can design some of the most complex shapes using very simple and user-friendly tools.
The software support is given by the company named Ultimaker, which not only gives software support for Cura but also manufactures 3D printers.
All the settings that you can get in other software, are available in Cura.
For all those who like to have perfect settings for perfect parts or functional prototypes, you will get just the perfect tool if you are using Cura to play with the part or functional prototypes’ design.
Whereas if you are someone who likes to print, by changing a few quality settings and the speed options, then too, Cura is extremely helpful.
The Cura tutorial given in this article is for teaching the basics of the software to anyone who is willing to or has just started the journey of 3D printing parts and functional prototypes.
Overview of Cura Ultimaker

Cura 3D software is used for slicing 3D design files.
So, the 3D model of the part or functional prototype that you wish to 3D print with is uploaded on Cura 3D, and the software slices it into layers for creating a file that is also known as Gcode which is also called the language in which the 3D printer understands what the user wishes it to print!
Slicing done by Cura is done by converting a file into one of the formats i.e. STL, OBJ, or 3MF whichever is well understood by the 3D printer.
As we know that in any and every method of 3D printing, the printing happens layer after layer.
This means that after each and every layer the print head of the printer needs to be informed about the next layer.
This information giving part is done in a language known as G code, and it is done using slicing software such as Cura.
A typical G code looks like
- G0 F7200 X19.698 Y28.262 Z.36
- G1 F1500 E0
- G1 F1350 X22.467 Y26.175 E0.15654
- G1 X23.338 Y25.568 E0.20447
- G1 X24.246 Y25.027 E0.25218
Continuing the overview
Experts in the field of 3D printing can use this G code to adjust fan speeds, layer heights, as well as hot end temperatures.
We know now the fact that every printer has a different print head, nozzle height.
So, Cura needs to know the hardware which it has to work on to work accurately.
Once it has acquired these details, all that is needed to be transferred is specific settings such as layer height, and thickness.
Cura calculates the path that printhead needs to follow for printing each layer and then rising above, for printing the next layer.
The G code instructions can be saved on your printer using its SD card or they can be sent using the wireless connectivity feature.
This is the basic way in which Cura functions. After having got the overview of the software, let’s have a start guide for the Cura Ultimaker tutorial.
How to Download and Install Cura?

The current version of Cura is compatible with all the operating systems i.e. Windows, Mac, as well as Linux.
There are minimum requirements that Cura asks you to have on every one of these systems.
If you have Windows, for running Cura software it is necessary that you have Vista or advanced versions.
In case you a Macbook, it is a must for you to have a 10.7 OSX or advanced. For Linux ubuntu, you need 15.04.
You need to download Cura software from its website.
And then run the installer, go through the general steps that you have to for downloading any software.
After a stage, you will be asked whether you are willing to install additional components or not.
In case you are willing to import 3MF, OBJ, or X3d models in your Cura 3D software, you can check on the boxes that are visible to you on the window and then let the installation proceed.
After the installation will complete, Cura 3D opens automatically. After you quit Cura 3D and wish to open it again, you can do that from the Start button.
Cura Ultimaker Tutorial Step 1: Setting up the Printer
When you load the printer for the first time, you would be asked on the screen to select one from the many printers, in case you wish to set up the printer for the first time you would have to click on Setting and then choose the Printer option.
The list of many printers will appear on your screen.
In case you downloaded from the Ultimaker website, all of these listed printers will be Ultimaker, and only if you are lucky your printer will also be present when you click on the Other option.
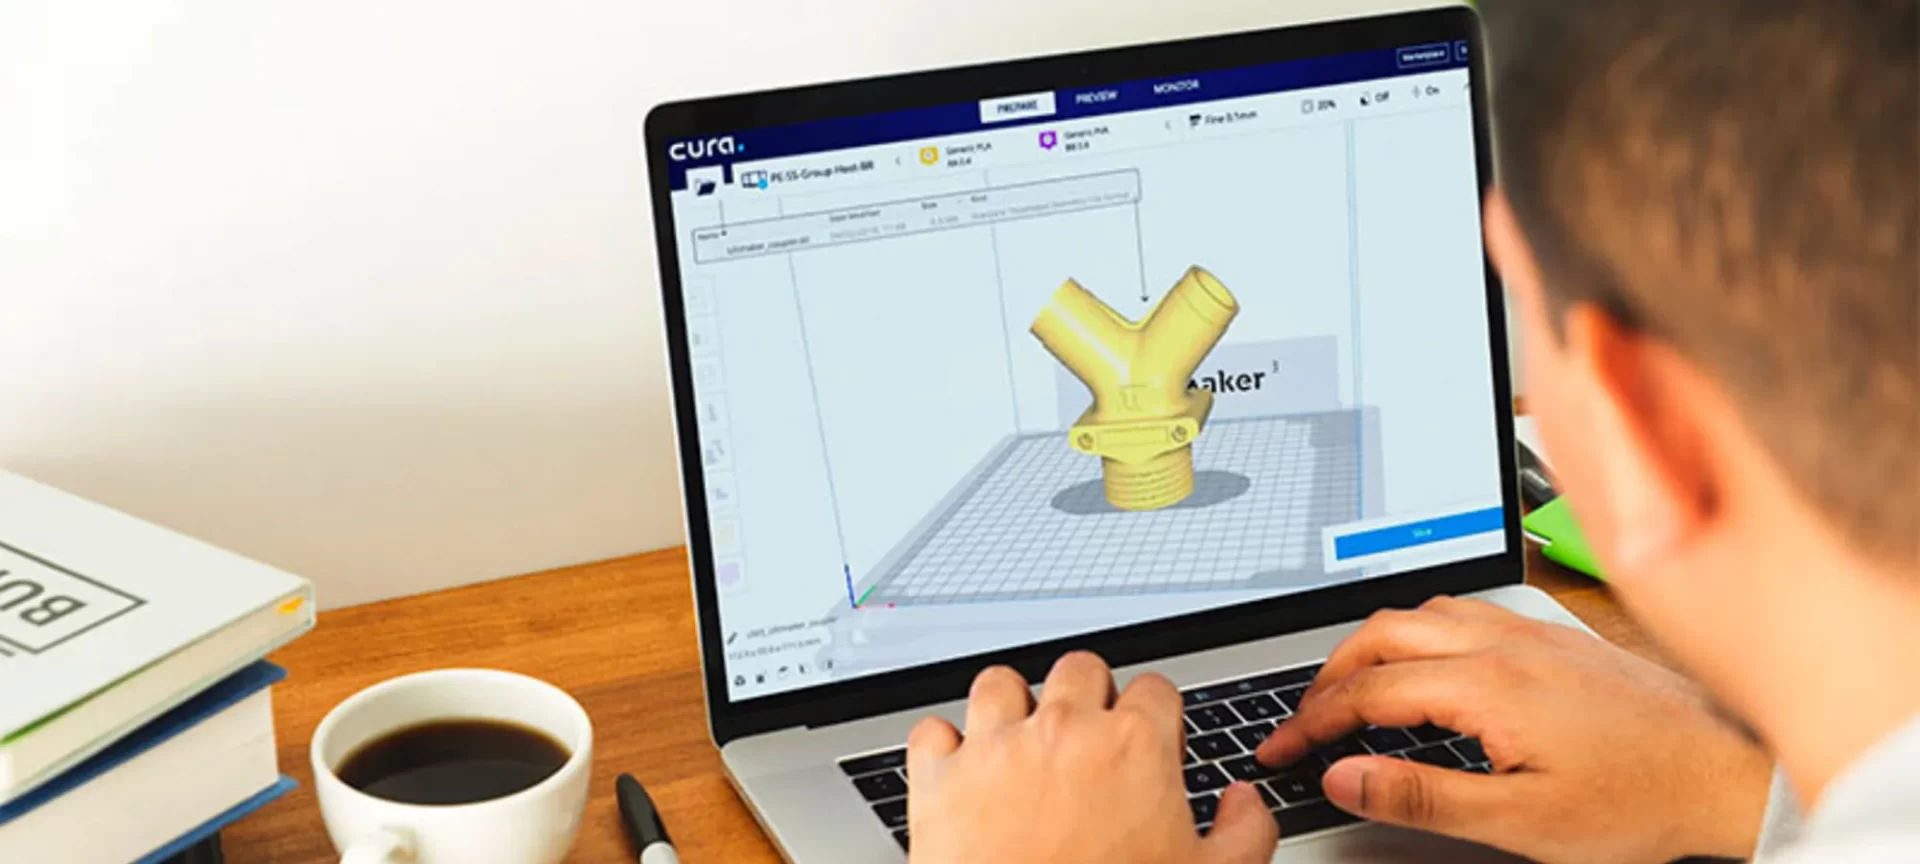
Whenever a model will appear on your Cura software, it will be small and will appear on the Cura build area.
If you wish to see the model from another angle you can.
You can also navigate the build area by holding Shift and left-click for moving the build area around the screen of your device.
There is also an option for rotating around the Cura build area.
This you can do by pressing and holding a right-click around the build area. Mouse’s middle scroll can be used for zooming the build area in the Cura slicer.
There are three basic ways to view a model in Cura software. You can view a model solidly, which is the default view provided to you by Cura software.
It will show you the shape and size of the part or functional prototype that you are willing to 3D print.
If everything is per the plan you have used shortcuts for navigating around the model, everything should be fine.
The other view is X-ray which is found under the Preview option. This becomes a great feature when something goes wrong in any print.
Because of this option, you would be able to quickly see parts and internal structures of your print.
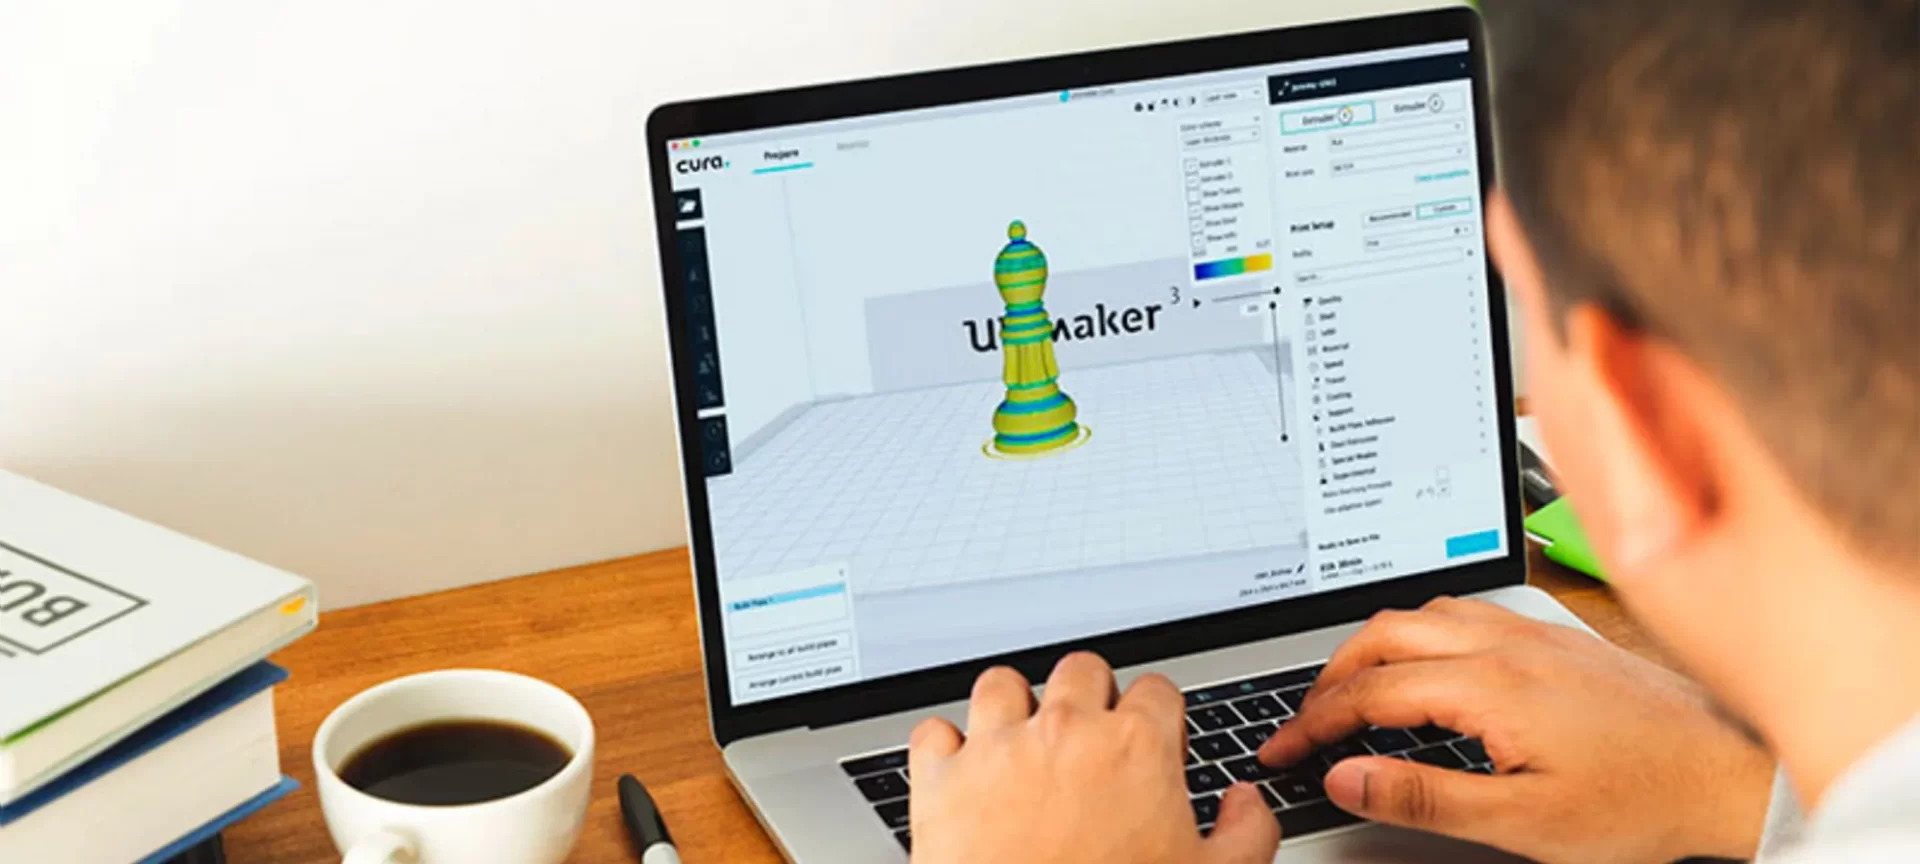
You can also view a print in the form of layers, everytime you get a feeling of something wrong in the print at a very basic level you just need to check the layer view of the print and check if everything is fine with it or not.
Cura Ultimaker Tutorial Step 2: Knowing the Custom Settings of Cura

While initial configuring, the recommended settings are calculated for your print.
It is a great option when you are starting out new and just want to see how a software and printer coordinates with each other, here in the options are limited, you can quickly adjust quality, infill, plate adhesion as well as support structures using this setting.
However, when you are completely familiar with the print settings and are capable enough to toggle every setting based on your need for the part or functional prototype’s printing, is when the fun starts.
When you will have just started using this software, you will find the print decent even on the recommended settings, but after some time, you would realize that you can do better with the surface finish and that is when you would want to work on customizing the setting.
Cura’s custom settings can be accessed from the Custom tab on the Settings option.
This is divided into sections namely, Quality, Shell, Infill, Material, Speed, Cooling, Support, Build Plate Adhesion, and Special Modes.
They are known to solve problems regarding nozzle leaking, print speed too slow, and objects not durable enough.
Cura Ultimaker Tutorial Step 3: Controlling the overall print quality of Cura
The print quality in complete 3D printing technology deals with the visibility of layers on the completely printed part or a functional prototype.
In Cura, the layer height setting controls the height of an individually printed layer on the part or functional prototype that you are willing to manufacture.
This is taken care of by making a trade-off between quality and print speed and by picking your own balance.
An important section consists of wall thickness which adjusts as the total thickness of the outer walls.
The general rule that goes here is the wall thickness should be an integral multiple of the nozzle size of your printer.
So, if your nozzle size is 0.35 mm, your wall thickness should be two times or three times that which is either 0.7 or 1.05 mm.
These are settings for improving your overall surface finish of the part or functional prototype.
Cura Ultimaker Tutorial Step 4: Infill pattern control

The default consideration of Cura slicer is a grid-shaped infill. And the setting would make sure it is printing one diagonal direction per layer.
Reasonable strength is provided without eating up too much layer using this.
When you are concerned about the print speed and want maximum, if you select this, you would get the correct print speed. Almost for every application, this infill will do.
However, in some applications, you would have to choose from the available infill patterns for ensuring the best outcome in parts and functional prototypes.
There are thirteen different choices offered by Cura regarding infill. Most important amongst these thirteen are Grid, Lines, Triangles, Cubic, Tetrahedral, Concentric, and Zig Zag.
Choosing infill is also something you should essentially know otherwise you would end up blaming the infill rather than your choice of choosing that infill.
For this, you will have to ask yourself the kind of outcome you are willing to have on the part or functional prototype you are willing to manufacture.
For example,
- If you need a mechanical part for aesthetic purposes you might even have no infill.
- If you have a large capping surface, you might want to you concentric infill which provides minimal material and is the fastest to print at the same time it has enough strength.
- In cases wherein you wish to have a part with reasonable strength you can use grid, triangle, or lines. They are known to provide the best outcome.
Cura Ultimaker Tutorial Step 5: Support Structures
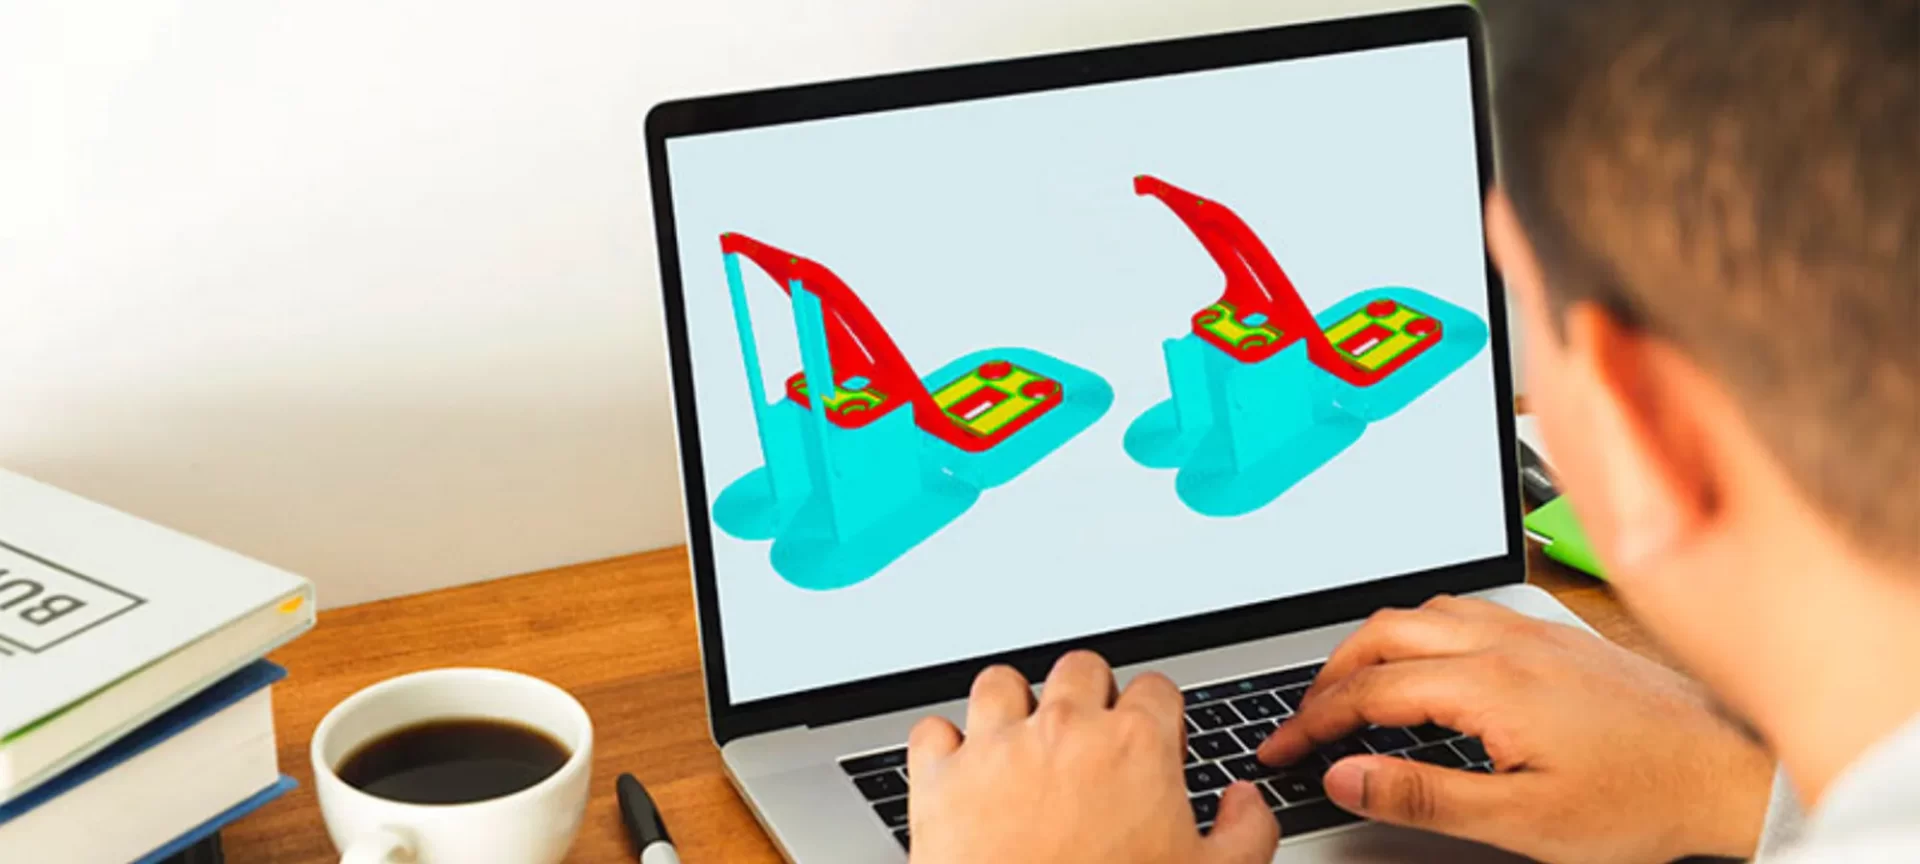
Parts that are printed using FDM 3D printing technology need support structures and it is important to understand the settings that Cura has for the same.
Too much attention to the part and no attention to the support structures also does not help.
So, Cura 3D offers support structure related settings under the Support section of Custom Settings.
Using these settings, it is possible to create support structures that have good stability.
When you enable a support structure in Cura there is a setting called Placement which automatically appears in the Support section.
Here you need to select from two options i.e. Everywhere or Touching build plate and then the support structure is placed accordingly.
The Conclusion
The points mentioned in this article does not cover the complete Cura Ultimaker Tutorial but only some basic settings that are required to know as a novice for working with 3D printing technology.
And these settings are something that you would need to know for any printer you are working with.
For more help, you can also see videos of the tutorial available online, and for doubts contact the company.


