DLP is an abbreviation for Digital Light Processing. Amongst the very many types of categories in which additive manufacturing is classified, DLP 3D printing falls under Vat polymerization.
In this category, a liquid photopolymer resin is used to solidify under a light source. The other type of technology that also falls under the family of VAT polymerization is known as SLA.
SLA is an abbreviation for Stereolithography. In SLA 3D printing a build platform, an elevator platform, a tank filled with resin, and a light source are used with galvanometers to produce parts.
Printers based on the SLA technique start by lowering the build platform into the resin tank. Here the galvanometers are used to monitor the laser beam.
If the laser beam does not reach the bottom of the tank, the print is not accurate. Galvanometers operate with G codes, ensuring the laser beam reaches the bottom of the tank.
The laser solidifies the layer which is printed using the resin. As soon as one layer is solidified, the build platform moves one layer about that. This process is repeated until all the layers of the part are completely solidified.
Now that you have known how SLA 3D printing works in general, you’d be able to learn by comparing it with working with DLP printing. But before that let’s have a little brief about how DLP 3D printing was invented.
How Was DLP 3D Printing Invented?
The man credited for the technology’s invention is Larry Hornbeck. He is the creator of Texas instruments and is said to have created DLP 3D printing in 1987.
In DLP, digital micromirrors are used. Each mirror that is used actually represents a pixel in the image that allows display.
Now, let’s see how the technology actually works.
How is Working of a Printer Based on Digital Light Processing?
As you have already read that a laser is used in SLA 3D printing, to solidify the resin. Here in DLP 3D printing, a light source does the same work.
This is the primary difference between both technologies. However, an in-depth working style would help you if you are a designer who is using other technologies for 3D printing, or a newbie in additive manufacturing.
So, let’s look at the working step by step:
- The build platform of a 3D printer is positioned inside the tank that is filled with liquid photopolymer. The height between the build platform and the tank is approximately one layer long.
- After having the build platform correctly positioned, a ray of light from the light source is allowed to pass. This ray of light creates the next layer by selectively curing and solidifying the photopolymer resin. The light ray has a predetermined path on which it travels. Here is where galvanometers play a huge part. Since the path is predetermined galvanometers are placed at intervals to monitor this path. After solidifying one layer, the same process is repeated for the other layer.
- The build platform moves at a safer distance as soon as the solidifying of one layer is finished. Alongside the movement of the build platform, the sweeper blade is constantly re-coating the surface.
- For parts that demand very high thermal and mechanical properties, post-processing under light rays is required. That is done in the fourth step which is optional sometimes.
The basic diagram of a DLP 3D printer would let you know better about this process. So here you go:
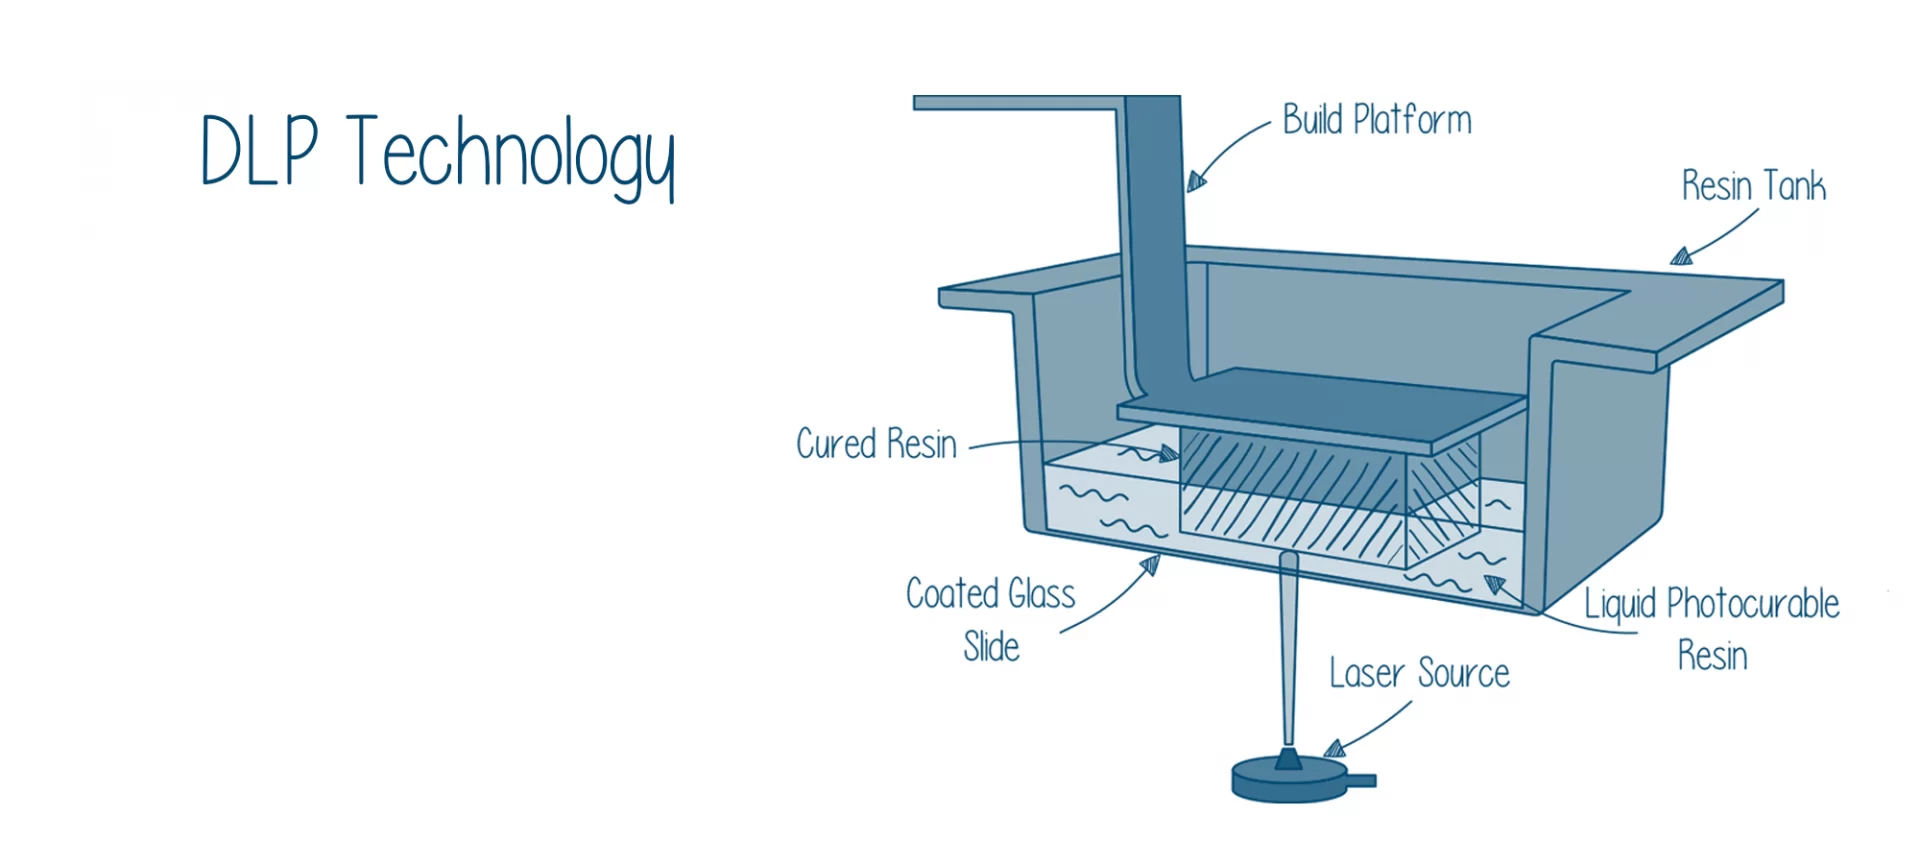
The solidifying of liquid resin is a process that is called photopolymerization. During this solidification, the monomer carbon chains that compose the liquid resin are activated by a ray of light.
This activation creates solidification and unbreakable bonds between each other.
Because this process is irreversible, it is not possible to convert parts that are manufactured by DLP 3D printing, back to the liquid phase. DLP 3D printing using thermoset polymers and not the usual thermoplastic polymers.
What Are The General Characteristics of DLP 3D Printing?
Like other techniques, DLP 3D printing has some characteristics that should be known before printing is done using this technique. Here is our attempt to list some of them:
Parameters that are related to Printer
Most parameters cannot be changed as they are already fixed in DLP printers. The only inputs that are to be given by the user are the layer height and orientation.
The typical layer height in DLP ranges between 25 and 100 microns. The lower heights capture curved geometries more accurately than the upper ones. DLP printers come with two orientations namely: bottom-up and top-down.
The top-down DLP printers have the light source placed above the resin tank. The build platform begins its journey from the very top of the resin vat and moves downwards layer by layer.
While in the bottom-up DLP printers, the light source is placed under the resin tank. After every layer, the solidified resin is detached from the bottom of the tank and the build platform starts to move upwards.
One should know about these orientations of printers before putting his/her step in DLP printing.
Support Structure
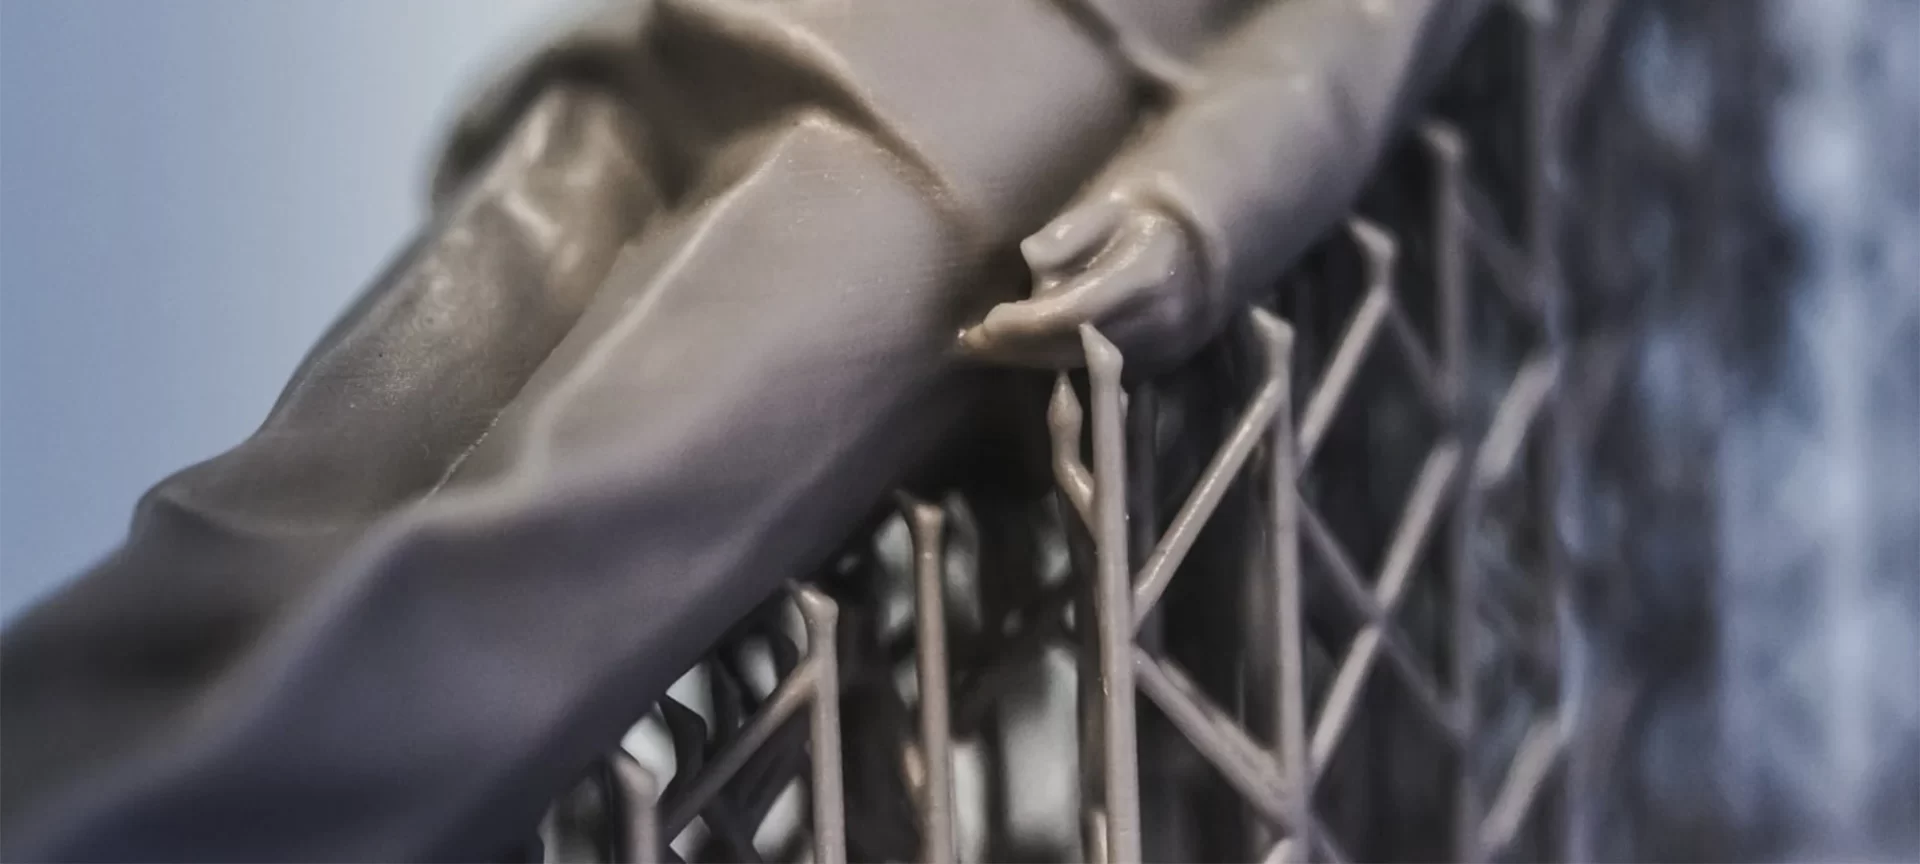
The orientation of the DLP 3D printer would determine the amount and location of support. These structures are printed in the same material and should be taken out manually after the printing is completed.
In top-down DLP printers, the support part can be printed in any position. However, they are generally printed flat to minimize the amount of support and a total number of layers.
While in bottom-up printers support structures are more complicated. The forces that are attached after the resin is solidified can cause these structures to detach themselves from the build platform.
So extra care needs to be taken. For this reason, the support structures are oriented in angle in which reduction of support is not a primary concern.
After reading about printer parameters and support structures, one must know as a DLM designer about a problem called curling.
Curling
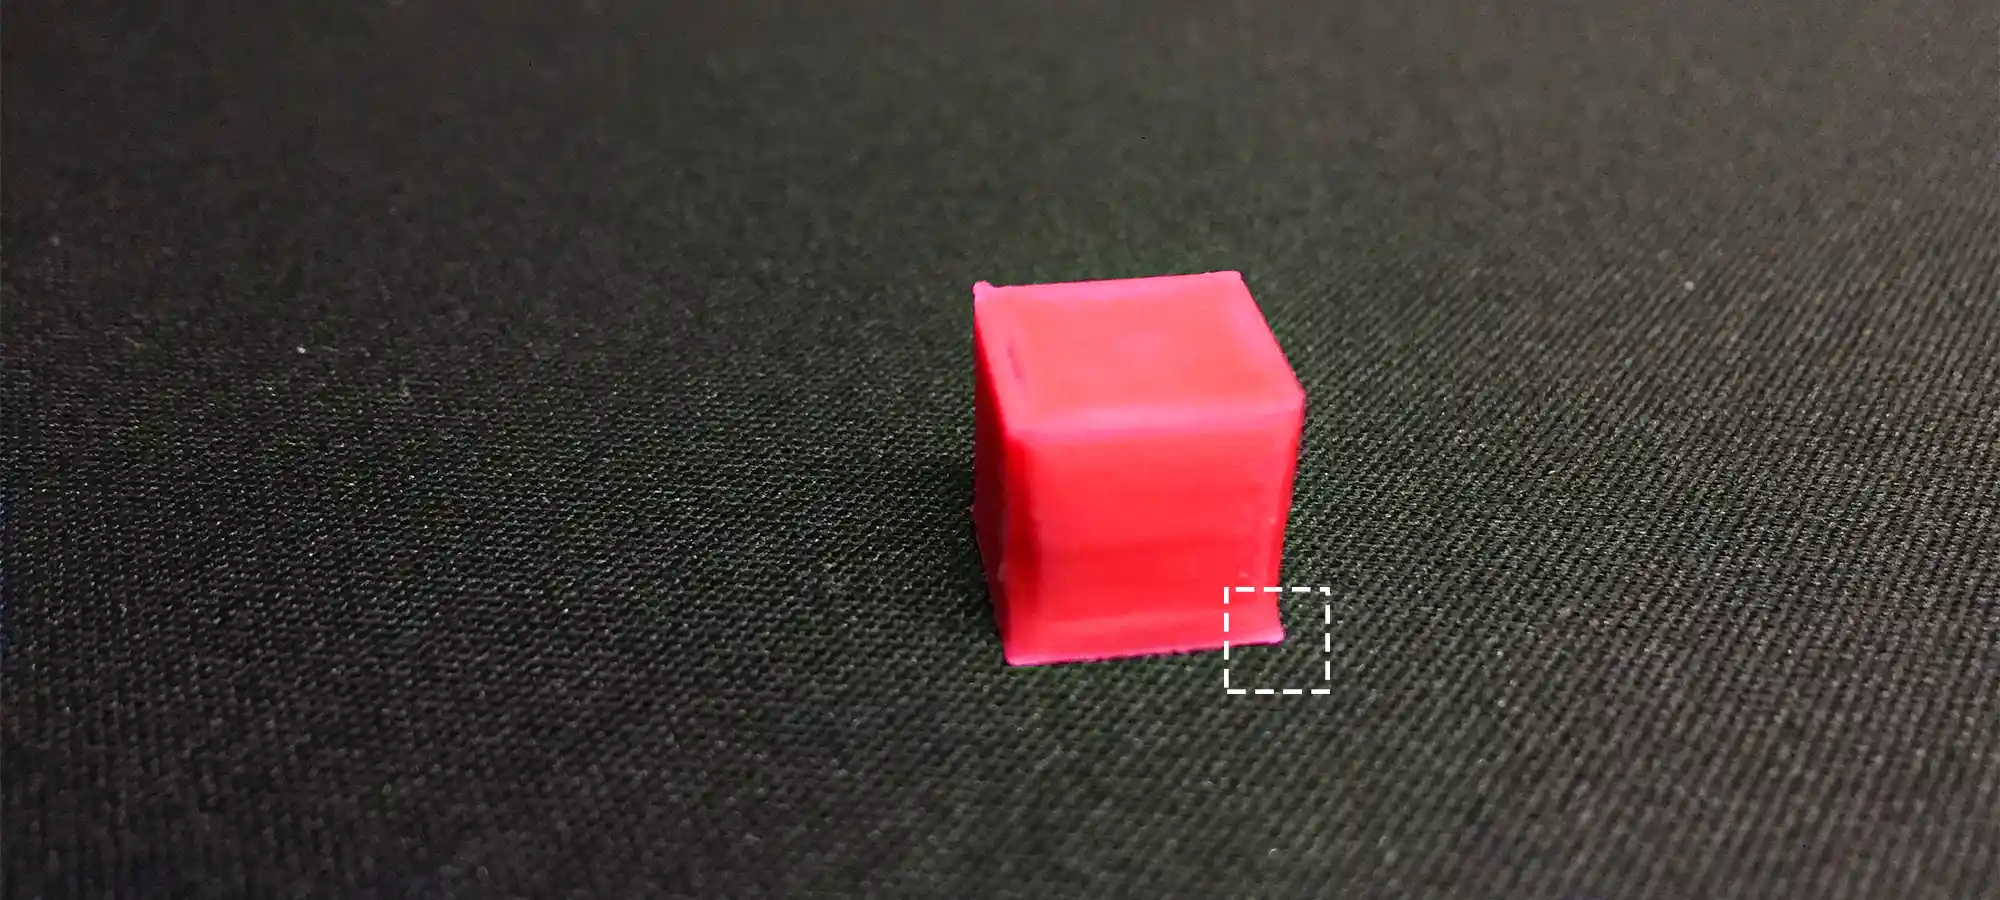
As in FDM, there is a problem of warping, in Digital Light Processing there is curling. This problem occurs during the solidifying of resins.
The shrinkage in resin, while they are exposed to light, causes internal stresses inside the material. Whenever there is a new layer developed above the already solidified layer, this shrinkage takes place.
This is a natural problem that occurs in the material due to the inherent nature of technology so it cannot be avoided. Let’s take a look at a problem that occurs in every technology i.e. Layer Adhesion.
Layer Adhesion
Parts that are printed with DLP printers have isotropic mechanical properties. The nature of this DLP printed parts is given to the ray of light which passes through the liquid resin.
Later this ray of light is used to solidify layers and fuse them together to a very high degree. In DLP printing, solidifying continues even after the completion of the printing process.
This improves the hardness and temperature resistance of the material that is produced by DLP printing and it also makes it brittle.
With Layer Adhesion, we complete the list of characteristics that are seen and needed to be taken care of in DLP printing. Now it is time to take a look at a comparison between DLP and SLA.
Comparison Between DLP and SLA
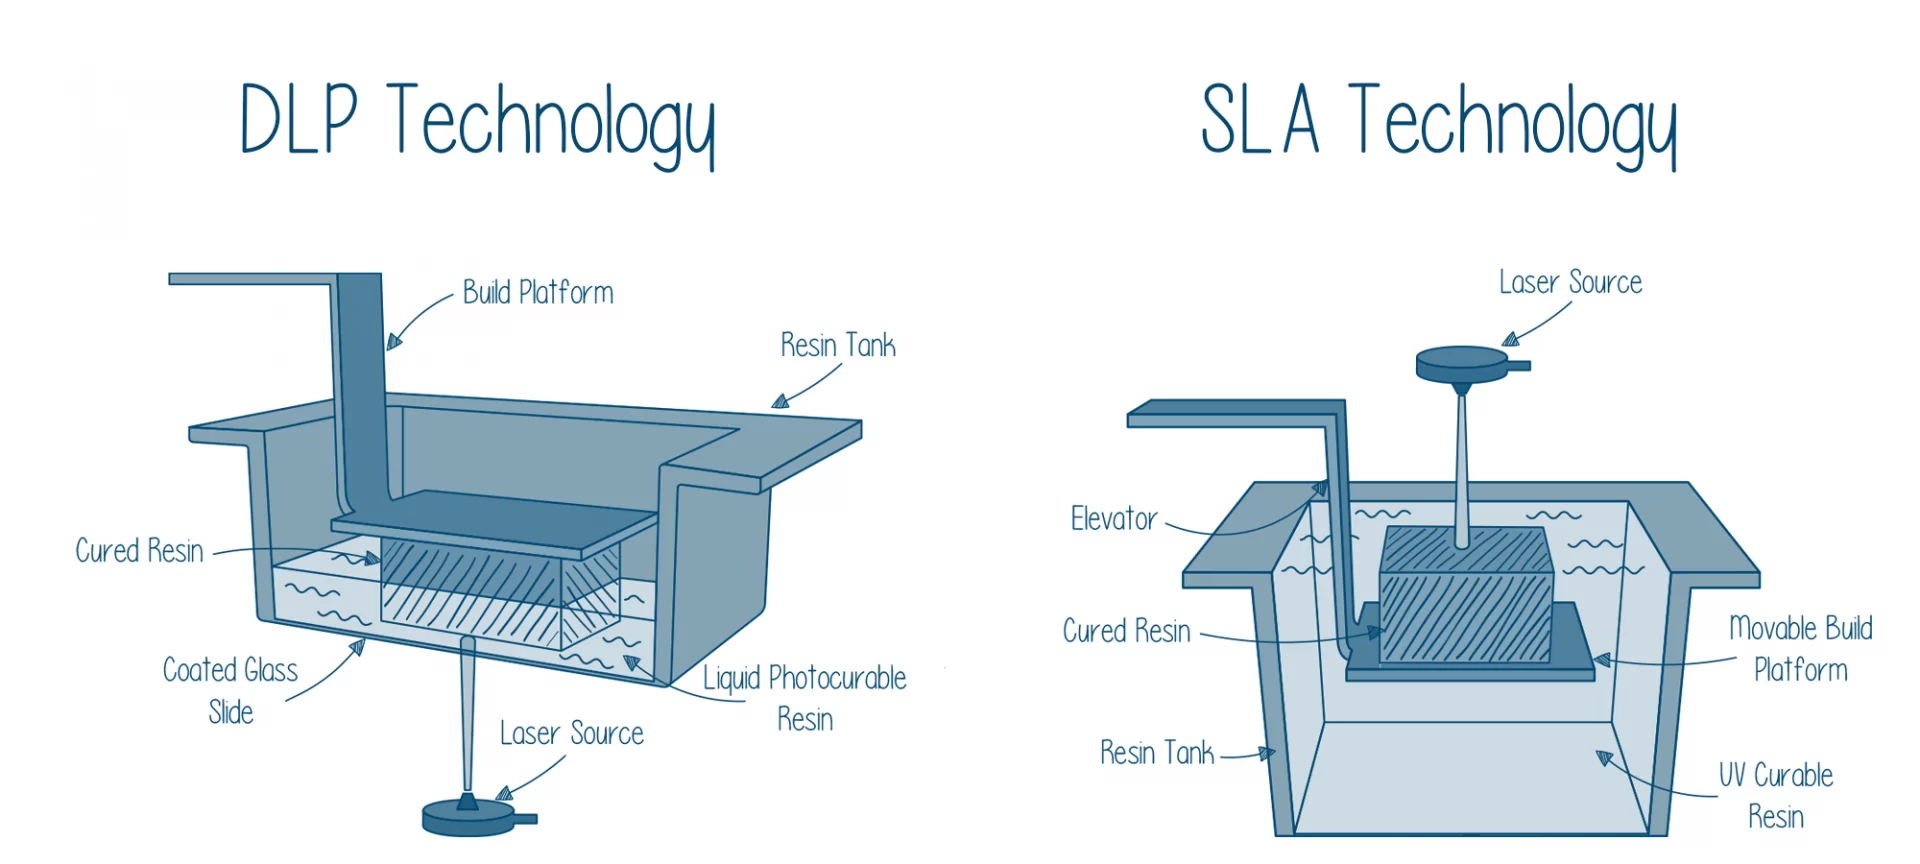
There is a benefit when you are using the DLP 3D printer over the SLA printer. The difference between them is speed. DLP printers are speedier to operate and produce a print faster than SLA 3D printers.
However one should such an idea after reading this that DLP printing does not have a limitation.
A DLP 3D printer uses a digital projection screen so the resolution of your print directly depends on the resolution of your projector.
The greater resolution your ray of light has, the greater resolution your product will have. While in the SLA technique, this is not the case. Even cheaper devices can produce higher resolutions.
The reason behind the expensive range of DLP printers is this only. SLA printers are available in every range, whereas DLP printers are not that widely available, especially to small businesses because they are expensive.
DLP 3D printers produce the boxy surface finish. The voxels of these printers are rectangular, so curved sections of a print does not tend to have a very smooth finish compared to SLA printers. But this problem can be solved by sanding after the part is printed.
A similarity between DLP and SLA printers is that both use resins. So mostly they can be used interchangeably. However, one needs to decide whether he/she wants to manufacture parts with a light source or a laser beam.
After seeing the comparison between DLP and SLA printing, let’s take a look at a few DLP printers which are the most recommended.
Recommendations of DLP printers
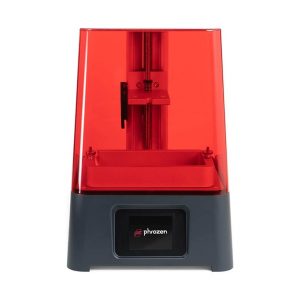
Phrozen Sonic Mini

This is one of the best budget resin 3D printers. This DLP 3D printer uses a mono- LCD masking screen to achieve layers solidifying.
It’s easy to set up a DLP 3D printer which is available at $200. This DLP 3D printer is made by a company that’s based in Taiwan. Let’s take a look at its pros and cons.
- This printer is affordable to use.
- It’s easy to assemble a printer.
- Amongst the competitors in the same price range, it’s faster.
- It produces products with a small build volume.
- This printer offers a very low layer resolution.
|


Anycubic Photon
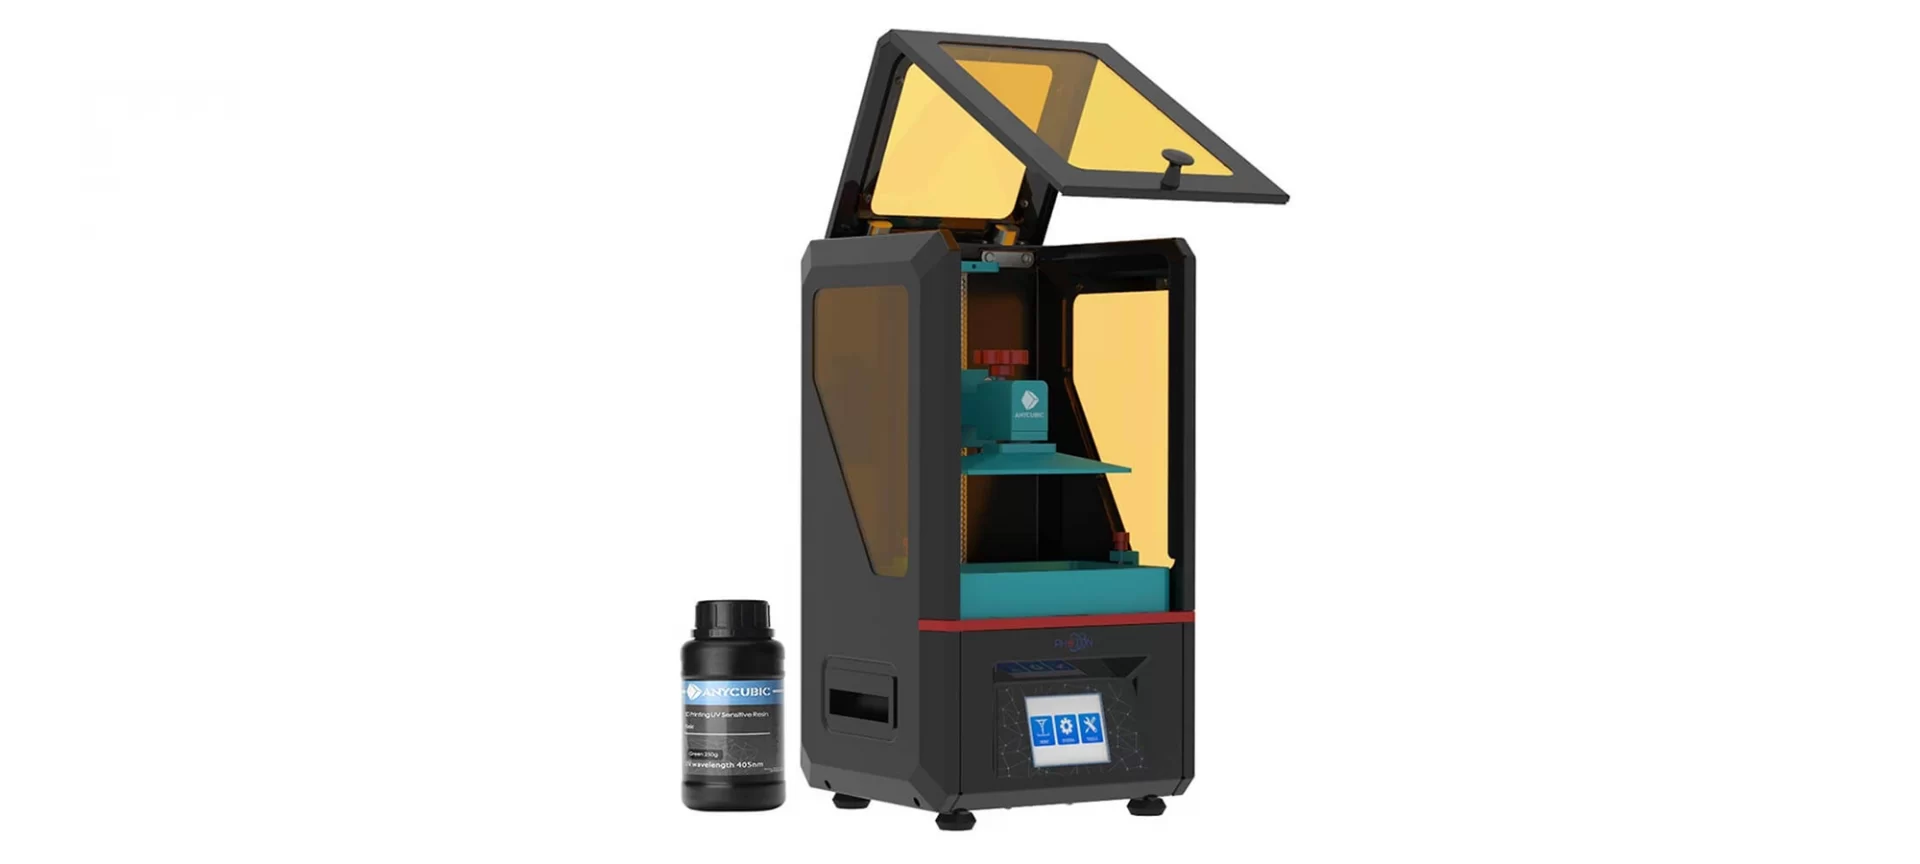
It’s a low budget desktop printer that is very appealing. Though being a small budget printer, it is able to produce commendable products with a high level of accuracy.
- It is easy to use and setup.
- It produces high-quality prints with a resolution of 25 to 100 microns.
- It is compact and efficient in size.
- It produces parts of small build volume.
- With resin 3D printing it can get messy.
- Safety gear is necessary while using this 3D printer.
Flashforge Hunter DLP
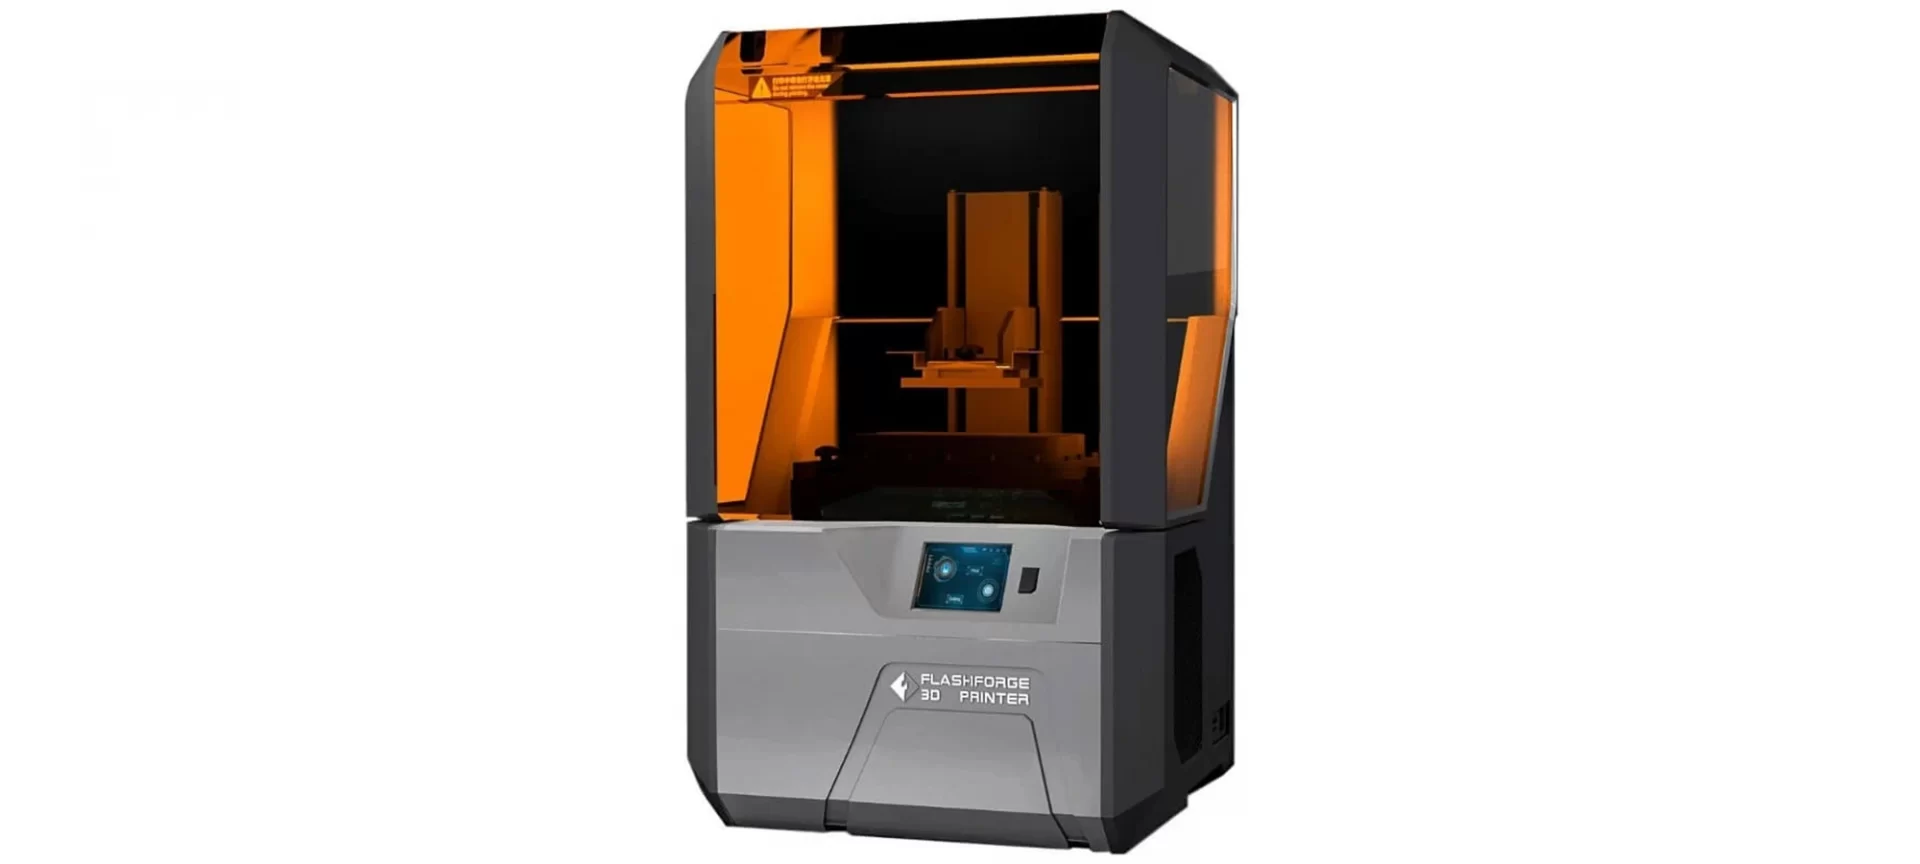
This is a desktop printer that is specially designed for small businesses and newbies into additive manufacturing. This printer specifically suits jewelry products because it comes with a separate mode for its production.
- This DLP 3D printer allows wi-fi connectivity.
- The 3D printer comes with an option of auto-calibration which saves time.
- Flashforge has a touchscreen with which it can be operated.
- There are complaints about its software being difficult to use.
- The stability of the printer is questionable when it comes to vibrating less during the printing process.
Before concluding the article we would like to talk about the limitations of DLP printing.
What are the Limitations of DLP 3D Printing?
- Because the parts produced by DLP 3D printing are brittle, they are less suitable for functional prototypes.
- The mechanical properties of the parts that are produced with the printing often degrade with time when exposed to sunlight.
- Support structures are always required in this process and post-processing while they are removed, they leave a mark on the product.
The Conclusion
DLP printing can produce parts with high dimensional accuracy and intricate detailing. The parts that are produced using this 3D printing have a smooth surface finish and are ideal for visual prototypes.
Industrial DLP printing can produce parts of bigger build volume such as 1500 mm * 700 mm * 500 mm.
Because of these characteristics, DLP printing has always been a top choice of designers and engineers who require higher accuracy and intricate detailing in their objects.
Above all the advantages it offers, this 3D printing technique is also faster than SLA and other 3D printing techniques. So, if one wishes to produce parts, wherein the print time is quick, he/she can go for DLP.
However, apart from speed, one must take into consideration the different limitations of the technology.
For example, if you wish to produce a functional prototype that needs to go through some amount of stress, this technology may not be a suitable one. This is because it produces brittle parts.
Moreover, you must be ready to invest time in post-processing when working with DLP 3D printing. Apart from that, the technology is still growing and we hope to see better prospects in the future.


