Experts are consistently making progress in the field of additive manufacturing. From desktop printers to full-color printing, we have come a long way. You heard it right. Colorful models are possible to print. And, Sandstone 3D printing offers users the opportunity to create parts that are presentable with visibly pleasing aesthetics.
Sandstone is a material that is popularly known for its contribution to the construction sector. Commonly used as an additive with grindstones and other construction mixtures, the material possesses an imperative role within the sector. And, the material can be 3D printed. In addition, the models made using Sandstone 3D Printing can have multiple colors.
Using full-color sandstone printing, users can certainly add more depth to their art. Hence, without much further ado, let us just jump to the details.
What is Sandstone 3D Printing?
There are two 3D Printing technologies that can help print with Sandstone: ColorJet and binder jetting 3D printing. During the printing process, the grains fuse together with the help of a binding agent. The printed parts are brittle and require further processing.
Talking about its composition, the material is mostly a combination of quartz mixed with tiny grains. Popularly known for its unique hardness along with its chemical stability, Sandstone exhibits great mechanical properties.
Moreover, it can go through a variety of recycling processes, ensuring different results to the users. Hence, users can print Sandstone models with varying texture, color, hardness, and porosity.
Sandstone printing does have a few limitations too. For instance, printed parts using this material are usually brittle. Hence, you cannot use these 3D models for mechanical applications or, for creating models that must go through stress and high pressure.
In short, the 3D Printed parts are mostly for show. Either you are creating a figurine, a decorative item, or a prototype for testing the design appearance, you can definitely use Sandstone. Otherwise, it is best to find other alternatives which happen to be the right fit for your needs.
How to Print with Sandstone?
Creating 3D models using sandstone is gaining huge popularity. However, it is not possible to create Sandstone parts with just any 3D Printer. On the contrary, there are two best-suited 3D printing processes that help print with this material.
Sandstone 3D Printing Using Binder Jetting
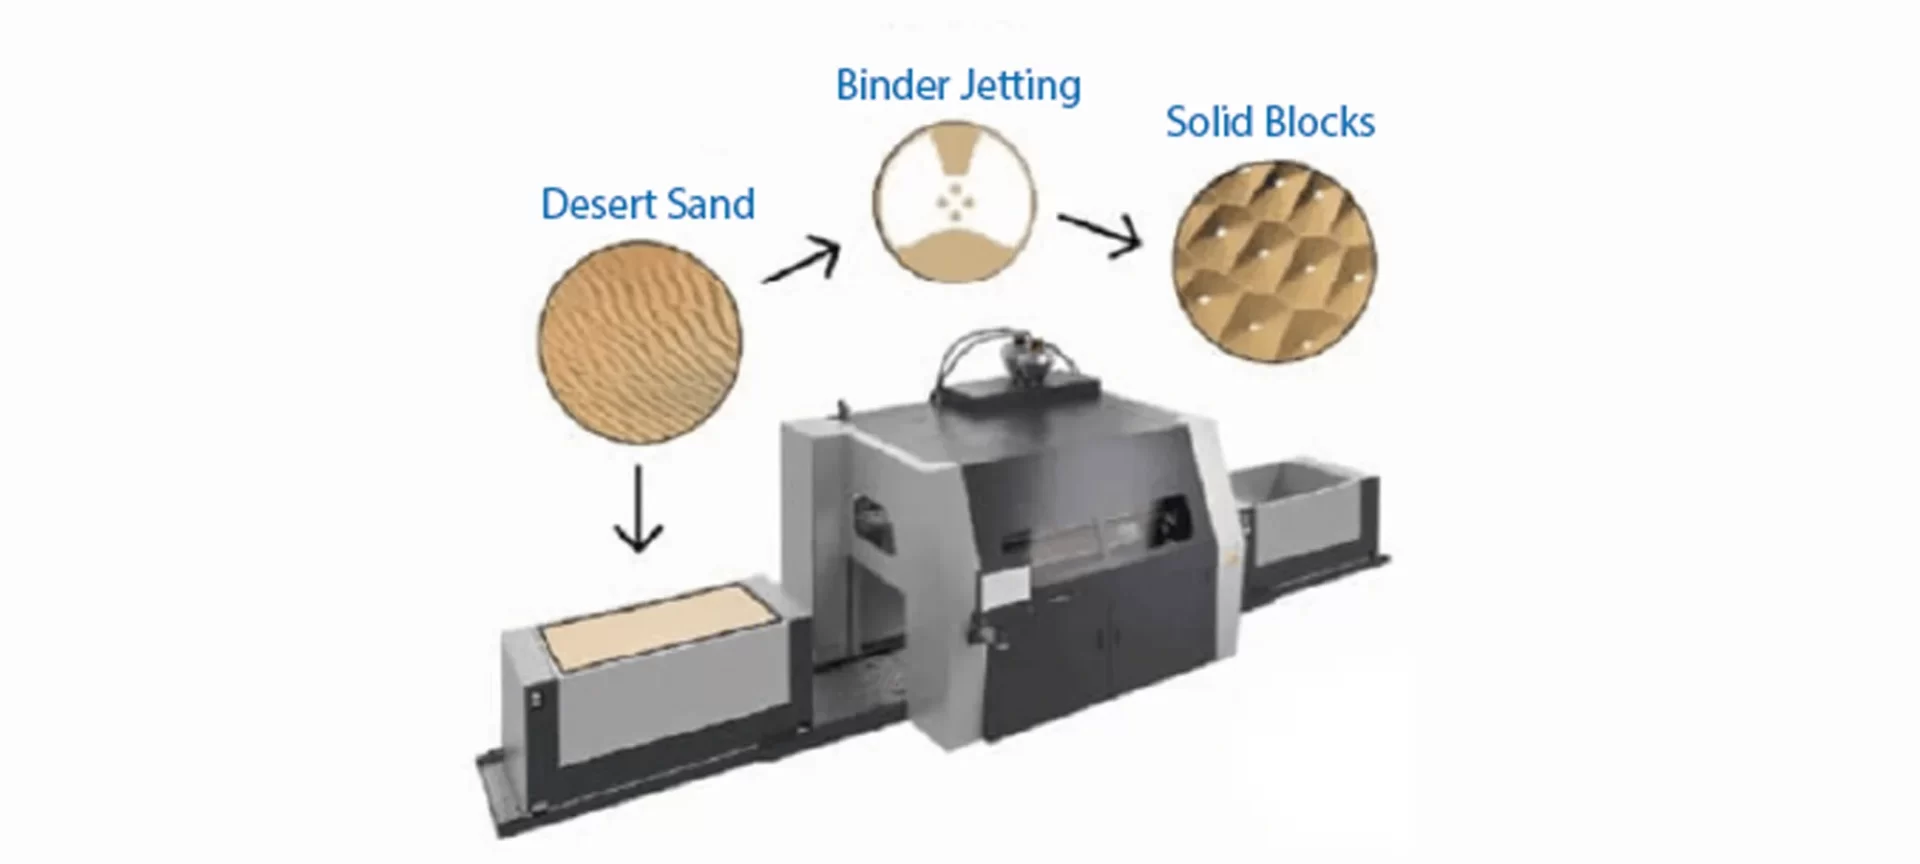
The process starts with spreading sandstone over the print bed. To fuse the particles together, the machine involves the inkjet nozzles, looking similar to the ones used with 2D printers.
The nozzle passes around the bed surface and keeps depositing droplets of binding agent selectively. This agent fuses the powder particles.
If you wish to work with a full-color Binder Jetting, along with the binder agent, the nozzle also sprays the colored ink. Usually, the drops are approximately 80 μm in diameter. Therefore, users can achieve commendable resolution using this technology.
After each layer completes, the build platform moves one layer downwards. This is when the recoating blade again comes into action recoating the surface with the next layer of powdered material. This entire process keeps repeating unless the complete part is ready.
Later, the printed part is left encapsulated inside the left powder. This helps in offering some extra strength to the part. Hence, the process is called curing. After a sufficient waiting period, the part is removed and the excess material is removed using pressurized air.
The parts created using binder jetting are in a “green” state initially, right after they leave the 3D printer. The green state is because these parts do not have a huge strength to withstand pressure. And, carry relatively poor mechanical properties. Resulting in very brittle as well as highly porous parts.
Hence, these parts must go through post-processing treatments such as sintering, infiltration, etc, for gaining strength.
What’s interesting is that the process does not require any support structure. With excess powder supporting the 3D model, it is easy to get through with difficult designs as well. The powder itself acts as a supporting structure for all the models printed using this technique.
Just remember, you cannot create sandstone parts for “closed” prints. Not only will the resultant part be too expensive but it will trap the excess material inside of it.
Sandstone – Colours and Textures
The material comes in different textures and color options. Either you can choose for a plain design with no added color. Or, you can also go for full-color printing. Depending on your part requirements, you can choose the most suited printing option.
When it comes to texture, you can attain two different results with Sandstone 3D Printing. The first one is the natural texture. This would provide your part a slightly rough finish with matte colorings.
On the other hand, the glossy texture would be smoother to touch and will allow users to enhance their part’s color. These parts are comparatively more resistant to moisture.
Sandstone 3D Printing – Design Guidelines
There is no doubt that Sandstone 3D Printing is a very delightful experience. Apart from letting users create impressive and colorful 3D designs, the process is easy to accomplish as well.
However, you will need a few tips to master the complete process. So, here are some guidelines you must follow when working with Sandstone.
Bounding Box
What is meant by a bounding box in terms of 3D printing? Well, it’s the imaginary outline in the shape of a box. This box encloses the minimum and maximum area limits that your model can occupy. In short, your 3D parts should not exceed the maximum bounding box limit.
At the same time, these parts must occupy an area as big as the minimum bounding box limit. For designs that are closer to the maximum bounding box, users must limit the printing orientation for the successful printing of the models.
In the case of Sandstone 3D printing, the maximum bounding box must be around 250 × 380 × 200 mm. To calculate the minimum bounding box, one must make sure that X + Y + Z is greater than 10 mm.
Wall Thickness
There are two parameters when it comes to wall thickness: Supported wall thickness and Unsupported wall thickness. While the supported wall is the one that connects to at least two sides of the wall, the unsupported wall is the one that connects only from one side.
The minimum wall thickness for the supported wall is 2 mm while for the unsupported wall is 3 mm. And, the users must meet these requirements.
If you do not meet the minimal wall thickness requirements, your prints will fall. Or else, if you anyhow complete the printing process with success, the part won’t be able to stand the cleaning processes.
Escape Holes
Why do we need escape holes in Sandstone 3D printing? Because these holes help clear the excess material left behind inside the hollow model. For best results, you can create two escape holes, designed at the opposite ends of your 3D part. This easily helps remove the excess material.
For different sizes of parts, the need for the number and sizes of escape holes will vary too. Do not forget to consider your part’s size before planning the escape holes.
If you are using a single escape hole, the minimum diameter must be 25 mm. On the contrary, for multiple escape holes, the minimum diameter could vary from 15 mm to 10 mm, depending on how many you use and what is the size of your design.
Clearance
In 3D printing, clearance specifies the space that exists between two individual components of a part. In case you do not allow the minimum clearance between two different components, they may end up fusing together or would really be complex to clean. Especially, meeting the minimum clearance is imperative for parts that are movable. For instance, gears, hinges, and others.
For Sandstone 3D Printing, the minimum requirement for clearance is 0.9 mm.
Watertight Models
When printing with Sandstone, users must ensure that the design is water-tight. Hence, the shell of the model should not bear holes. And, one can connect all the vertices for adjacent mesh faces.
Sandstone 3D Printing – Pros and Cons
Being a very useful material, Sandstone 3D printing is highly popular. However, the parts do carry a few limitations that make these models unsuitable as functional prototypes.
- The property of the material helps in the quick and easy absorption of inks. Hence, the parts can be printed in full colors using Sandstone.
- Sandstone parts are not waterproof. Hence, not suitable for models needed for outdoor applications.
- These parts have a rough surface.
Recommendation for 3D Printers to Print with Sandstone
Here are a few recommendations if you are really looking forward to jumping into Sandstone 3D Printing.
ComeTrue T10
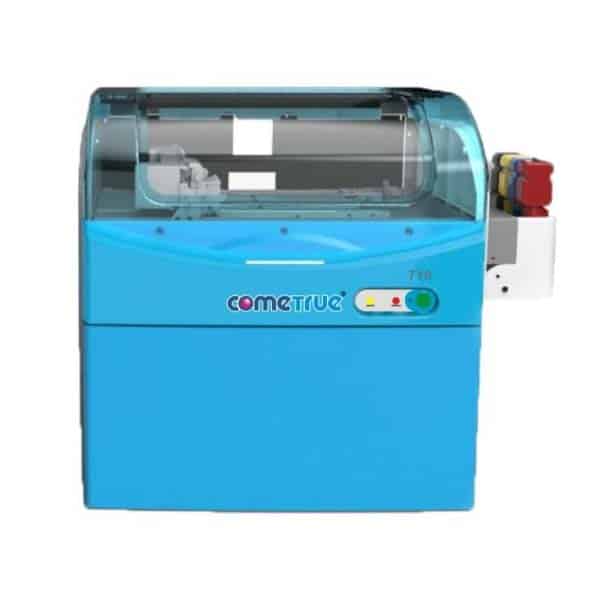
The ComeTrue T10 is a full-color Sandstone 3D printer. The machine works with neutral sandstone that is plaster-like powder. To bind or color this base material, the printer uses ComeTrue’s proprietary liquid binding agent.
For removing the excess powder, the printer also has a dry vacuum unit. This is available separately though. The last step is to cover the printed model inside a liquid infiltrant. This further enhances the strength of the part after you leave it to dry, once taken out of the liquid.
Using the machine, users can create precise parts made of sandstone. In addition, the parts are colorful and very attractive.
Based on Binder Jetting, the printer offers a build space of 200 x 160 x 150 mm. The printer itself occupies a space of 800 × 620 × 700 mm and weighs 60 kgs.
Although there are many perks available with the 3D Printer, one might feel a little disappointed with its target price. It costs around $30,000. Hence, not everyone can afford to buy the machine. For those who can, the printer is a very suitable choice.
3D Systems ProJet CJP 660Pro
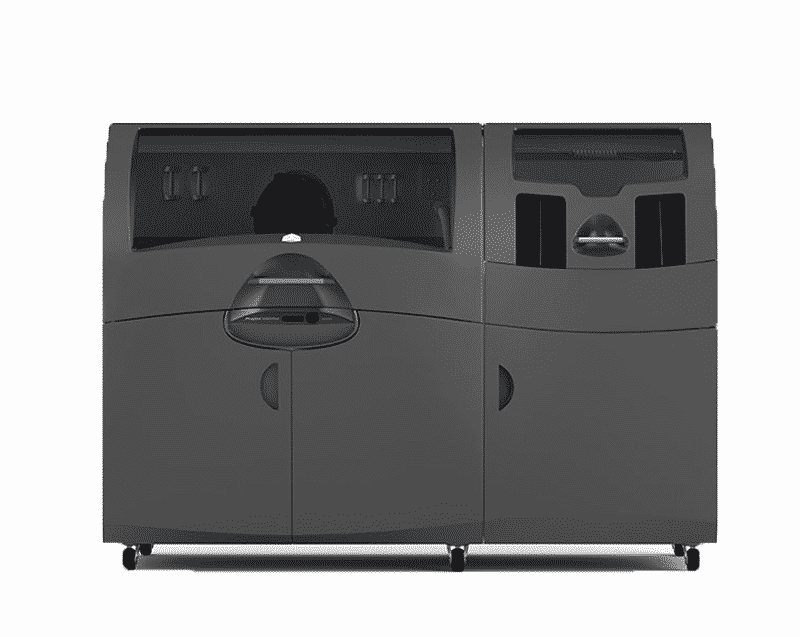
Another printer based on Binder Jetting allows for full-color sandstone 3D printing. With 254 x 381 x 203 mm build space, the machine ensures that the users get high-quality parts without much hassle.
Using its unique printing technology, CJP, a variant of binder jetting, the printer creates intricate parts with ease. You can print colorful models with high precision.
The printer involves core material and a binder to accomplish printing. After spreading the core material, the printer runs a roller on the build platform for creating even layers. Following this, the inkjet print heads selectively jet the binder over the core layer. Hence, solidifying the same.
ProJet CJP 660Pro 3D Printer is compatible with materials offered by VisiJet PXL 3D printing. Hence, producing full CMYK color parts. In addition, the part resolution is noteworthy.
There are many other benefits that this printer offers. For instance, it can print faster compared to its competitors. Also, the printing system is safe to use with a completely enclosed design. Not to forget, it’s also eco-friendly.
It is available for around $100,000.
The Conclusion
Before the invention of additive manufacturing, it wasn’t this easy to create complex designs with such precision. However, 3D printing allowed us to do that in the simplest way possible. And, among many different 3D printing materials, Sandstone 3D printing seems to be gaining great popularity among those wanting to create decorative parts that look amazing.
This is due to the various benefits the material possesses. In addition, its characteristic to blend well with different colors make Sandstone a really attractive choice for a variety of applications.
From beautiful models to figurines to aesthetically pleasing structures, users can create great designs using Sandstone 3D printing. If the possibilities interest you too, do not forget to read our complete guide to start printing with this wonderful material.


