3D printing can help create objects at a much faster rate and with huge flexibility when compared to traditional manufacturing. However, the parts aren’t just ready for application right after coming out of the 3D printer.
Many times, users must incorporate various post-processing techniques for polishing 3D prints to achieve desired results.
Starting with a usual sanding to painting to other advanced alternatives, there are various methods to make your prints shinier and smoother. And, it is not always for enhancing the looks, polishing also helps in strengthening parts by making them durable.
Hence, it is very important to understand the various reasons for polishing your parts and the best practices for accomplishing the same.
So, without further ado, let us jump to the details and find out the best ways to make your 3D Prints ready for application.
Why Do We Need to Polish 3D Prints?
As mentioned before, there could be a number of reasons why you would like to polish your prints before using them for your required application.
And, the same holds true for almost every 3D Printing process you might choose to print your parts with. Either it’s the FDM 3D printer or the injection molding technology, finishing your parts with polishing could certainly help in a lot of ways.
The first obviously is for enhancing the looks and appearance of your parts. However, there are other benefits too. Polishing helps in improving the part’s durability by making the part’s surface resistant to corrosion, wear and tear, heat, and various other atmospheric factors.
Moving on, by polishing parts, one can also get rid of uneven surfaces. In addition, it is also easier to adjust a few inches and redefine the size as well as the shape of your items. At last, polishing can also strengthen your parts’ electrical conductivity.
What Are The Best Techniques for Polishing 3D Prints?
Before we move forward to explain the various ways to do so, one must also consider the unique feature of 3D printed parts when choosing one method over another.
Polishing techniques tend to impact features of 3D prints. This includes the material of 3D prints, your part’s size, and shape, thickness, resistance to the environment as well as weight. There could be other changes too when polishing your parts.
Therefore, it is important that you understand each of the listed polishing techniques clearly and apply the one closest to your need.
Sanding
Being the most familiar surface finish technique, Sanding is often the first choice of every user wanting to smoothen the outer texture. But can you apply sanding to every print that comes out of the 3D printer?
Well, that being said, there are times when this technique may fail to provide expected results.
For instance, it is difficult to reach complex sites of the parts such as the undercuts or the small holes. In addition, the complete process is manual. This means it is a time taking technique.
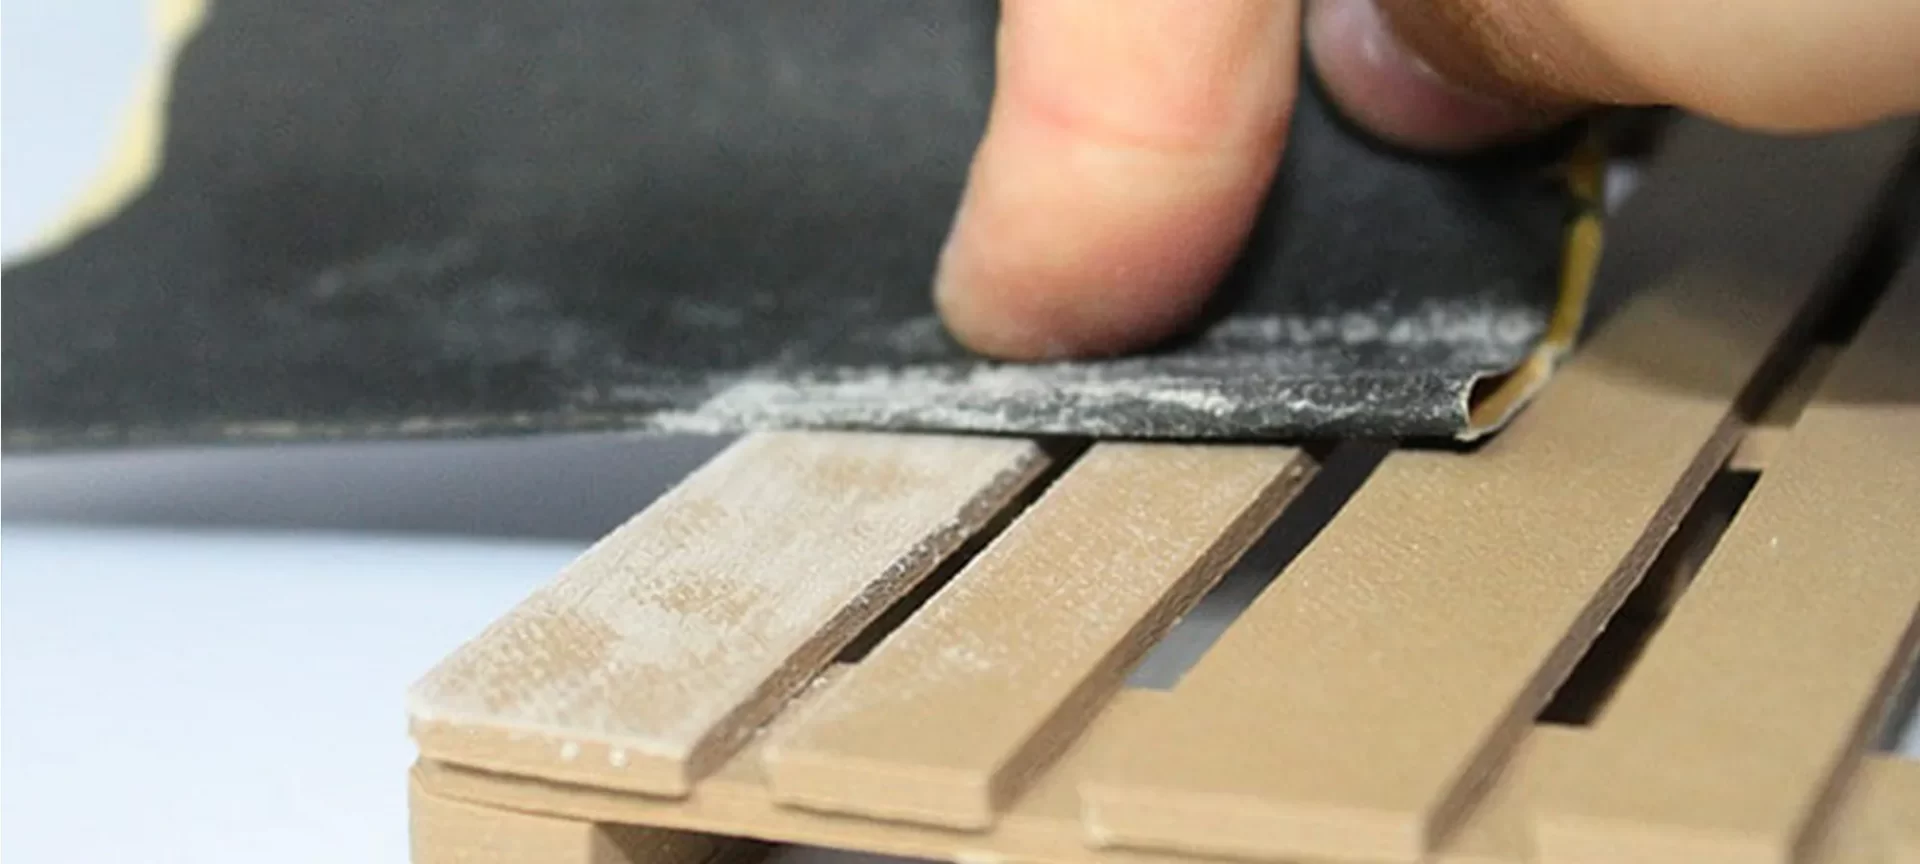
In order to sand parts, you will require sandpaper. Rubbing the paper against the surface of the parts will allow getting rid of uneven imperfections. Often used for clearing out the layer differences, sanding is the most accessible technique of all.
Moreover, those wanting to coat the surface with paint must carry sanding for a perfect finish. While sanding removes the roughness of the parts, it makes the prints ready for coating and other similar post-processing methods.
Plating

Usually done on plastic and metal parts, plating involves coating your prints’ surface with a metal layer. This can be accomplished either by exposing your prints to an electric current or with the use of a chemical solution.
The choice of plating metal differs depending on the properties you wish to attain as well as the material of your parts.
For instance, for plating a plastic part, you most often need the first layer to be either nickel, copper, gold, or silver. Later, you can use almost any choice of metal to complete the second layer, if necessary.
You can use Chrome, Palladium, Platinum, and others for the second coating of the plastic part. With 3D printing, plastic parts are often more common for printing.
However, these prints aren’t very strong and are usually susceptible to wear and tear. However, with plating, plastic parts become strong and offer resistance to oxidation, corrosion, and various such issues.
This polishing technique not only can cover up the rough surface and uneven colors but could also add new properties to your 3D prints. For example, conductivity.
Shot Peening
Similar to bead blasting (explained later in the article), the technique caters to a completely different goal. Instead of just smoothening the surface while clearing the imperfections, shot peening majorly comes into play when wanting to increase the durability of the parts.
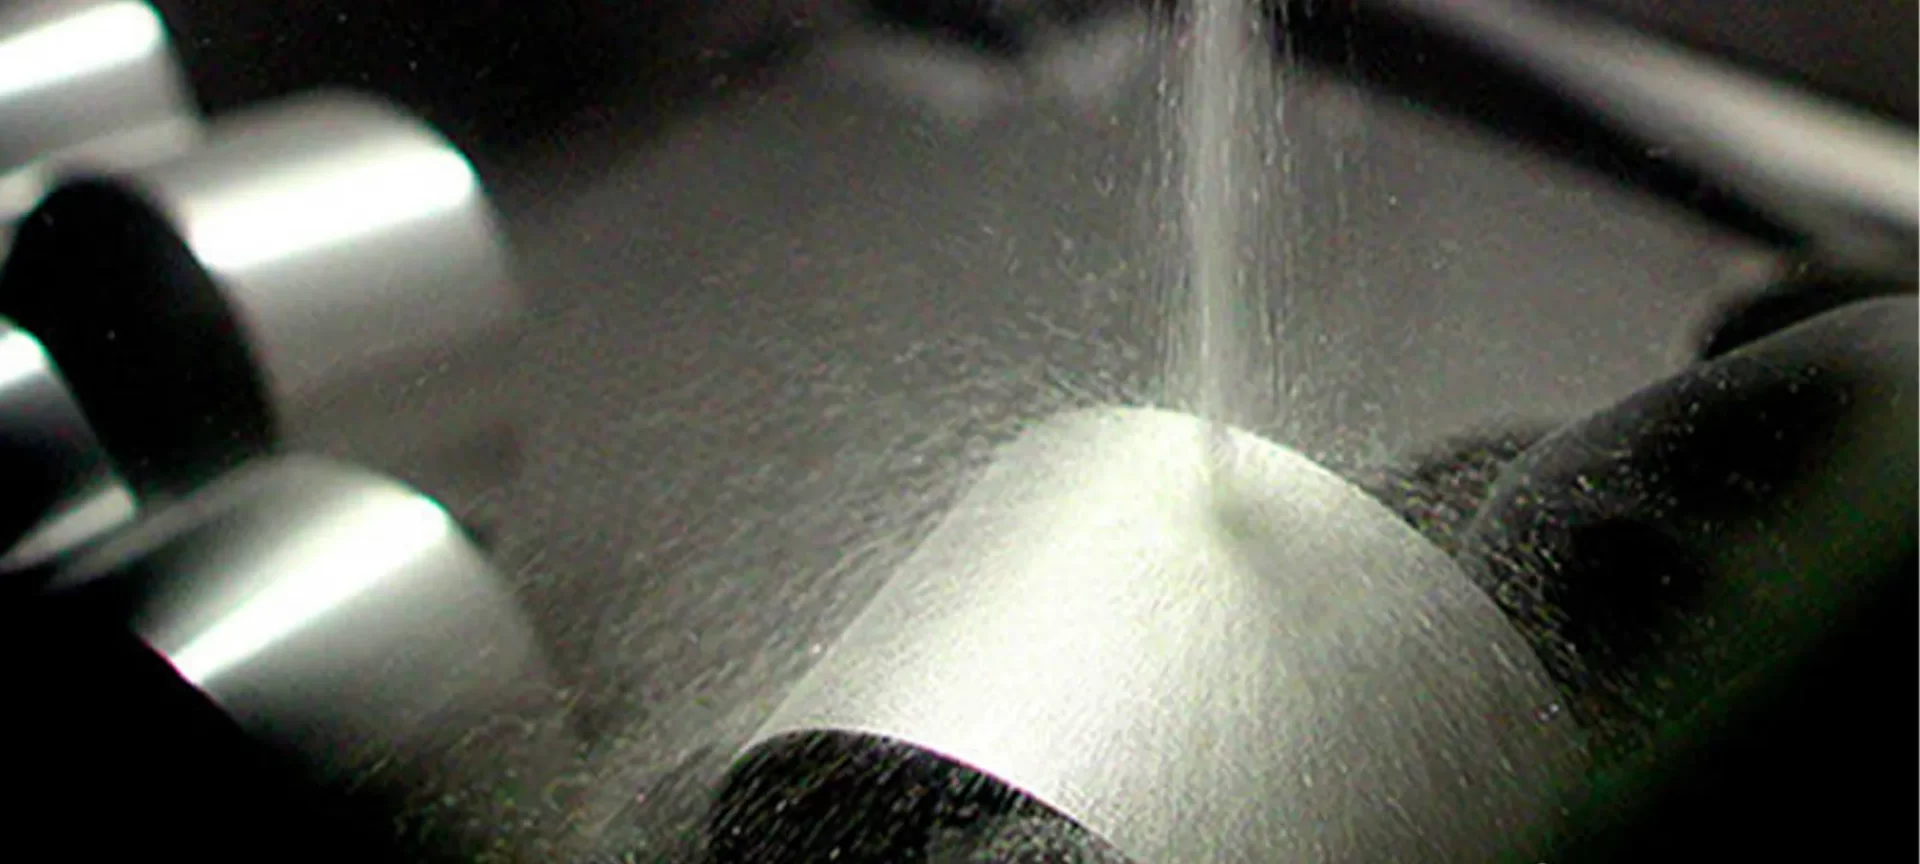
So, how does the process work? When accomplishing shot peening, plastic beads or tiny metal particles are shot using pressurized air aiming at the print’s surface at a very high speed.
When shot at this speed, the particles tend to create smaller dimples on the surface of the parts. Under these dimples, the compression stresses form, finally overlapping over each other to create perfect smoothness.
The use of compressive stress helps in replacing the object’s tensile stress. This, in turn, results in an increased length of the item.
In addition, the stress also enhances the surface of the object by making it stronger. Hence, the object can withstand wear, erosion, fatigue, cracking, etc., usually with cavitation.
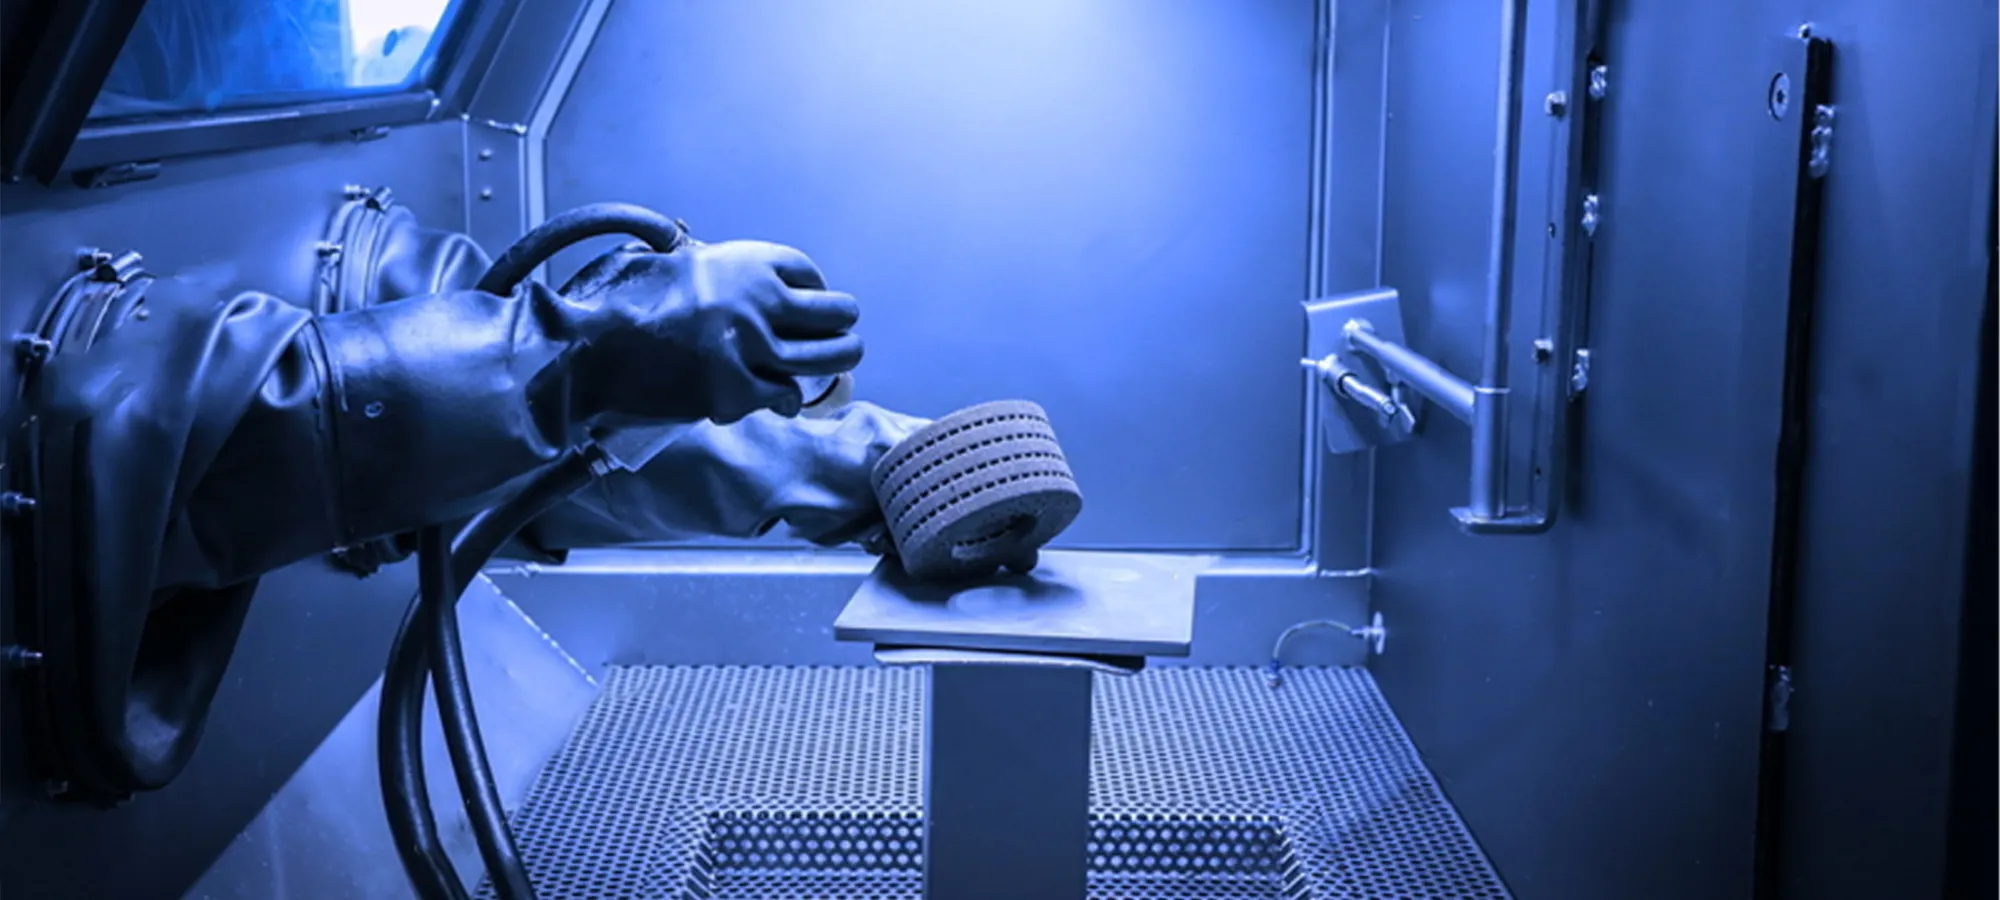
Bead Blasting
As mentioned before, bead blasting and shot peening are often considered similar to each other. However, both these techniques are used for different results. While the former enhances the surface, the latter checks for durability and strength.
When talking about bead blasting, you must remember to opt for this technique while polishing 3D prints with difficult reach to certain spots. In other words, this particular method can enable perfection to spots that aren’t reachable using sanding.
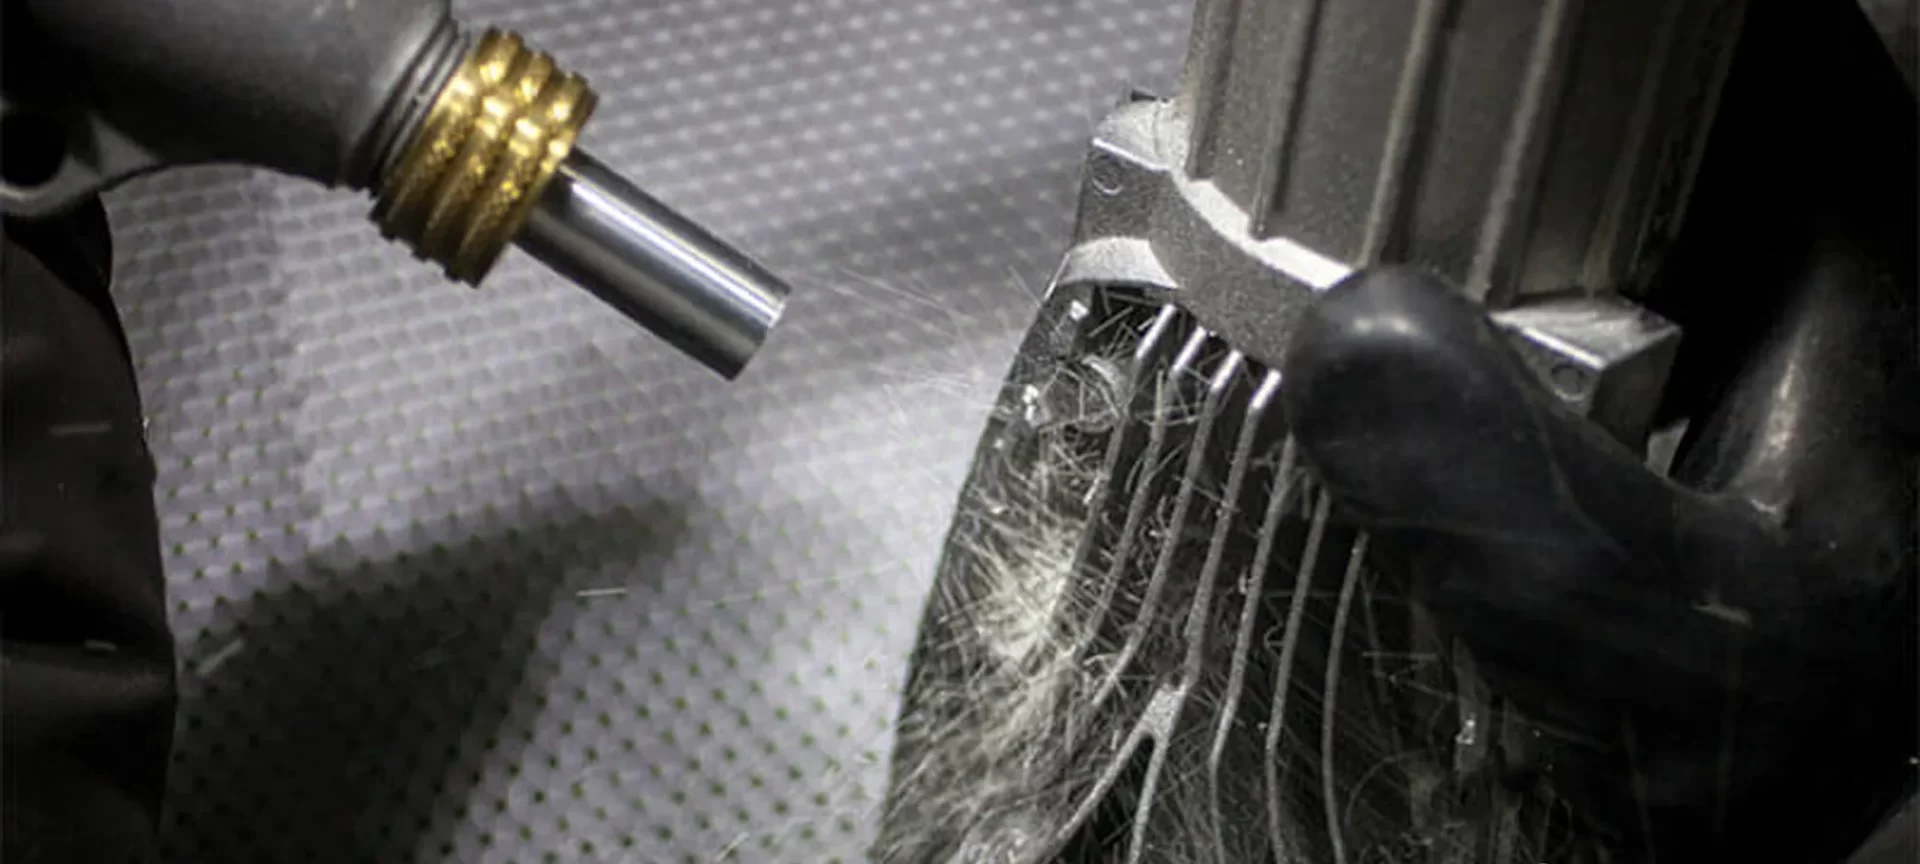
To carry bead blasting, users make use of a spray gun. The gun, when aimed at the part’s surface shoots thermoplastics, very finely textured. This blasts out any uneven surface and imperfections that might feel unpleasant to the eyes.
The process smooths out the prints’ surface like sanding. However, the process is not as time taking as sanding. Bead blasting takes a much smaller time frame to polish the surface when compared to sanding. In addition, bead blasting can easily correct the spots and tricky spaces, not possible to perfect using sanding.
Similar to sanding, bead blasting helps improve the looks as well as aesthetics of the products. You can achieve a smoother matte finish. Also, if you wish to coat the parts for resistance to wear and tear, bead blasting would provide a smoother surface to carry the coating process.
Just remember, when carrying bead blasting, you will require experience. Unlike sanding, it isn’t as plain as it sounds.
First, you must shoot at low pressure while eventually increasing the speed, only when needed. High pressure aimed at a single spot for long could blast away excess parts than needed. Hence, creating small divots.
So, ensure to handle the entire process with caution. Or else, you may end up destroying your 3D prints.
Heat Treatments
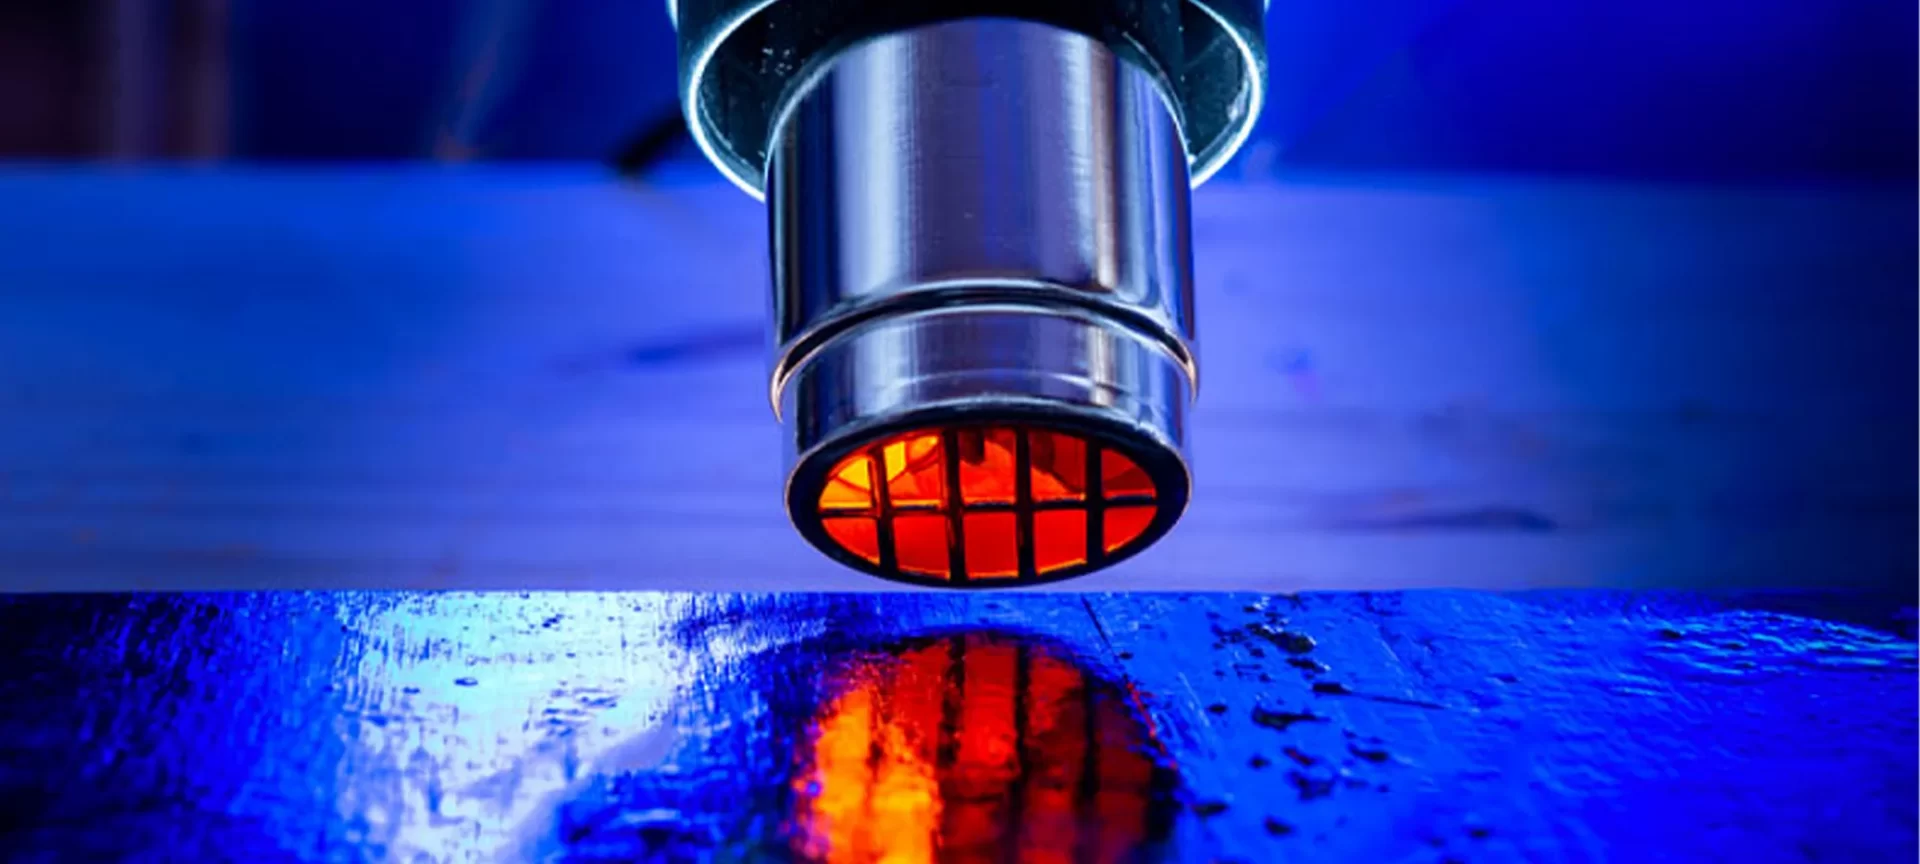
Similar to shot peening, heat treatments also focus on strengthening materials by cutting down the tensile pressure. Thus, even outs the difference in the tensile strengths at different spots and areas of a part to avoid failures.
By polishing 3D prints using heat treatments, you not only achieve a smoother finish but can also increase items; density along with attaining the final shape as desired.
There are various kinds of heat treatments for different purposes. For instance, the standard heat treatments allow relieving stresses while surging the strength of the objects. However, a few parts require more advanced heat treatments such as hot isostatic pressing.
Abbreviated as HIP, hot isotropic pressing takes away the pores for good. Therefore, healing possible defects and ensuring that the part attains 10% theoretical density.
The HIP process becomes a necessity for applications where 3D parts need to be exposed to harsh conditions.
Usually carried within sectors such as aerospace, medical, marine, and more, heat treatment is a very effective polishing technique.
To carry standard heat treatments, a vacuum furnace is used. However, for HIP, one must create a pressure vessel to complete the treatment.
Vapour Smoothening
As we already know that sanding or bead blasting gets us matte surface finish, it is important to learn about an alternative that could help attain a shinier finish. And, Vapor smoothing is the answer for the same.
While resulting in an aesthetically improved part like sanding and bead blasting, Vapour smoothening contrasts the other two by offering a shiny finish and not the matte texture.
In order to complete polishing 3D prints using vapor smoothing, you must use a solvent that helps in melting the uneven outer texture of the part. Start with placing the print inside a vapor chamber.
Later expose the part to the solvent. And, immediately transfer the part inside the cooling chamber. This will ensure that the part’s shape is not distorted and only the outer layer is perfected.
Along with a smoother finish, the process tends to cover up pores, if present on the item’s exterior. Hence, sealing the entire part from outside and making it suitable to carry liquids and gases.
However, there are certain materials that react differently to vapor smoothing and cannot be subjected to solvents.
Hence, you must avoid using this particular smoothening process for materials such as polycarbonate, ULTEM 1010, ULTEM 9085, etc.
There is one more limitation that restricts the use of Vapor smoothening for certain parts. And, it’s the size of the chamber. If your part is bigger than the vapor chamber, you won’t be able to carry the process at all.
The good news is that there is an alternative to Vapour smoothening that acts in a similar fashion for smoothening the surface of the 3D prints. It’s the solvent dipping technique.
Rather than using a vapourised solvent, the technique requires liquid solvent. So, it is easier to create chambers for larger objects.
However, the process is complex, and maintaining dimensional accuracy often becomes a challenge as the solvent reacts quickly than vapourised solvent.
Epoxy Coating
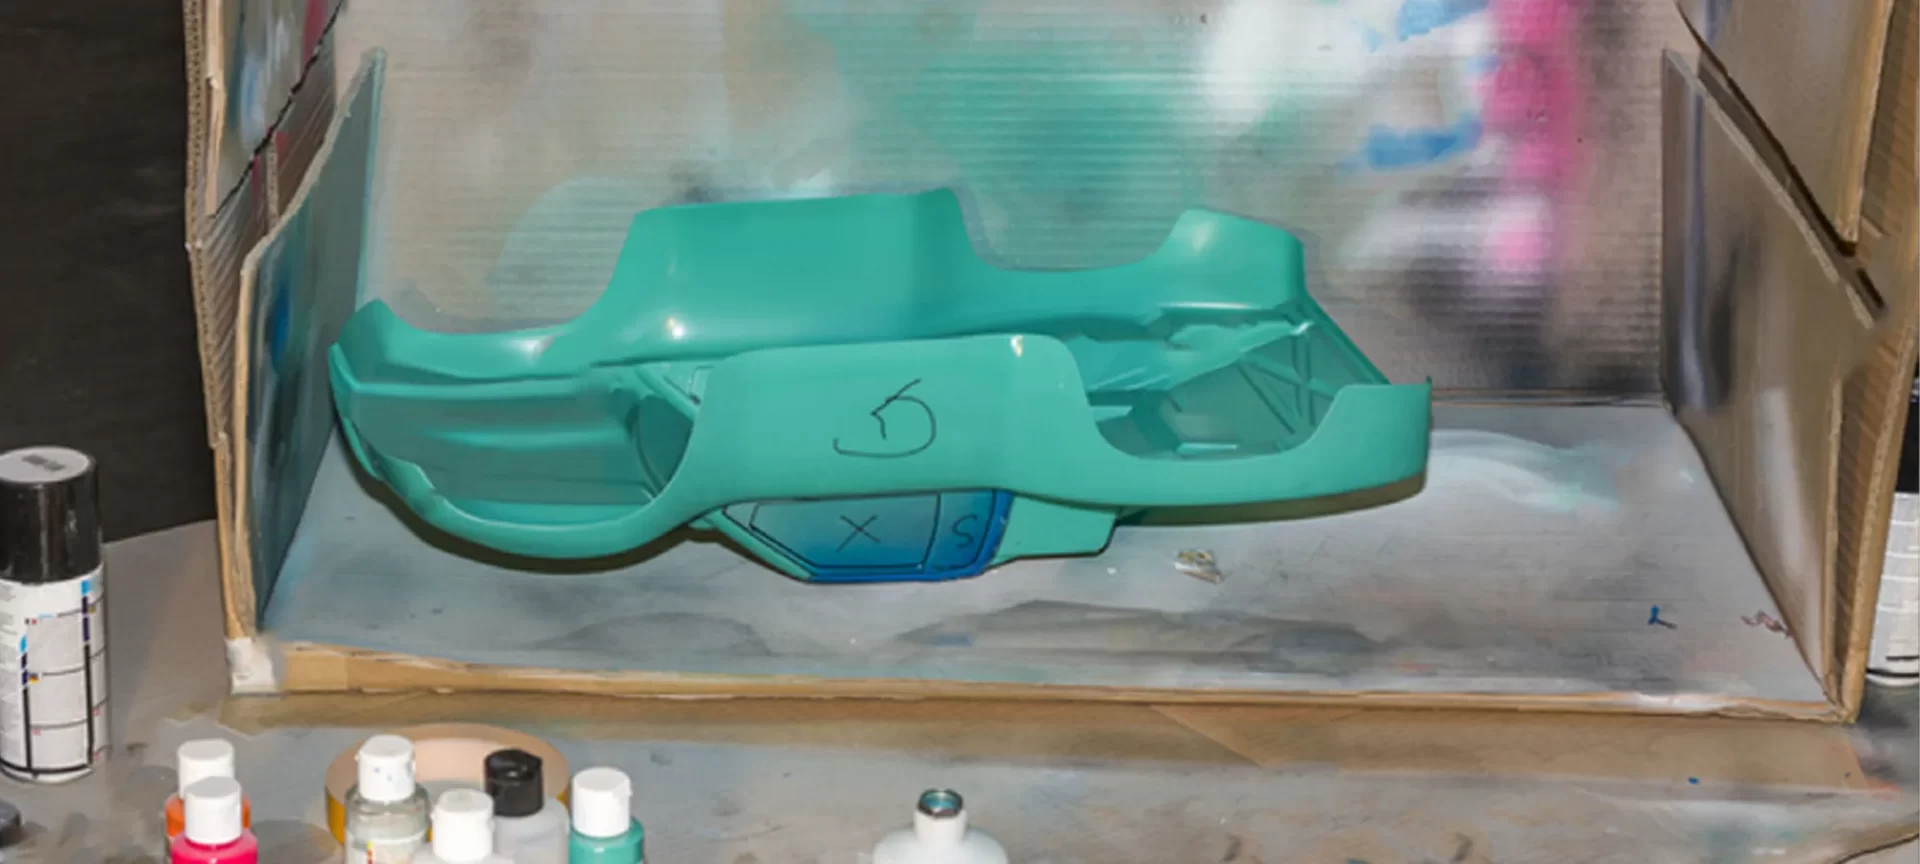
Another easily accessible polishing process is Epoxy coating. The technique allows creating an airtight surface around the 3D printed part and makes it highly resistant to external atmospheric conditions.
Helping prevent damage often incurred after coming in contact with heat and different chemicals.
Epoxy coating is applied by hand is a lengthy process. However, it’s pretty inexpensive as you do not require special equipment as in case of solvent dipping or vapor smoothening. Hence, the process is prominent for short batches of production or smaller objects.
Moreover, reaching certain spots by hand is difficult as the case with sanding. In addition, the process will also add some thickness to your parts. So, if your part requires high dimensional accuracy, you may like to prefer some other alternate technique.
There is one similar process called Epoxy Infiltration. The technique comes in handy when wanting to reach difficult spots not possible with epoxy coating.
To carry the procedure, you must submerge your part inside an epoxy resin. Using a vacuum chamber seep the resin into the printed part. This will fill pores and create an airtight and watertight seal around the print.
You can also prevent any dimensional inaccuracy when carrying epoxy infiltration with caution. However, you must be ready to pay the higher cost as compared to applying epoxy with hands.
The Conclusion
3D printing has gained huge importance within manufacturing industries. And, everyone is looking to find the best techniques to smoothen their parts for the final application.
So, if you are searching for the same answers, do not forget to take a quick peek at the various techniques listed above for polishing 3D prints.
Just remember to use the right technique for your unique application. And, you can achieve desired finish without much hassle.


