SLA 3D prints are accurate with a smoother surface finish. However, it does take a lot of hard work for achieving such exemplary results.
Apart from the best printing practices, post-processing happens to be one of the very critical steps to perfect 3D models created using SLA 3D printers. And, if you have been struggling to clean your 3D models after printing, it’s time to check the best resin washing methods.
With post-processing, users can make the utmost perks offered by SLA 3D printers that create parts using resins. Not only the correct process will help enhance the part quality, but also assists in attaining the higher mechanical performance of the models.
There are chances that users with little to no knowledge of how to carry resin washing may end up with even disastrous results. Therefore, it is important to keep some tricks up your sleeves when working with resin parts.
From safety precautions to various prerequisites required for the process, you must get acquainted with a lot of information. So, without much ado, let’s get straight to the crucial details related to resin washing.
Precautions to Take When Resin Washing
It is better to be safe than sorry. If you do resonate with that quote, why not check out the best safety measures you must take when handling resins for SLA 3D printing. Knowing that resins could turn out to be highly toxic when not handled with the utmost care, it’s imperative to be careful when printing with SLA 3D printers.
When working, ensure that you do not touch the resin directly with bare skin. Apart from that, cleaning spilled resins could also become a tedious job. So, it’s better to avoid such situations that only increase the print preparation time.
In case of an accident, if you happen to touch the resin directly, rinse off the material from your body right away. Do not forget to clean the workspace quickly too before the resin hardens.
In addition, you may touch other items around you, leaving resin trails on the surface. To avoid the material getting stuck on the items’ surface, make sure to clean it immediately.
Those were the tips to ensure that the printing experience is safe. However, you will need a few items too for working with resins.
- Nitrile gloves – To avoid touching the resin directly with your bare hands
- Safety glasses – In order to safeguard your eyes from toxins generated when printing with resins
- A clear workspace – For ensuring a cleaner and safer printing experience
Now that you know the safety measures to follow, let’s jump to the resin washing and other post-processing steps.
Best Practices for Resin Washing
Cleaning resin prints isn’t as easy as it seems. That is why the SLA printers aren’t very popular among beginners. However, with the right steps, you can definitely learn a lot about resin washing and begin printing with SLA printers.
Different Methods for Cleaning the Resin Parts
If you have worked with SLA 3D printers, you would know that printing with these machines is a bit messy. Unlike FDM parts that are made of melted filament, resin models are created using liquid material. Therefore, when the final part completes, it comes out of the printer covered in uncured resin.
So, the first step is to clean the resin part before going through any other procedure. Otherwise, the uncured part may solidify and ruin the entire print. Here are a few methods to carry resin washing.
Wash Using Ultrasonic Bath
Being a professional method for cleaning resin prints, the process is a little more expensive than other alternatives. To carry resin washing using this method, use a cleaner fluid to fill the bath. The fluid must cover your entire print.
Later, just wait for a couple of minutes while the print sits inside the Ultrasonic bath. After you take out your parts from the liquid, it will be smoother with no uncured resin stuck on the model’s surface. Hence, leaving users with cleaner and smoother parts.
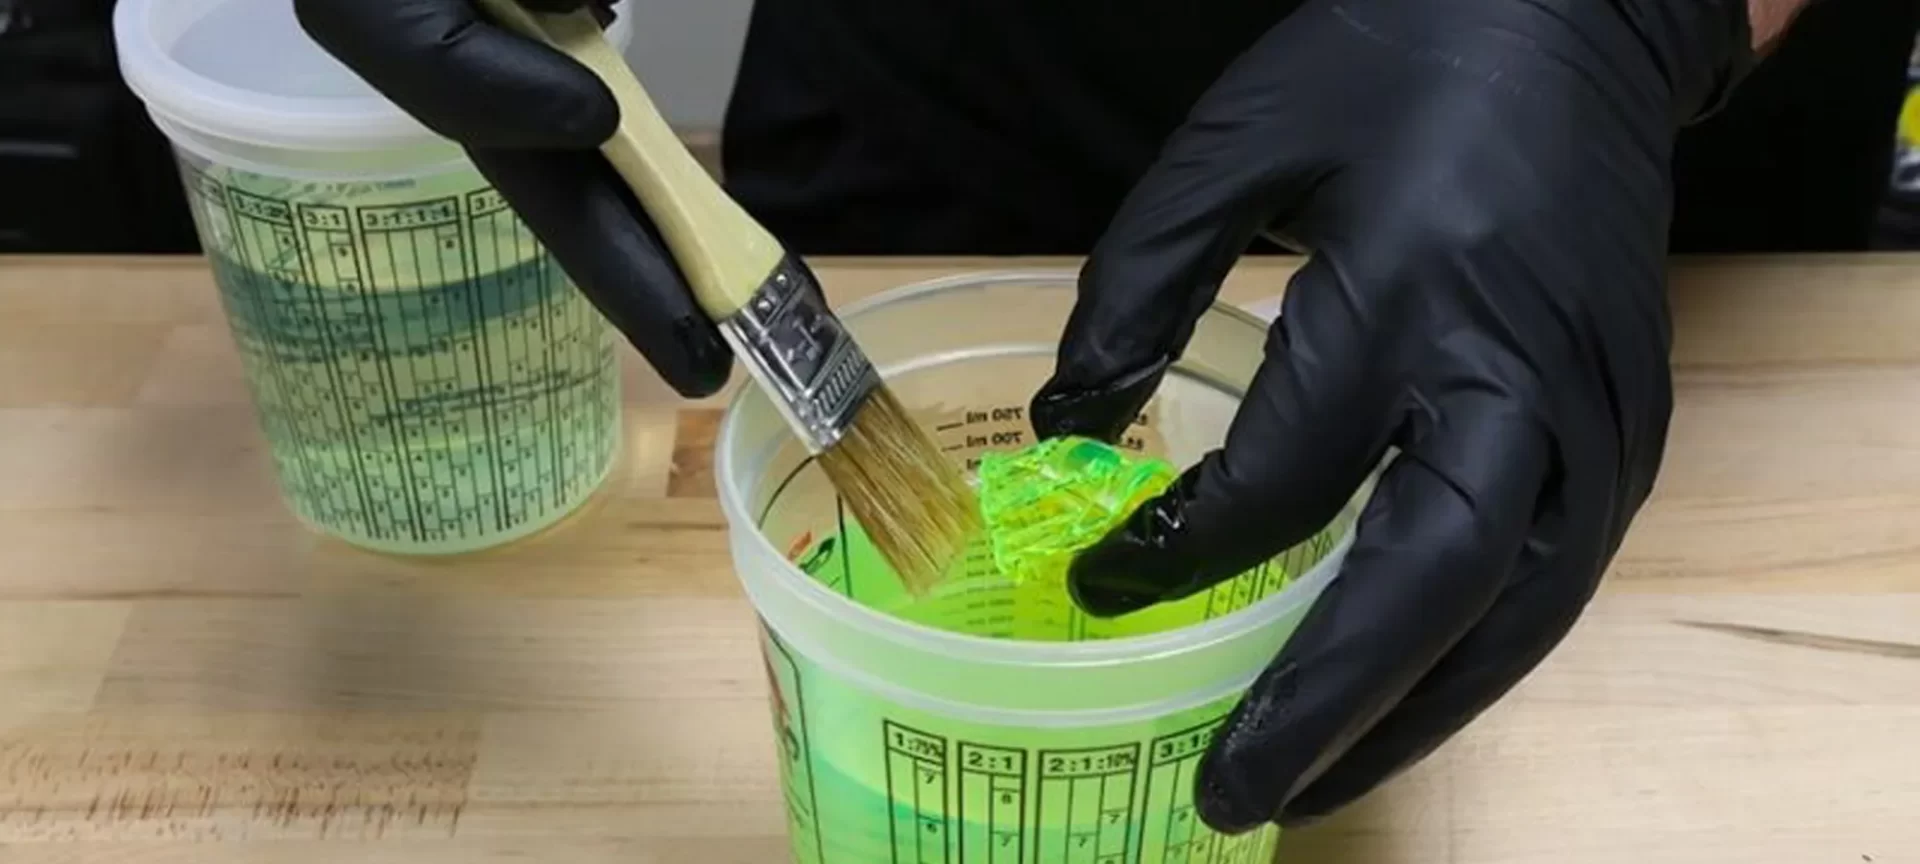
Use Isopropyl Alcohol
When working at home, users may not have the option to clean prints with an Ultrasonic bath. In such cases, one can also utilize isopropyl alcohol to wash the models.
The method is simple. Submerge the part inside the isopropyl alcohol and move it around to rinse it from all sides. Although easy to carry, it’s not as efficient as the Ultrasonic bath. Therefore, you may require to repeat the step a few times for cleaner models.
Tips to Perfect Resin Washing
It is necessary to utilize the best washing method depending on your part geometry. Determining the best washing process does take a little effort from the user’s end. For instance, it is very common for smaller parts to pass through the wash basket, finally impeding the impeller during the washing process.
Similarly, larger prints won’t fit inside the Washing bucket, when sitting in certain orientations. And, it is also possible that the larger parts cause overflowing.
On the other hand, parts with hollows and concavities hold air and uncured resin inside. Hence, when removing these models after cleaning, one must be cautious of spills. It is always wise to modify your processes depending on the geometry of your parts.
Here are a few tips that will help minimize the problems often susceptible to resin washing.
Hollow parts
When 3D printing hollow parts, one must not forget to design drain holes. These drain holes help solvent to reach every corner of the design from inside and wash internal surfaces during the cleaning process.
However, you must take extra precautions when removing hollow parts from the wash bucket. Drain the solvent out completely of the part inside the wash bucket itself before you plan to shift the model to another surface.
Internal channels
The parts may host narrow channels which may be difficult to drain on their own. In such a case, you can utilize a syringe filled with clean solvent. It will easily flush out the liquid from the internal channels.
Concave Surfaces
There are times when parts are printed and washed directly on the build platform trap resin inside. To avoid such scenarios, consider washing the parts in the wash basket after removing them from the build surface. Or alternatively, users can go for the second wash cycle once the parts come out of the build platform.
Long parts
Usually, 3D models move a lot inside the wash bucket because of the circulation of the solvent. However, when it’s the turn for the long parts that do not fit the wash basket perimeter may displace the lid of the Wash bucket.
To complete resin washing successfully, keep an eye on the path of the wash basket along with its inner lid. Make sure that the models do not block the inner lid while the wash cycle accomplishes and the wash basket raises.
3D Models Larger Than Wash Bucket Perimeter
Remember, every wash bucket has its own capacity. Hence, when washing models are bigger than what can be accommodated inside the wash area, the solvent often overflows. Hence, users can just take away some quantity of the solvent before submerging the part inside the bucket.
Other Post Processing Steps to Get Final Print
Before you can use the parts as the final products, there are a few other steps you must follow. Here is what you need to do for preparing your washed prints.
Take Off Support
With SLA prints, the need for support removal is very common. And, you will need an experienced hand to take away the unnecessary hanging structure attached to your final parts. Please remember, support removal isn’t necessary to complete before curing. However, it’s convenient to do it before you complete the curing.
Use Hands to Break the Support
A lot of users find it simpler to just use their hands when removing supports. If the parts do not carry any finer details, working with hands would be all you need.
And, the method is faster too. However, with precise detailing, you may lose the intricate features. Therefore, it’s recommended to go with other methods or be very cautious when working with hands.
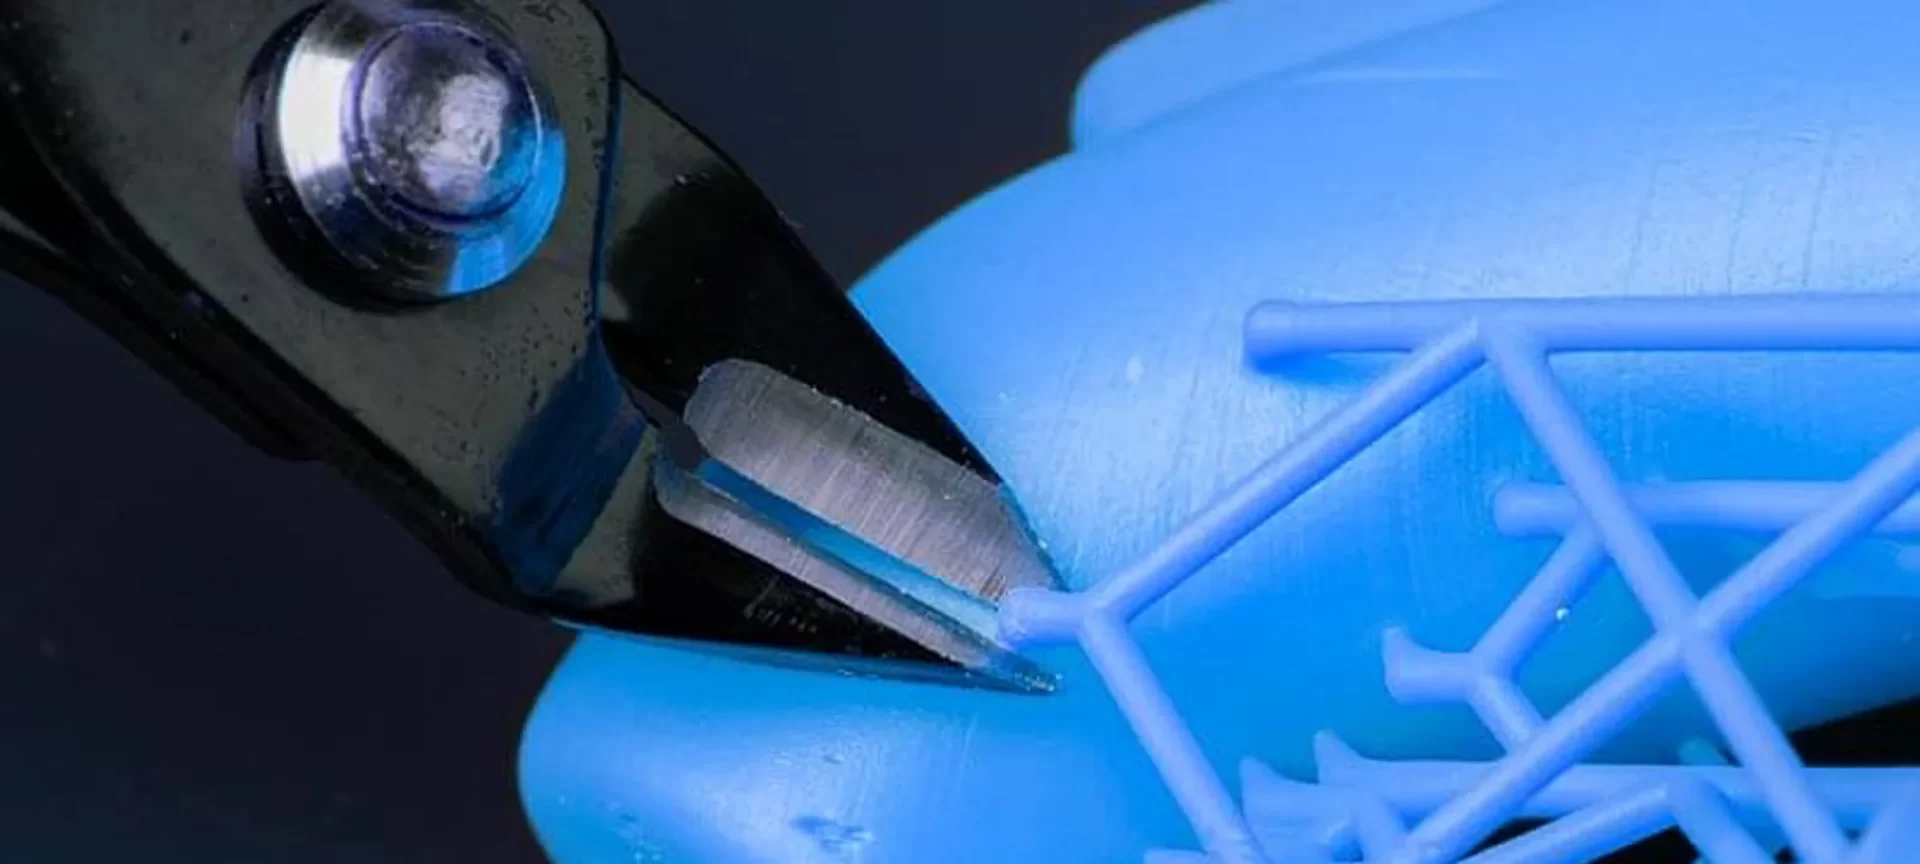
The Flush Cutters Will Do the Job
As mentioned, hands won’t be enough for all of your printed parts. You may need something that can cut through the support while saving the intricate details of your models. In such a case, you can utilize flush cutters.
The method will help in carefully snipping away the supports, without compromising finer features. When using the flush cutter, try to get closer to the model while removing support while ensuring that the surface is not scratched.
Quick Tip: The methods described for removing support are very efficient. However, the parts will be left with tiny nubs on the surface. While this is inevitable, there still is a way to smoothen the surface. With sandpaper and a little effort, you can get the desired result.
Curing the Print for Final Touch
Curing is the last step following resin washing and other post-processing steps. The step is one of the most crucial ones and requires patience to master.
The question is: Why is curing necessary in the first place? Well, With UV curing, the parts are ready with their final material properties which are required for functional prints.
So, here are a few methods to cure your prints to give them the final touch.
Make Use of Curing Station
There are various professional SLA 3D printers that come along with their respective curing stations. Therefore, the stations work best for the company’s proprietary resins, allowing for faster as well as efficient curing. And, this is the reason why this method is popular for larger prints as well as professional setups.
Curing with Nail Polish Lamp
If you are looking for an inexpensive, yet efficient method to cure parts at home, what could be a better option than a nail polish lamp. Not only it is less costly but is highly accessible, even for beginners.
All you need to do is place your parts under a nail polish lamp. Leave it for the entire night. To get the best results, you can also add a turntable for better exposure to each side of your part.
Build Your Own Curing Chamber
With curing stations being so expensive, hobbyists often choose to create their own cost-saving curing chambers. In short, their own versions of the commercially used curing stations.
To create one, you will require a closed box lined with aluminum foil and a UV light. Further to enhance the result, you can also add a battery or solar-powered turntable for better exposure.
Go Green, Use Solar Power
What can be better than using the forces that already exist around us? And, one such option is the sunlight. Not only the method is eco-friendly but does not bear any cost. By just placing your 3D models outside in the sun, you can attract even UV light, while paying nothing.
For some, the process may seem time-consuming. However, it still is one of the most accessible and best methods for beginners and home users.
The Conclusion
SLA 3D printers are very popular for creating parts with a smoother finish. However, there is a lot of work involved during the process. And, resin washing takes up most of the effort. If not done correctly, users can never get the desired results. Also, it’s imperative to follow a few easy tips for cleaning parts with perfection.
Use dedicated wash buckets for some of the resins that are too stubborn to leave the surface. This also helps in avoiding color transfer. With the best practices for resin washing, you will certainly be able to achieve the finish you have been looking for. Just a few trials and errors before you perfect your skills to work with SLA prints.


