Although currently, Pixology, the company that developed Sculptris does not actively develop Sculptris, it develops Zbrushcore, Sculptris is still available to download from Pixologic as well as Softonic.
Sculptris was created by Tomas Pettersson. As a project, Sculptris is now developed by the Pixologic team, since 2010, when its inventor joined them.
What makes this software very famous in the public domain is its particular modeling style that makes the users feel like they are sculpting their object and not 3D modeling it.
Now you got to know where this name Sculptris came from?
As every modeling process starts with an intact piece of modeling clay which the user will adjust little by pulling, pinching, twisting, and pushing it.
So, does in Sculptris. This is a Sculptris review article wherein we are going to take you on a tour making you meet with various features of the software.
Sculptris is free for both Windows and Mac users and if you are busy thinking, that’s the best thing about it, we would beg to differ.
The software is incredibly easy to be picked up and use. Also, you can do a fair amount of advanced sculpting with it.
Reviews from multiple users term Sculptris as a great place to develop their concepts because you can focus on manipulating your object into the form you want.
Although there are recommendations on various sites for users who wish to use a more advanced version, take a look at ZBrush, we’d recommend at least having a play with Sculptris first.
In this article, we’ll run through a number of the basics to get you started with this software.
Overview of the Interface
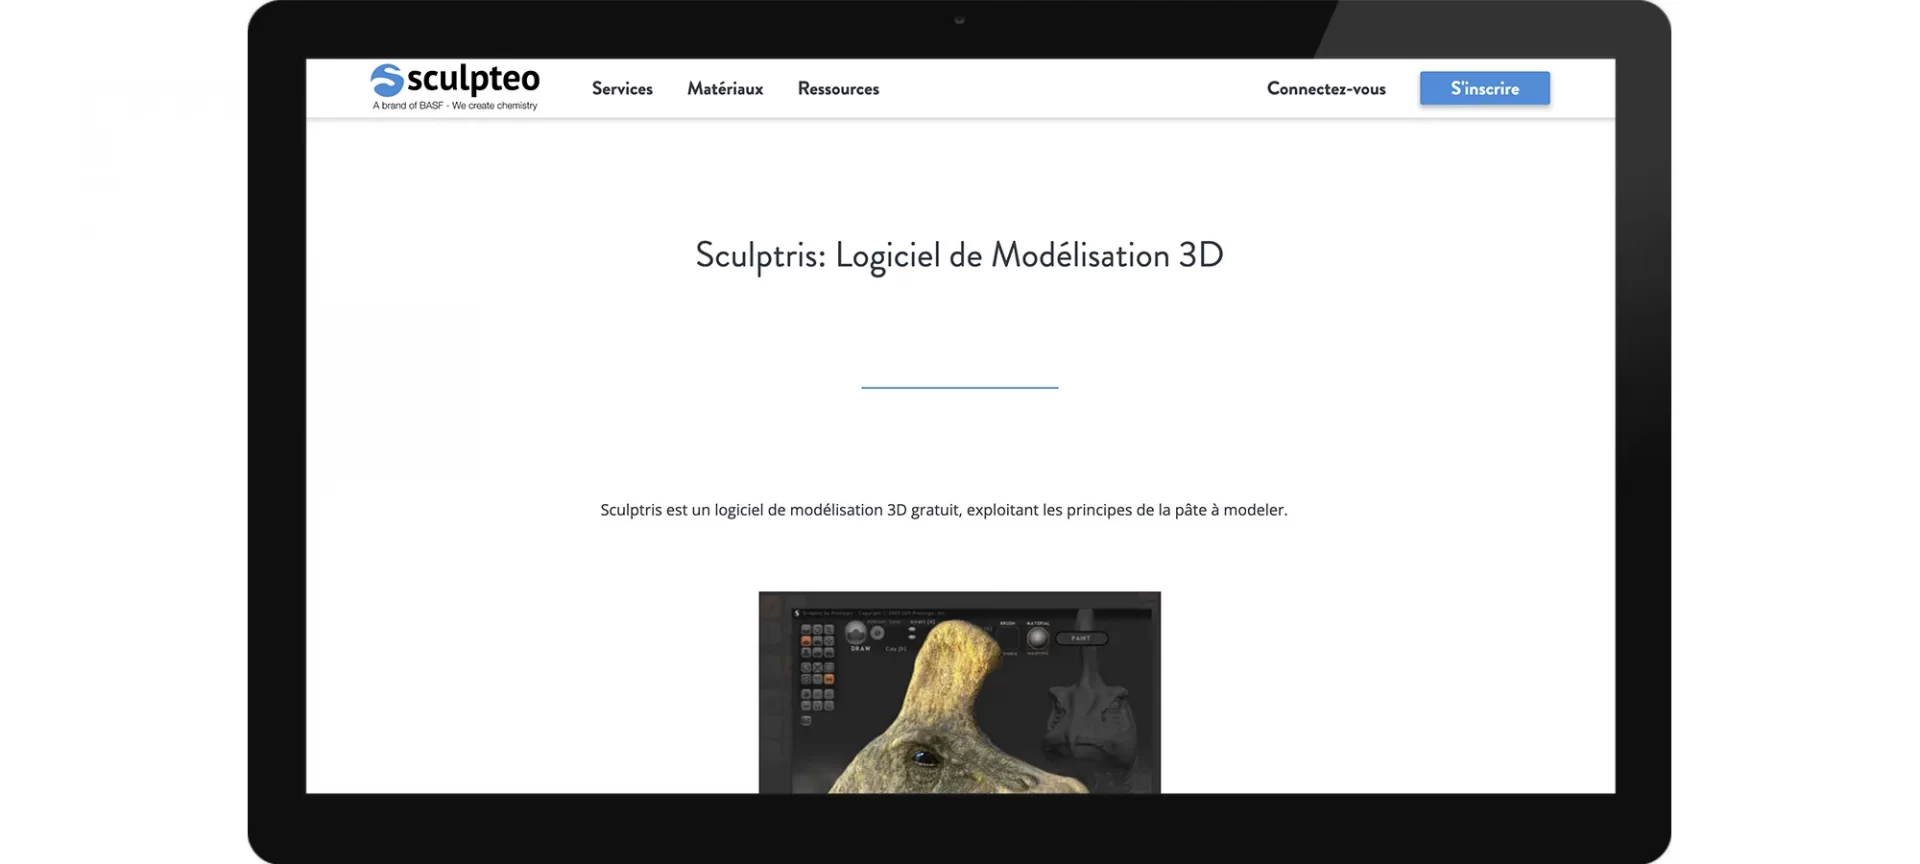
Opening up Sculptris is something that is going to surprise most of the users by its basic looks.
For all of you who have gone through a lot of other software, this would certainly look out of the box.
Although being stripped back there’s a lot of functionality contained inside Sculptris.
Starting with tools. Like all other software, in Sculptris’ basic form to you have your tools on the left-hand side and the properties for those tools at the top.
The model that you have chosen or may be dragged and dropped is in the middle of the window.
You can click and drag to the side of the model for rotating its view.
And while doing all this you do not need to worry if you get some of the other things wrong because by default Sculptris will also show you some “help” information.
Which you can always view, in case you are skeptical about anything.
Because the name is Sculptris, it makes a lot of sense for you that the first thing you’ll want to try out will be sculpting!
By using the default Draw tool, left-clicking on, and holding onto the model you’ll see the surface of the ball rise.
You can use the properties panel for changing the size and strength of the brush.
Whereas if you wish to invert the brush and push the surface inwards you need can either check the Invert box in the properties or hold down the Alt-button at the same time.
And you can toggle this with the letter X.
Interesting Features of Sculptris
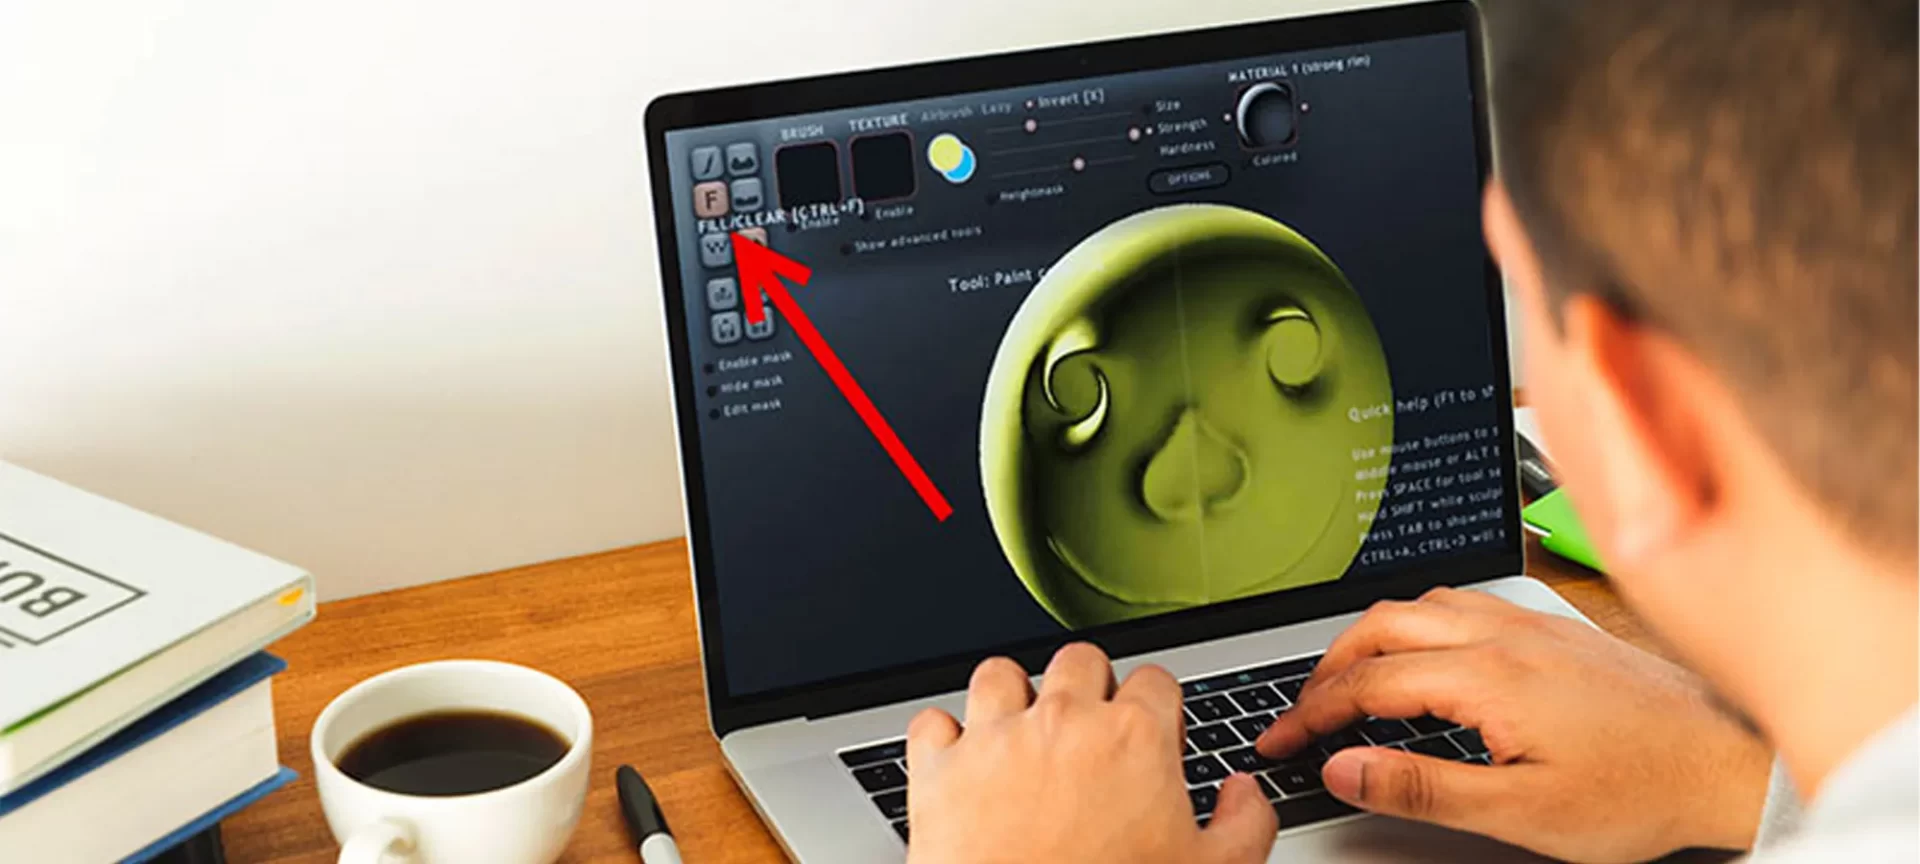
While writing about the Sculptris review, it is obvious to look at some of the most interesting features that this application has, isn’t it?
- Dynamic Tessellation: This feature would decrease all your worries about the model geometry. No matter you have any shape in the geometry of your model, whether it be triangles and the detailing that you wish to display or some other part. Thanks to the intuition that the software has got which automatically makes it divide the area under the brush. In addition to this, if you’re adding some volume to your model that you actually can, the model doesn’t come up with an excuse saying that you cannot stretch it. Instead, the existing polygons are not stretched, as commonly as in other software, Sculptris instead understands your need and processes similarly by adding new polygons.
- The second feature is the integration of Sculptris with ZBrush which allows you to upload, download effortlessly on the cloud as well as make the changes that you wish to. The Symmetry mode of Sculptris is where things to play with fun. Using this model, users, when they are sculpting on one side of the model, can automatically see the effect on the other side of the model. So, if there is any symmetrical model that you wish to design, all you need to do is design just one side by activating this mode, the other side would be automatically designed. This is extremely time-saving.
- While working on some parts of the model if you feel that you have already completed working on other parts of the model, you can mask them. This means that they are locked for changes and any other change that you do on the model, won’t apply to those parts and when you unmask them, they would again be as they were.
- Sculptris lets you work with various kinds of materials for simulation. This leaves you with more and more options depending on the application of the parts for which the designs are made.
- The UV map will automatically create easily the painting and texturing tasks and the projection painting textures painted with Photoshop can be projected into your model with the help of the UV mapping tool as well as the projected painting textures.
Symmetry on a whole as well as Crease and Smooth
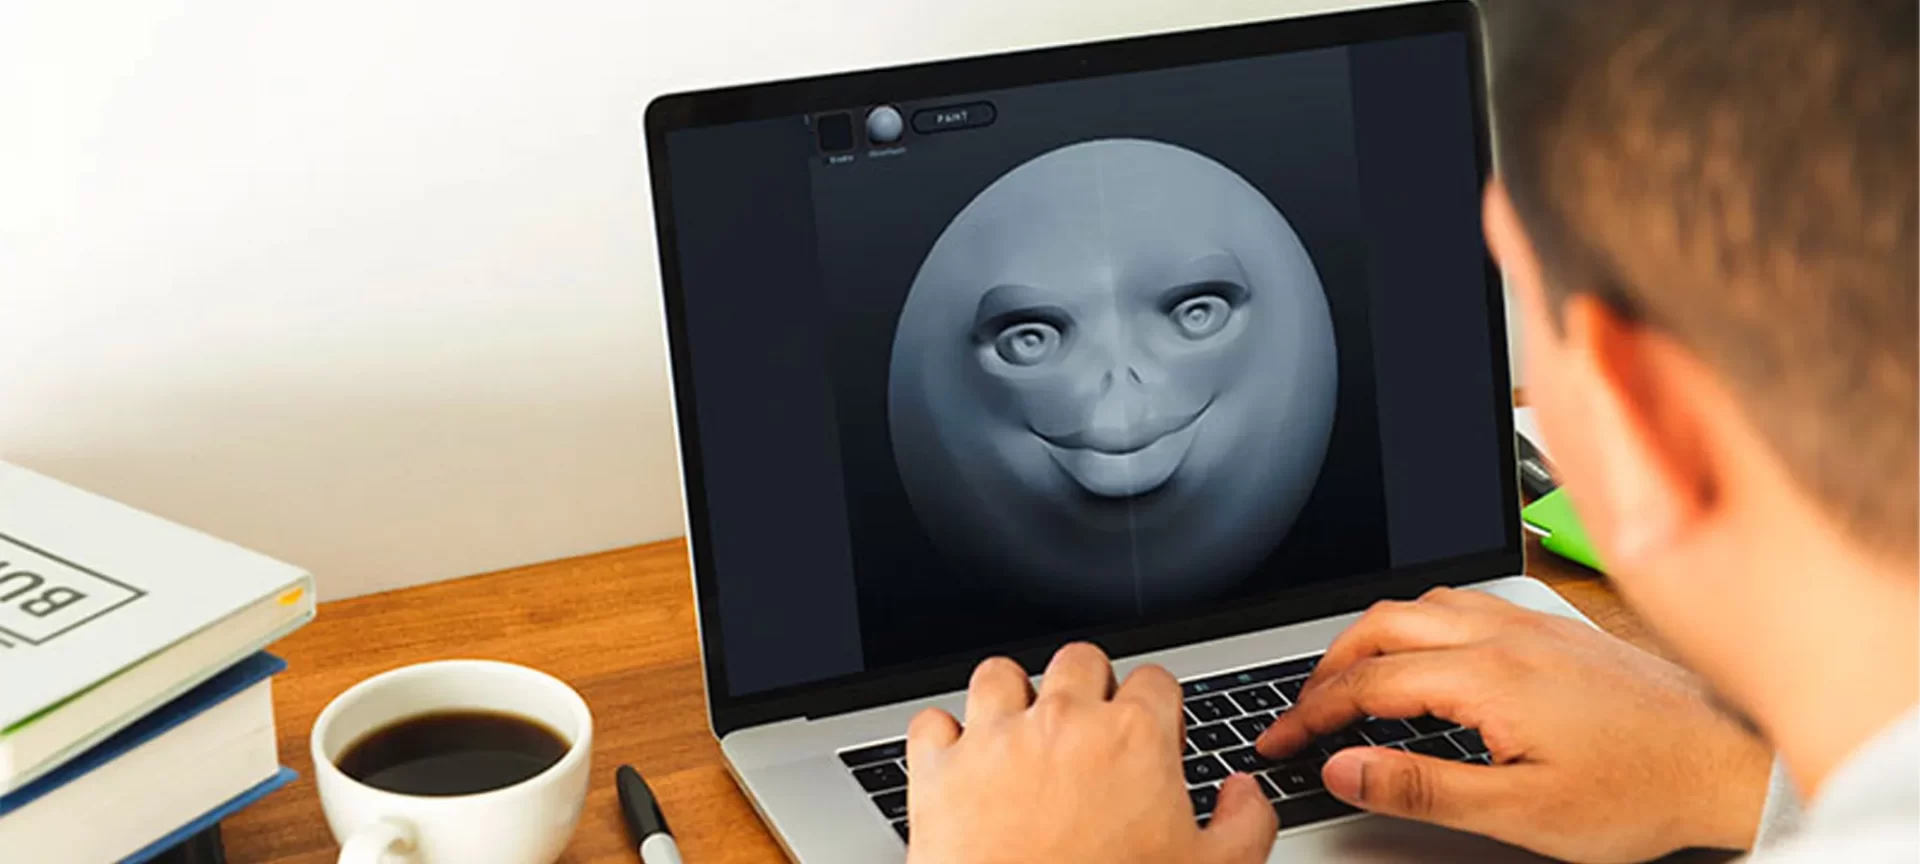
In this Sculptris review, we would like to go in-depth to explain to you specifically the features that you are going to use for designing your model.
More often, these would be the features that are going to ease your journey if you just learn how to use them.
Symmetry, Crease, and Smooth are three such features. Starting with Symmetry about which we have mentioned before as well.
Those who have played with the Draw tool have quickly noticed that they’re getting twice as much work done as they did otherwise!
Please note that is not any sort of magic and you haven’t got any superhero skills. Instead what is happening is, by default Sculptris has the Symmetry feature enabled.
Because of which a lot of sculpting requires the same features to be applied on one side as the other and those objects are getting designed at once. A great example of this feature would be a human face.
Once you’ve set up your face, you can turn symmetry off and then add unique features that only appear on one side.
Crease and Smooth are two great tools that you can find in the toolset of Sculptris. And one of the most brilliant things about sculpting is that you can pretty quickly and easily add or remove details from your model.
If you wish to add something to the model just for experimenting, you can do that quickly and if you do not like it, remove it. So, if you’ve had experience with hard surface modeling then this is something that you will feel seriously free of!
After using the Crease tool, for adding a harder edge into your model, you would also be able to invert this tool if you want to insert a sharp ridge instead.
Whereas when you are using the Smooth tool, it works well alongside provided you’ve added in more detail than you wanted.
So, these two are the tools that are applicable when you have objects with sharp edges and you wish to work harder. Specifically, on some projects. That is when these tools come into play.
Flattening the Model and Inflating Features that are Molded
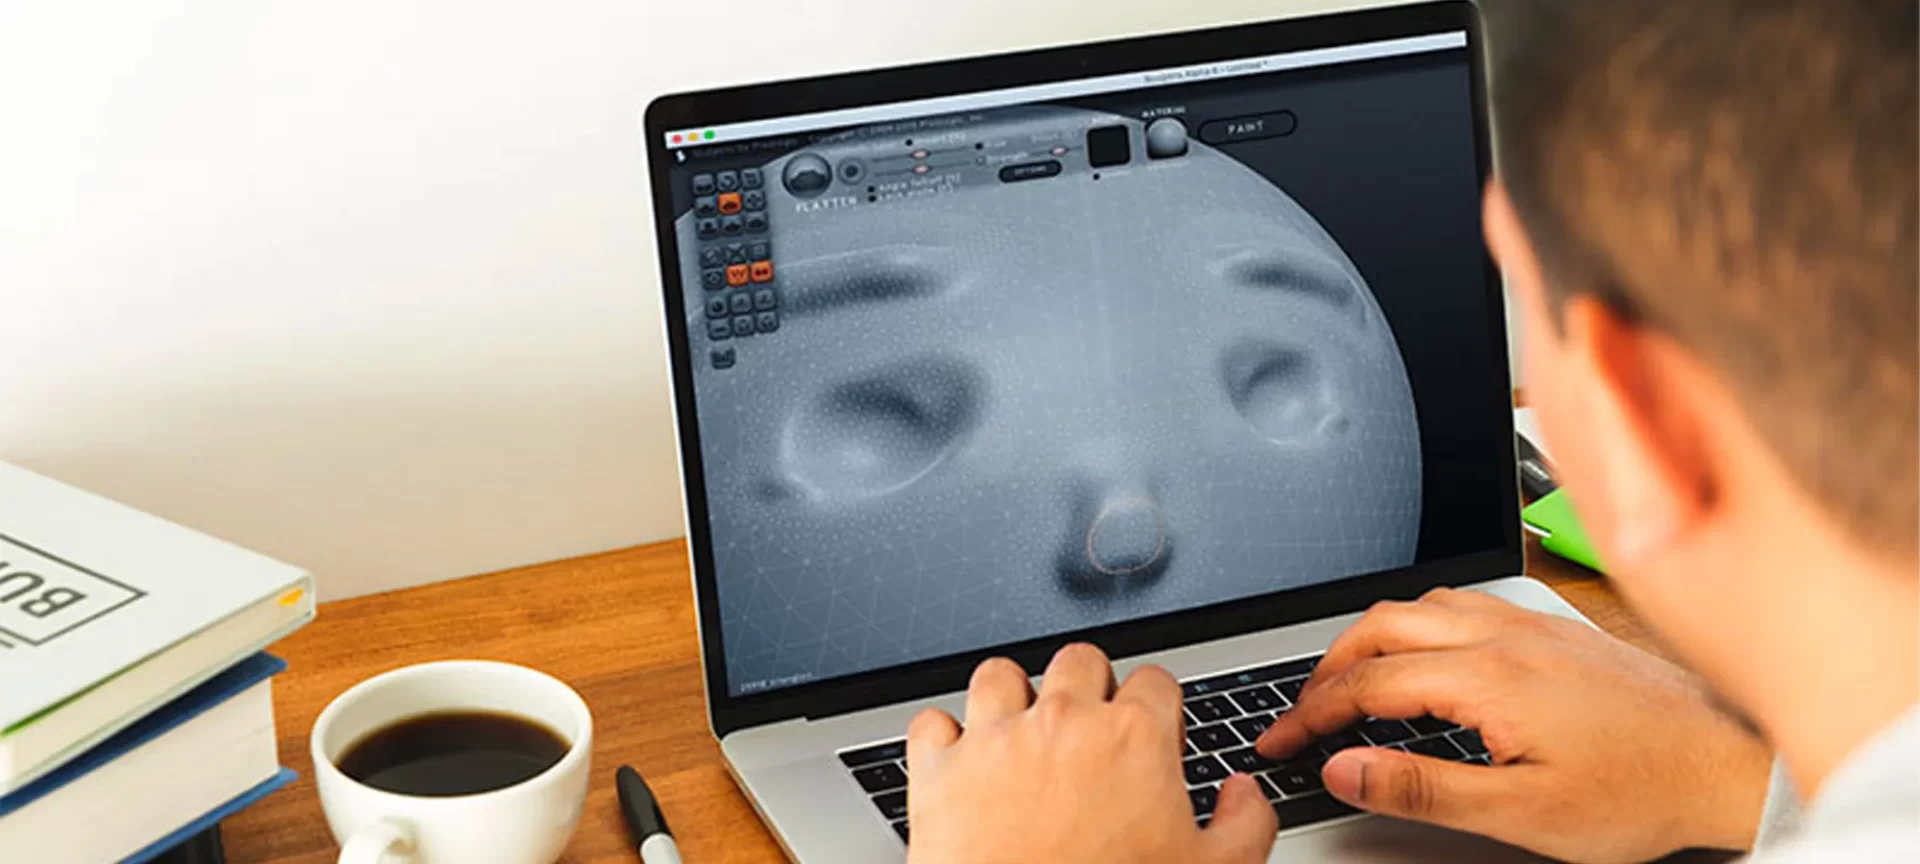
These are some of the main parts of our Sculptris review article because they are considered as the main tools of the software. Flatten is one of the most main tools that you get to use in the software.
What this tool essentially does is that it creates an “imaginary” plane. The surface of your object will then get pushed towards this imaginary plane.
This will allow you to enhance your imagination of the idea that you have in your mind for creating an object.
An initial click at the start of the stroke will set the height of this plane. After knowing which, you will be able to get a little more idea about how the complete surface is going to look.
This is where Flatten comes into play. By creating the imaginary plane, also gives you the necessary wings to experiment with complete freedom.
Those who have designed objects before, not just in Sculptris, but also, generally in any software know that there are times when you will have your model exactly as you want it.
But what you need to do is just change one or two features of this object. These two to three features are what have remained a little bigger or smaller from the actual image that you have in your mind.
In all these scenarios, the Inflate tool should help you out with the detailing you are looking for.
Again, taking the example of the human mouth which you might want to pack a little bit more punch and make it bigger.
This inflate feature is going to let you simply select the part, set the properties, and click to have it inflate the lips.
Even the inverse of this feature is possible by the name, which also works to deflate.
Creating a Pinch and Seeing or Controlling your Mesh
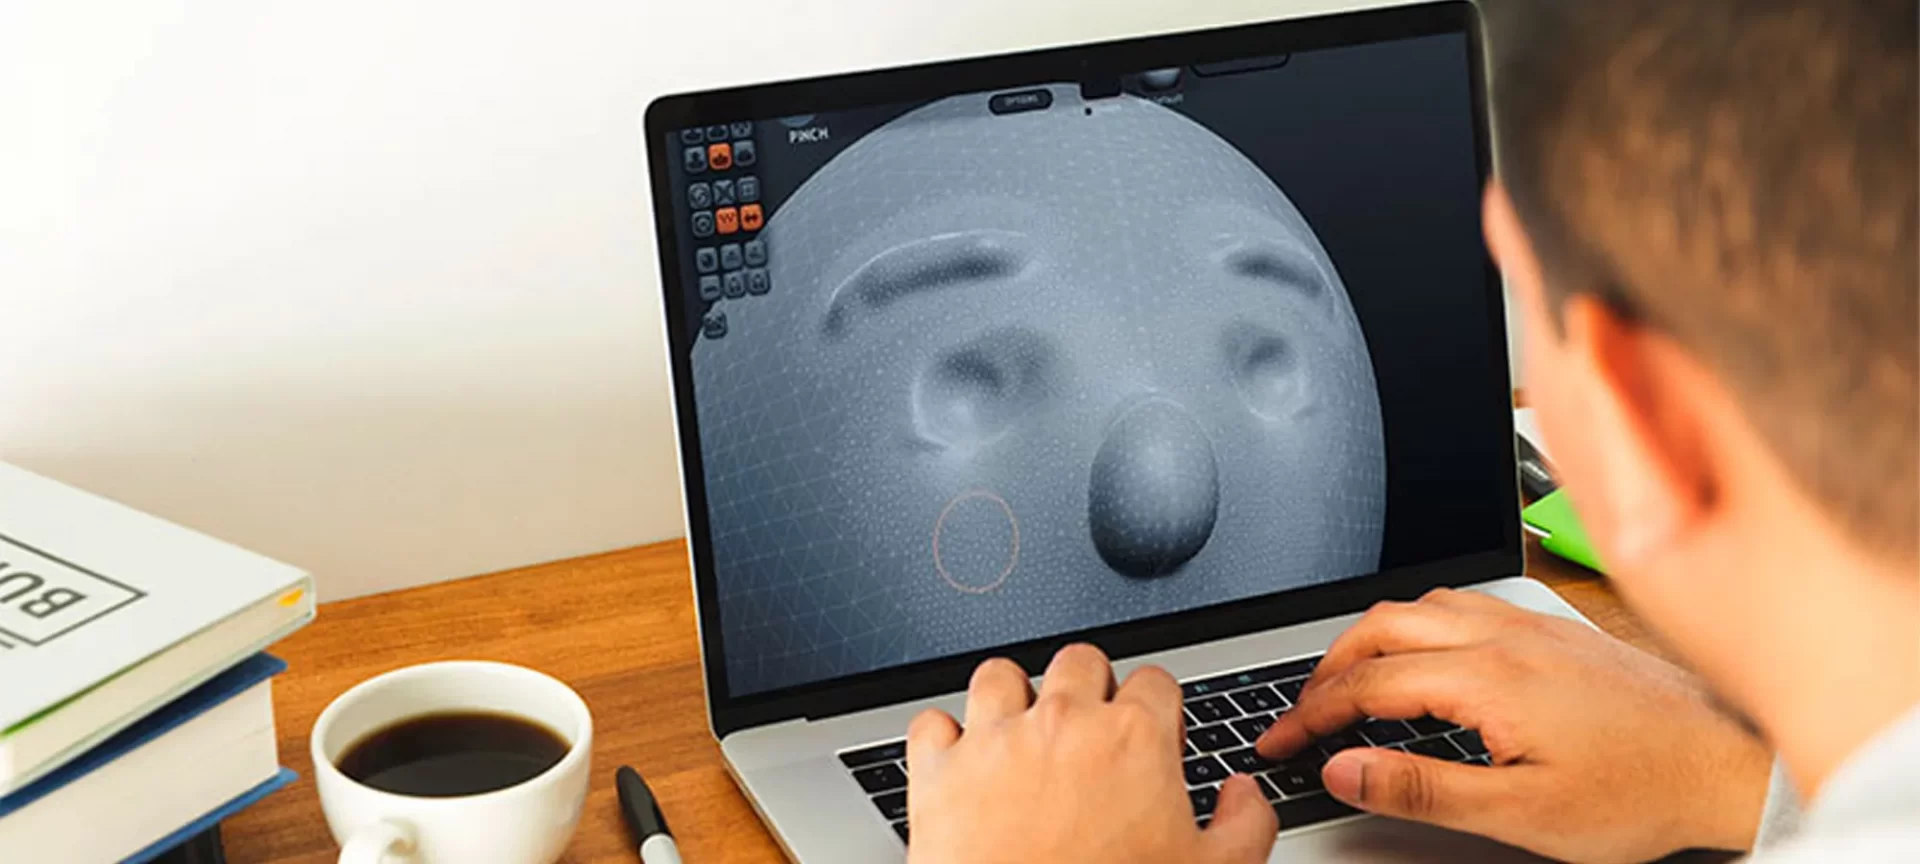
It’s very exciting to mention creating a pinch in our Sculptris review article because this tool squeezes your surface inwards.
Thereby, this tool is very similar to pinch something in real life, and hence it is named, creating a pinch! What happens when you do pinch in reality?
Think about pinching your skin or a piece of clay and then the surface gets pushed up between your fingers.
Creating a Pinch can be used to sharpen your details or at times to straighten edges.
For maximizing control over everything that the sculpting tools will do to your mesh, you need to understand that the tool you are working with is a subdivided mesh.
It’s named so because it is subdivided into triangles and can also be seen as an overlay to your model by hitting the wireframe button on the left-hand side.
So, if you’re going for lots of detail in our model or in a specific area then you’ll need to make sure that your mesh has enough triangles to represent that.
As you learned in the above stanza of Sculptris review article about seeing, here you are going to learn about control.
The first thing you need to do here is to get Reduce Brush which will reduce the complexity of the surface that you click on.
Then you have a couple of global tools, reduce selected and subdivide all, that affect the entirety of the mesh you have selected.
While the former will reduce the number of triangles, the latter will introduce more triangles.
Sculptris (CAD) was featured in our articles:
Top Free CAD Software for Beginners
Top 3D Rendering Software for Beginners
10 Best Free 3D Modeling Software for Beginners
Best ZBrush Alternatives
The Conclusion
The final part that concludes our Sculptris review article is about saving and exporting the software.
The Save button is present on the left-hand side of the screen. Just to mention, how this will save your model in a native Sculptris format.
And if you are someone who wants to save your model for use in a different piece of software such as ZBrush or 3ds Max, then you’ll want to export the model.
Exporting can be done by using the export button which is also present on the left-hand side.
There is also export it using the OBJ file format, clicking on it would let you use this object that you have designed in more advanced software that is named above.


