What Is Marlin?

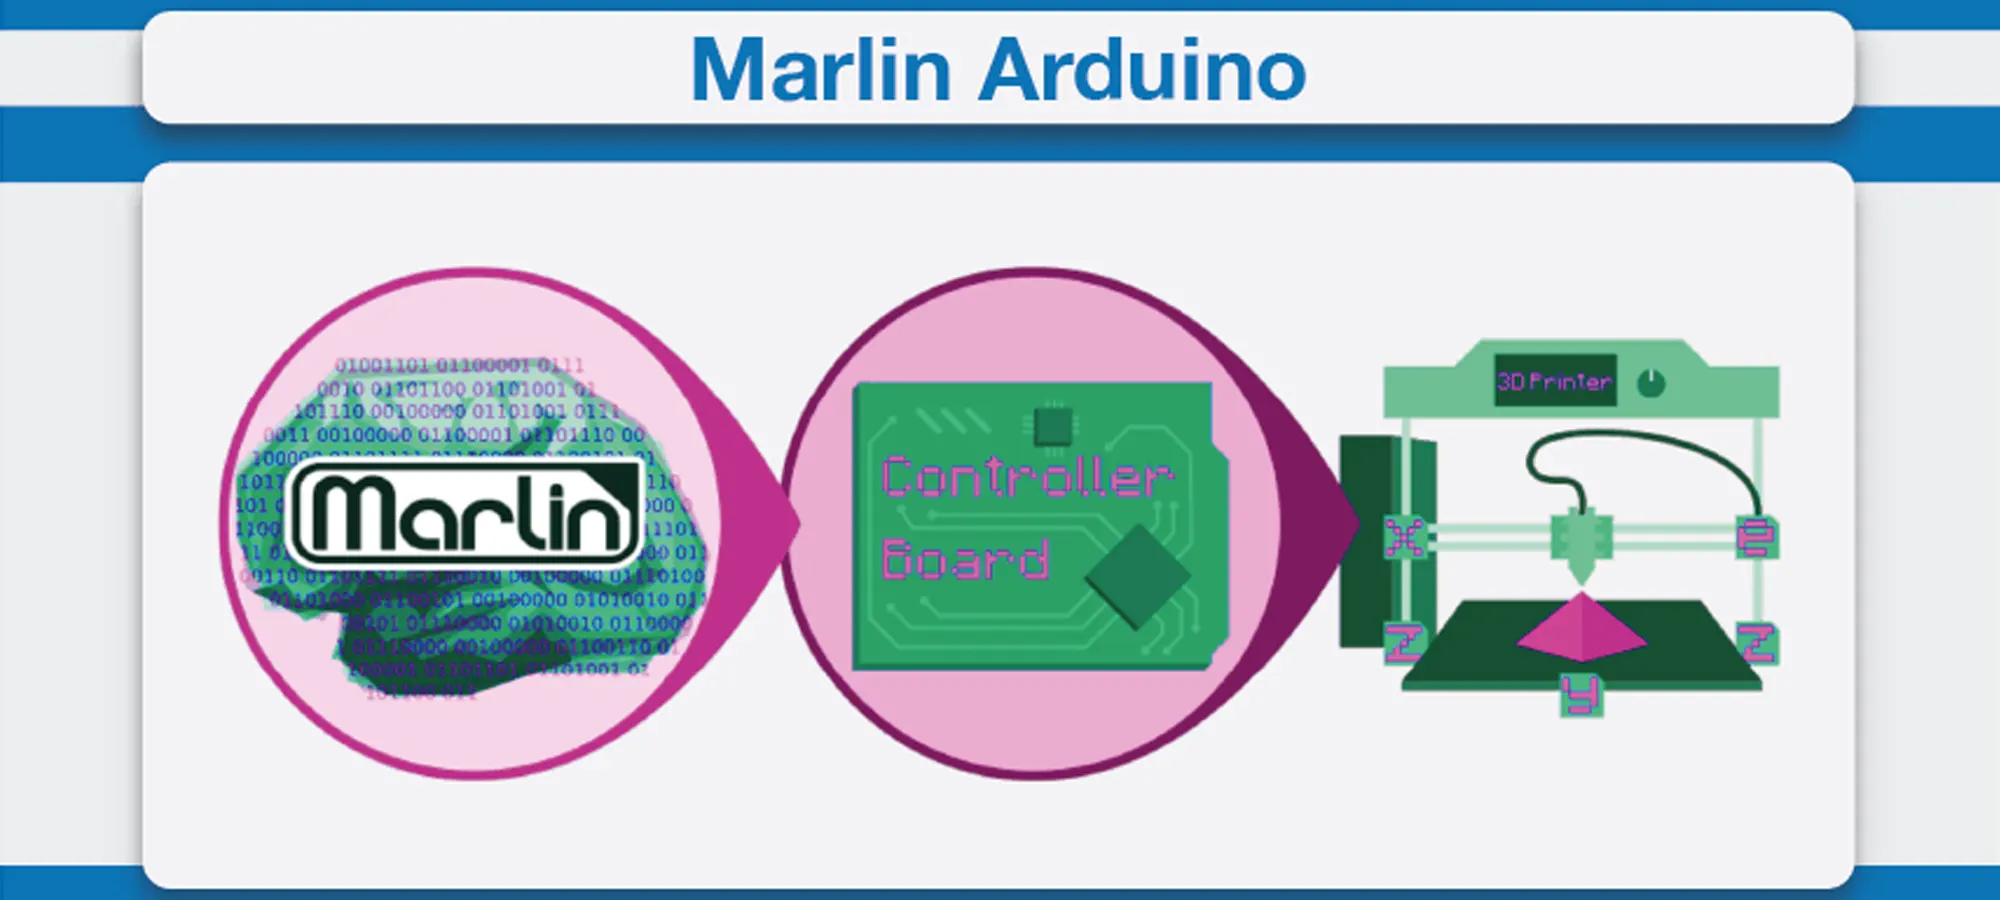
The RepRap family of replicating rapid prototypes, also known as “3D printers,” has an open-source firmware called Marlin. This firmware is based on the Arduino platform.
Marlin 2.0 is a new version of the popular RepRap firmware that adds support for faster 32-bit and ARM-based boards, as well as improved compatibility for 8-bit AVR boards. This was generated from Sprinter and GRLB, and it was released as an independent open-source project on Github on August 12, 2011.
Marlin’s success stems from the fact that it operates on low-cost 8-bit Atmel AVR microcontrollers. Marlin offers a wide range of 3D printer robot platform boards and designs, including Cartesian, Delta, and SCARA printers, along with Hangprinter.
Salient Features of Marlin
Marlin includes several key features that make it stand out from the rest. Those features can be described as follows:
- It has support for Volumetric extrusion
- Look ahead, interrupt-based movement and linear acceleration are all features of this smart motion system
- It can also support up to 5 extruders in total
- Has a heated print bed
- It offers a Print Job timer and a Print Counter
- Lines, arcs, and Bézier curves are all included in the G-code movement suite
- It is Linear Advanced for pressure-based extrusion
- It also has a host-based and SD Card printing with autostart
- Includes support for Filament Runout/Width Sensors
- It is a full-featured G-code with over 150 commands
- Bed Leveling Compensation with or without a bed probe
- It has support for mixing and multi-extruders
- It also includes an LCD Controller UI with more than 30 language translations
- It has a closed-loop PID heater control with the ability of auto-tuning, thermal protection and, safety cutoff
Getting Started
You will need to configure Marlin for your specific hardware before you build it. Marlin is an Arduino project that may be set to run practically, on any 3D printer, with the condition that the 3D printer must be equipped with an Arduino.
Accessing “Configuration.h”

To start up, initially, you must edit variables and comment or uncomment code in the “Configuration.h” file to configure it to your 3D printer. Therefore, to begin with, the exciting and logical journey of configuring your 3D printer with Marlin, you will first have to open “Marlin.ino” that is located in the zip file.
It should be located in the “Marlin-1.1x/Marlin/Marlin.ino” directory. Right after that, “Marlin.ino” and a slew of other classes will show up. After that, choose “Configuration.h” to see the file.
Looking up the Baudrate
Here is an extra tip to help you know about the Baudrate of your computer. As the Baudrate will differ depending on your computer and motherboards.
If you are not familiar with what Baudrate is, you can leave it as it is. However, if you plan to check it, you can find it under the configuration section on the 114thline of “Configuration.h”. Typically, the Baudrate can equal 2400, 9600, 19200, 38400, 57600, 115200, 250000, 500000, or 1000000.
Substituting the Motherboard’s Default Value
Then, you must substitute #define MOTHERBOARD with the default value of your motherboard. BOARD RAMPS 14 EFB is the default value in the program, although it can be anything from Arduino’s boards.h file. Replace it with the value of your motherboard from boards.h. On the 122th line, you will find this code.
EFB refers to the configuration that can be achieved with a Ramps 1.4 motherboard, which has one extruder, one fan, and one heated bed. Just so you know, this is similar to the majority of Prusa i3 variations.
Below, you can see a few examples of the options for changing the value of your motherboard.
- BOARD_RAMPS_OLD
- BOARD_RAMPS_13_EFB // RAMPS 1.3 (Power outputs: Hotend, Fan, Bed) #define
- BOARD_RAMPS_13_EEB // RAMPS 1.3 (Power outputs: Hotend0, Hotend1, Bed) #define
- BOARD_RAMPS_13_EFF // RAMPS 1.3 (Power outputs: Hotend, Fan0, Fan1) #define
- BOARD_ULTIMAIN_2 // Ultimainboard 2.x (Uses TEMP_SENSOR 20)
- BOARD_LEAPFROG // Leapfrog #define BOARD_MEGACONTROLLER 310 // Mega controller #define BOARD_SCOOVO_X9H // abeeScoovo X9H
- BOARD_RUMBA // Rumba
- Etc.
Changing The Number Of Extruders To Your Printers
After that, in “Configuration.h”, on the 137thline, change the number of extruders to the number of extruders of your 3D printer. If your printer consists of just a single extruder, leave it according to the default setting.
Adjusting the Amount to Your Printer’s Filament Diameter
A variable called DEFAULT NOMINAL FILAMENT DIA can be found on the 140th line of Arduino. Use this to adjust the amount to your printer’s filament diameter. Leave it alone if it is 3mm.
If you do not know what your filament diameter is, look up your printer’s specifications. The most common thicknesses used by printers are 1.75mm or 3mm.
Setting up the Temperature
Then comes the time to set the value of the thermistors present in your 3D printer. Thermistors are variable resistors whose resistance changes as the temperature rises. Due to this, they are employed in 3D printing to measure temperature. On lines 289-294, five variables are utilized to declare thermistors in each hot-end. Value 0 corresponds to your first hot-end, value 1 to your second hot-end, and so on.
The heated bed is represented by the value present on the 295th line. Set these to the values according to the thermistor you are using. The values of some thermistors are listed below.
- -3: thermocouple with MAX31855 (only for sensor 0)
- -2: thermocouple with MAX6675 (only for sensor 0)
- -1: thermocouple with AD595
- 0: not used
- 1 : 100k thermistor – the best choice for EPCOS 100k (4.7k pullup)
- 2: 200k thermistor – ATC Semitec 204GT-2 (4.7k pullup)
- 3: Mendel-parts thermistor (4.7k pullup)
- 4: 10k thermistor !! do not use it for a hotend. It gives bad resolution at high temp. !!
- 13 : 100k Hisens 3950 1% up to 300°C for hotend “Simple ONE ” & “Hotend “All In ONE”
- 20: the PT100 circuit found in the Ultimainboard V2.x
- 55: 100k thermistor – ATC Semitec 104GT-2 (Used in ParCan& J-Head) (1k pullup) * *
- 1047: Pt1000 with 4k7 pullup * 1010: Pt1000 with 1k pullup (nonstandard) * 147 : Pt100 with 4k7 pullup * 110 : Pt100 with 1k pullup (nonstandard) * * Use these for Testing or Development purposes. NEVER for production machine. *
The PID tuning variables are present on lines 258 – 260 in “Configuration.h”.
If you know what to modify them to, you can do so. However, if you are not sure about what has to be done, you will have to wait till your 3D printer is fully configured leaving those lines of code untouched as setting them to the incorrect numbers can be harmful.
It may cause certain unwanted calamities such as leading something to break or catch fire. Your printer may have the ability to stop in such a case but, this is not guaranteed.
Necessary Precautions To Undertake
Take note that if you have a heated bed, remove the comment from line 386. If you do not, running your printer will be exceedingly unsafe because your heated bed will be difficult to regulate. The PID settings for your bed, are lines 402 – 404.
The Adjustment of Endstops
By default, minimum Endstop is enabled. Lines 473-478 control whether your maximum and minimum Endstop are enabled or disabled.
The max and min Endstop can be disabled or enabled by commenting them out or uncommenting them. Inverting the logic of your Endstop is done on lines 495 – 501. If they do not operate as expected, you can reverse them later.
Modification
Also, remember that inverting each axis is done on lines 751-753, while inverting any extruder, is done on lines 761-765, if you have one. Only modify these if you are sure about what you are doing or if you are sure that something is inverted.
Enabling Lines According to the LCD
Check online to get to know if your LCD is Ultra LCD or Dog LCD. Because after knowing that, you will have to uncomment lines 1322 or 1323 based on whether it is or it is not. To enable those lines for your LCD, uncomment them. Do not turn on both of them together.
Configuring the SD Support
Take into consideration that if you do not have an LCD monitor or a slot for an SD card, skip this step. However, if you are using an SD card, uncomment line 1332 to enable the support for your SD card.
LCD Placement
As a final step, you must know that the placement of your LCD screen in marlin will differ depending on what it is. Using “find or replace”, look for your LCD screen and uncomment it. You may be able to do it by pressing CTRL + F as a shortcut key.
For further help, you can also visit the MarlinFirmware/Configurations repository in order to find the right configuration for your hardware.
Frequently Asked Questions
What is the purpose of the Marlin firmware?
Marlin Firmware runs on the main board of the 3D printer, managing all of the machine’s real-time activities. It controls the heaters, steppers, sensors, lights, LCD display, buttons, and other components of the 3D printing process.
What language is Marlin firmware compiled in?
Language Characteristics Marlin is written in C/C++ and must be compliable using the provided Makefile or an up-to-date version of Arduino.
Is Marlin used by Creality?
Creality manufactures a number of printers that use Marlin, a GPLv3 licensed firmware that powers the vast majority of desktop 3D printers (in some form or another).
Is Marlin a RepRap?
Marlin is RepRap single-processor electronics firmware that supports RAMPS, RAMBo, Ultimaker, BQ, and several other Arduino-based 3D printers.
RAMPS 1.4, Rumba, Ultimaker, Sanguinololu, Generation 6 Electronics, and many other AVR 8-bit microcontroller-based controllers are supported.
Is Marlin used in Ender 3?
When a computer (in this case, the printer) is turned on, a bootloader loads an operating system. We’ll need to install a bootloader because the Ender 3 doesn’t come with one. This will allow the printer to boot with a more recent version of the Marlin firmware.
Conclusion
Marlin is an Arduino-based optimized firmware for RepRap 3D printers. Marlin must be configured for your specific hardware before it can be built. Your vendor should have already provided source code for the installed firmware, but if you decide to upgrade, you’ll need updated configuration files.
In general, it is an excellent choice of firmware, but it may not be suitable for everyone. However, if you want to improve your machine’s precision and speed, it might be worth the risk!


