One of the silliest problems that you face when everything is working just right, and you start your 3D printing procedure; you realize that your print is not sticking to your print bed.
And you are out there thinking,” what the heck is going on? How am I going to print the rest of the part or functional prototype if the first layer isn’t stable?” Why is your 3D printer not sticking?
If your 3D printer is not sticking, remembering the rule that, you can’t build a solid house on a shaky foundation, and you can’t build a great 3D print unless the first layer sticks to the print bed.
You have to ensure that the problem gets cured before you start 3D printing. And the factors that can cause poor first-layer sticking are needed to be taken care of.
The general factors that cause this 3D printer not to stick are:
- An uneven build surface.
- An extruder that is too close or too far away.
- Speed.
- And cooling issues.
When you have a 3D printing process that is on, treating, or taking care of them is equally frustrating!
Most of you must have experienced the maddening process of starting and re-starting a print, becoming more and more frustrated if the all-important first layer does not stick.
In this article, we are going to explore the reasoning, as well as the causes that should be taken into account when you typically encounter this issue.
First, we will focus on the reasons why it happens, and to make it easier we will assume that 3D printers not sticking while using PLA material, and then in the article, we will explore the solutions. So, let’s get started.
Bed Preparation while Printing with PLA Filament is not Strong Enough

It is observed in a lot of the cases of not only PLA prints, but in general with any material not sticking, the problem with preparation.
So, understand this thing very nicely that there are several methods to prepare your printing bed for PLA or, just in general, with any material.
One of the most common ways is to use Kapton tape and another one is to use blue painter’s masking tape.
However, the method and the suggestion would differ from print to print and from advisor to advisor.
Websites also suggest using a hair spray. Numerous brands are available in a hair spray that is used and they must all have pretty much the same constituent chemicals.
Remember while using hair sprays, you need to concentrate on giving the spraying a good soak. You need to soak it like you are not just puffing a bit on, but you are waiting for it to evaporate and hit it again.
You need to keep going until you can see a real buildup of spray on the surface.
Some websites here prefer that you put the spray onto a warm bed, reasoning out that it evaporates more quickly.
To save your nose that would be breathing in a heap of spray, you can just work on the area where the machine is going to print your object.
In case your PLA print doesn’t stick, just lay on some more spray after each attempt and soon it’ll build up enough to stick.
After taking care of how to prepare your bed, you will have to observe the ideal bed temperature that is recommended.
Ideal Bed Temperature is not Used while Printing
The ideal bed temperature is sometimes recommended by the manufacturer from whom you purchase the printer and if you are experienced with the material and the printer, you also just know it from your experience.
For avoiding PLA prints that do not stick and other issues with 3D printing work, it is necessary that you have the ideal bed temperature.
But as mentioned before, this is not a one-time shot, in fact, it is a matter of experimentation, the bed temperature is going to be a matter of experimentation.
Websites claim that every printer reads a bit hot or a bit cold even if it’s using a standard 100K thermistor. It should be too cold print because then, it simply won’t adhere.
Similarly, if it is too hot, the plastic will soften too much. So, it is likely to get peeled off the bed by any stray bit of plastic stuck to the extruder nozzle.
When you are printing with PLA, most of the websites recommended somewhere above 65 degrees Celsius, as a very good temperature.
So, if you too are printing with the same material for the first time, 67 degrees Celsius is probably a good one to start with.
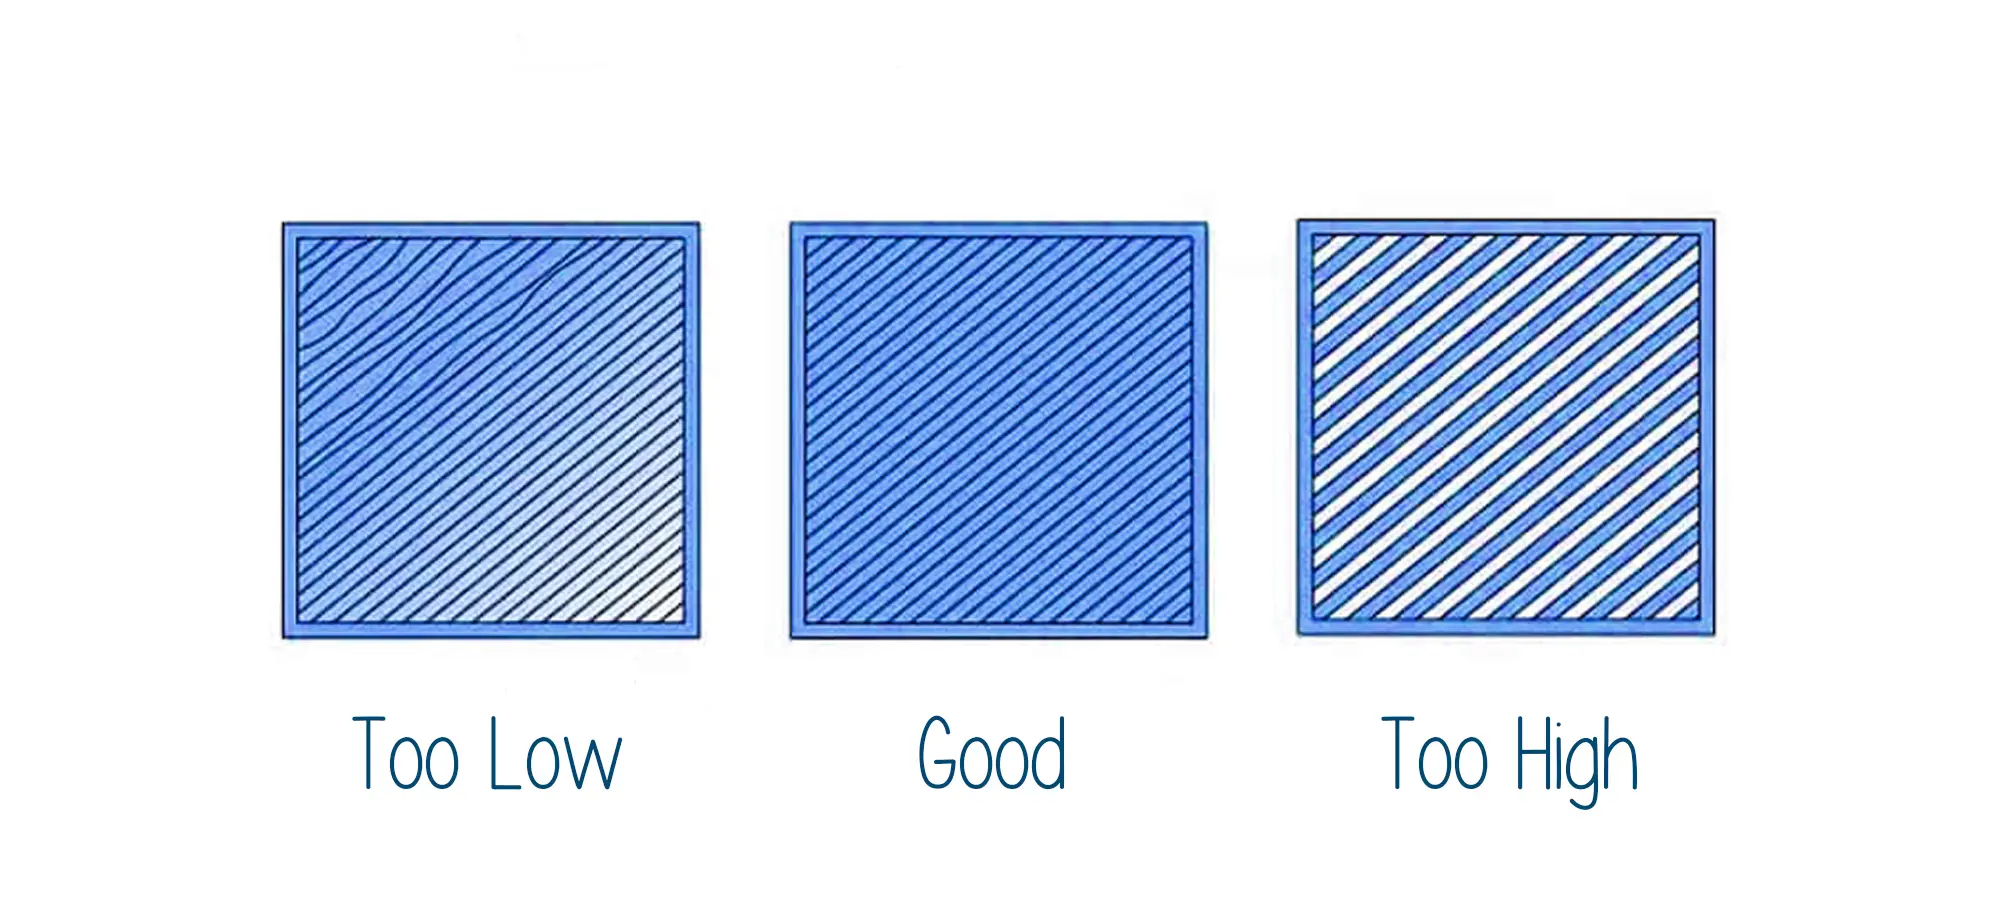
The extruder’s Temperature is not Right
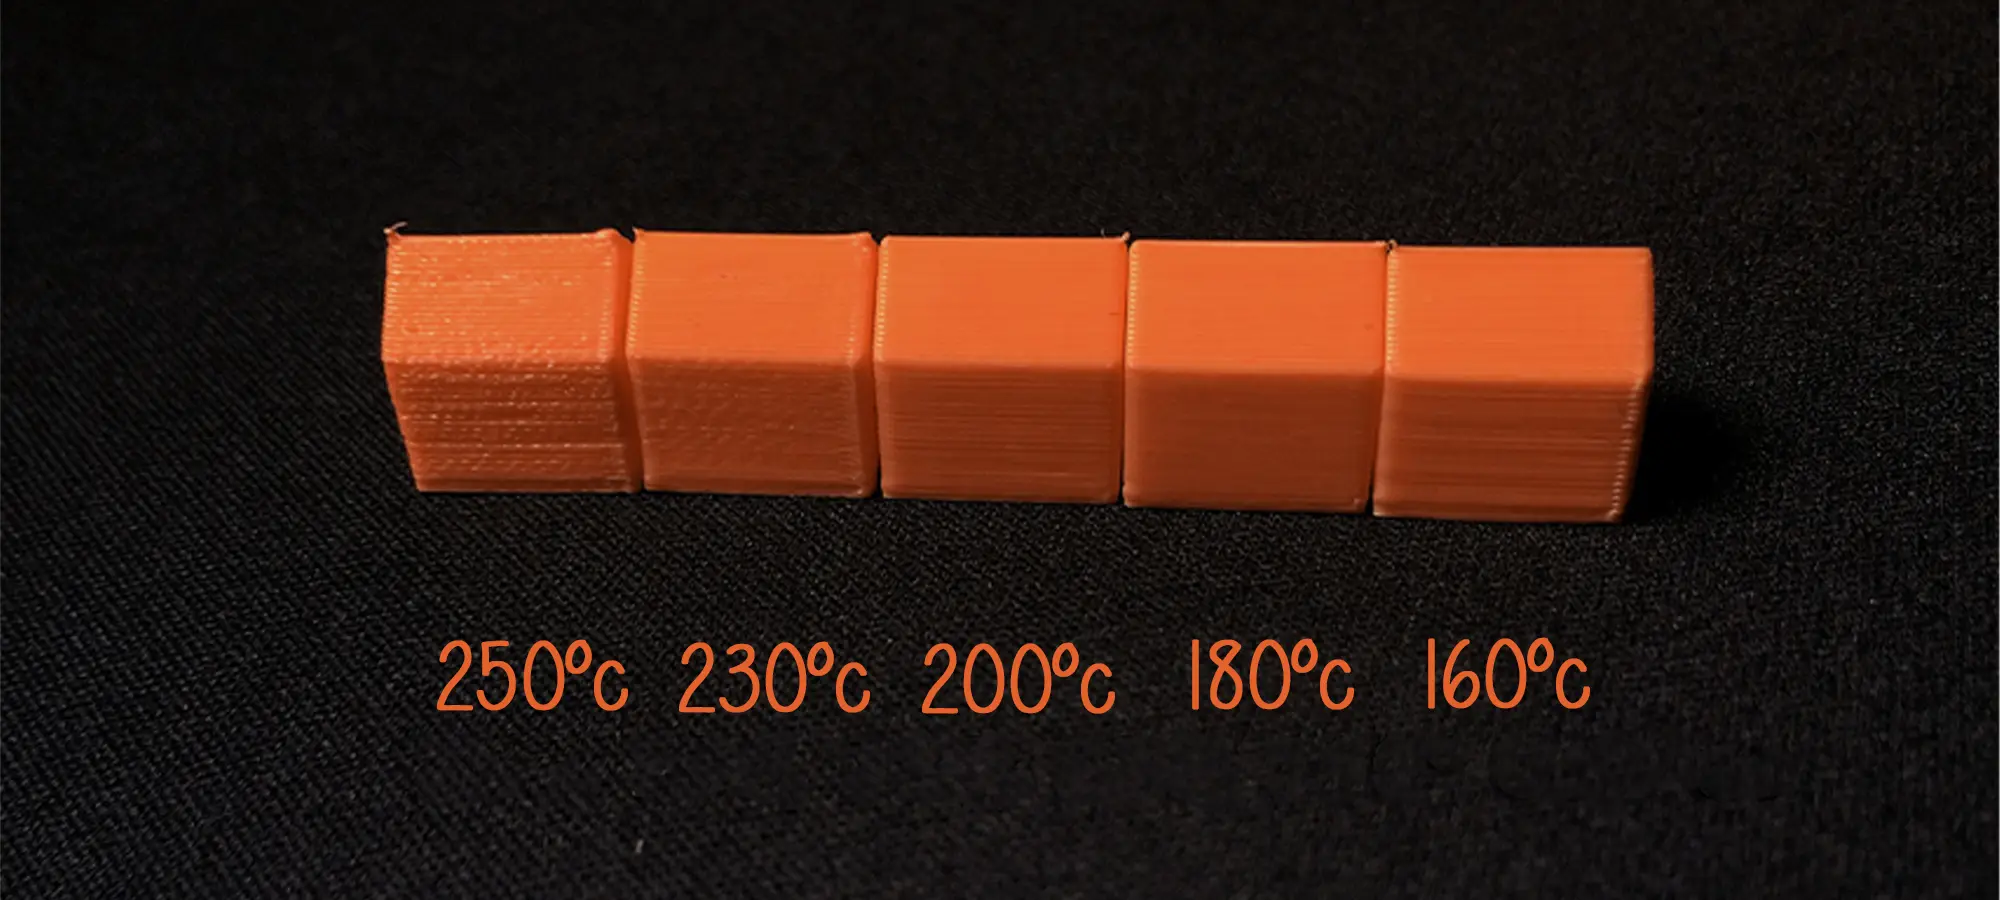
Getting this aspect right is another crucial factor in ensuring, not to get the other things right.
For ensuring the extruder’s temperature is right, the main things you should be looking at are the main and first layer settings.
Not ensuring this can cause a big difference in the 3D printer not sticking.
Websites share screenshots of their printer settings in which their first layer temperature is hotter than the main temperature.
For making sure that they get the best adhesion possible to the print bed and help avoid that issue of PLA prints not sticking.
And then you also do not want to get the PLA completely running, so you want to drop the temperature layer by layer because one of the oddest characteristics of PLA is that it will almost turn to liquid if you push the temperature too high.
You also have a risk of clogging the extruder at this point, to those who find this a weird statement, there are numerous websites that claim this to happen.
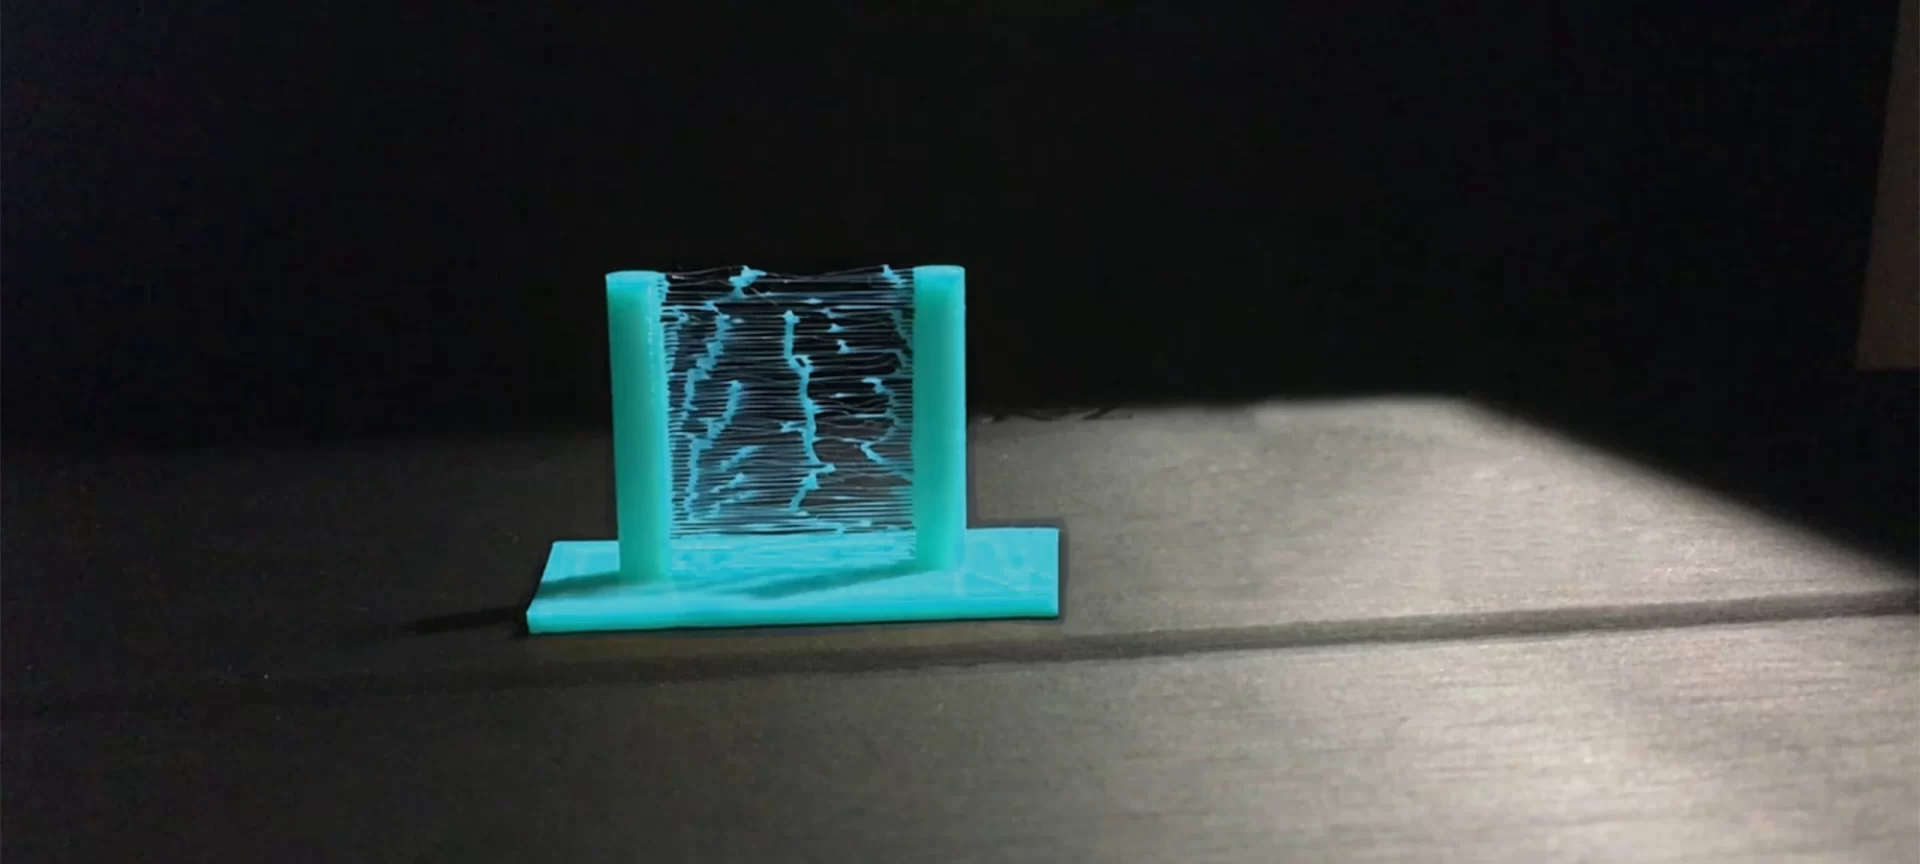
Stringing is another thing where PLA is worse, even than ABS. And the cause of stringing is the ambient air temperature.
The extruder’s temperature is something that is the most important when it comes to ensuring that the print, sticks.
Given the temperature is above or below what is needed, there are possibilities of the 3D printer not sticking and running out or, not melting the filament at all.
In the next part of our article, we are going to recommend different solutions doing which, you can have an assurance in your mind about the sticking of prints.
Adjusting the Leveling of the Build Platform
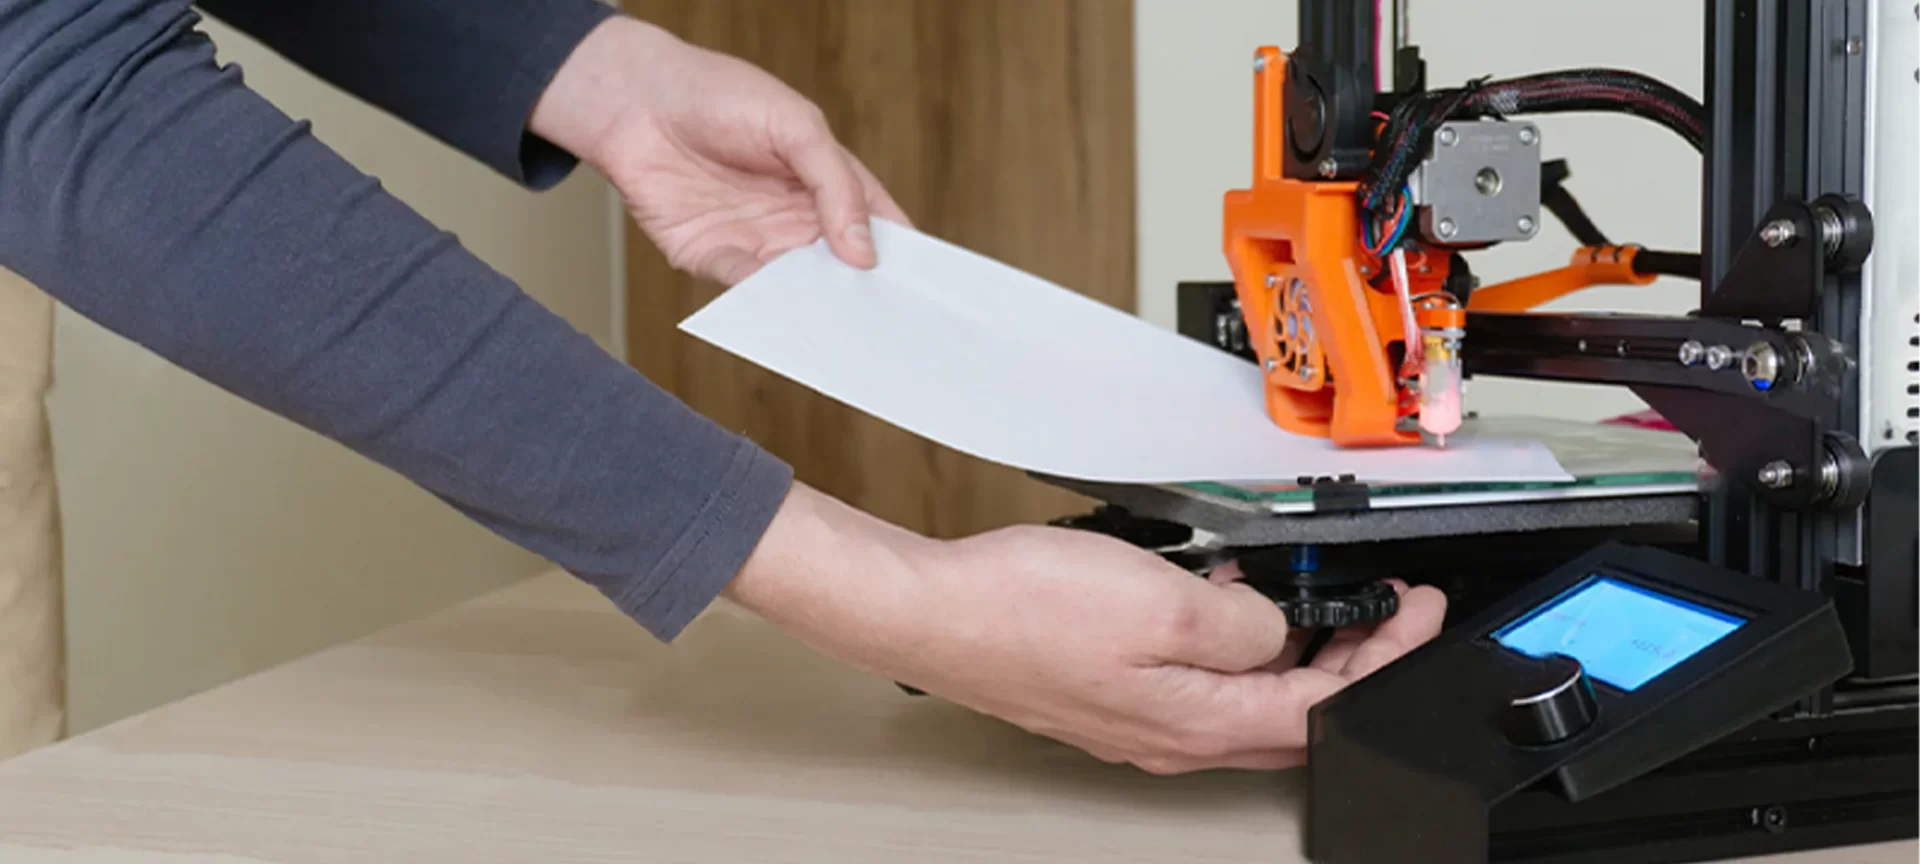
There are numerous printers available in the market that include an adjustable bed with several screws or knobs. These adjustable beds are for controlling the position of the bed.
So, if you too have such a 3D printer and are getting trouble with the 3D printer not sticking, the first thing you will want to verify is that your printer’s bed is flat and level.
Because if that is not so, one side of your bed may be too close to the nozzle, whereas the other side is too far away. And for achieving a perfect first layer you are required to level the print bed.
There are websites like Simplify3D that already include a useful bed leveling wizard that guides you through the bed leveling process.
You can refer to such wizards on websites such as Simplify3D and follow the instructions that will let you level the bed perfectly.
Once your bed is adjusted, you can then focus on other things and check whether they are in place or not!
The Build Platform Surface has to Have Tape, Glues, and Materials in Place
It is a proven fact that some plastics go well with some materials with which your print bed is made, so, some printers are also known to come with special build platform material that is optimized for their materials.
Those who have already seen the features of some of the printers they are thinking to purchase must be familiar with the term called BuildTak sheet on the top of their bed that tends to stick very well to PLA.
Other terms that might have also come in the way would be heat-treated glass beds such as Borosilicate glass.
This glass also lets manufacturers claim that it works very well for ABS when heated.
While going to print directly onto these surfaces, it is always a good idea to make sure that your build platform is free of dust, grease, or oils before starting the print.
And you can also clean your print bed with some water or isopropyl rubbing alcohol to make a big difference.
Even if your printer does not offer materials such as mentioned before, do not need to worry. It is not the end of the world for you still have options!
There are several types of tapes that stick well to common 3D printing materials and for sticking they do not require the build platforms mentioned above.
Strips of tape can be applied to the build platform surface and easily removed or replaced whenever you want to print with a different material.
So, you can use, your believed notion that might be that PLA tends to stick well to blue painter’s tape. Or say, ABS tends to stick better to Kapton tape.
Users are also known to have great success using a temporary glue or spray on the top of their build platforms.
Hair sprays are also one of the common ways of sticking the material to build a platform.
But in these cases, it is best to experiment and find the best material that does not lead to a 3D printer not sticking issue.
Nozzle Starts too far Away from the Bed
If your bed level is fine and you are still facing the issue of the 3D printer not sticking, the second part to ensure is, the nozzle isn’t too far.
This you can do by seeing the nozzle is starting at the correct height relative to the build platform.
You should aim to locate your extruder, whether it has the perfect distance away from the build plate or not? Because if it is too far or too close chances are that the 3D printer won’t stick.
For good adhesion to the build plate to happen, you want your filament to be slightly squished against the build plate.
Doing so would let you adjust these settings by modifying the hardware.
You can also do this if your software is pretty compatible with the hardware and offers such a setting.
The First Layer is Printing too Fast
As the order has been given from your end to extrude the first layer of plastic on top of the build platform, you want to ensure that plastic can properly bond to the surface before starting the next layer.
In scenarios wherein if you print the first layer too fast, the plastic filament may not have time to bond to the build platform.
So, a lot of recommendations at various websites advise keeping the speed of printing the first layer slow to ensure that the “3D printer not sticking” phenomenon, does not happen.
The Conclusion
Often there are times when none of this will work. In such scenarios, you might be printing a part or functional prototype that is too small in size and does not have enough build area to stick to your printer’s build platform.
Brimming is a solution to such a typical type of problem, wherein the surface area of the part or functional prototype is increased and there is no longer the problem of the 3D printer not sticking.
What this does is, it inserts another area apart from the area that you order to 3D print.
So, eventually the complete build area of the part of which the printer gets the order to print increases and there is no more the trouble of the 3D printer not sticking.
Some software offer this tool under their settings tab, which you can into account, but only after assuring that any of the above-mentioned problems are not occurring.
Otherwise, you would be searching for the mice somewhere else than, where it actually is!


