Let’s say you need some amount of plastic to start the printer, and the printer is unable to extrude that amount of plastic that means your printer is under extruding.
There are many significances of this phenomenon when you have the printing process running.
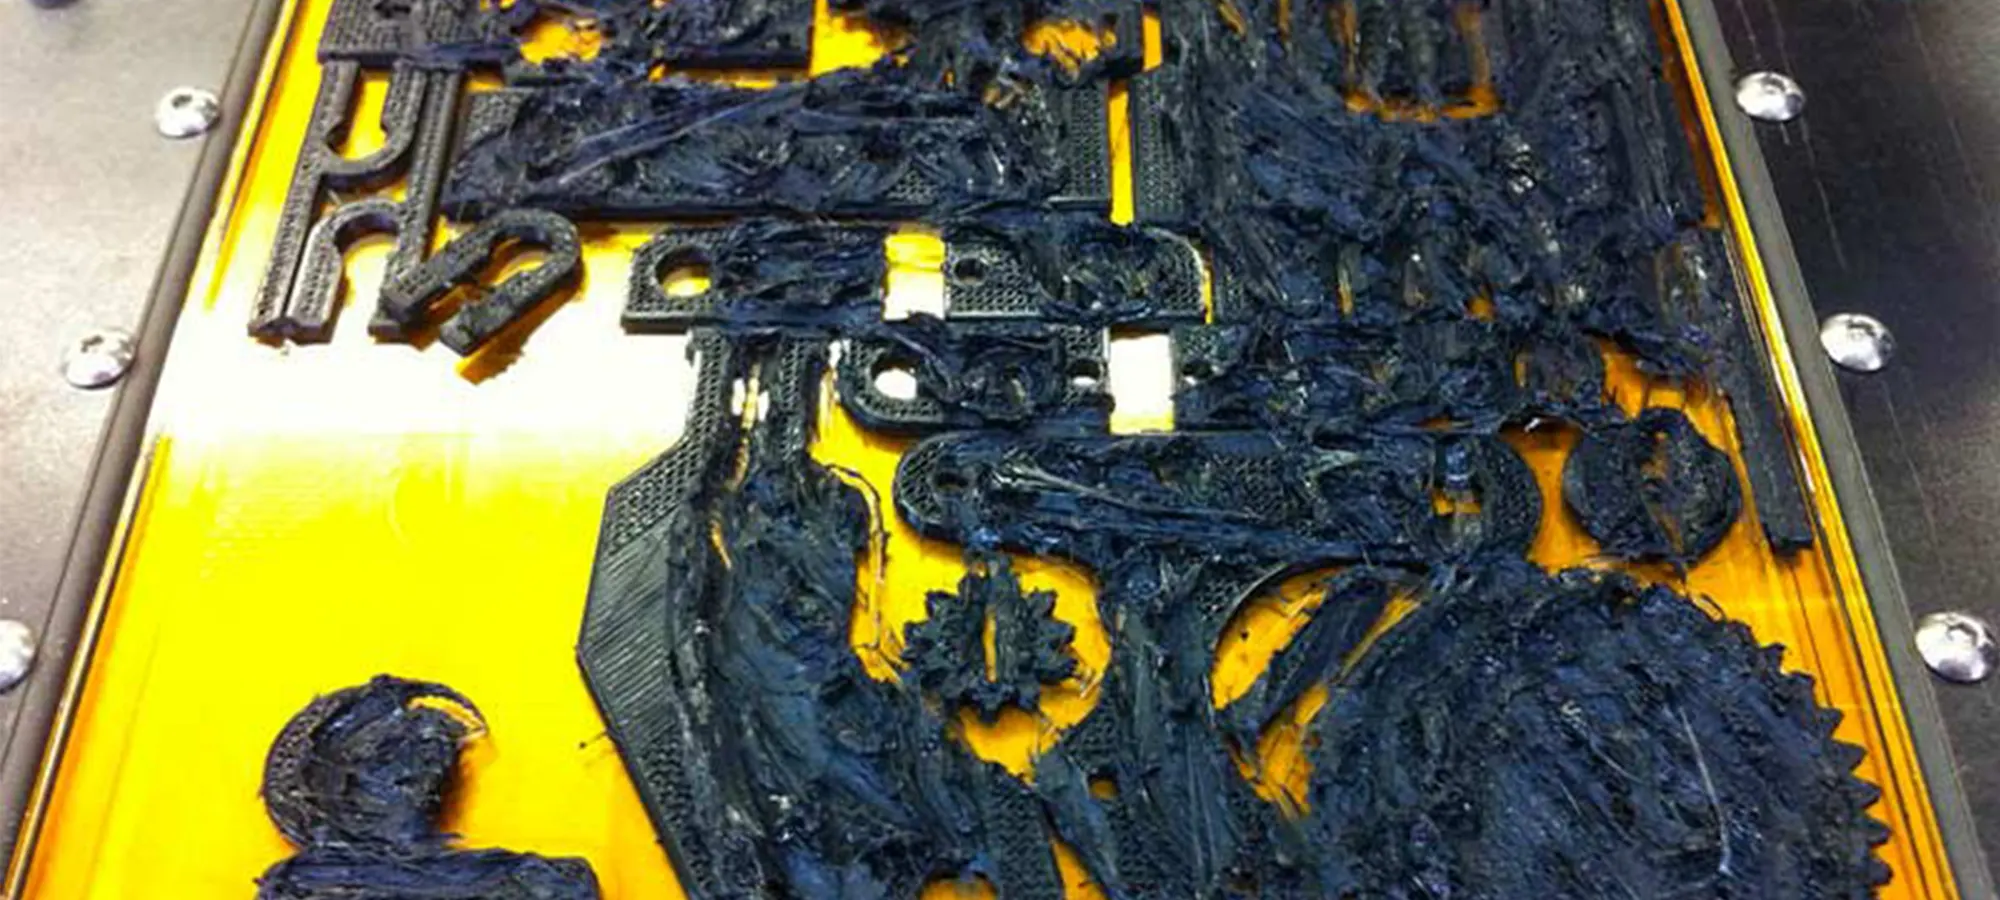
Imagine you are on the fourth or fifth layer, and your printer is under extruding!
You’ve just completed some of the foundational layers for 3D printing your part or functional prototype, and your printer is under extruding.
In such scenarios, if you do not pay complete attention to your printer, chances are of failure. There are many causes of the 3D printer under-extrusion phenomenon.
And in this article, we will let you know not only about the causes, but also suggest some quick fixes.
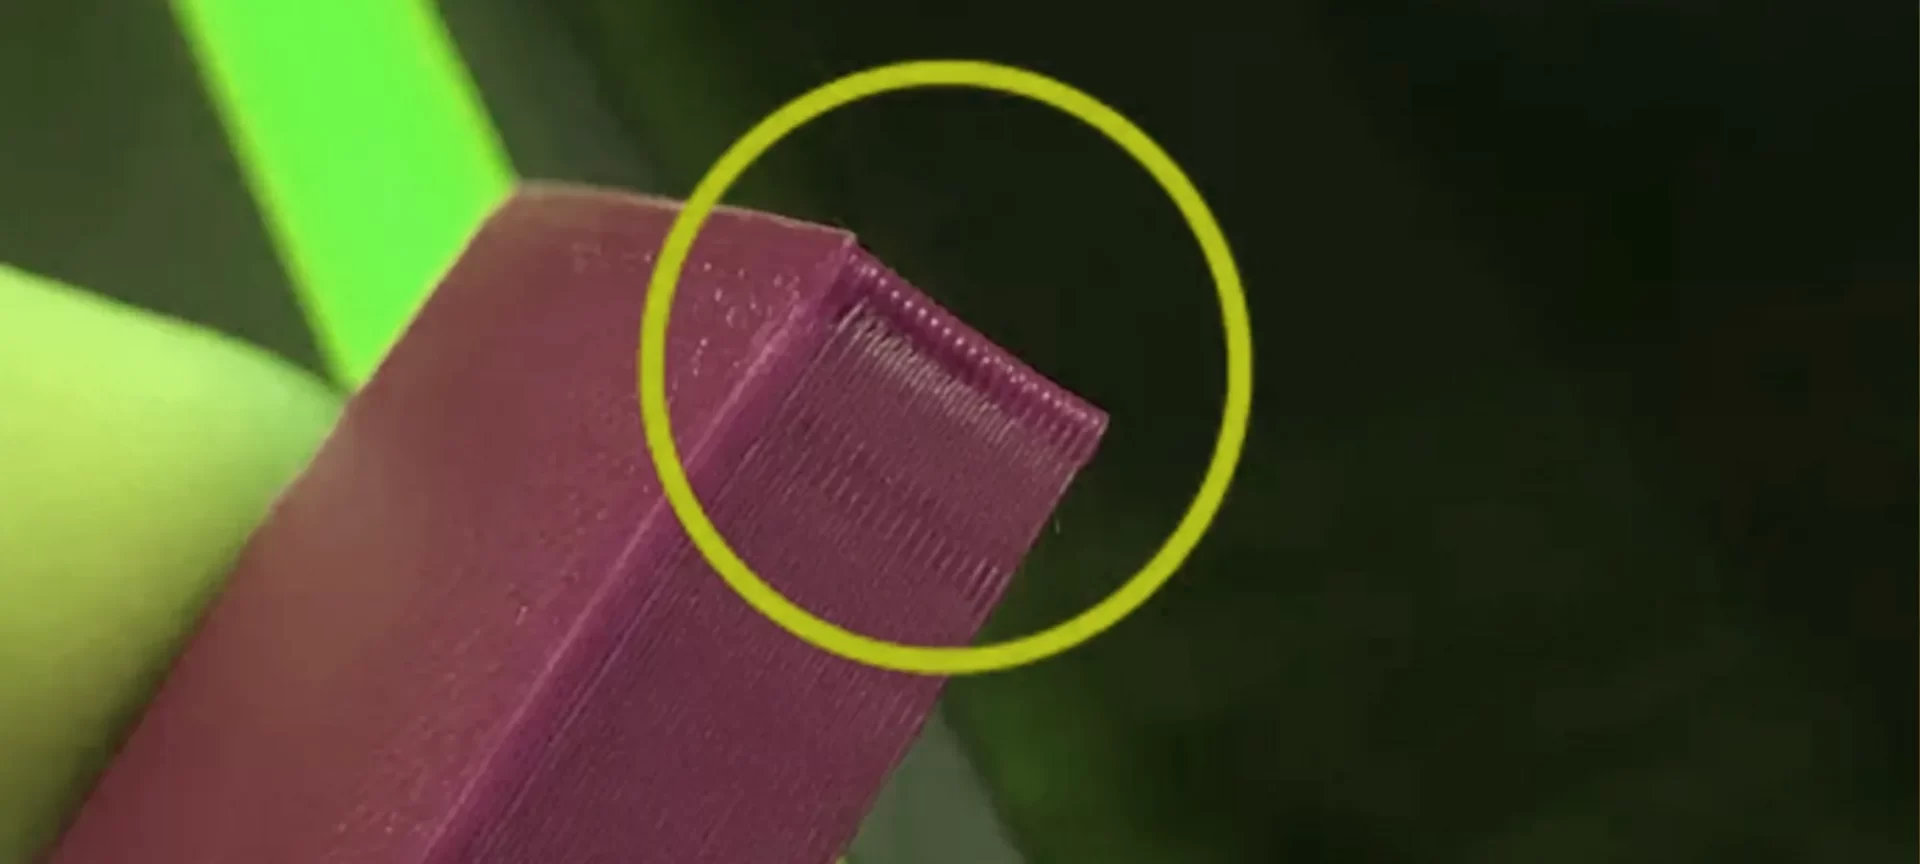
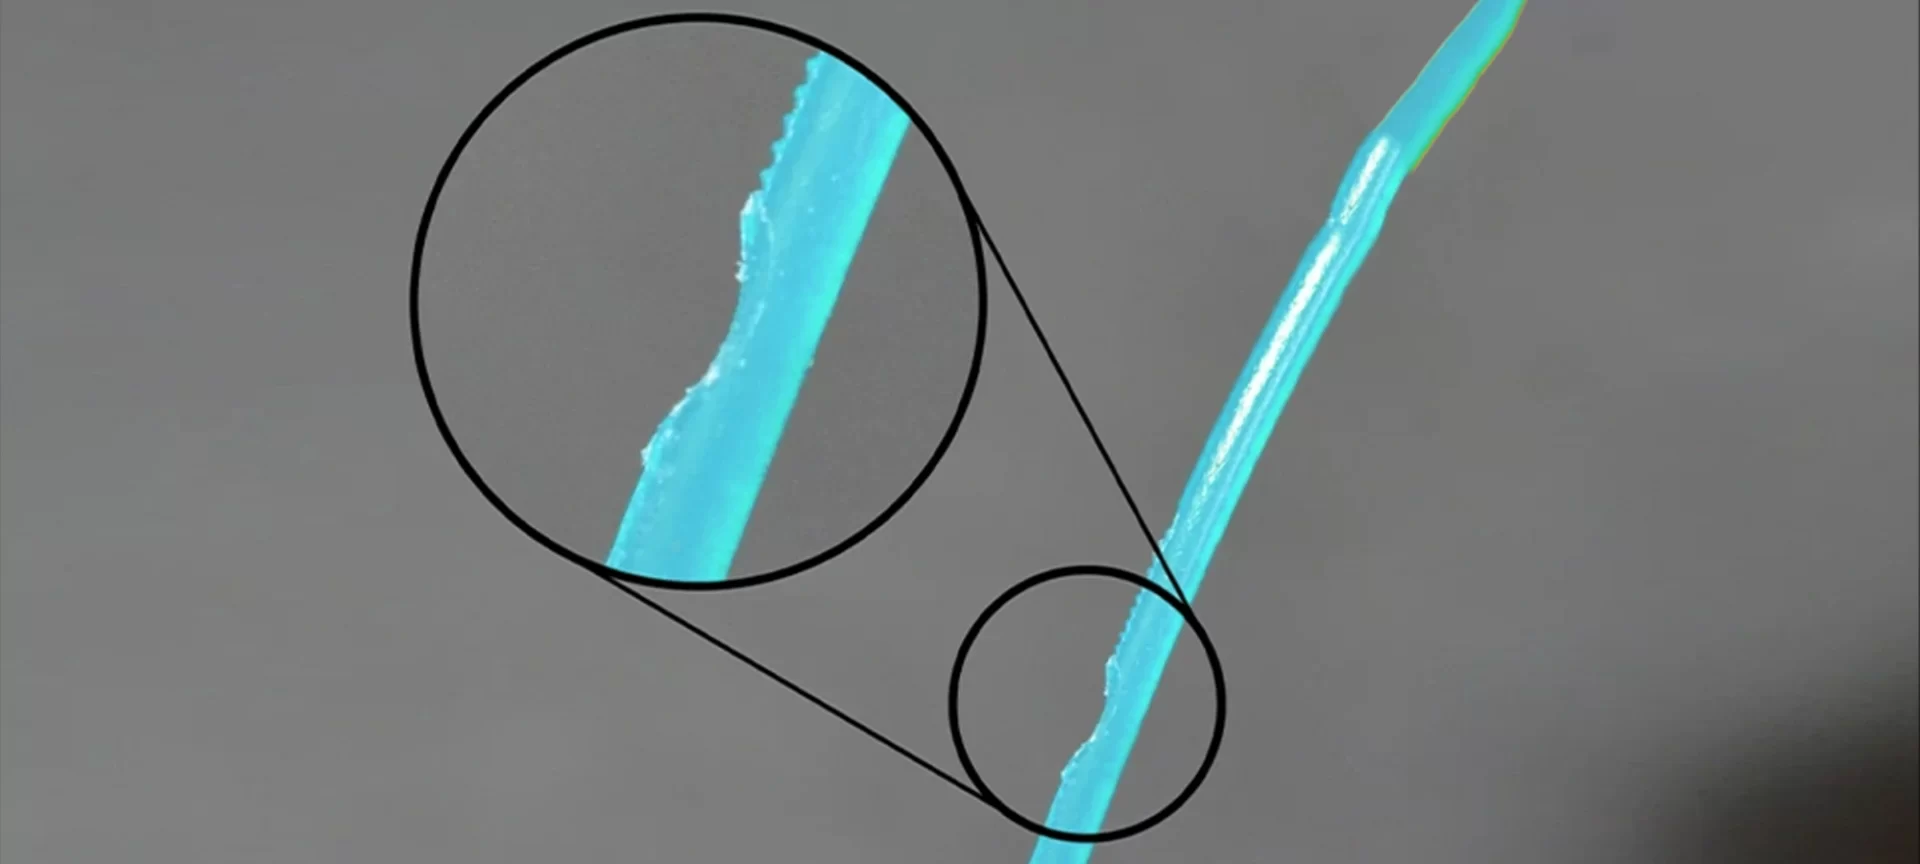
Whenever under-extrusion happens, the print will have some holes, missing layers, or thin layers.
None of the three is allowed when you are printing a high-quality part or functional prototype.
The infill of the 3D printed part or functional prototype that you are planning to build will have holes or lack of material, or simply the layers aren’t well bonded together.
A wanted normal behavior in such a condition is; the feeder to skip back and the pressure to rise in the head.
Such a function would lead not only to the prevention of the filament from being ground but also the feeder motors won’t be damaged.
To know whether your printer is feeding back or not, you need to look at the feeder in case you are not; you can also put your ears wide open because the ‘tack’ sound indicates the same.
We’ll start in this article with the causes of 3D printer under-extrusion and then the fixes.
What Causes Under-Extrusion in 3D Printing?
There are plenty of cases reported in 3D printers available worldwide. Each of them has its prominence and significance.
If you have been working with your 3D printer, you know some of the reasons mentioned below. And some of them would be new to you.
Let’s have a look at them to learn more.
Printing Speed is Too High
Because 3D printing can be very long, we increase the print speed at times when we need to finish sooner.
Increasing the printing speed is one of the most frequent causes of under-extrusion.
For example, as reported on one of the printer’s website, its model Ultimaker 2 can reach seven cubic millimeters/s.
But it is possible to go higher with well-tuned printers, for calculating the rate of flow that you have to multiply the size of the nozzle by the layer height and the speed.
So, say if you are a customer who is asking to print 0.2mm layers at 50mm/s the rate of flow is: 0.4 x 0.2 x 50 = 4mm3/s.
These settings are printer specific settings, so if they are mentioned on a specific printer’s website, they work well with that printer only and not with others.
Another point of observation is that higher speeds are also resulting in worse quality, so you should learn to be patient and wait a couple of hours more!
In general, websites recommend a print speed between 20mm/s and 50mm/s for ensuring there is no 3D printer under-extrusion.
Temperature is Very Low
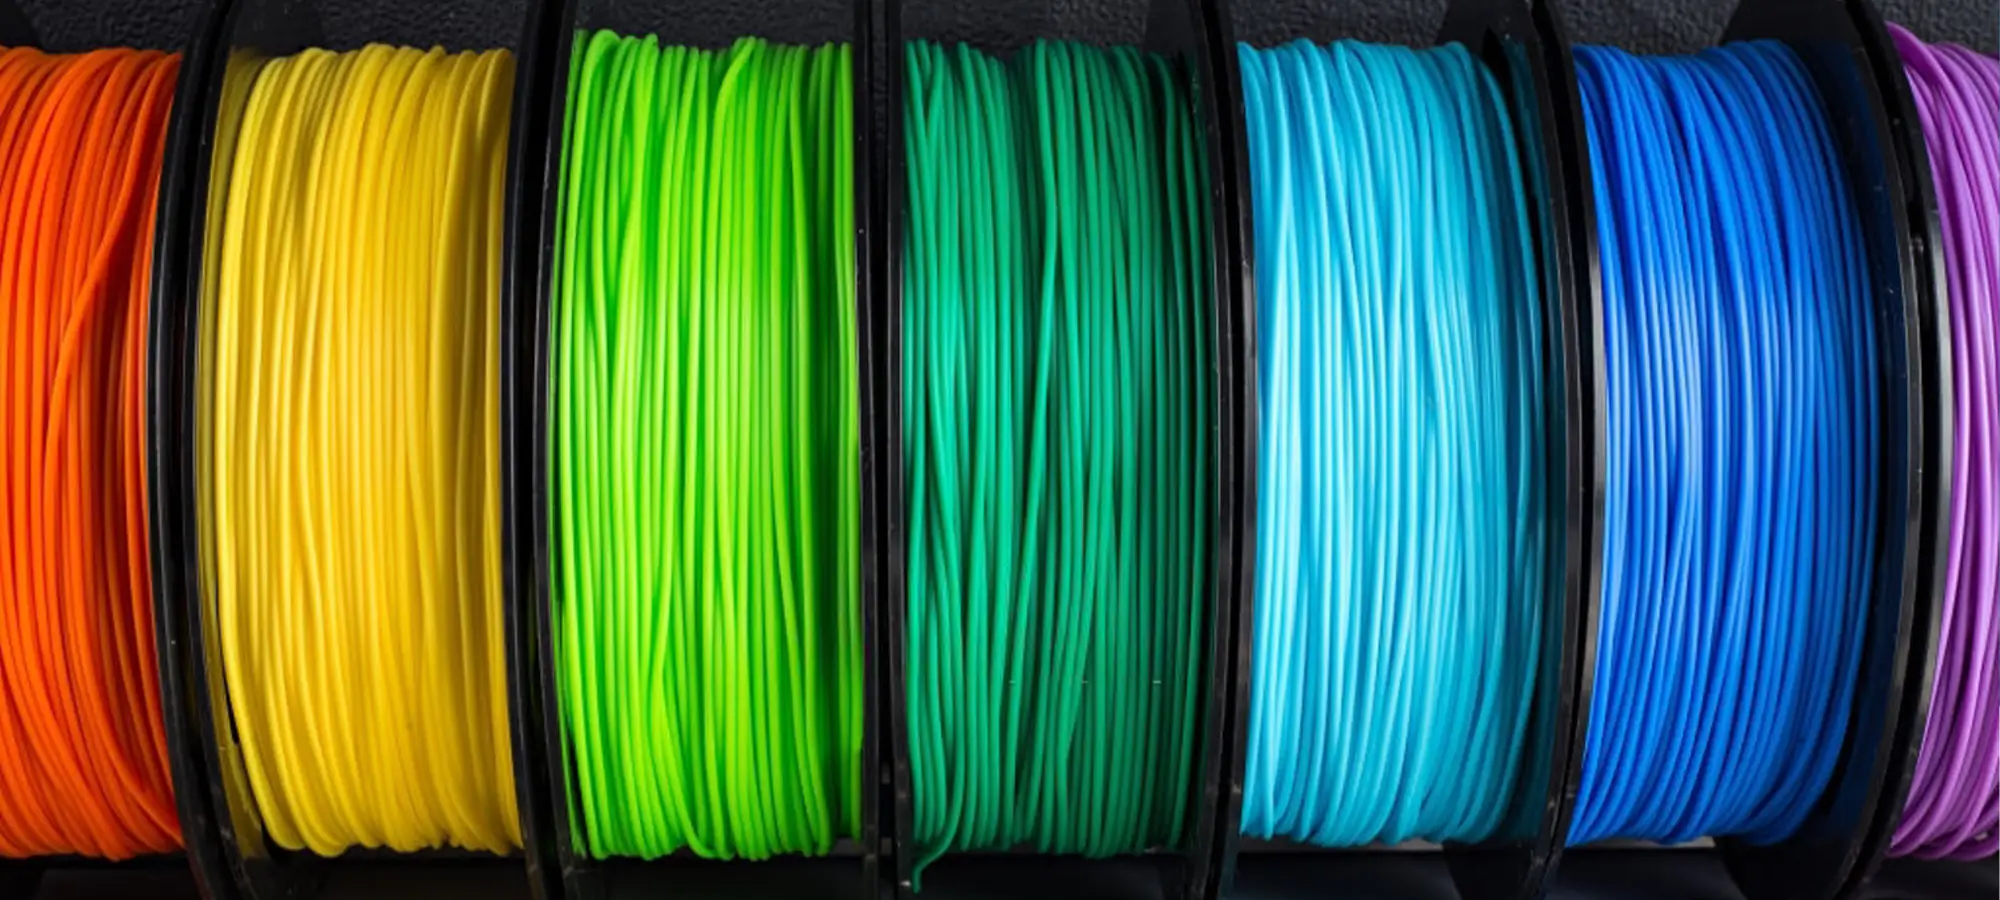
Print temperature is a very important factor in 3D printing because of its variability depending on the function of types of filaments, colors, and also the requested rate of flow.
The last one amongst those many factors is the rate of flow, that factor is believed to be strongly affected by the temperature of extrusion.
Websites claim how by reducing the temperature you can print slowly with small layers.
So, say, for example, you can normally print 0.06mm layers at 30mm/s, then you can reduce the temperature as low as 190°c for PLA.
If the rate of flow increases, in turn, the filament has less time to be melted completely, and for compensating for this, the temperature must be increased.
For printing with PLA material, the maximum limit is considered to be around 240°c, this temperature can be used for the rate of flow of 10mm3/s and more.
So, in case if you have to increase the temperature over 240°c for a normal rate of flow, then there is a problem!
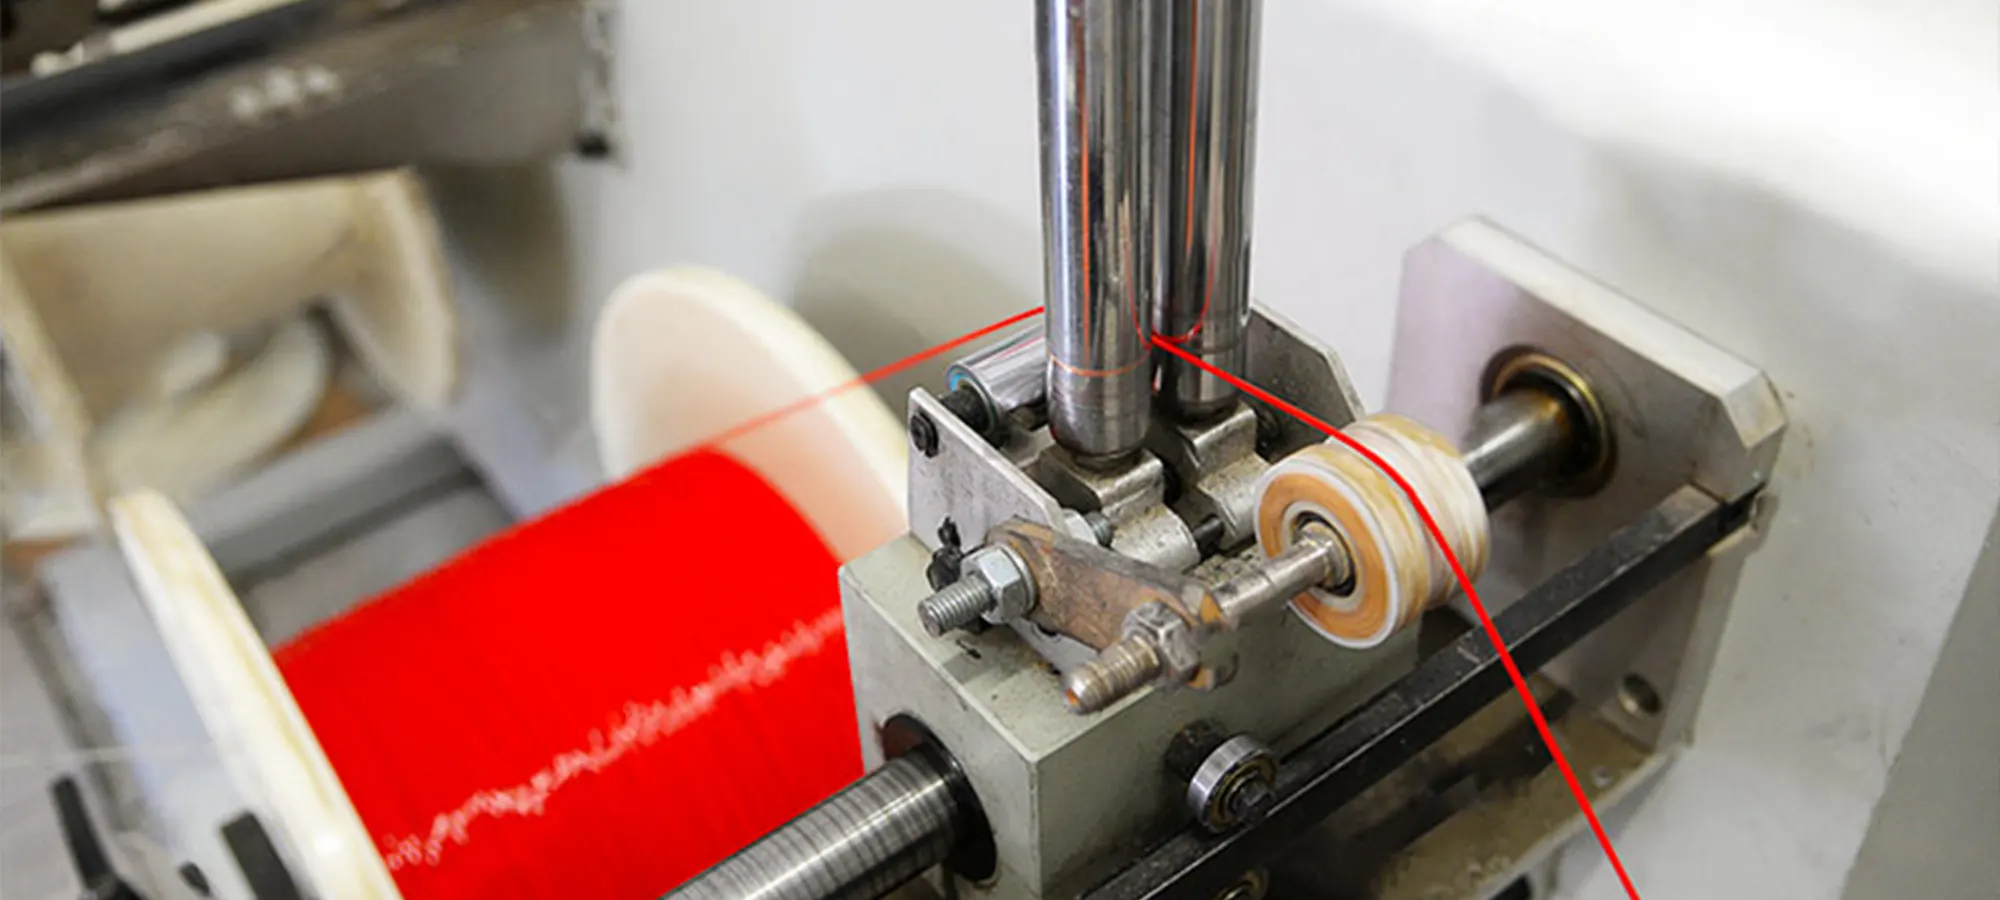
Tangled Filament
There are times when the filament gets tangled on the spool.
This can happen if you don’t pay attention while taking out your filament, or, less frequently, during the creation of the spool at the factory.
Let the time pass and the filament will have more and more trouble unrolling from the spool, whereas the feeder will have trouble standing up to the rate of flow requested and under-extrusion will appear.
Although this is something that is not easy to spot, if you store your filaments correctly, it shouldn’t happen!
Even while changing the filament, make sure the end of it doesn’t go under some of the filament on the spool.
For ensuring this does not happen, you can either put it in a hole in the spool or print some useful clips to maintain it in place.
Grinded Filament
When the filament is grinded in the feeder, you must increase its tension.
For increasing the tension in the original feeder, you must use a hex key and insert it in the top right hole of the feeder.
Only when the tension in the feeder is correct, the filament can’t be transported as it should, is when the feeder will make a skip back, preventing the filament to be grinded.
When the filament getting grinded, the feeder will lose its grip on the filament, and will not be able to push it anymore and at that moment under-extrusion will appear.
In some scenarios, the grinded filament area gets stuck in the Bowden because it’s too wide and flattened.
Cases when the filament is grinded, you must take it out of the Bowden.
Feeder Wheel is not Correctly Placed
Checking inside the feeder will get your glance over the feeder wheel that is responsible for pushing the filament in the Bowden.
Generally, this wheel is placed on the motor axle and it is possible that the screw of this wheel maintains the wheel in place and gets loose.
When so happens, the feeder wheel will slip on the axle and the filament would no longer be transported as you have requested.
So, the result would be, lesser material brought in the head that leads to 3D printer under-extrusion.
This is one of the tiniest factor responsible for under extrusion, but it is certainly one.
The screw can be tightened with a hex key and the problem can be easily avoided. But you will have to open the feeder to do so.
These are the five most common reasons that can lead to 3D printer under-extrusion.
In the next part of the article, we will show you, how to prevent this from happening.
How to Fix Under-Extrusion?
As we have already seen in the article above, there are a lot of things that can occur if the 3D printer is under-extrusion. To avoid those things from happening, apply the fixes that we are recommending below.
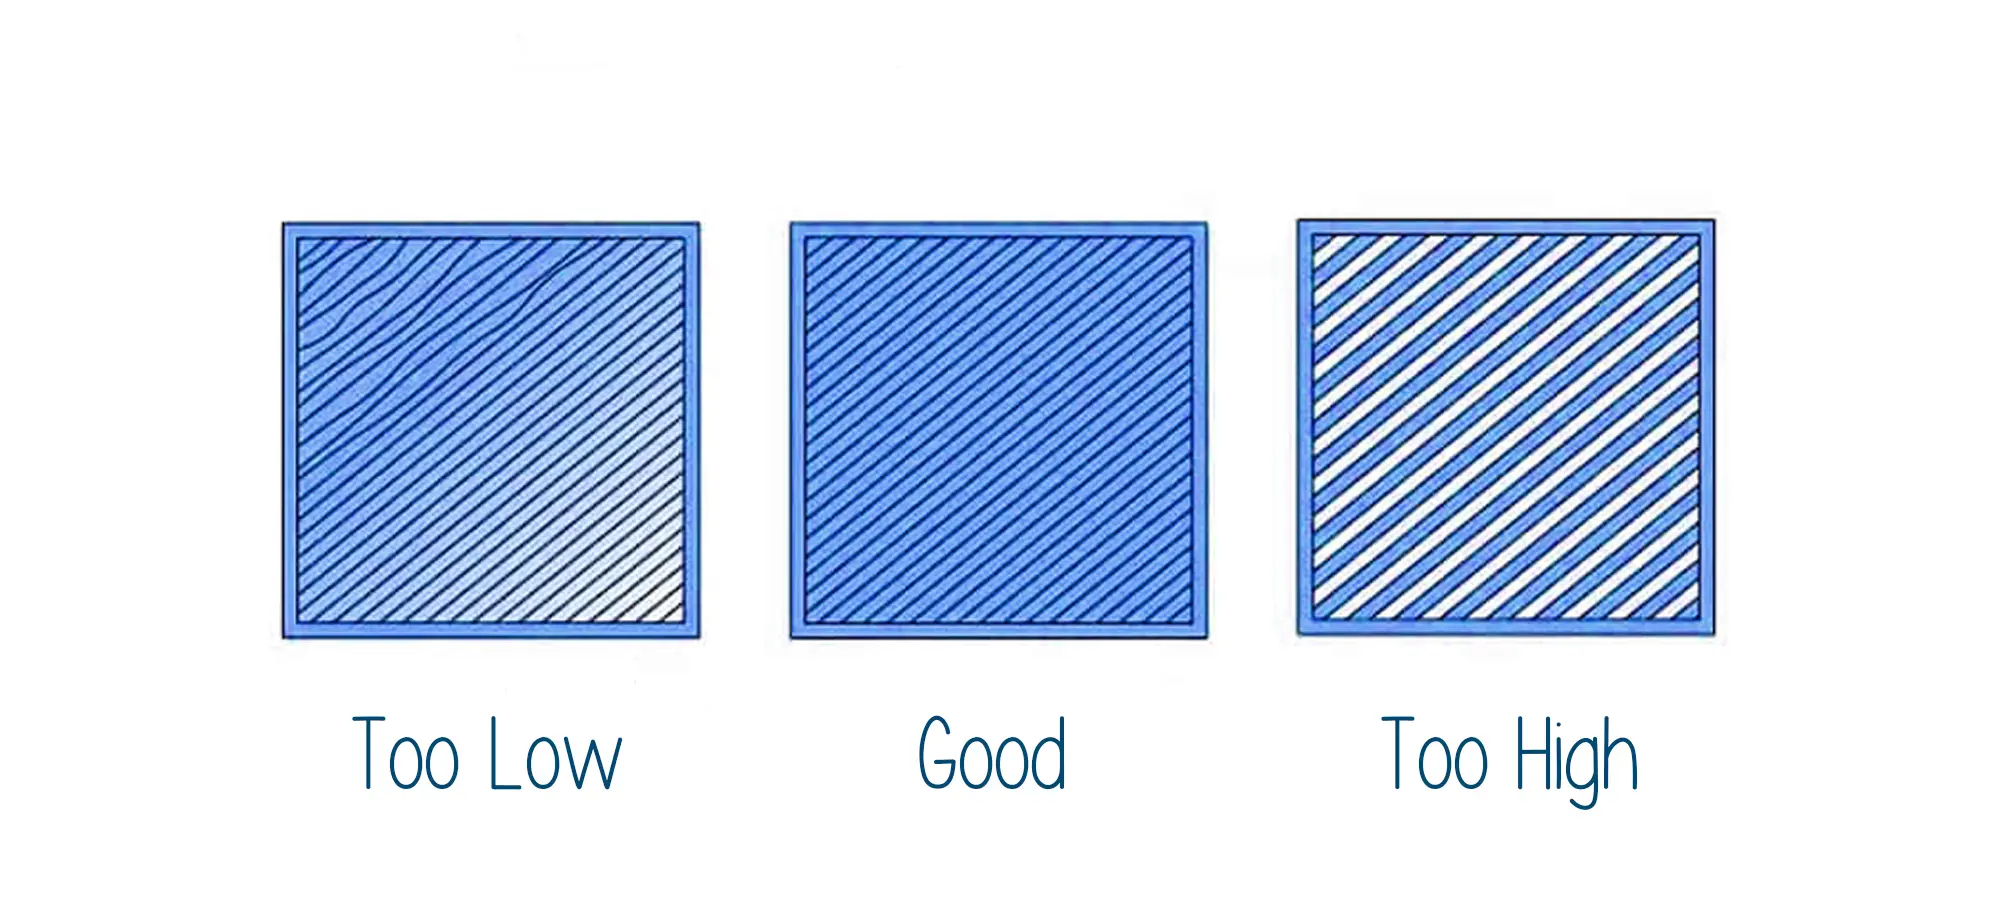
Increasing Extrusion Multiplier
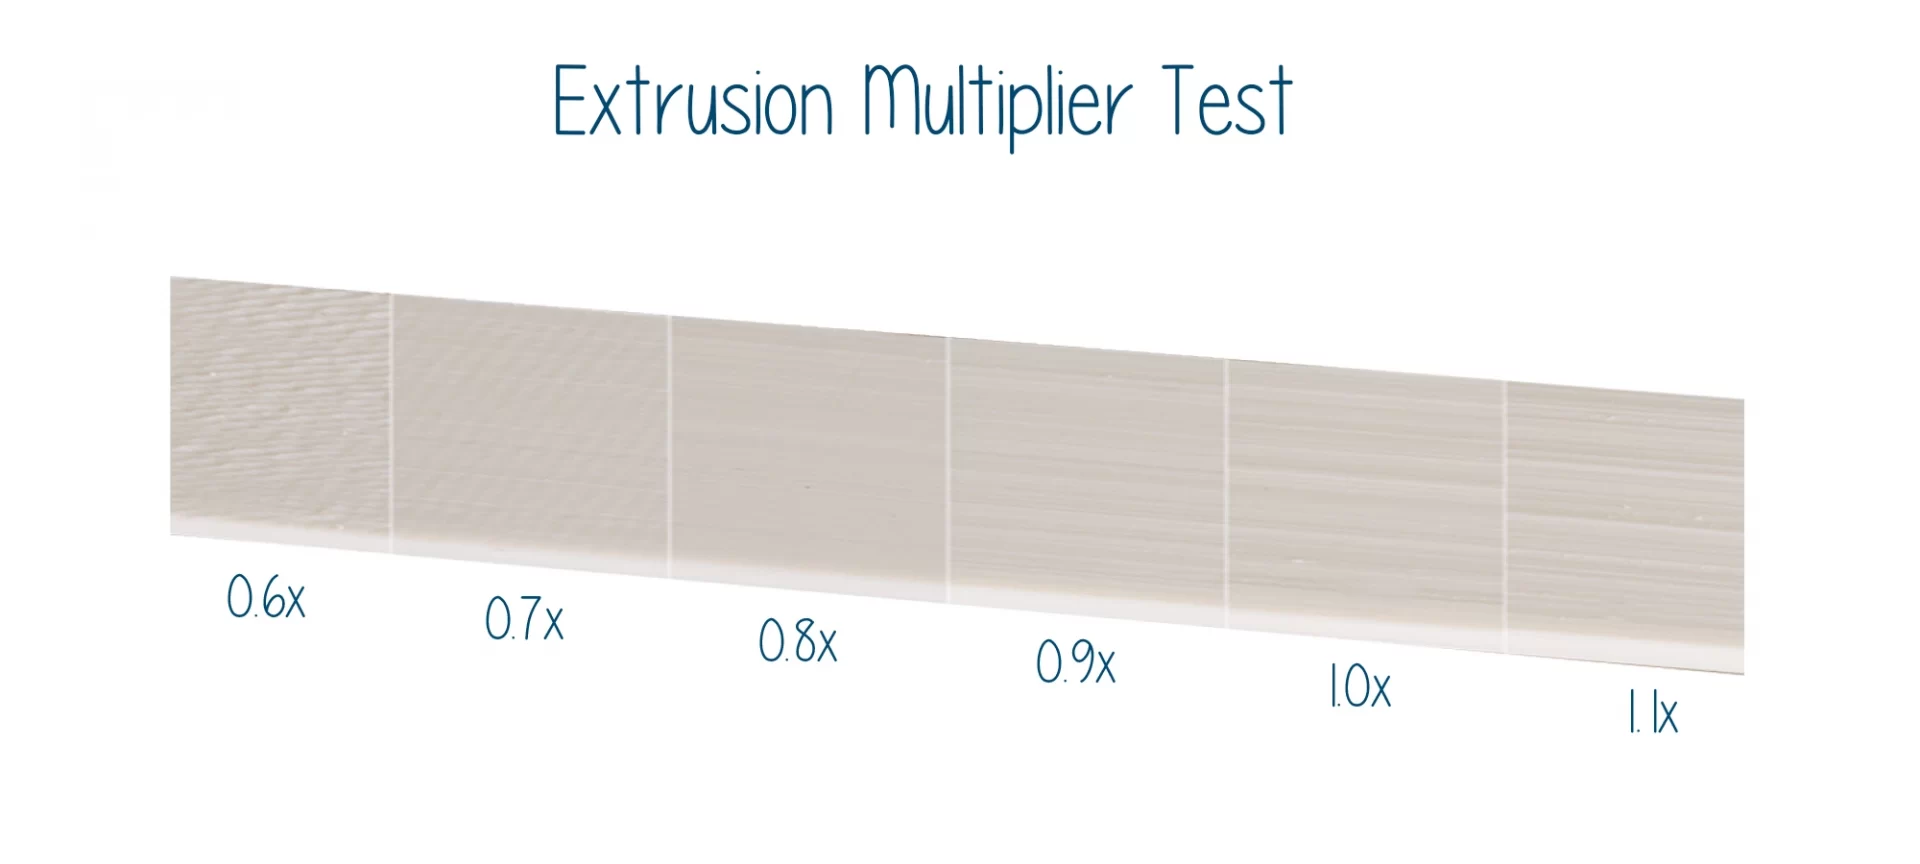
In case when your extrusion is not pushing enough filament that is needed and you are facing a 3D printer under-extrusion phenomenon, the most common thing to check is the extrusion multiplier.
For doing this, you can increase the extrusion multiplier setting in your slicing software.
The simple logic this rule applies is, as soon as you do so, it would result in a satisfactory extrusion.
The key mentioned on websites for getting this setting right is to tweak this setting by 2.5 percent till the time you find the right spot.
Do not get excited and start increasing this setting as much as you can, because too much extrusion can lead to jamming.
So, keep a rule of thumb i.e. does not increase the setting to over 1.15 percent.
Raise the print temperature
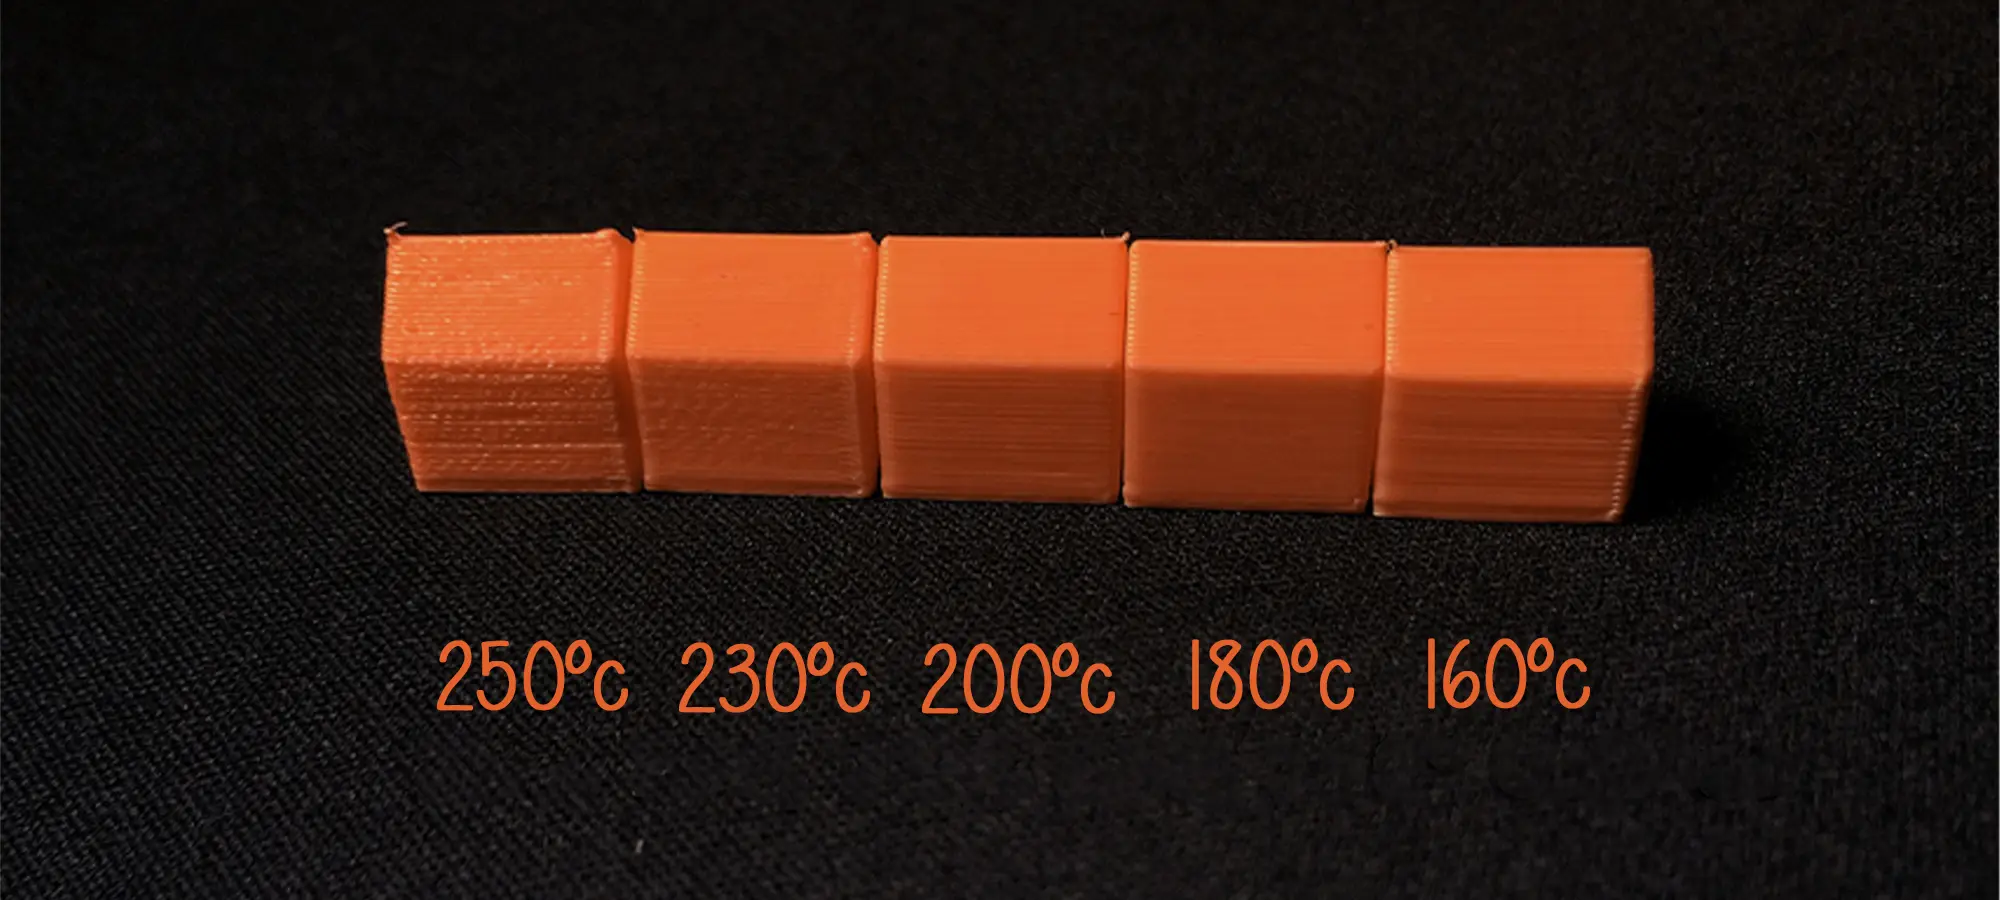
Lower print temperature results in filament not being able to flow properly.
Due to this reason, the nozzle temperature is a factor that is very significant when trying to fix this issue of under-extrusion.
Go on increasing the print temperature by five degrees increments until the number on which you find the print temperature perfect for your machine and material.
Tweaking of this setting is either possible by printing the text repeatedly and adjusting the temperature.
You can even print at a lower temperature, so you can test several temperatures in a single take.
Filament diameter is not proper

Say your printer’s slicer is asking for your diameter and you are putting in a lesser or smaller diameter than what it is in actual.
That is something when this issue can pop up. It is related to 3D printer under-extrusion.
What happens here is, let’s say your 3D printer’s filament’s diameter is 1.75 mm and you are giving input of 3 mm.
The extruder inside the printer is going to push filament at a satisfactory rate for 3 mm, and not 1.75 mm.
Because the measure here is in millimeters, it makes a lot of difference.
So, it is better to keep the accuracy, the exactness in entering the filament diameter.
For doing so, what you can do is, keep vernier calipers with you so, even you are perfect mm by mm.
Because now you know how even one mm’s mistake can cost you very vital printing issues like under-extrusion.
So, it’s better to keep the calipers and check before printing the exact mm diameter of your nozzle.
Basic Tips and Tricks
The first basic trip is about printing speed. Something that we have already seen as a cause in the earlier part of the article, so this would be a kind of recap on the same issue.
In case your 3D printer’s speed is too high, your printer may have difficulty extruding enough amount of filament that is needed for proper extrusion to happen.
Because it would not have the exact amount of time needed for that to happen.
So, you can try to print by decreasing your print speed and then observe the result.
The second most basic trip is related to the nozzle, there are chances when your 3D printer is under-extruding that your nozzle is not uniform and it could be jammed.
Here you need to make sure that the nozzle is cleaned before printing, if you haven’t cleaned it during the post-processing of printing the last part, you must do so.
Another issue is related to the Bowden tube of your printer. Most of the printers are driven by the Bowden-extruder system.
You should check the tube which is considered to be one of the several places from where the 3D printer under-extrusion issue can be solved.
The Conclusion
The idea is to help you all, who are facing an issue of 3D printer under-extrusion, which is one of the most common incidences that happen in your 3D printer.
And when that happens, you should know the places where you need to check in the 3D printer.
Because a lot of time it can happen, when you are with a huge 3D printing task, and only because of under-extrusion you cannot start the complete process.
This article, is then, helpful for getting the insights unless something else gets handy. It might be a big or small 3D printer that you have, but the best thing is, they both work on the same machine if they are based on the same process of 3D printing.
So, if you are facing a problem of 3D printer under-extrusion, the cause and the fix of that problem has got to be the same in both of these 3D printers.
It’s only a matter of time that you need for recognizing this problem and hence, solving the complete matter, which, hopefully, you can by reading this article.


