Among the many settings, 3D printing retraction settings can seem a lot confusing at times. However, it is one of the most crucial parameters that every additive manufacturing user must understand.
Usually, when the print head moves from one point to another, sometimes the heated filament oozes where it is not supposed to.
This results in unnecessary strings or even blobs that aren’t only irritating but can spoil the complete model. However, with retraction, this problem can be managed completely.
Therefore, it is important to find out how the settings are managed to ensure the printed models are free from oozing.
To start with, there are many parameters that play a part in oozing. And, you must make sure to check each one of those to complete the retraction settings. From retraction speed, to distance to a lot of other things.
Well, it must seem a little complex to learn about these components. However, after a few tries, things would turn out simple and hassle-free. So, let’s begin.
3D Printing Retraction
Many of you must have already experienced oozing when creating 3D models. It is one of the most common problems that almost every user has experienced once in a while.
The biggest challenge, however, comes when you aren’t sure what to do next when encountering 3D Printing retraction.
But before we go on fighting to ooze, let’s understand the reason for the same.
Why 3D Printing Oozing Occur?
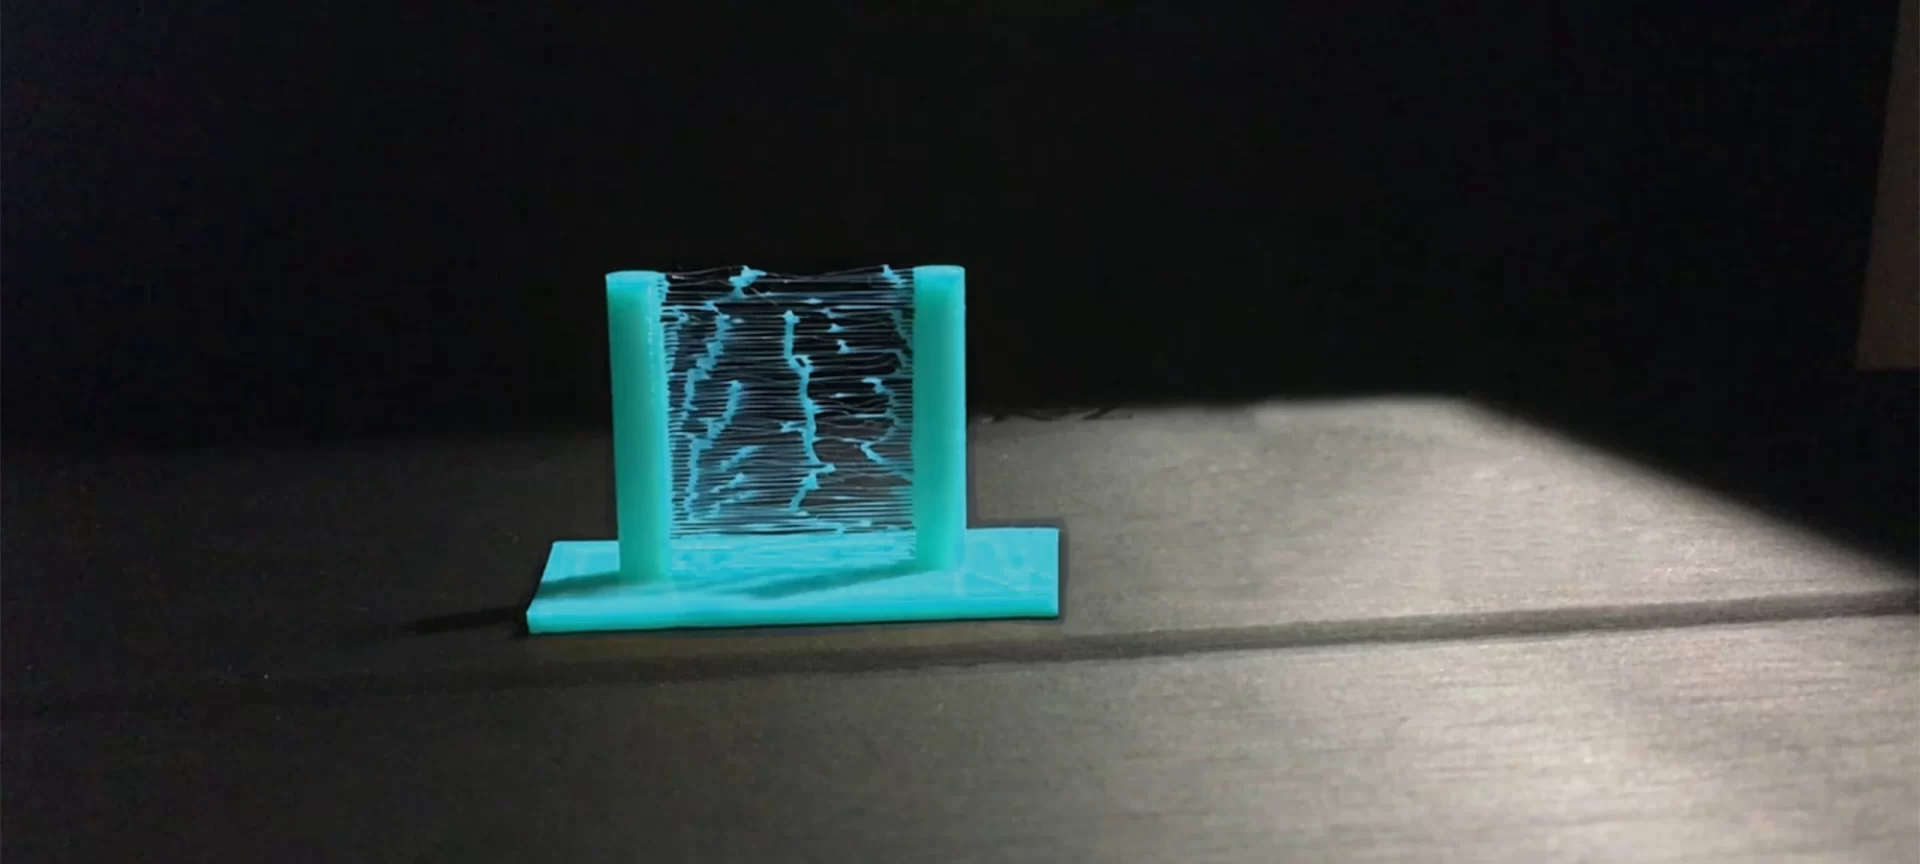
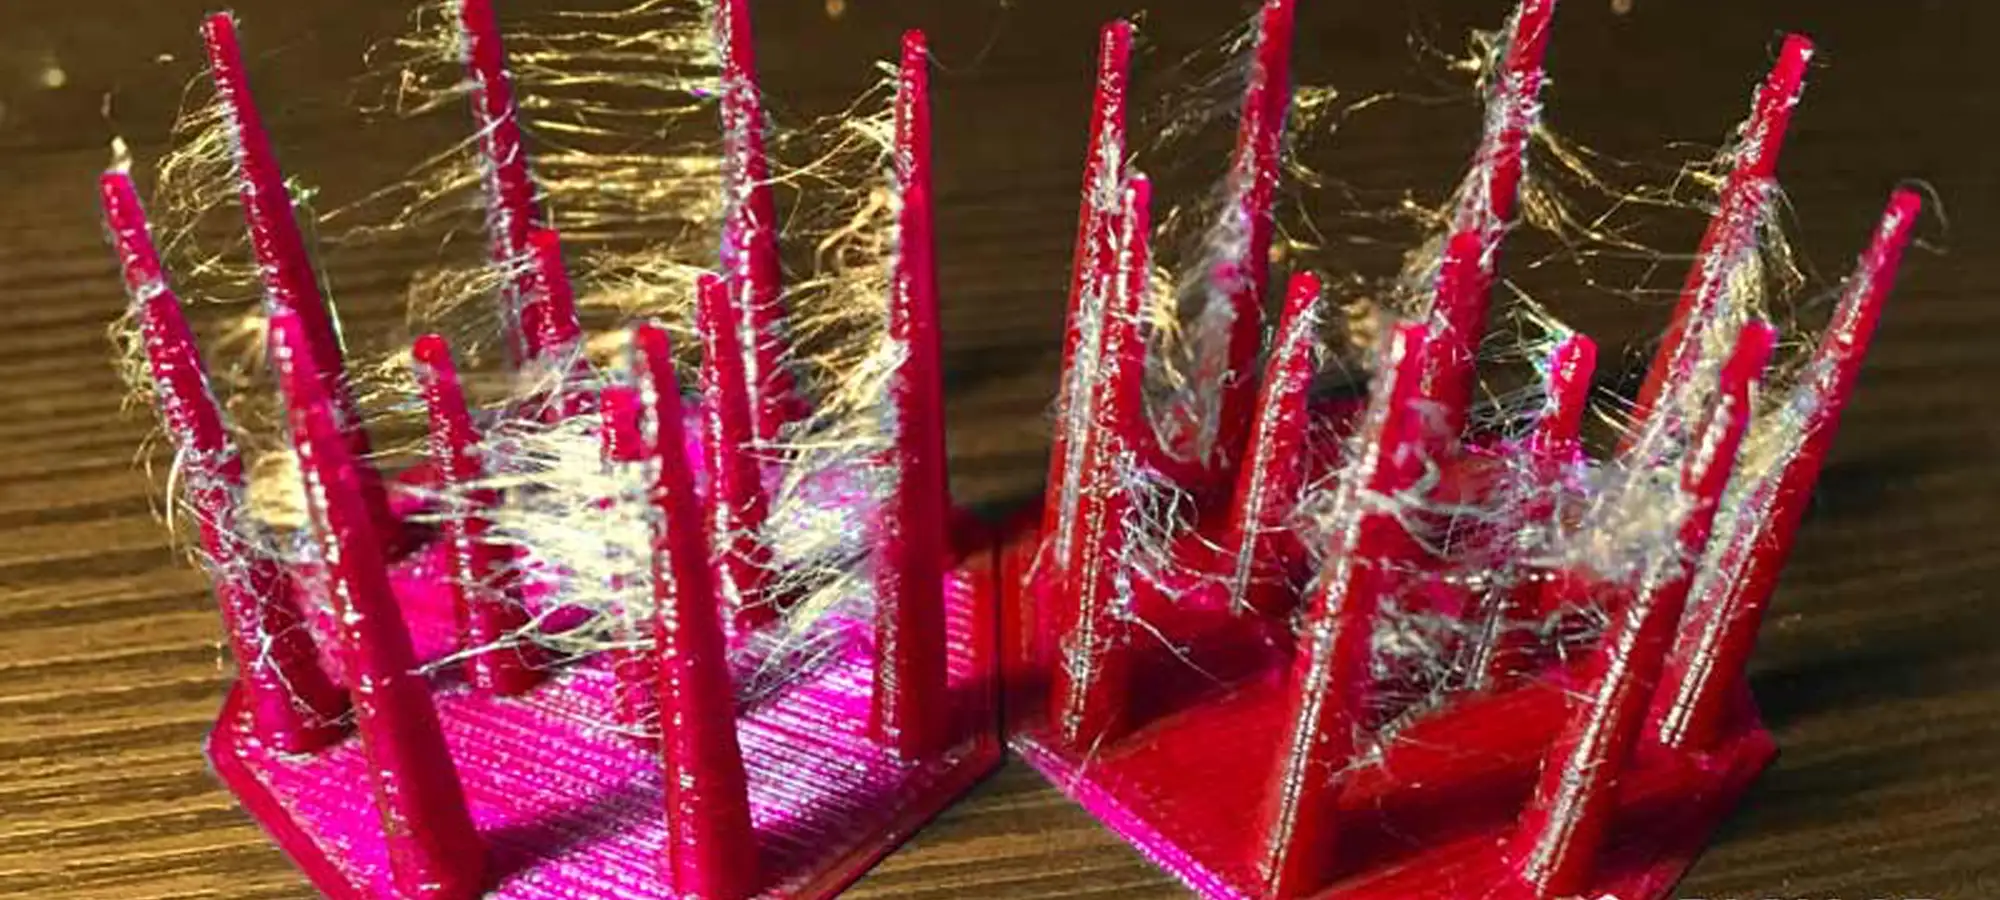
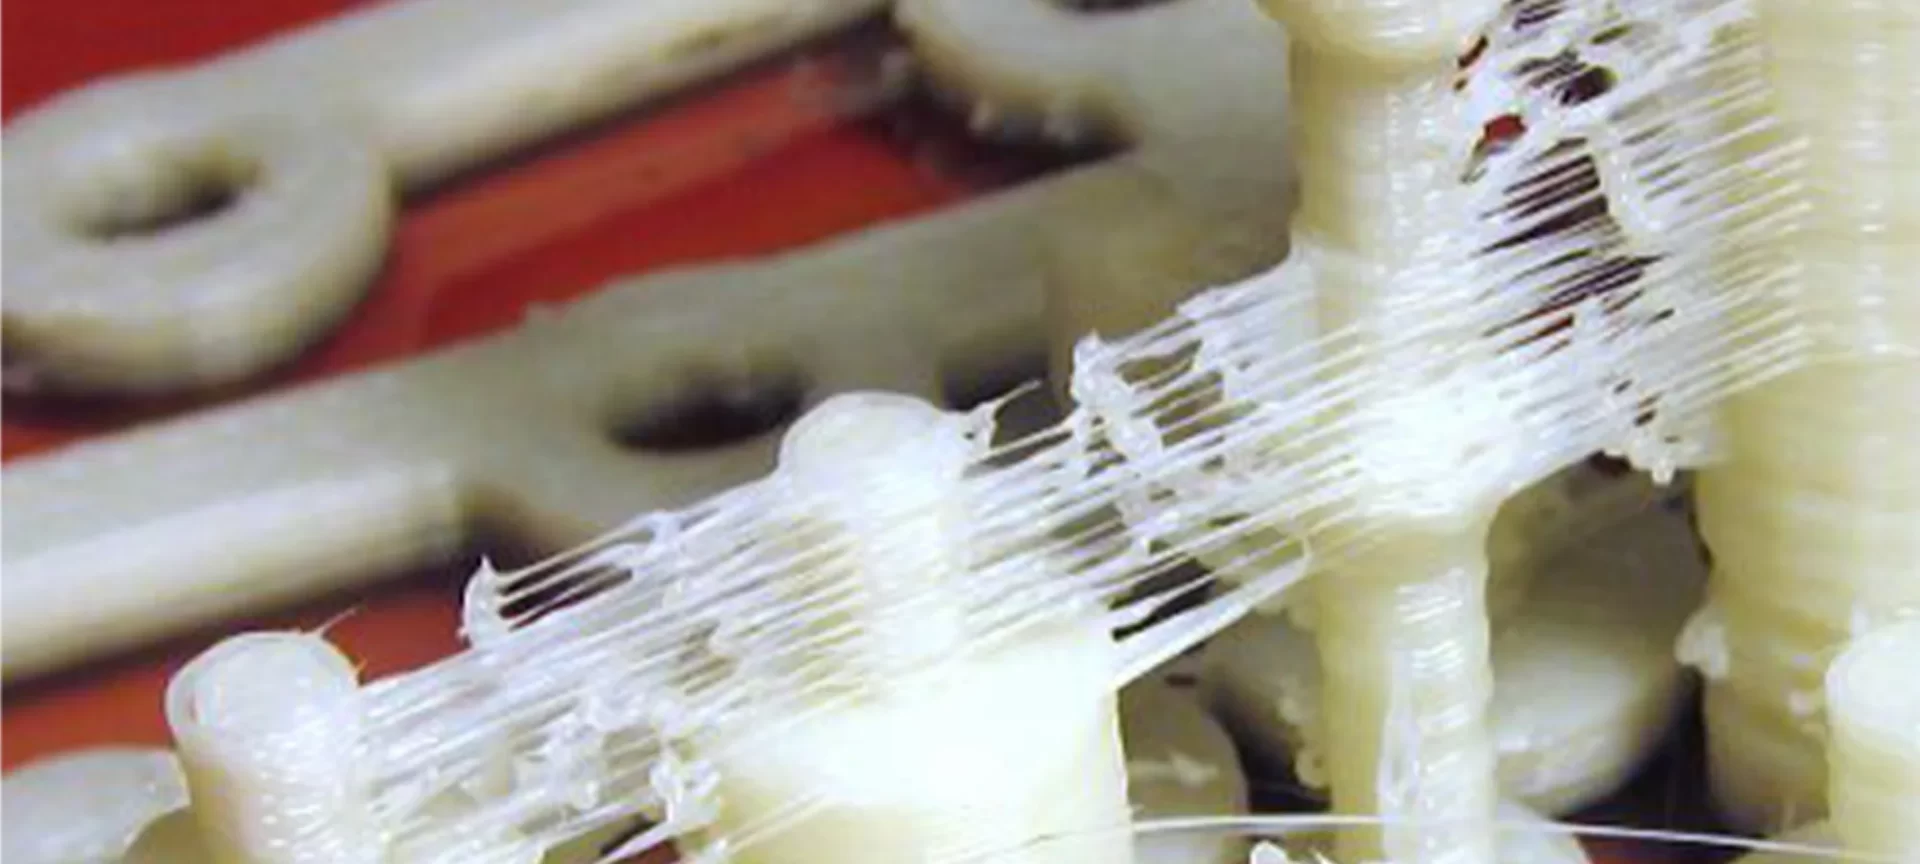
When the print head is busy moving between two points, the nozzle can mischievously ooze out where it shouldn’t.
And it is this oozing out of a nozzle that forms strings of web all over your print which are unwanted and hence annoying for the user.
Those who haven’t experienced it might have heard about oozing and some might even be unknown to these basic facts.
However, after reading this, every one of you can connect to the idea easily.
What Can be Done?
Moving on, as we humans are habituated to do something for mechanisms that annoy us, and are often advised to do so, here too there is a way to ensure that this oozing at unwanted places does not happen.
This way is by adjusting what is called Retraction in your slicer software.
So, those who do have the software and a printer at your place can search for this setting, and adjusting this would let you communicate to the extruder of your printer to only pull out a specified length of filament back into your nozzle at a specified speed rate.
So, say you are encountering this phenomenon, and your friends here are the slicer software, print head, the extruder, and the nozzle. Then you have an amicable friend i.e. filament.
So after encountering this phenomenon, if you do not wish to avoid it later, you should make necessary settings to the slice.
This would ensure that your other friends work without any hassle, avoiding the problem of oozing. Simple eh?
In other words, once the nozzle understands how to temporarily retract material by itself, the oozing isn’t much likely to happen.
So with perfect 3D printing retraction, you should not be able to see either stringing, oozing, or even blobbing.
While doing settings of retraction, 3D printer retraction speed is one of the three main settings that should be held responsible for such a phenomenon to occur.
As the 3D printing retraction speed decides at what speed would the extruder retract the filament present in it.
But before discussing the retraction speed in detail we will look at general definitions concerning retraction.
General Definitions Concerning the Retraction Phenomenon
We will start with the definition of retraction itself, now that we have seen a milder explanation or a more human explanation of retraction above.
Retraction: The recoil movement of the filament that is necessary for preventing dripping of the material during movements and displacements that the vacuum extruder performs while the 3D printing process is going on is called Retraction.
3D Printing Retraction distance: The length of material with which you are printing your part or functional prototype that recedes in this phenomenon of retraction is termed to be 3D printing retraction distance.
There are three factors on which this parameter varies i.e.
- Extrusion system.
- Type of material.
- Hotend.
It is believed that if you are 3D printing with flexible filaments, especially with TPEs such as filaflex, the retraction must be deactivated for preventing the filament to coil on the extruder pinion.
Retraction Speed: This is defined as the speed at which the motor of the extruder drives back the filament material. And with this definition, it is very necessary to take care while using higher speeds such as greater than 70 millimeters per second, because such speeds can mark the filament in a way that it becomes of no use for continuing the 3D printing further on.
Minimum displacement and enable combining: The minimum length from where you wish to want the retraction to happen is termed as minimum displacement. When you go into the section of advanced options, by activating the combining option you can get options for lamination used by Cura, Simplify3D, and other slicers. By choosing from these options, not only the retraction action is performed, but also the hotend is prevented from moving over the holes.
Z-axis elevation when retracted: When the retraction phenomenon is taking place, the hotend moves on the Z-axis to the indicated distance. And the elevation is only mandatory in the case of making pieces that involve many details and have small areas of great detail for avoiding traces of material right in that very area. In case you are going to use this parameter, we recommend using the same distance that you have for your material’s layer height.
Now that you have an overview of these components, why not go into depths to understand the retraction settings in detail?
3D Printing Retraction Distance
With the definition already mentioned above, we won’t get into that anymore, rather jump into something more than basic.
It is believed and should be mathematically true due to the rule of direct proportionality, but in case you have failed to notice it: The longer this retraction distance is, the further from the nozzle the filament is pulled out.
Vice versa, if the distance is set lower, there are chances that the filament will be able to ooze from the nozzle. If the distance is high, the filament will be pulled back too far.
So while printing a part of a functional prototype you would have to consider the design measurements and accordingly set this distance.
Or so to say in simple words, the 3D printing retraction distance while printing an airplane should not be the same as the 3D printing retraction distance while printing a shoe.
Even if the same printer and print technology are used.
One rule of thumb that you can experiment with and find valuable or invaluable is that you should not select a retraction distance greater than the length of your nozzle.
It is also observed that some printers use retraction distance between 7 and 2 mm.
You can start changing this setting by giving a little increment till you find a perfect distance for the part or functional prototype you are printing.
What is the Best Retraction Speed?

Again, we would not go into the definition as we have already been through that, rather we will straight away get into what happens when you do not achieve a 3D printing retraction speed that you should and a printing a little more or lesser printing retraction speed than needed.
If the speed is slower than it should be, the filament will get the time it needs to perform that mischievous play which it loves playing and create not only hairs but also blobs which will be annoying to get rid of especially in the middle of 3D printing.
In case the speed is too fast, the printing time would increase and it will be annoying especially while doing batch printing.
Because the material will be able to extrude much later than it did before and you would have to wait for the material to be extruded, hence the filament to melt, and the printer to start the printing process.
So as you can see it is really about getting that print speed which is just closer to perfect and it depends on the type of material that you are using to 3D print, the part or functional prototype’s design which you are willing to print, and the 3D printer that you have.
Even after taking into account all the parts, the whole will always be greater than the sum of all the parts.
Now we will jump on to the third parameter which is the minimum travel distance.
Minimum Travel Distance
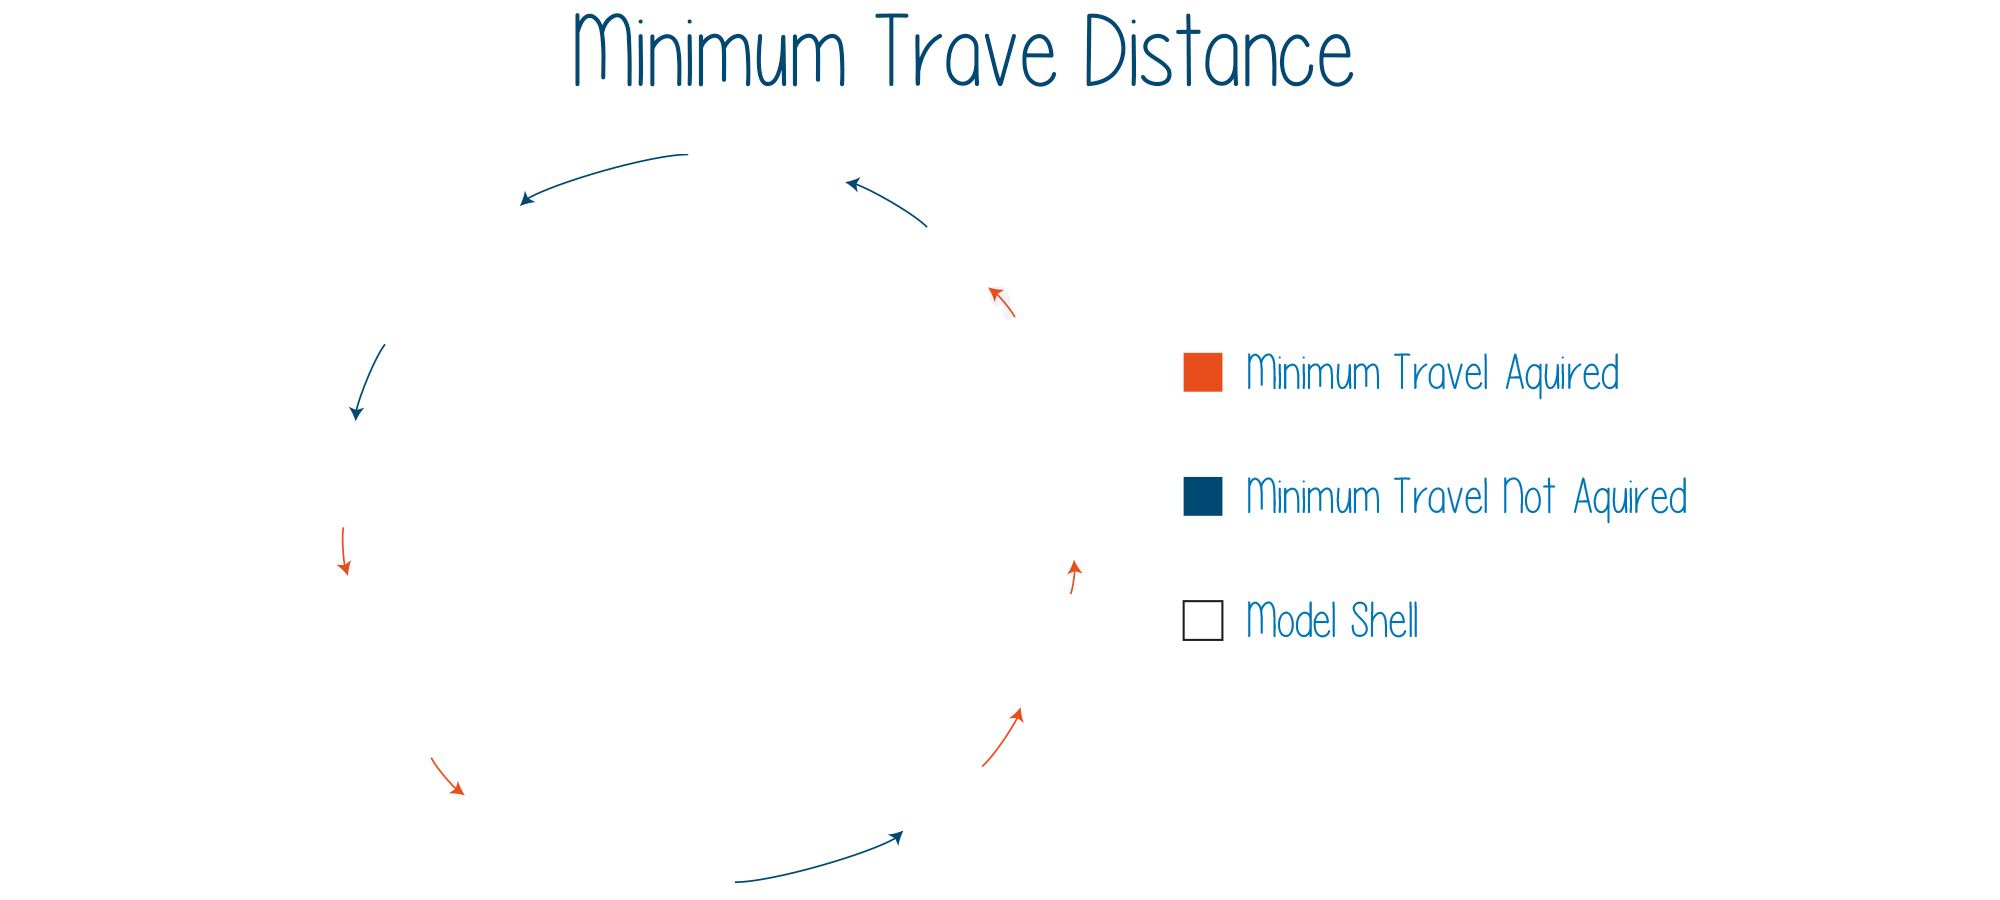
Let’s say you are printing a part of a functional prototype and you are setting the minimum distance to be 2 mm.
What this will lead to is, till the print head does not cross the 2 mm distance, it would make sure that the extruder does not retract out the melted filament.
It is only after crossing the 2 mm mark that the print head would allow the extruder to retract the filament.
So, it is really worth experimenting with the part or functional prototype and printing a test print to find out the exact distance that wants to feed in the system for ensuring you are getting the print that you have in your own imagination.
Having stated this, it is also about the freedom that you wish to take for making a part or functional prototype in the way you wish to.
For, nothing is fixed, it allows you to make your own checkpoints and not follow others’ suggestions, because they would differ from one person to another person’s idea of personalization, customization, and the most important characteristics that 3D printing offers which other manufacturing technologies do not.
So say you are struggling with strings spanning short distances, you should decrease the minimum travel distance and see whether you are able to achieve the result or not.
For ensuring you achieve the exact distance you are recommended to start with the most minimum travel distance i.e. 1 mm. And then start incrementing it.
It’s really like the same logic reversely applied when you are sitting to plan out the budget of your next holiday, it is advisable to start from the maximum so that even if uncertainty comes in the way you are prepared to have that money with you on the trip.
Experts claim that starting from one millimeter, you are bound to get the perfect value that you are searching for till the time you reach the five-millimeter mark.
But make sure that you do not set the value low enough to not make the extruder spill at all, it is advisable to spill more than to not spill at all otherwise you would again come back with the problem of no printing.
The Conclusion
3D Printing retraction is a common phenomenon and there are many facts available about it on the Internet.
Also on the websites from where you can download 3D design files the makers of that design have special recommendations of 3D printing retraction speed, 3D printing retraction calibration, etc.
So you can refer to those suggestions by the makers and see if what worked for them works for you too.
Once you gain the expertise over this setting you can play with it for getting a customized result and also apply the same logic by relating to the different parts and functional prototypes.
You can also shift from the ideal settings and make your own, which is the ultimate aim of 3D printing technology i.e. to shift from standardization to personalization or customization.


