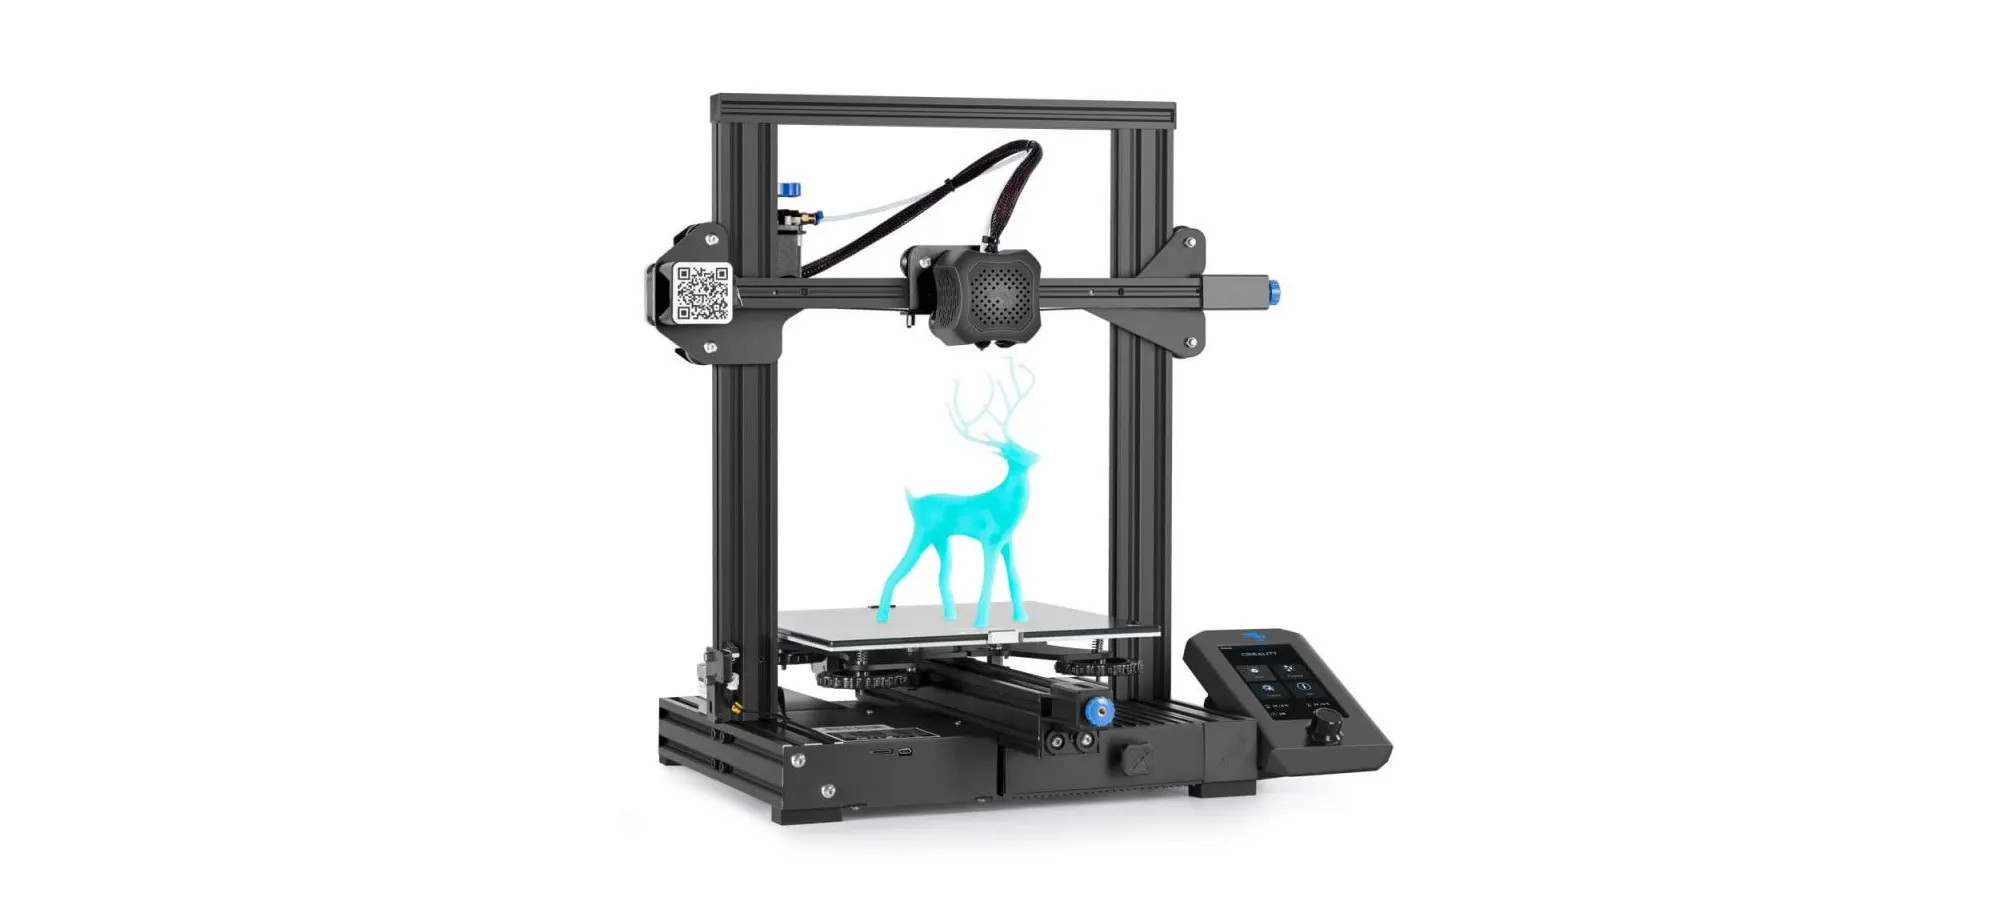
Titled by websites as Best 3D Printer under $200, the Ender 3 has been a topic of interest for many humans since its creation.
The printer’s features such as a build volume of 220 x 220 x 250mm, a BuildTak-like heated build plate, power recovery mode, and a tight filament pathway that makes it easier to print with flexible materials are features that people are known to search for even expensive printers.
Overall, this 3D printer is easy to assemble although it requires manual calibration, the complete process is made easy by the enlarged bed leveling knobs.
And once the Ender 3 calibration is perfected, the printer ultimately becomes indistinguishable from printers that are closer to the $1000 range.
In this article, we are going to share with you the detailed process by reading which you can easily calibrate your Ender 3 printer.
By reading this process, and doing accordingly you would not only be able to practice this process yourself but also teach someone who has the same difficulty.
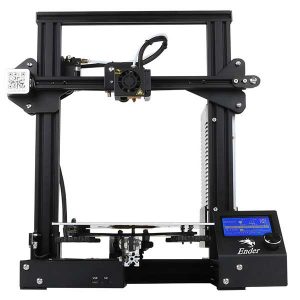
Unlike other printers in the market that are either able to offer quality or affordability, the Ender 3 by Creality is able to offer its combo.
Although it does not have calibration which is automatically done, the printer manages to catch up with other features such as print volume, high-quality parts, and functional prototypes, being open-sourced, easy assembly, compact design, and can by being upgradable.
Let’s start this article by mentioning listing down features of this printer.
Features of Creality Ender 3
Although price can never be a feature point because it is very subjective. But it does become an important factor if beginners are thinking of buying a 3D printer.
And company’s do highlight the fact that this printer is available at an incredibly low price. The current price of this printer as mentioned on its website is $179.
The webpage dedicated to this printer on its website lists down and explains some of the advantages of buying this printer. They start with:
Fully Open Sourced
When 3D printers are not open-sourced they generally require very specific tools for operation such as software and file formats.
In short, users do not get the same amount of freedom that they do when they are using a 3D printer that is open-sourced and lets them operate with greater flexibility.
So, Creality Ender 3 would let you easily use files and projects of various users as well as contributors over the Internet easily, by printing parts and functional prototypes that they design.
For, there is no restriction that the manufacturers have laid on the user of the printer by asking you to do things in a certain way or by using certain specific software.
High-powered, safe power supply
You will get two separate fuses for protecting your printer from unexpected power surges.
The high-quality power supply that comes with this printer would ensure that the printing process going on at the time of fluctuation would not be affected.
Also, to make sure you do not take more printing time compared to other printers, the build surface of this printer, as the company claims, is able to reach 90 degrees Celsius in five minutes.
Partially assembled kit
The lower base of the printer and all its wiring is completed in the printer manufacturer’s factory.
The kit style Ender 3 3D printer is equipped with all the tools inside it and makes up for a great project for middle school as well as high-school-aged students.
The printer also makes it for a lifelong love of science as well as engineering because it provides for a deeper understanding of machinery and robotics.
The CNC machining of Ender 3’s Y-rail mounting groove makes sure for precise positioning and keeping up with the solid frame that the printer has with the high-precision printing quality.
The leveling of the print platform of this printer is very easy. Overall, Ender 3 calibration is easier done than other 3D printers’.
|

What is The Importance of Ender 3 Calibration?
What is crucial to FDM 3D printers is the extruder’s calibration. Once you have ensured that your printer’s extruder is calibrated you are guaranteed the fact that not more than needed filament is being pushed by the extruder through it during the printing process.
It is important to note how too little filament while printing a part or functional prototype will lead to the creation of gaps between layers that will lead to the part or functional prototype weak or missing.
Additionally, this would lead to a bad adhesion that will subject the prints’ layers to delamination and warping.
On the other hand, too much lamination will seem like over-extrusion and create blobs, stringing, and droopy detailing. Even more, extrusion would contribute to the problem of clogging and filament jamming of the hot end which would not let the other filament come out on the print bed.
To avoid all these problems you are required to caliber your Ender 3 3D printer. Ender 3 Calibration would lead to dimensional accuracy in the parts and functional prototypes that you manufacture.
The next part of the article will tell you how to start the Ender 3 Calibration.
How do you Calibrate Ender 3?
Ender 3 3D printer is a follow-up to the CR-10 by the company Creality. The machine has immense popularity and for the same reason, Ender 3 is worth it.
As mentioned above the price of this printer is $176 that is the first and the foremost reason why this printer has been able to make a long-lasting impression on the 3D printing community which is still wondering about the manufacturer and designers magic that they are able to deliver at such a low price.
Many have referred to the printer as the best printer for beginners in this field. Although the calibration of Ender 3 is similar to the calibration of other printers, there are some specificities you need to take care of while starting to calibrate Ender 3.
Screw Tightening
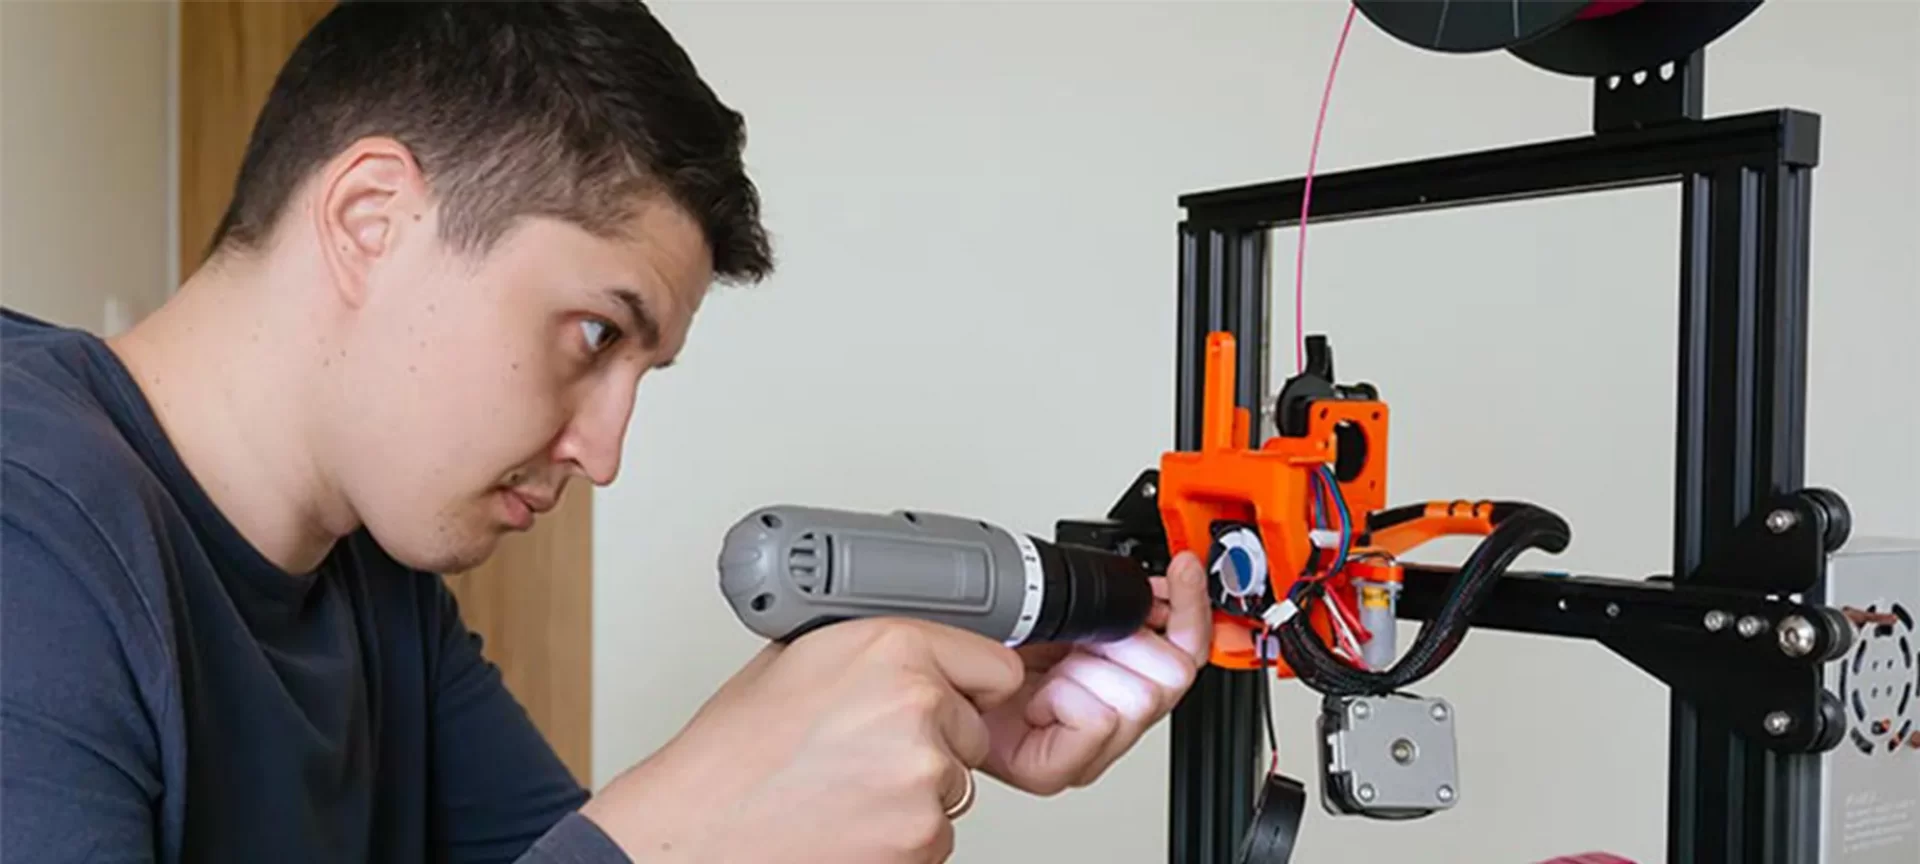
When you come out of this world that boasts about the greatness of this 3D printer which is able to offer many things for such a low cost, that’s when you realize,” Hey! wait for a second, what about the quality control that you get in other 3D printers?”
You may realize that when the 3D printer arrives at your place, it is not fully assembled and hence the screws are not tightened.
As a result of which some of your time before starting to print parts and functional prototypes has to be spent tightening the screws to ensure stability during your print.
To those who, this seems like a silly idea, you haven’t understood the deal here.
Doing this small and silly-looking thing would make a big difference Not only would doing this ensure there is no ghosting but also reduce the number of possible failures in this printer which makes troubleshooting of this printer in the later part of the interaction with this printer a lot easier than it is with other printers.
Remember, if the 3D printer is successful in the long-term, then and only then it is successful, not before, by the looks and by offering more feature-listing on its manufacturer’s website or while the time of buying!
Bed Leveling
After you are done with ensuring each screw is tight enough and to the same extent, you need to ensure that the print bed of the Ender 3 is leveled for ensuring complete Ender 3 Calibration.
Not only bed leveling is the most important step to be corrected, but also the most crucial one to easily miss out on.
Adjusting the bed is very easy and it constantly improves the surface quality of the part or functional prototype that you are willing to 3D print.
Steps to ensure the bed is leveled:
- Step1: By clicking home on your Ender 3 touch screen interface you can bring home all the axis.
- Step 2: Before moving the print head of the Ender 3 3D printer to its corner, click “Disable Steppers” to make sure that the distance between the nozzle and the build platform is enough and that the nozzle of the printer does not scratch the build platform while it is moving to either drop the melted filament on the print bed or while moving upwards after printing a level of part or a functional prototype.
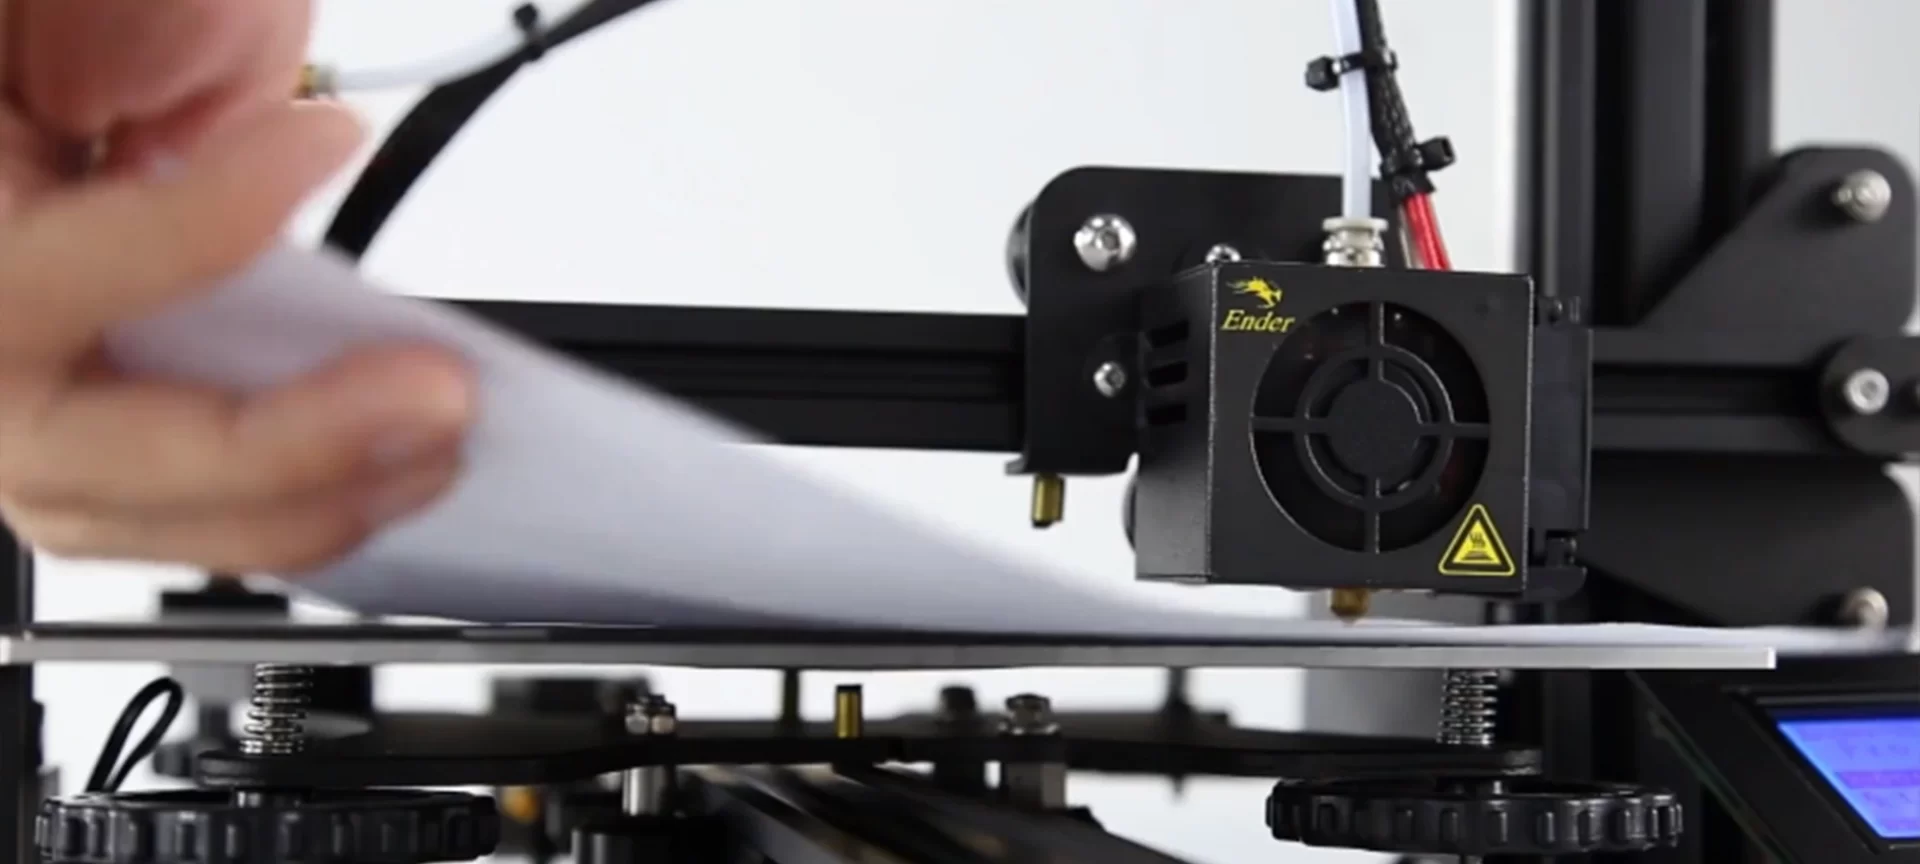
- Step 3: Move the paperback and forth until you feel the slight friction, this is only possible after you unscrew the knob that is present underneath one corner of the four of this printer.
- Step 4: Step 3 needs to be repeated with the remaining three corners of the printer and only then the bed can be said to be leveled how it actually should be.
How do you Calibrate an Extruder in Ender 3?
In case you haven’t done this before 3D printing a part or functional prototype is looking at it only after printing and over-extruded or under-extruded part, chill out! There is no need to panic!
The problem has just occurred because you have to calibrate your printer’s extruder.
Start by calculating your extruder’s E-steps. This you can do by using a simple formula that lets you calculate the e-steps in only three inputs.
But before starting the procedure make sure you are able to navigate to the Control Motion option on your 3D printer.
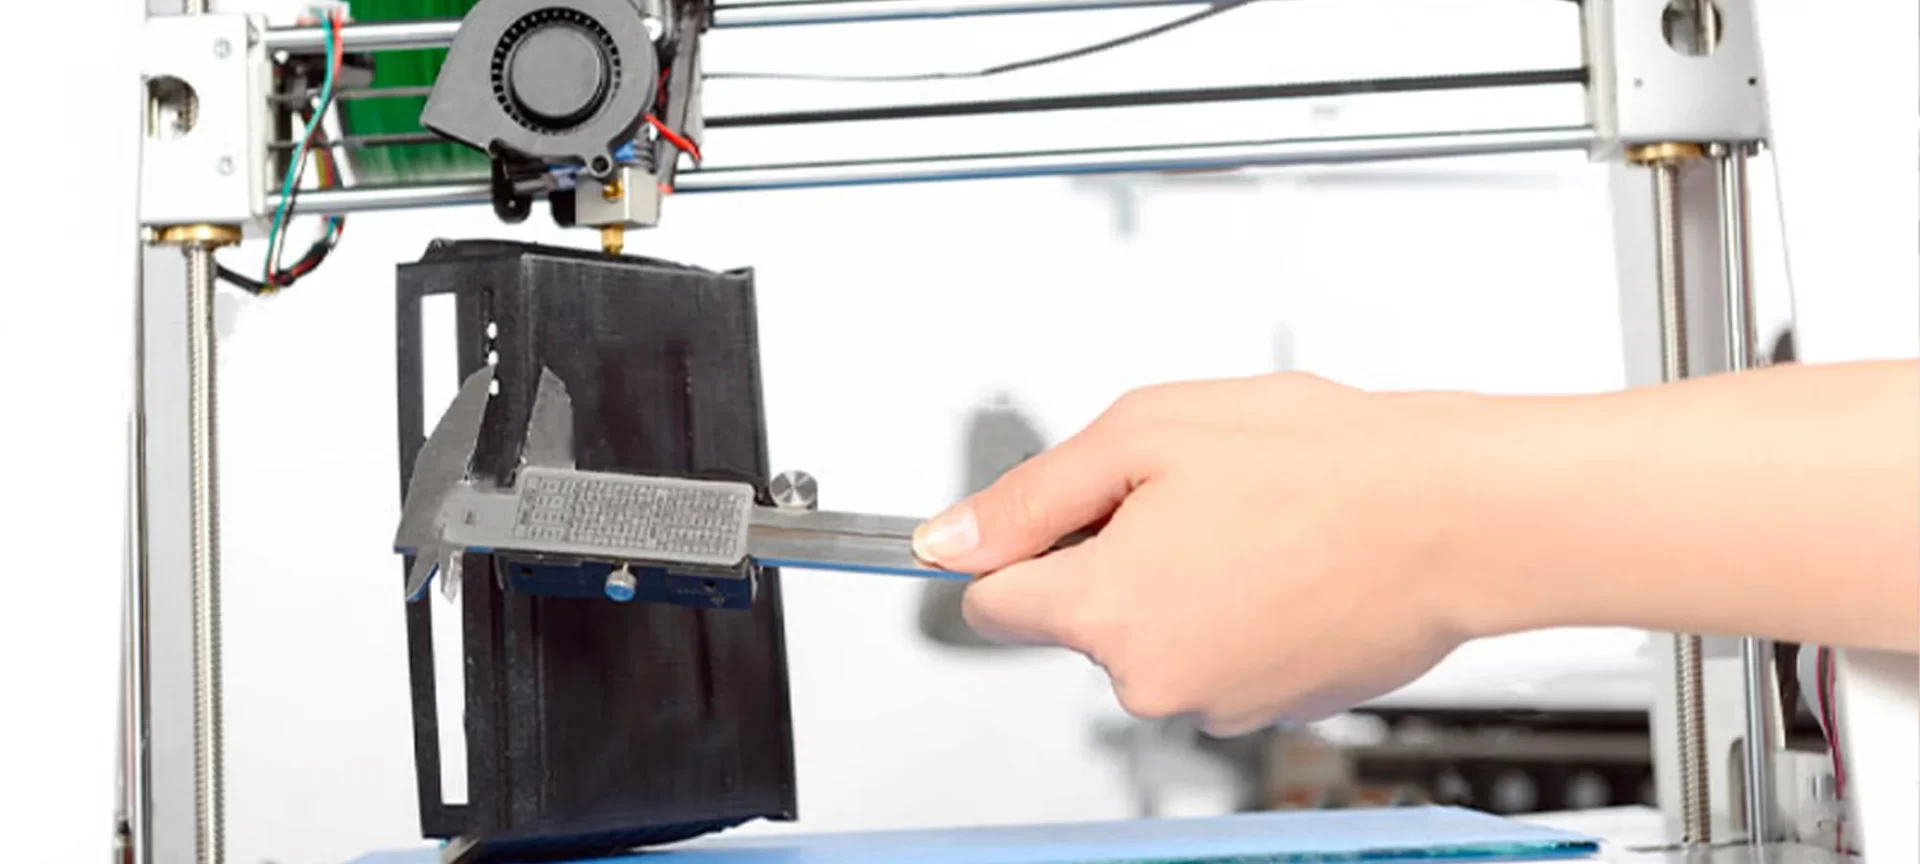
- Start by measuring 100 mm from a set point on your printer’s extruder and make sure you mark it because you would have to return to it. In fact, experts also advise you to mark a 10 mm above and under this 100 mm because in that region only a lot of things are going to revolve.
- Starting heating the hot end of your 3D printer and extrude 100 mm.
- Wait for the printer to finish extruding and measure how far from the 100 mm mark has the filament stopped. Conclude over and under extruding from the above 100 mm mark or under 100 mm mark.
- Calculate the correct e-steps by multiplying 100 with the current number of e-steps and divide it by the amount that your extruder has extruded. The resulting value will provide for a new e-step correct value.
Belt Tension and Eccentric Nut Adjustment
The nozzle system’s motion depends on the belt, so the looser your belt is the severe ghosting, layer shifting, and dimensional accuracy issues it can cause.
You should ensure that the belts are tight, and if they are not you should tighten them by unscrewing the brackets that hold the bearings and move them.
Doing this would ensure there is sufficient tension between the stepper motor and the bearing. Super tight and super loose arrangements are not be preferred.
Nuts are the last step to ensure Ender 3 calibration, it is an important thing to adjust Ender 3’s eccentric nuts that are present under the print bed on the X-carriage.
Tightening them means rotating them until they are tight with the wrench that comes with this 3D printer.
Make sure you cannot rotate or tilt the print bed of this printer, but also ensure that they aren’t tight enough to not let the bed be set in motion.
X-carriage of the printer should also be adjusted in a similar way, it should not give you too much resistance while moving up and down.
The Conclusion
That’s all you need to ensure before printing any part or functional prototype for Ender 3 calibration.
Extruder, bed, belts, and screws are the most important parts of any 3D printer which govern the complete mechanism and make a 3D printer function in a way for building a 3D part or functional prototype.
Ender 3 Calibration would not take as long as it took to read this article and imply this very first time.
Also, the more you get experienced with 3D printing on this 3D printer, this would start becoming a very less time-consuming process for you.


