Although the latest and advanced 3D Printers offer high precision and clarity, the final prints do need a fair amount of post-processing in the majority of the cases. And, Painting is the most basic one among the various ways of giving the final touch to your 3D Parts. If you still haven’t mastered the art, read the tips to paint 3D printed PLA parts for best results.
It goes without saying that PLA is one of the most widely used materials for 3D printing. Thanks to its excellent mechanical properties and provide ease of printing, parts made from PLA are put into application in various areas of different industries. And there is one point to note here that, despite a broad range of color availability for PLA, the quality of a part printed using colored PLA is not as satisfactory as it comes after painting one.
In our guide, we start from the very basic smoothing technique and end with spray printing over the use of a traditional brush or airbrush painting because the latter is not only laborious but also expensive. So, let’s get artsy to transform your top-quality printed part into a real-life colorful printed object!
How to Prepare to Paint a 3D Printed PLA Part?
The first and the simplest prerequisite for painting a PLA part is to look out for a part with good quality print. Because frankly, one can never get a properly painted PLA part from a badly 3D printed PLA part! In case you have a part with inappropriate orientation, look for solutions available online. Also, there are tips available online to improve the quality of finishes.
An already rough-surfaced part cannot achieve smoothness even after undergoing post-processing and would end up appearing bad when put into application. So, once you have a good quality part, it is obvious that the treatment to improve its finish, even more, will enhance its overall looks and make it look more appealing.
It will eliminate the layer lines and three of the most common solutions to achieve such a finish are:
- Traditional sanding technique for removing layers by utilizing abrasive materials.
- Coating the part with a resin for making the layers almost invisible.
- Chemical polishing is done using a solvent.
After having undergone one of these three solutions and making the already 3D printed PLA part of a little better quality, it’s time to know which paint to use?
Which Paint to Use for Painting the 3D Printed PLA Part?
Yes! Paints too have their own categories based on their solvents. Some of the most basic ones that you might have heard about include oils, enamels, lacquers, and acrylics. All of them work well with PLA parts. In case you are a beginner in the field of 3D printing experts recommend sticking to acrylic paints as they dry fast and can be cleaned with water.
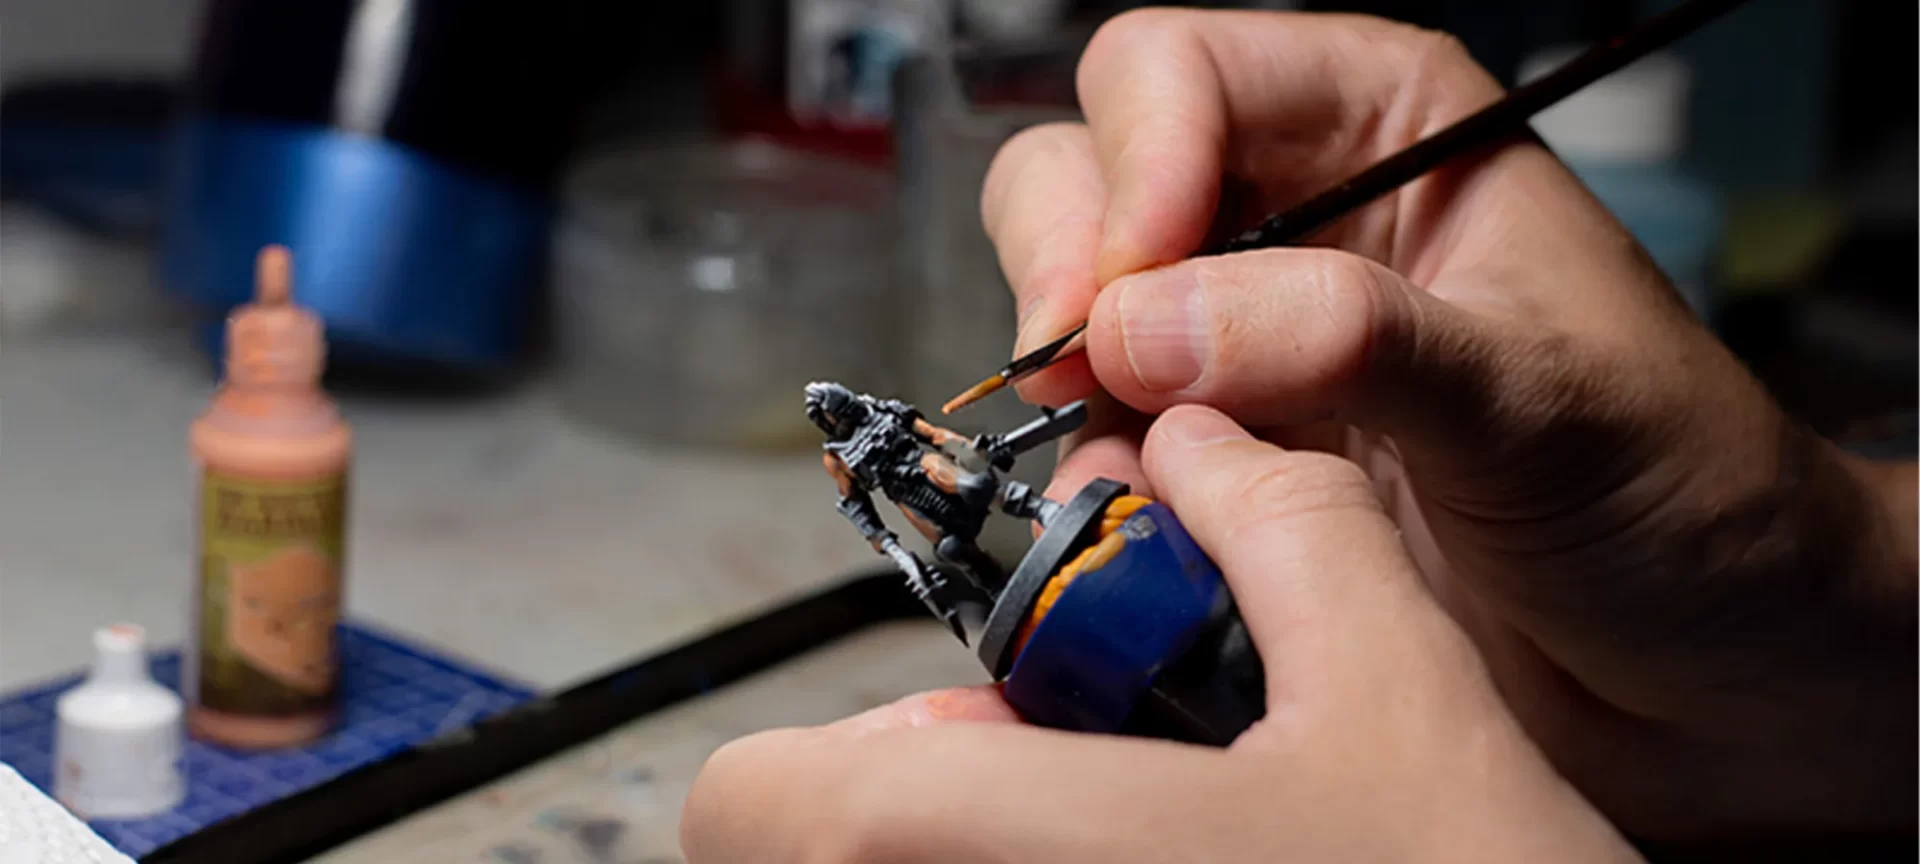
Normally, to paint 3D printed PLA parts one can decide whether to use an airbrush, a normal brush, or a canned spray print. Each of them has its own set of benefits and disadvantages.
A brush is cheaper compared to the other two options, whereas it can be difficult to accomplish with an even coat of paint. Also, there are chances of blobs on some spots and underlying color appearing in others.
An airbrush is costly but particularly has a steep learning curve. Hence the most suitable option to paint a 3D printed PLA part is spray printing which strikes a clear balance between affordability and ease of use.
Having stated so, it’s time to start with the first step that leads to the painting of 3D printed PLA parts i.e. smoothing.
Smoothing
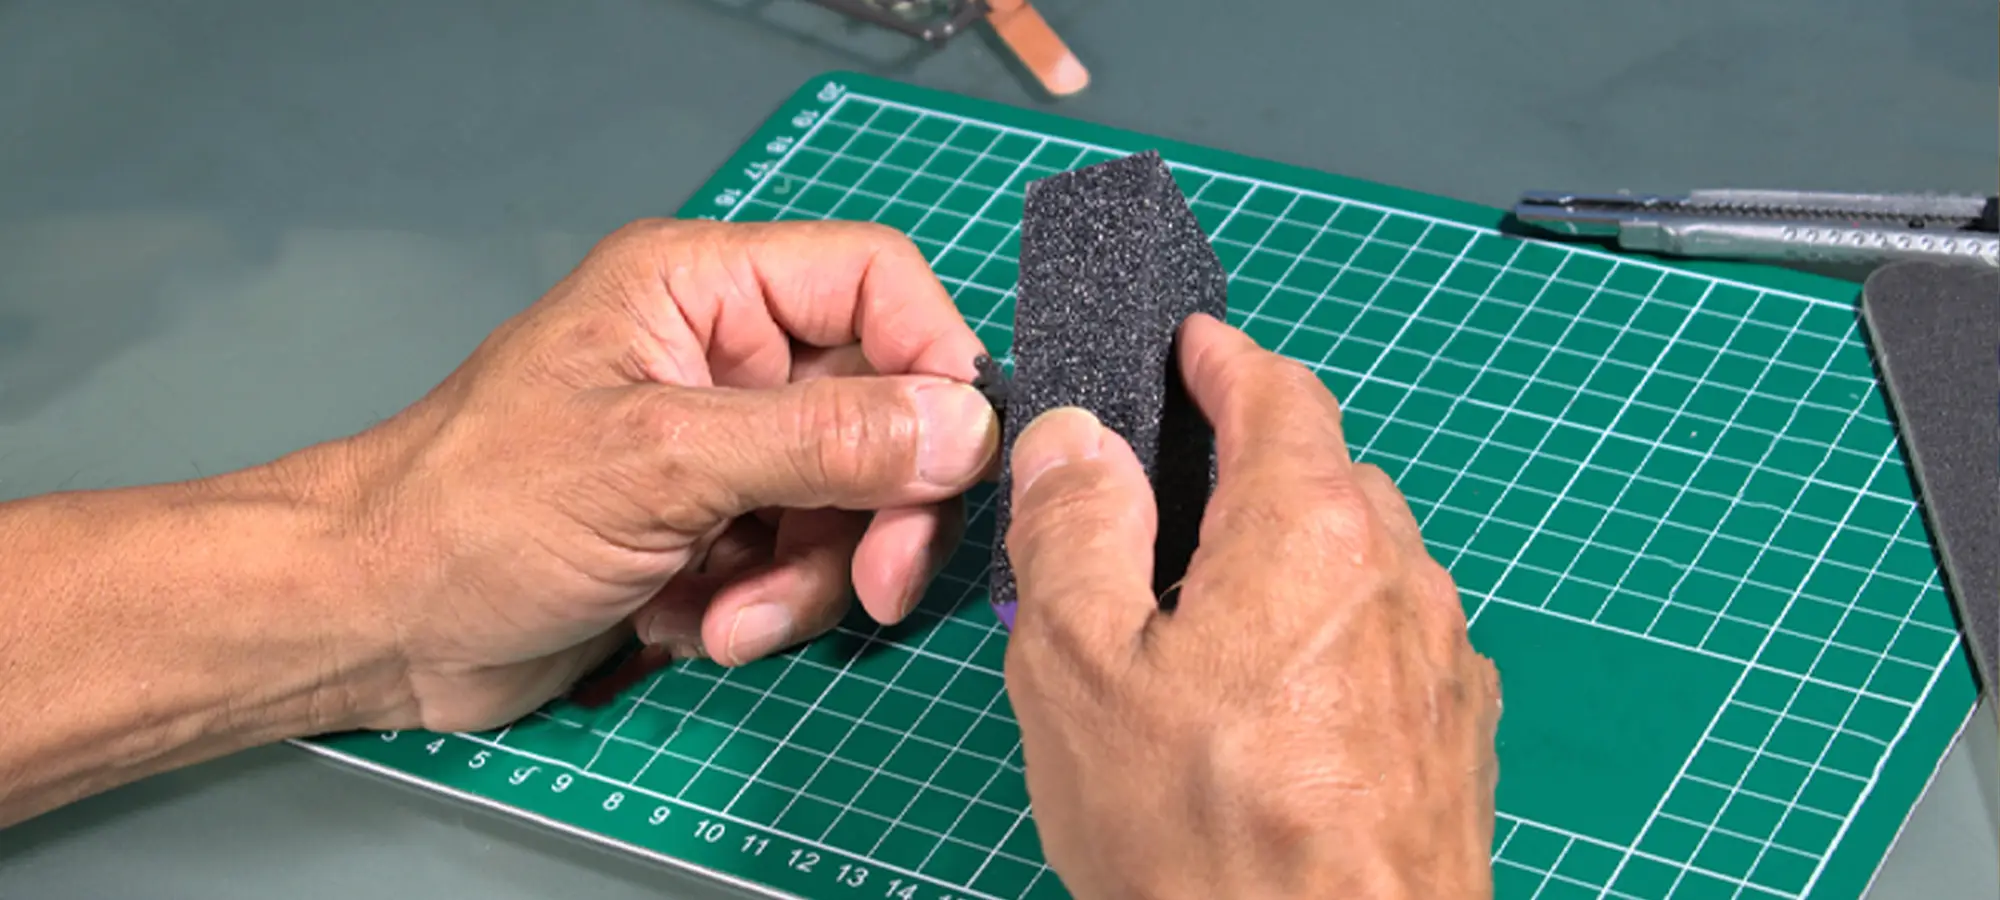
The first step of smoothing is said to be pre-sanding. It involves trimming rough print features on PLA parts such as support stubs. And for doing so, most users generally make use of things like:
- A craft knife,
- Sandpaper,
- Tweezers,
- Toothbrush, and
- Pliers
The main part to keep in mind while doing smoothing is to eliminate any protrusions and ensure the print is clean. Users can peel off supports using their hands or use a knife, whichever is suitable. The main target is to have a final part without any bumps or protrusions.
The next step to painting after pre-sanding is obviously sanding.
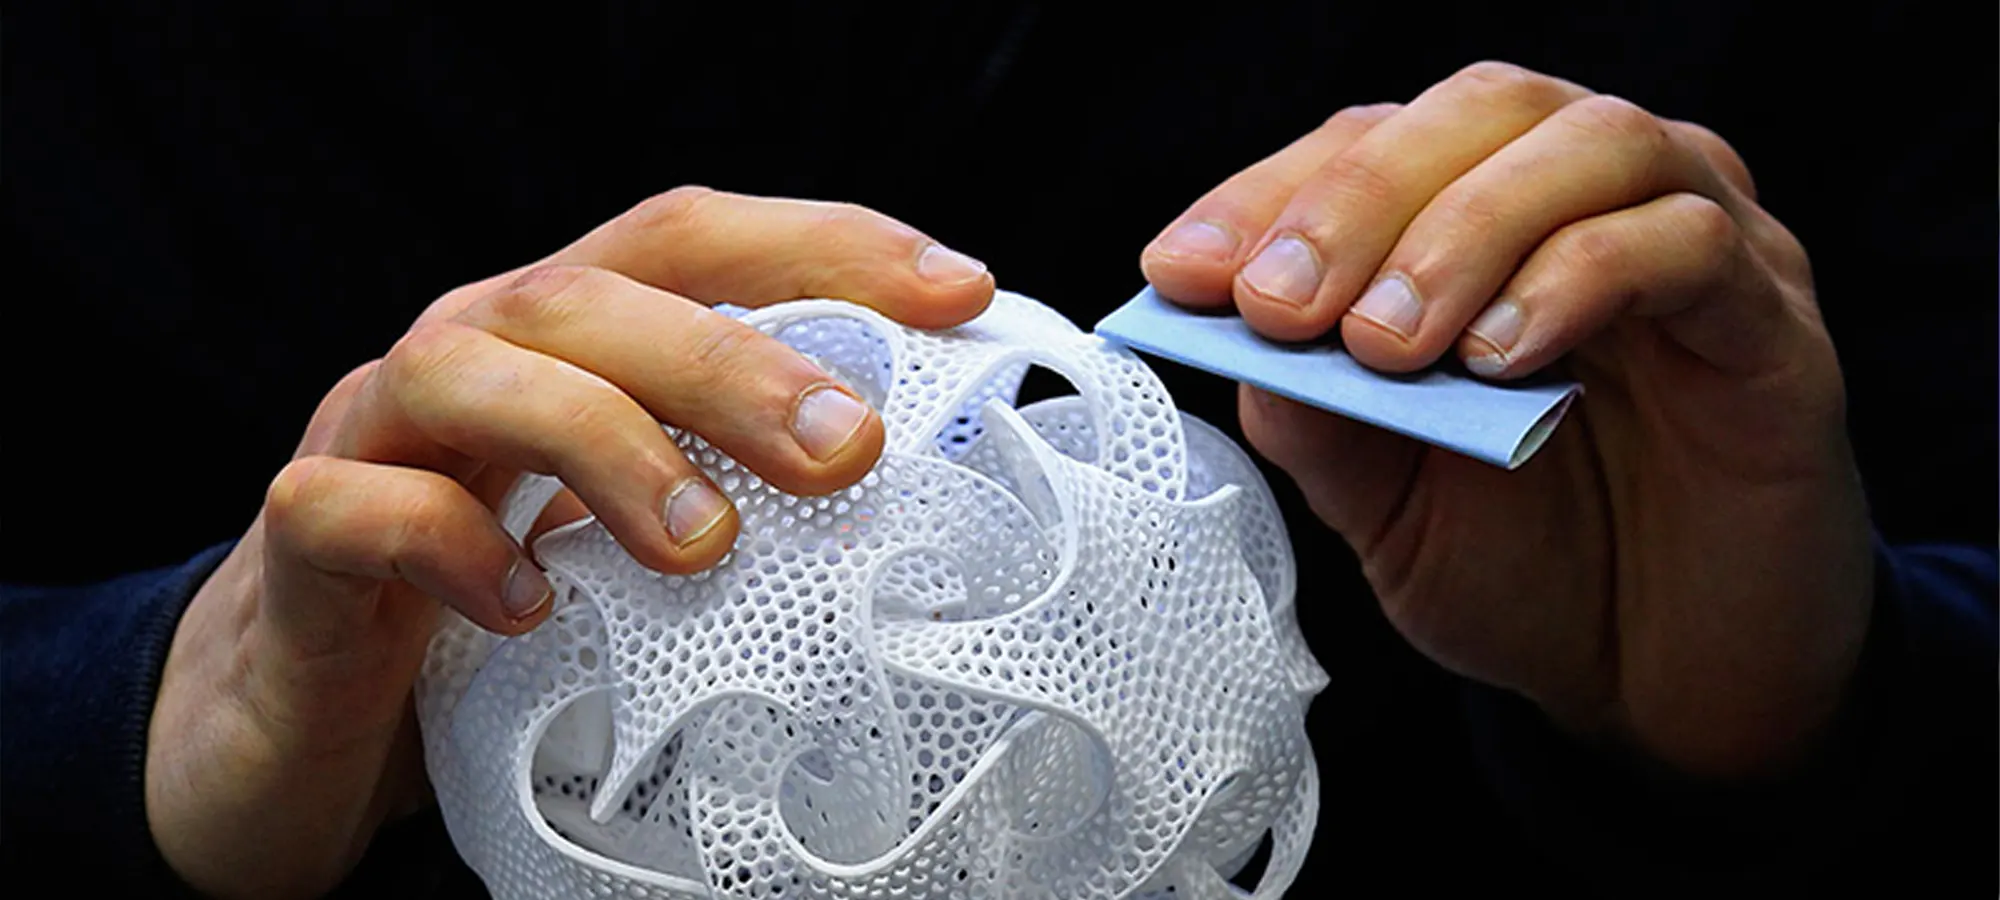
Sanding
Generally, experts advise to begin proper sanding using 120-grit sandpaper and thereby moving up! The golden rule to remember here is, the higher the grit number, the finer the sandpaper.
Also, it is advisable to use circular motions for avoiding visible scratches and paying more attention to the sides while avoiding the edges, corners, and other finer details that are printed in a PLA part. This is because; 120-grit sandpaper can be too strong for small details.
Sanding 3D printed PLA part smoothens deformities and can be a very time-consuming process depending upon the size of the print or finish that users are aiming for. Remember to sand down the support marks and ensure that you’ve removed any filing or tooling marks.
Start by progressing through the grits depending on your print. But note that once you’re done using 200 grit, it is advisable to use water on your 3D printed PLA part. Doing so, not only prevents clogging but also fives a finer finish.
During sanding, try feeling the surface of the already 3D printed part, especially at the intervals for getting an idea of how exactly smooth it is. After you feel the desired smoothness on 3D printed PLA part, use a brush in combination with water for washing away any kind of trapped dust. It’s obvious to remove them before moving on to paint 3D printed PLA part.
Priming 3D Printed PLA Part
It is this step that transforms your 3D-printed PLA part into a professional product. Priming supports the painting process effortlessly by creating flawless final surfaces. The procedure is needed because paints never hide all the flaws, there are always some or others that are visible.
For priming, experts suggest going with a primer that’s compatible with PLA. Note that, a spray-on primer can quickly cover the entire surface with a uniform coating which is a lot better than brush-on primers.
Steps for Priming
Below mentioned are the steps that you need to follow for priming the 3D-printed PLA part.
Mixing the primer: The aim of this step is to dissolve the pigment into the solvent by swirling the spray primer in a circular motion for minutes! Keep on swirling until a noise of mixing ball rolling is heard from inside. Note that you do not need to shake it as doing so can cause bubbles when the coat is actually sprayed.
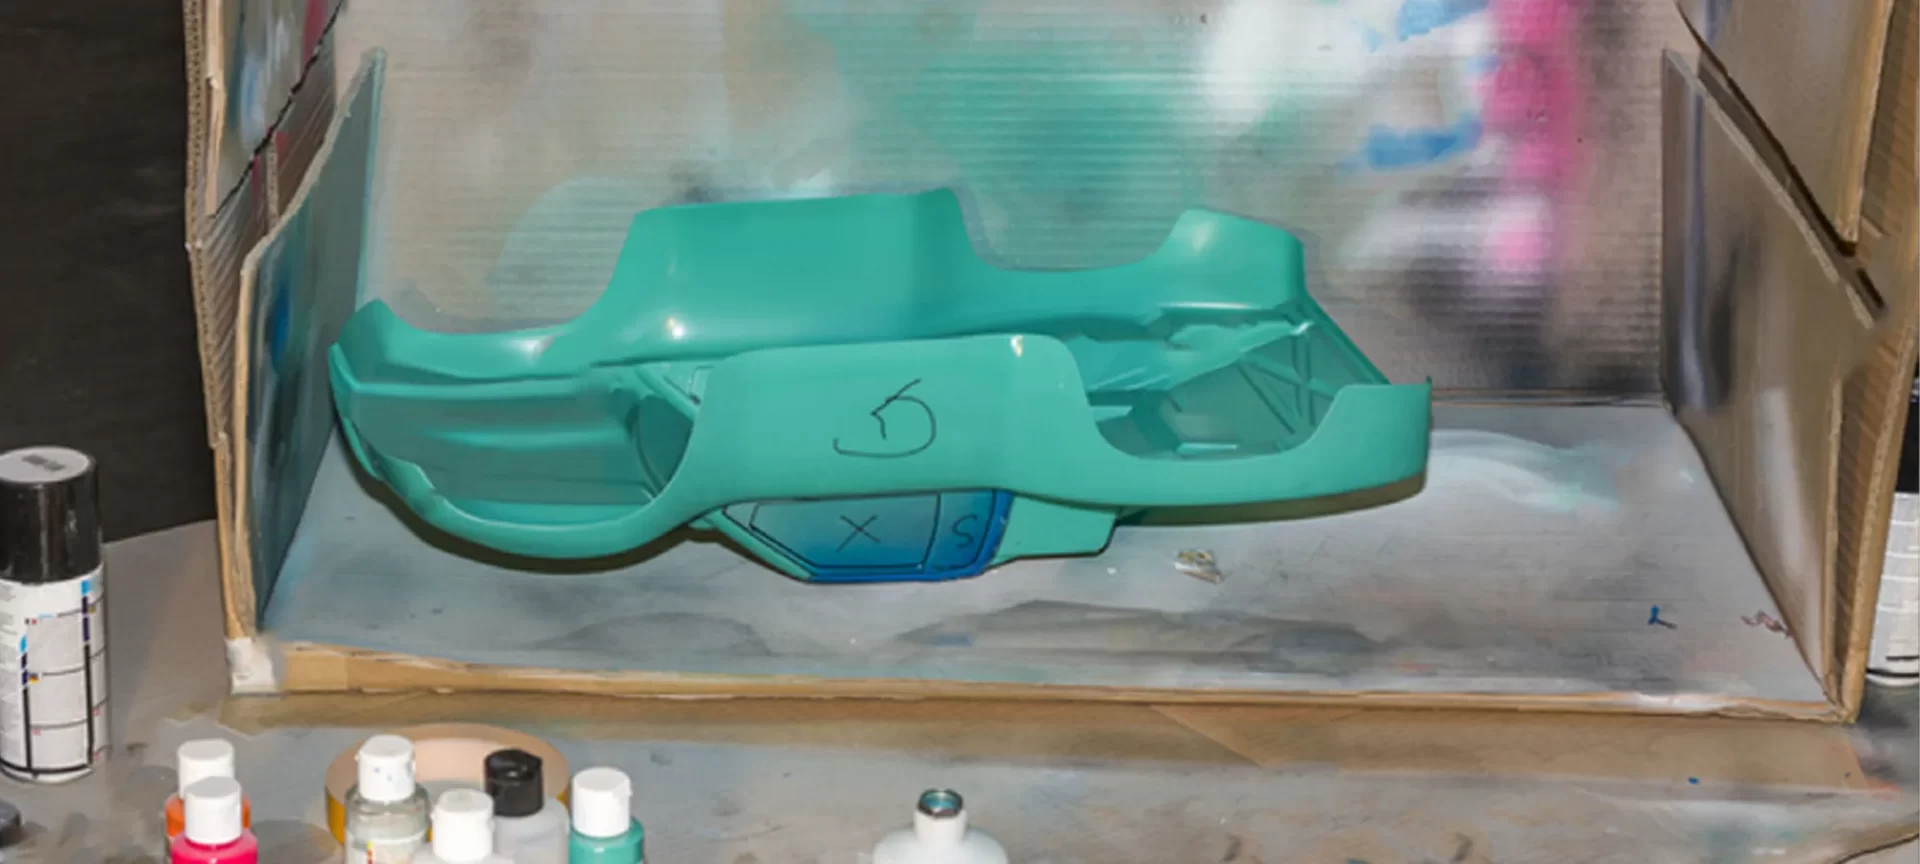
Spraying the coat: Hold the spray approximately 10-12 inches far away from the PLA 3D printed part and start spraying rapid, short strokes! Keep on rotating the part as you keep on spraying. For facilitating the spraying process, you can mount your model on makeshift support as well. Please take care to not let the spray pool on the 3D printed PLA part.
Inspect the first coat: Under this step, check whether all the areas are sufficiently sanded and filed. In case there are areas requiring more sanding, clean off the dust again before respraying. Also, it needs to be altered between sanding and spraying with primer until the level of smoothness is achieved. Spot putty can be used for rebuilding blemishes. Applying it using a scraper and then spreading it across the surface of the part for filling the gaps works if you can ensure to not lose the detail!
Spraying the final coat: Go on priming another layer with rapid strokes and keep it light! Avoid adding a thick coat because it will fill the fine details. Here, the most efficient technique is to sweep across the part with thick and rapid bursts. Such a method prevents the paint from building up and dripping.
How to Paint a 3D Printed PLA Part?

After priming, you will get to know about the approximate final finish possible to achieve with the 3D printed PLA part. The process to paint 3D printed PLA parts is very similar to priming. You need two things for the same.
A painter’s tape: The material that sticks firmly to surfaces and still manages to come off cleanly. This tape will be used for masking some areas of the 3D printed PLA parts for preventing the paint from seeping underneath. To ensure this happens, it is advisable to use hard objects such as credit cards for forcing the tape into the creases of the model.
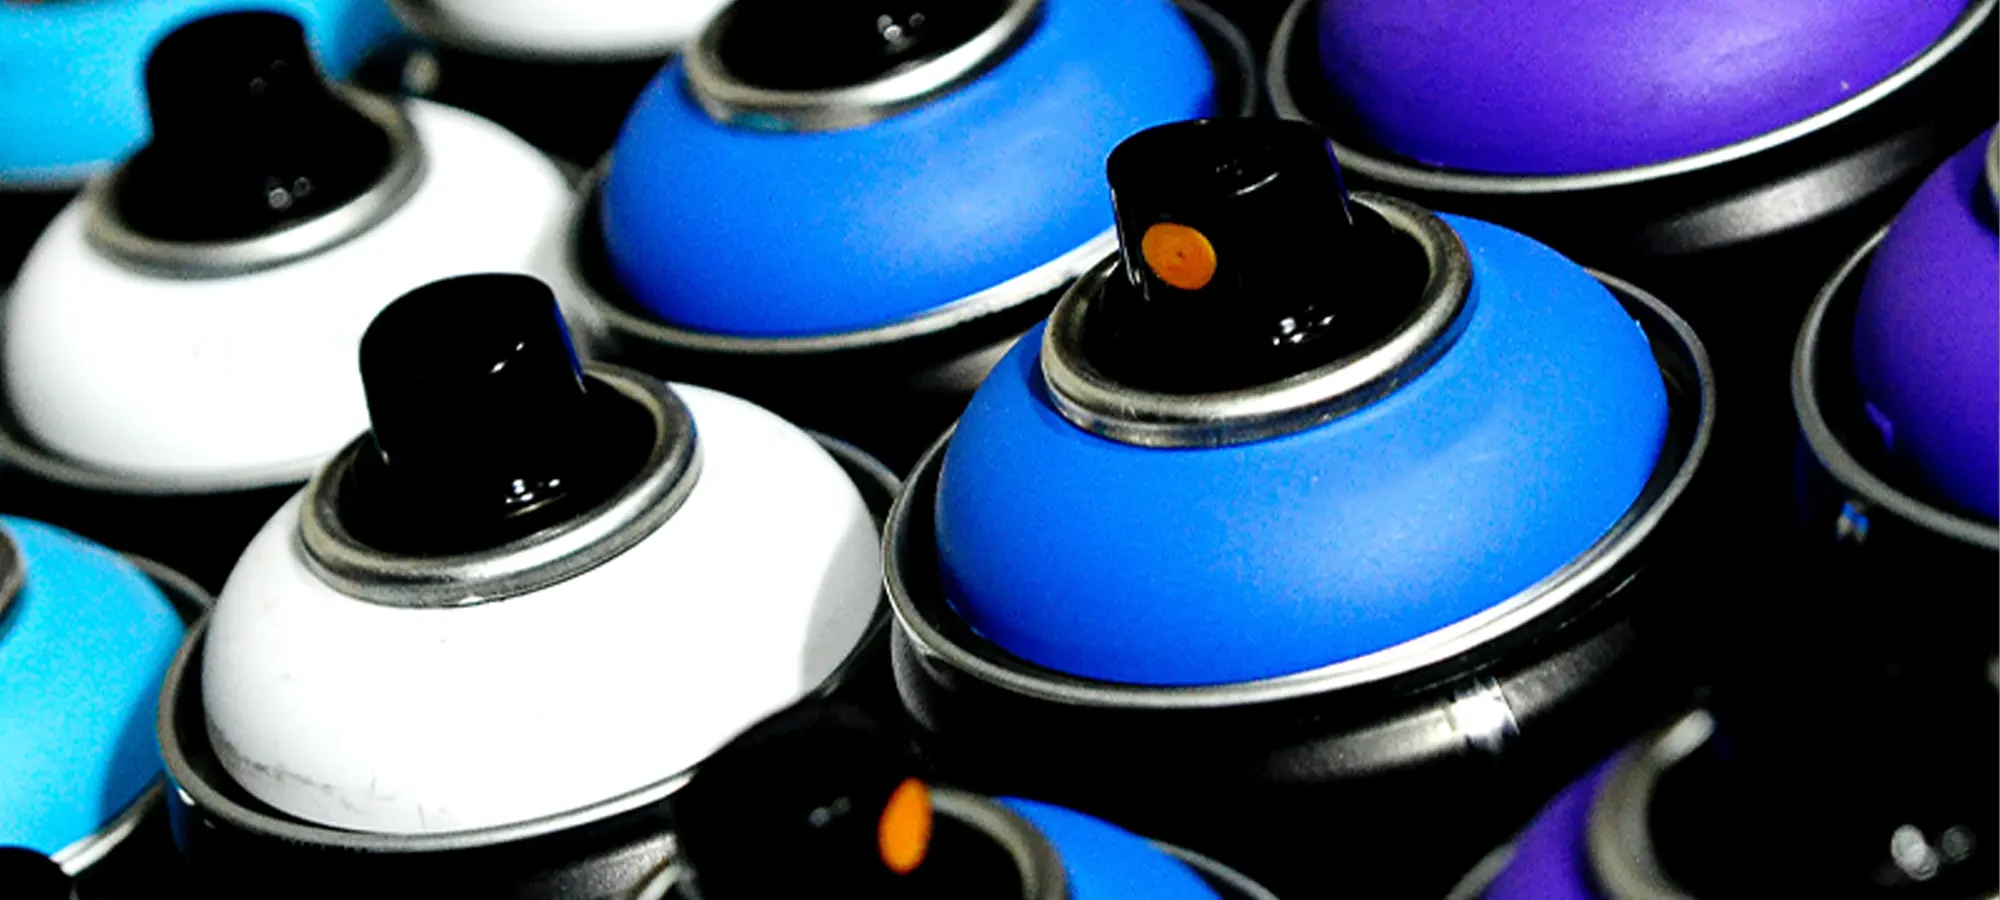
A spray print: Experts recommend Tamiya spray prints as they come in a variety of colors, finishes and go well with PLA.
Steps of Applying Paid to 3D Printed PLA Parts
Below mentioned are the steps that one needs to follow to paint 3D-printed PLA parts.
Applying the first coat: Start by holding the nozzle near the rotating model and then moving quickly. Painting with two light coats and finishing with three or four wet passes works while waiting 5 to 10 minutes in between for avoiding sagging. In case you want to continue refining the surface, buff, and polish the paint surface for maintaining a smooth surface that looks glossy under the clear coat. However, the last suggestion is not mandatory.
Adding topcoats: Under this step mask the relevant areas for preserving details as well as adding topcoats – layers over the previous coats. The first and second coats are known to manifest more if the topcoat is thinner. Also, putting it in between applications and letting the paint sit for some minutes would tell if the color is saturated enough or not.
Finishing with a clear coat: This step is meant for sealing the already painted PLA part, protecting the paint surface as well as achieving the desired sheen! You can apply the clear coat in one or two even layers waiting for near about 10 minutes between their implementation. Note that, at this point painting procedure for your 3D printed PLA part has finished but there is always scope of polishing it further with wax or fine polishing compound in case you want a super glossy finish.
Keep the 3D printed PLA part as it is and let it dry overnight. The next day, clean it with a tack cloth. Also, keep in mind the following.
- Masking: Right after this process removes the tape to ensure clean and sharp edges between colors.
- First coat: It blocks the neutral color that your primer has managed to put up and is recommended whenever you wish to have rich color.
- Topcoats: They are optional and preferable while applying contrasting colors of rich blends.
- Layering: Intricate 3D printed PLA parts are painted in several layers starting with a first coat. Herein you can make a few tweaks to highlight details, create reflections, or get a weathered appearance.
The Conclusion
To paint 3D printed PLA parts ensure that there is the least amount of air in the environment because air can change the direction of paint particles. Also, to ensure that the painting is even it is advisable to complete the painting session in one go. Moreover, cover the items present in the proximity of the spraying zone.
While painting 3D printed PLA parts, it is advisable to not spray too close to your part otherwise you end up with noticeable drips. A trick to successfully paint a 3D printed PLA part is to mount your model on a dowel using an existing pole in the part.
Doing so makes it easier for maneuvering while spraying and also enables you to access all kinds of nooks and crannies without leaving any sort of fingerprints. Painting is a very impact-creating part of 3D printing and it gets better with experimentation.


