Did you know that PLA is the only polymer that’s made from renewable resources? Some of the raw materials that go into the making of Polylactic Acid are corn starch, tapioca roots, or sugarcane.
Due to this anomaly, the material is used in making packaging that stores food, devices that go inside the human body and return without causing any infection, manufacturing insulating parts, in the textile industry as well as cosmetics industry.
So how come, such a delicate material is utilized in such a sophisticated range of applications?
Well, good quality 3D printing PLA parts functional prototypes is definitely the first answer that will pop up to your mind. But do not forget to include with that answer, PLA post-processing!
There is a lot that’s meant to be taken care of while creating 3D printed objects using PLA because its properties are different than that of ABS.
Having stated so, there’s even more attention need on PLA post-processing. And while the former is generally paid attention to, there are doubts whether the latter is paid necessary notice to.
This partiality can be for any reason, the most common one being, there is not enough information available out there for PLA post-processing as much as it is for its 3D printing.
So, today we’d like to draw your attention to PLA post-processing: the procedure that will make your PLA 3D printed parts or functional prototypes shine out.
And although it depends on the type of product you’ve manufactured and its application, we’ll explain to you all the steps involved. Starting from pre-sanding, ending with painting!
Once your PLA 3D printed part has gone through these steps, you’ll never like to deliver parts without post-processing. It’s that effective.
Easy techniques for PLA post-processing
To make your final parts showroom-ready, they need to undergo the process of post-processing which can be divided into two categories:
- Cleaning
- Finishing
The first category involves; pre-sanding, sanding, and smoothing, whereas the second category comprises priming and painting. Painting of PLA 3D printed parts can be done using two methods:
- Brush.
- Spray.
In this guide, we cover the painting with the spray because that’s lesser time-consuming and risk-involving.
The selection of paint is completely dependent on the solvent you use during the smoothing process. However, the most common ones are oils, enamels, lacquers, and acrylics. Expert’s recommendation for beginners is to use acrylic paints as they dry fast and can be cleaned with water.
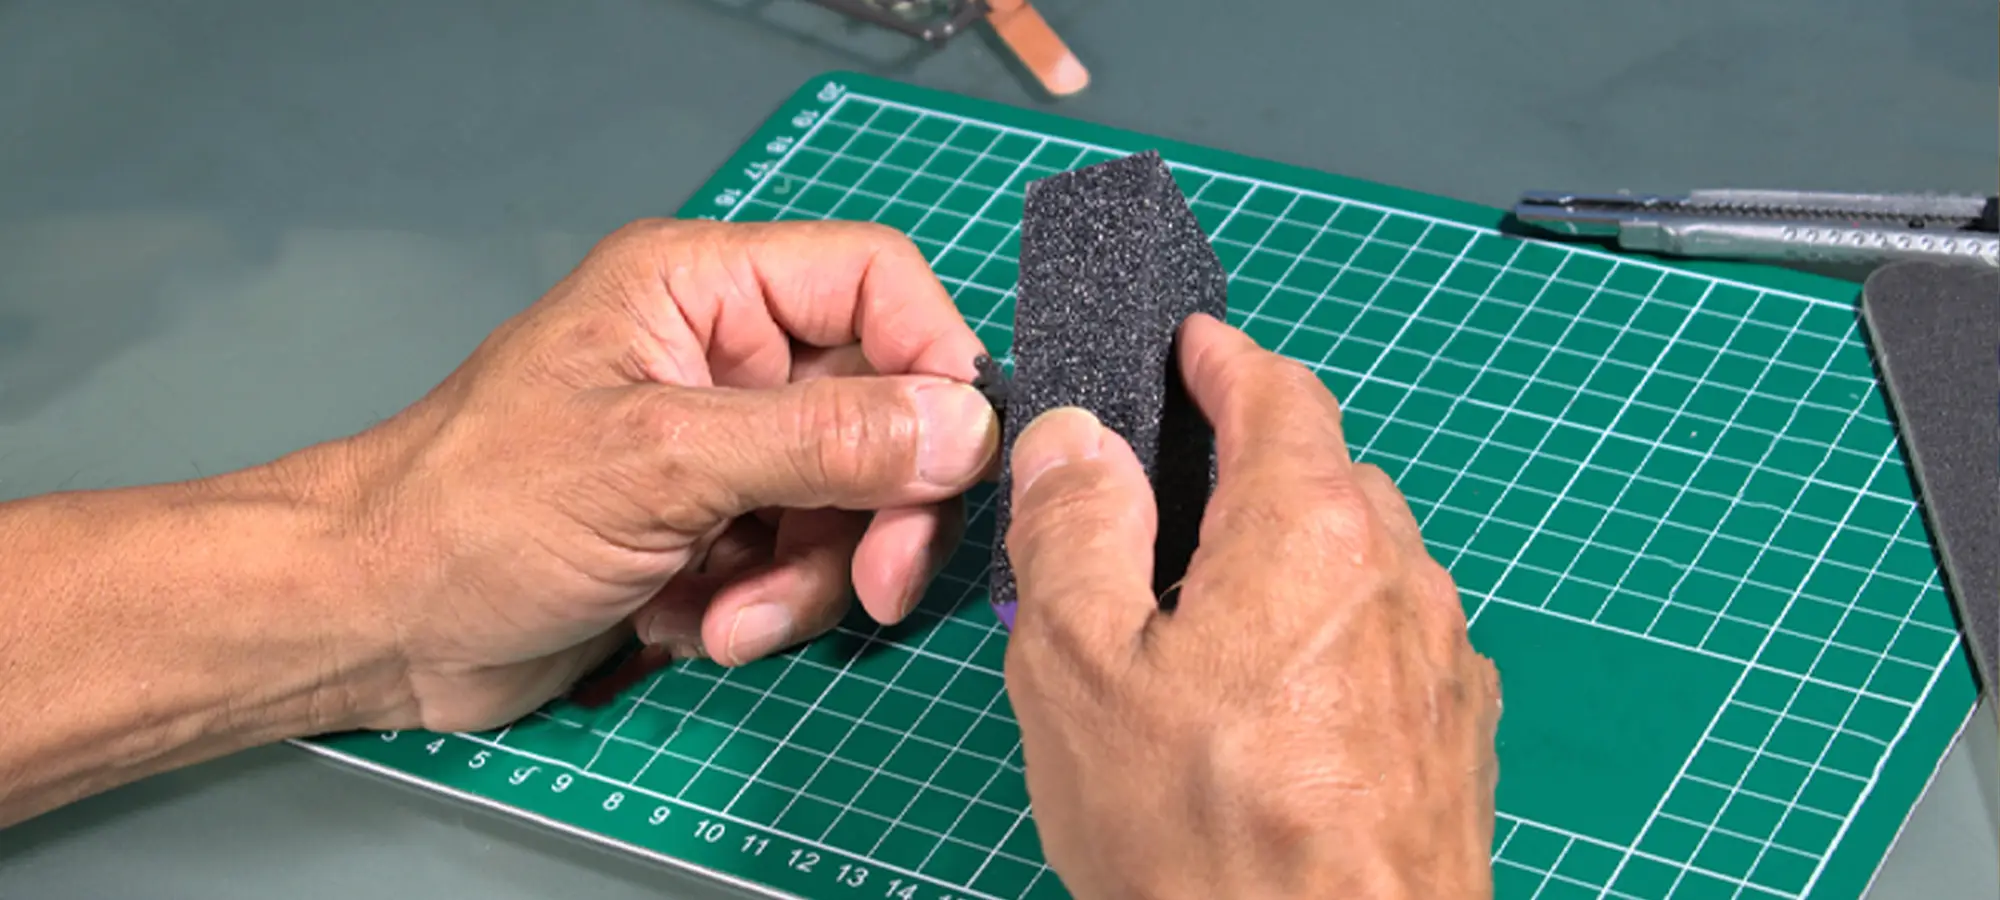
Pre-sanding
Some of the equipment used in this process are craft knives, sandpaper, tweezers, toothbrush, and pliers.
With the help of these equipments, you need to trim the rough printed surfaces, for example, features such as support stubs.
An effective pre-sanding process involves making the part free of protrusions before it travels to another stage i.e. Sanding.
At times, you would not even need these equipments and use bare hands to do this. Only if it doesn’t work, you can use a knife to ensure the task is accomplished.
The target is to guarantee a part that doesn’t have bumps or protrusions while it reaches the sanding stage.
Sanding
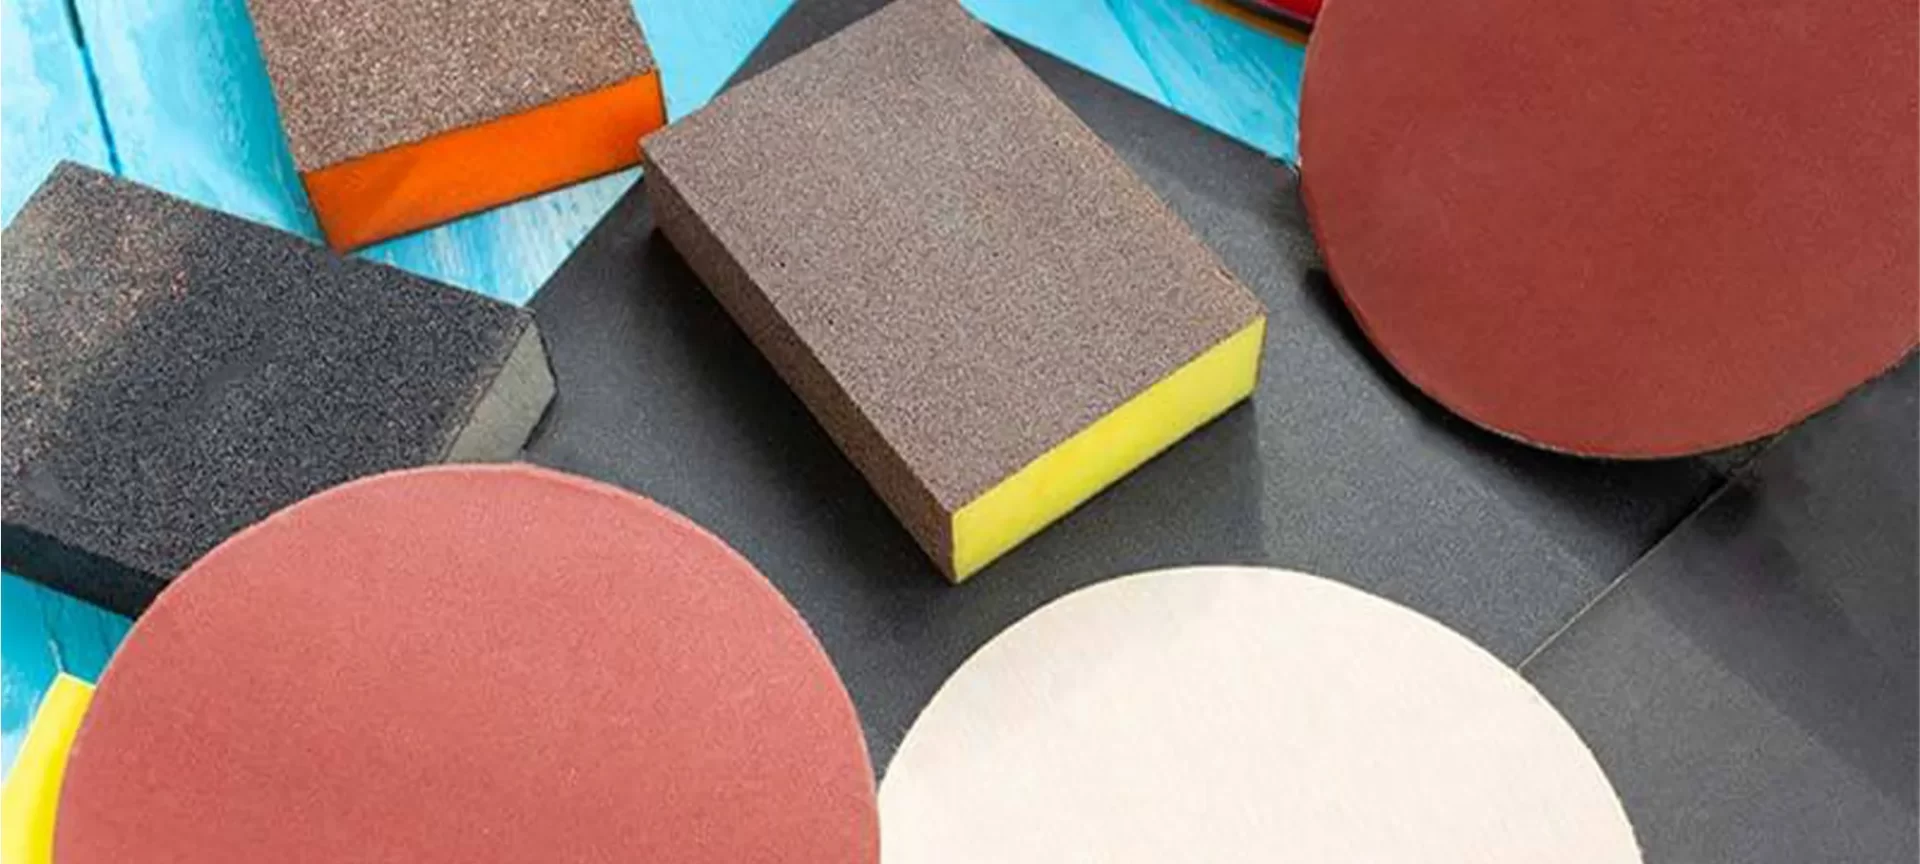
There are sandpapers available in the market of varying grit quality. For PLA post-processing, you are advised to begin with 120 grit sandpaper and get a grip while doing circular motions for getting rid of scratches.
Sides are the spaces that will demand more attention than faces. You are advised to avoid the edges, corners, and other fine details because 120 grit sandpaper will be too strong for such small details and you might end up damaging your part.
Remember, sanding is done for smoothing the malformation therefore it could be time-consuming depending on the size of your print or the finish you are aspiring for.
So, you have to be pretty clear in your head about the quality you wish to have. Depending on the same, you will have to decide how much sanding is needed.
For example, you’ve completed sanding the part with 120 grit sandpaper and still not achieved the quality you require; carry on with 200 grit sandpaper.
Although this would not be the case with every PLA 3D printed part, it can be in some rare scenarios.
After you are done with 200 grit sandpaper, start using water to prevent clogging and getting a finer surface finish. Feeling the surface of your part at intervals will give you an idea of its exact smoothness.
On touching if you find it good enough, move on; if not, continue sanding. In case you are willing to use a power tool you are requested to not do so otherwise the high vibrations created by electric tools will easily melt this plastic.
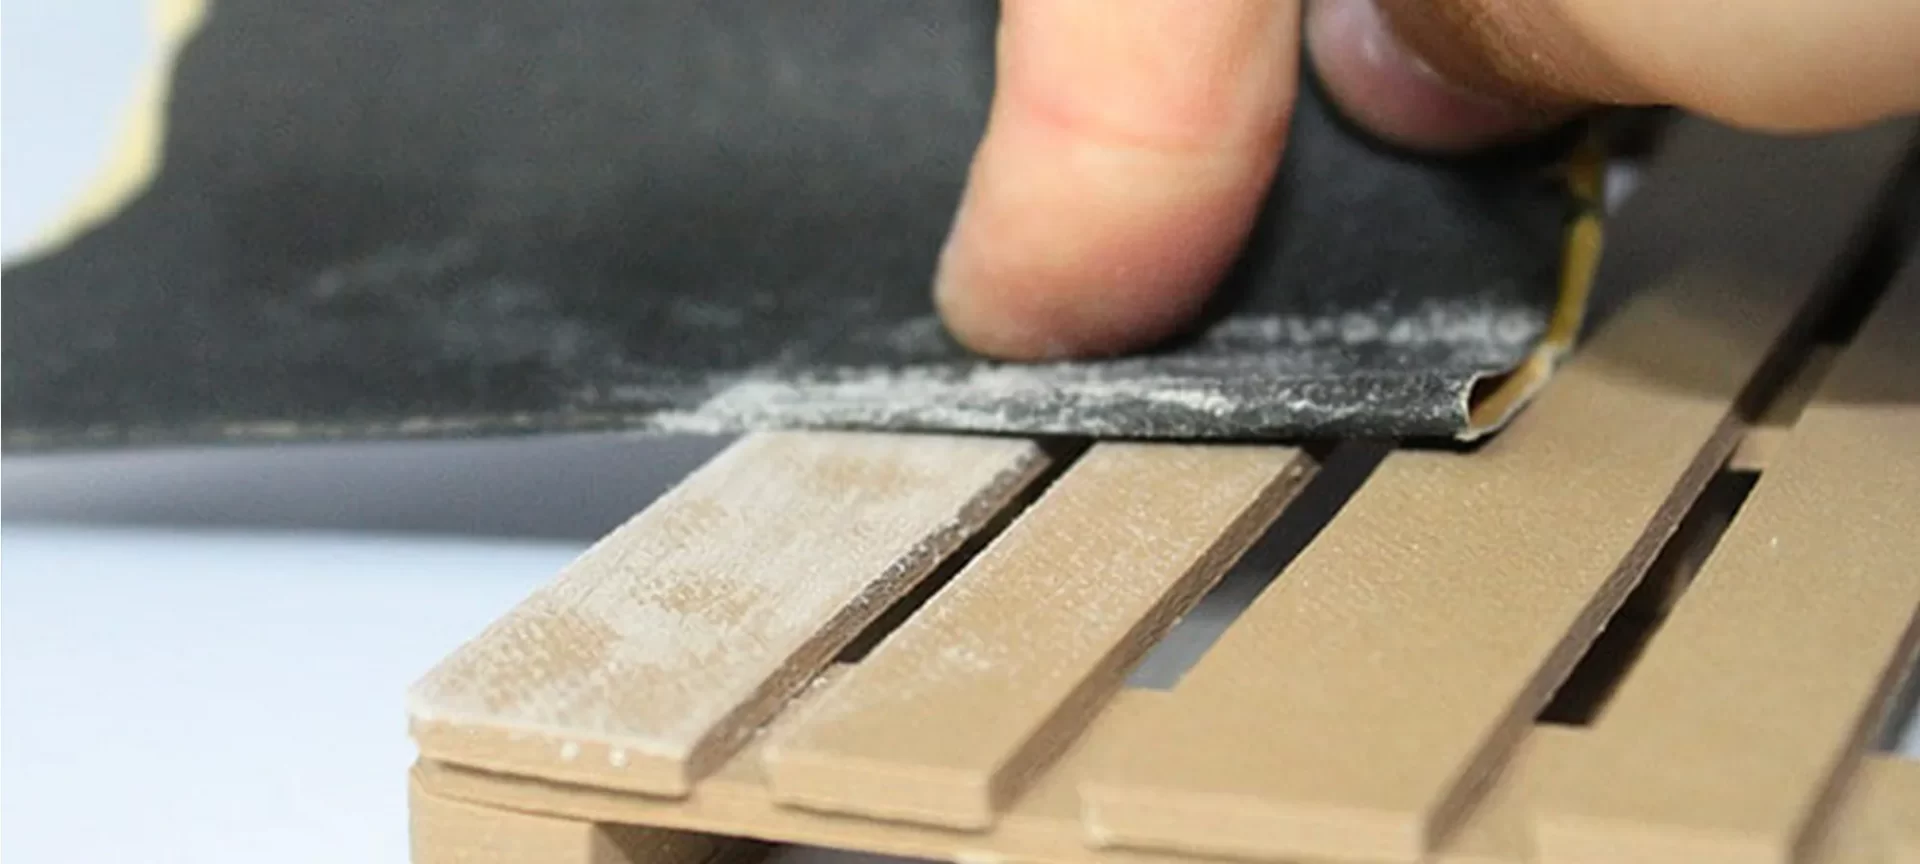
Smoothing
Arguably the most important step in PLA post-processing is Smoothing. Sanding alone can never completely eliminate layer lines present on the PLA printed part.
For eliminating it, you need to apply a polishing compound, the one that’s sold in bars, just like sandpapers are sold in the market.
Although these compounds are designed to be used with metals, they work well with plastics too. Application of a wiped-off compound onto a buffer wheel or attaching for a rotary tool on the plastic will provide a smooth and shiny finish.
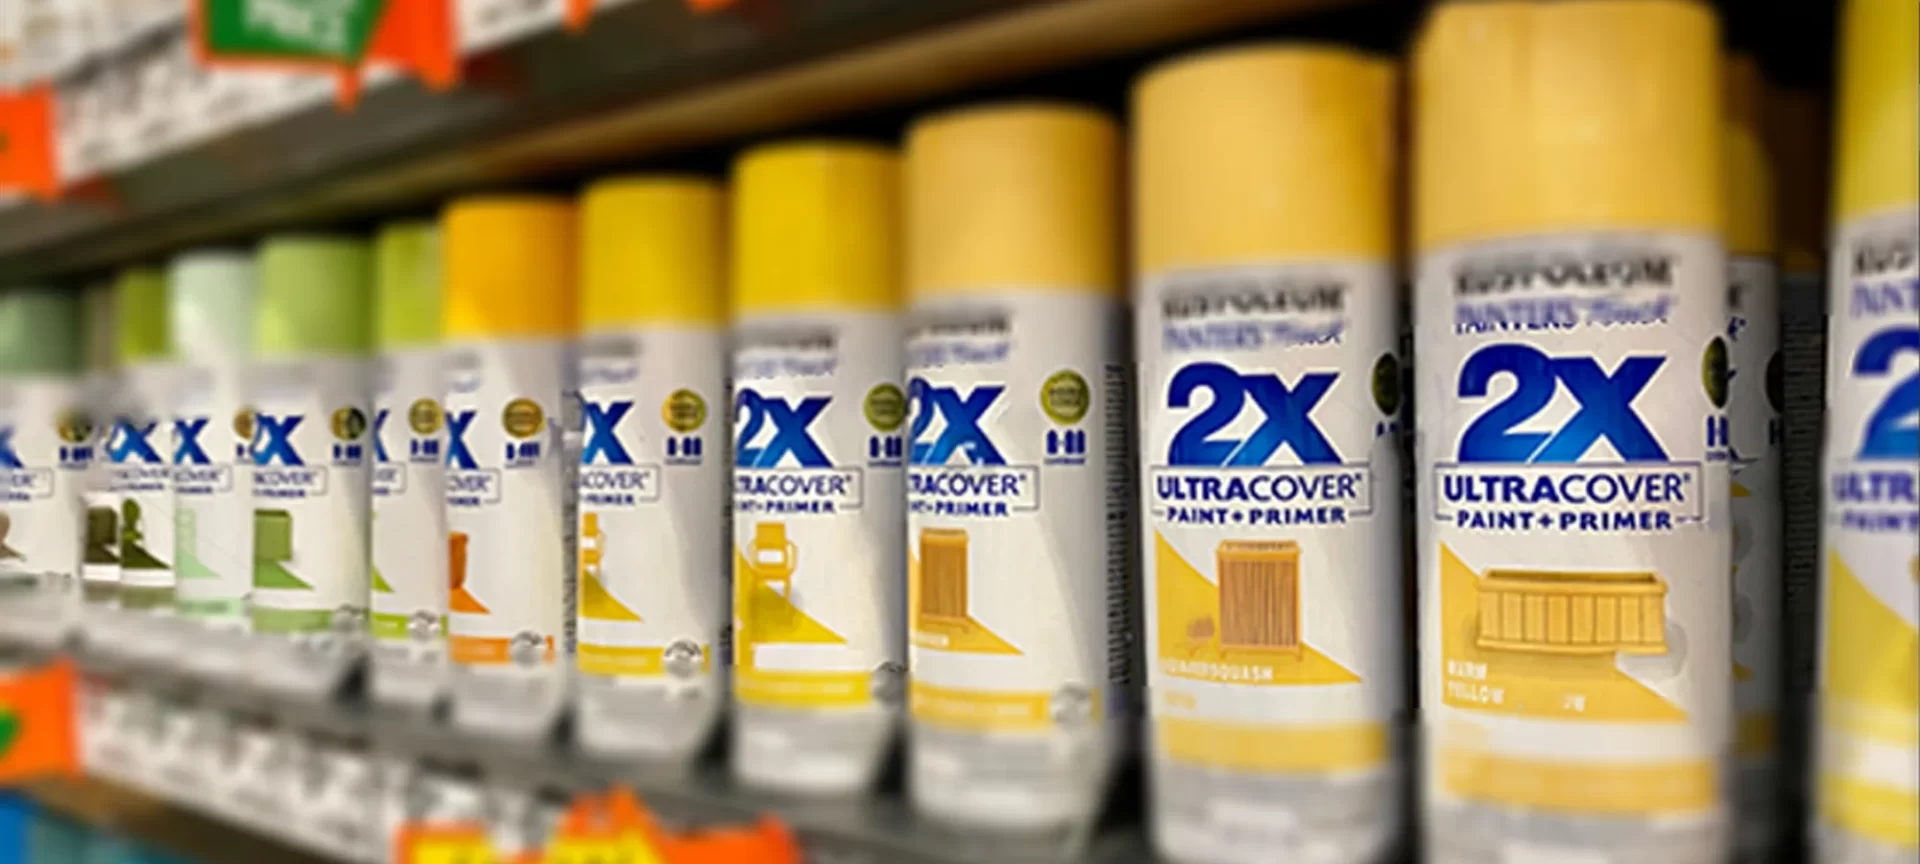
Another method to smooth PLA 3D printed parts is with a primer spray print like Rustoleum. XTC3D from smooth-on also works fine.
The two liquids that go into the making of the latter create a resin-like material that can be brushed on the PLA printed part.
It does not melt the plastic, but the resin definitely heats-up providing a smooth end result and hard exterior which can be painted over as the final coating.
Priming
Just as we are halfway through the article, so are we in terms of PLA post-processing. Priming is a process that gives your 3D printed part a professional look and creates a flawless final surface that is ready for display.
Spray-on primer is generally preferred with PLA 3D printed parts because it quickly covers the entire surface with an even coating and it’s different from brush-on primers that are good for final touch-ups.
Steps of applying spray-on primer
- In simple words, start with swirling the spray primer in a circular motion until it covers the entire PLA printed part. And avoid shaking the primer as well as the object; otherwise, it can cause bubbles when the coat is sprayed.
- Hold the primer ten to twelve inches away from the printed part and apply rapid strokes. Keep on rotating the part as you spray. If you want, you can mount your model on support where it can freely and steadily rotate to ensure the spraying process is uniform.
- After having completed the second step, check for areas that need extra sanding or filing. In case any of these is required, clean off the dust from the part before respraying. To get a smooth surface, an option that lies in between sanding and spraying is using spot putty for rebuilding the blemishes. It is applied using a scrapper. You can spread it across the part for filling the gaps, but detailing is a must while doing this.
- Finally, you can spray the last coat over the PLA printed part. Here too, rapid strokes are recommended. Don’t apply thick coating; be as light as you can. Make sure you do not build up and drip.
Painting

This is the last step of PLA post-processing. Before doing this, you are required to have a mental image of the finished part that you are working for. As you might have guessed, painting is similar to priming.
For painting your PLA 3D printed part you’ll need a painter’s tape and a spray print.
The former will stick firmly to the surfaces and come off cleanly. It will also mask some of the areas and prevent paint from entering in.
The latter is recommended because these come in different colors and finishes. Also, they are very compatible with plastics.
Steps of applying paint on PLA printed parts:
- Start by holding the nozzle of your spray near the rotating model and start moving your hand quickly. Advice is to start with two light coats of paint and end with three to four depending on the requirement. In between i.e., after applying two light coats and before applying three or four coats, wait to avoid sagging. In case you wish to refine the surface, buffing and polishing the paint surface is recommended only in scenarios you actually feel the need to do so.
- Like you have highlighted in the drawing, you have additional topcoats for preserving details. Topcoats are thinner than the first or second coats. After applying topcoats patiently wait for the color to dry and see if it has saturated in the way you wished it had.
- In case you wish to seal the printed model, you can finish by applying a clear coat over the already applied coats. Application of the clear coat in one or two thin and even layers and then waiting for ten minutes is recommended. The painting is considered to be done by now. And if you wish, you can polish or wax it further in case you wish to get a super glossy finish.
What Are The Points To Remember While PLA Post Processing?
- For making certain that you have clean and sharp edges between colors, you will have to remove the tape correctly after masking the PLA 3D printed part. While doing so, do not worry about coating the mask because the tape will prevent paint to enter any parts you do not wish it to enter.
- The first coat is meant for blocking the neutral color of the primer and hence it’s only recommended when you need rich color in parts and functional prototypes. White is recommended for first coats on objects that will be finally of light colors and vice versa for black.
- Topcoats on any prints are optional. In case you are looking for a contrast, it will enable you to create gradients of rich color mixtures. Whereas, if you want the first and second coats to manifest, don’t stress much on topcoats.
- Intricate PLA printed parts look eye-catchy when they are printed in layers. This is applicable even with a first coat which is the rudiment for the complete painted model. Here there is a scope of improvisation depending on the details you wish to highlight, create reflections or get some specific kind of appearance.
The Conclusion
Creating smooth and eye-catchy PLA 3D prints will always require a good number of effort. Sanding is the basis of complete PLA post-processing that prepares your part for processes and hence creates nearly flawless prints.
A point to note is, all the processes mentioned in the above article will remove material in some of the other amounts from your print. For example, if your 3D printed part has sharp edges, it will dull out. And you will find it hard to work with fine detailing in such parts.
Smoothing works fine particularly when you have designed your model into sub-assemblies. Each piece gets separate attention which increases the quality of surface finish of complete part or functional prototype after the finishing of post-processing.
Painting and priming should be done in a controlled environment especially where there is lesser to the point of negligible winds or drafts.
Even the slightest movement of air will change the direction of paint emitting out from the nozzle of your spray.
Spraying too close or too far from your PLA 3D printed part will end up with noticeable drips and gaps respectively.
For ensuring good printing while PLA post-processing, we advise you to paint your part while keeping it on a stand.
Take care of the spray prints because they are hazardous, toxic, and flammable. The best way to paint is to take full safety measures, wear proper clothing, gloves, and mask.


