Meshmixer 3.5 is free software that users can use for designing awesome stuff. It is available for Windows as well as Mac operating systems. You can download the software from its website.
As stated on its website, the software is specifically used for working with triangle meshes.
In this article, we will write a Meshmixer review that will help you understand how to work after downloading the software, as well as we will let you know about the features of this software.
Meshmixer 3.5 is one of many software that is designed by the company Autodesk which is a benchmark of quality designing software in the field of 2D and 3D designing.
If you click on the MM manual tab on the website of Meshmixer, you get directed to Autodesk’s website wherein you can read about various tools that this software offers.
Writing about all the features that Meshmixer offers would require more than one Meshmixer review, so we are trying our best to sum up the main ones in this article.
Overview of Meshmixer as a part of Meshmixer review
As claimed by the company, Meshmix was the original name of the app and also the original function of the app.
To its users, Meshmix allows you to quickly “mash-up” surfaces by drag-and-dropping meshes onto existing surfaces.
For using this tool, you have to start by clicking on the Meshmixer button, and doing so will reveal a default set of “parts” that you can drag onto your model. All these sets of parts are organized by category.
And for the operation of the Meshmixer tool there are two modes i.e. Drag and Drop, and Drop Solid.
The mode that you are operating Meshmix on is determined by the part that is chosen from the set of parts.
Drag and Drop Mode
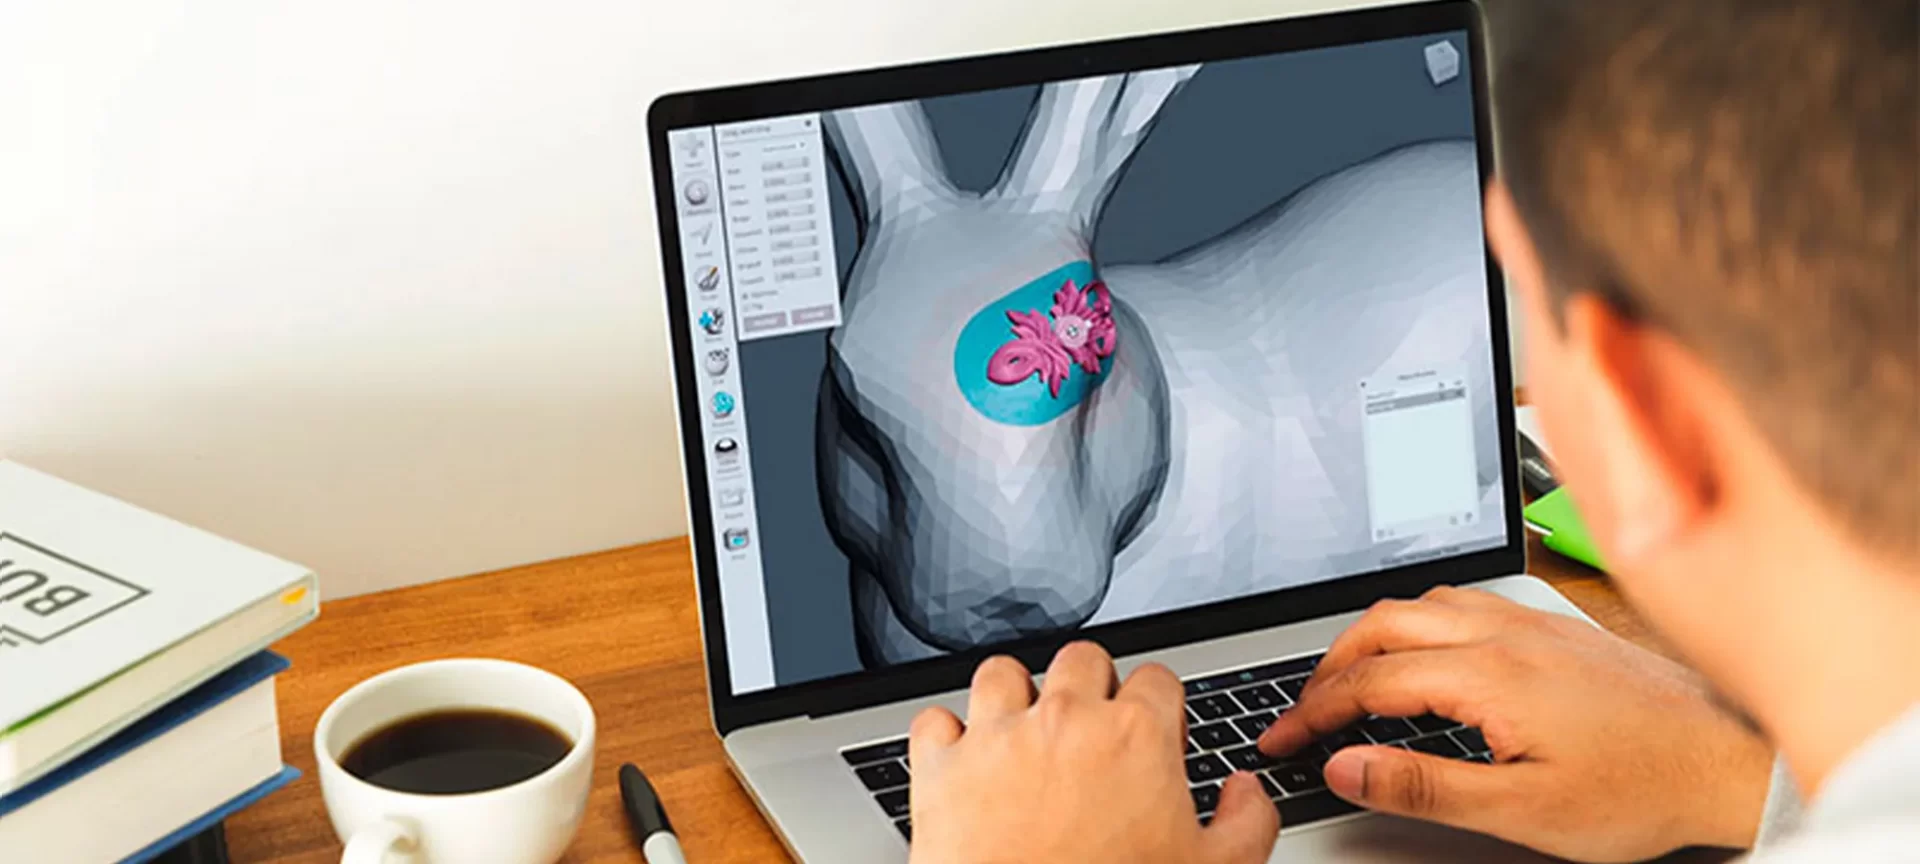
Using this mode, you can drag an open part onto the mesh. The method to move a dropped part over the surface is by using the user interface widget.
When you do so the new part inserts itself into the existing surface smoothly.
After this procedure is complete, you can click on accept, and the result will be one continuous surface that includes the original surface as well as the new part.
There are also different approaches available for deforming the dropped part for fitting the target surface.
You can also attempt on optimizing for preserving the shape of the original part.
However, this may cause a less smooth transition region between the target and dropped shapes.
The option of Flip places a mirrored version of the object and can be used while making symmetrical parts.
Drop Solid
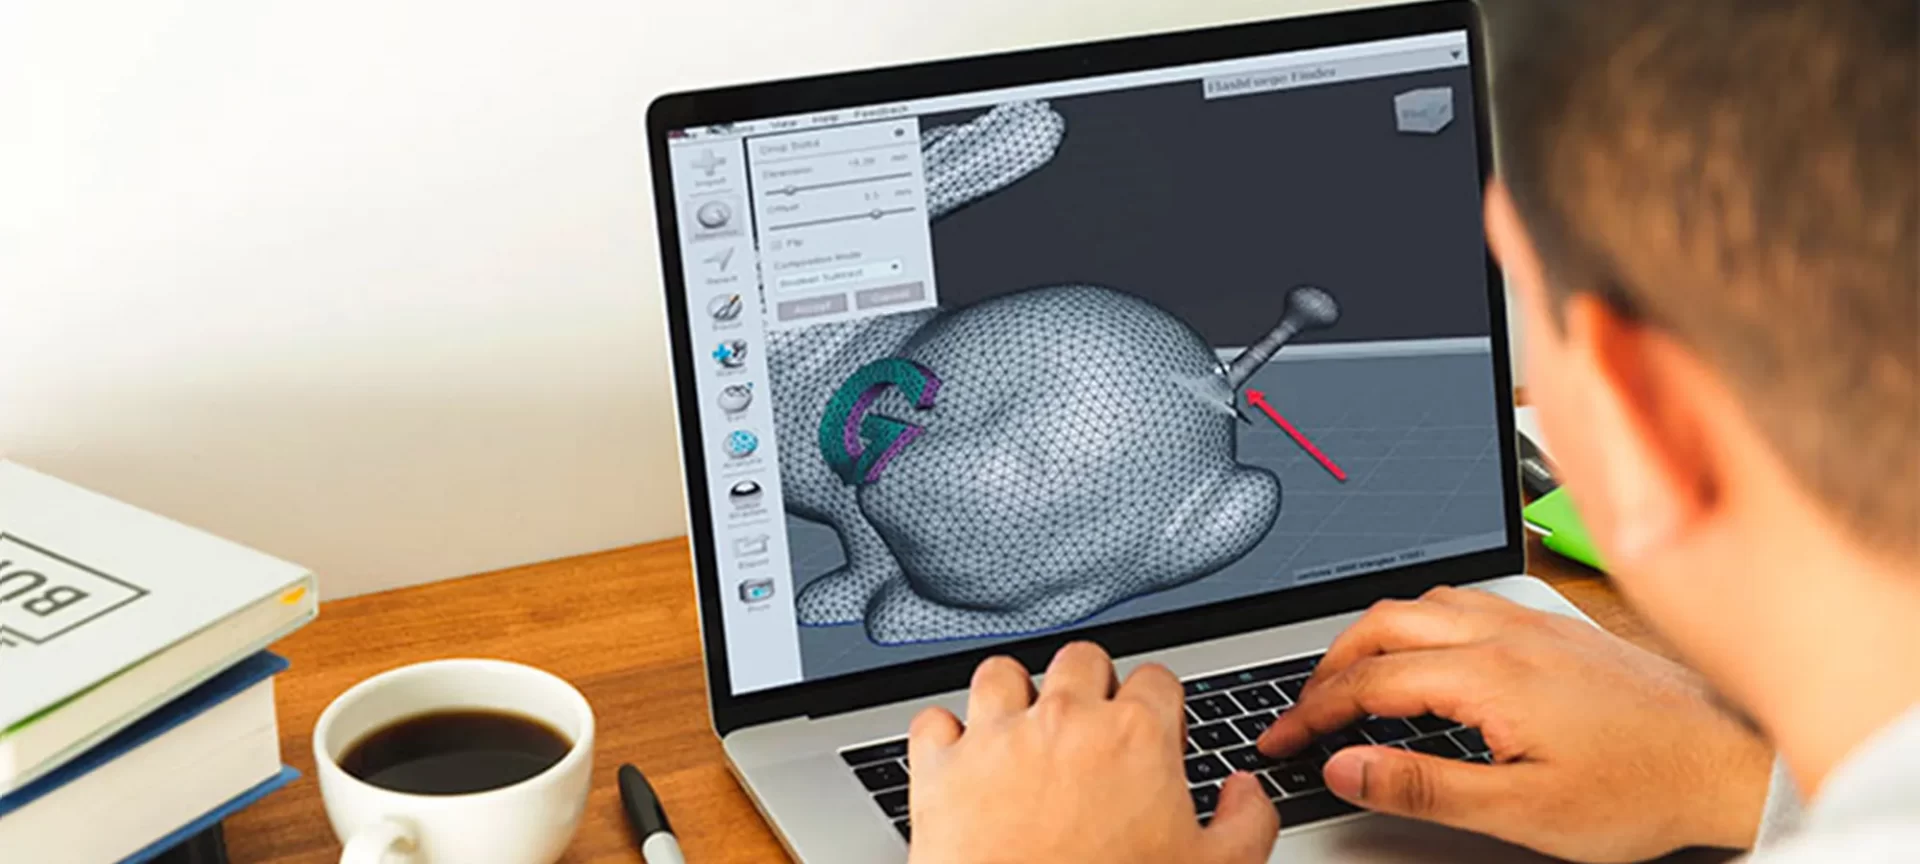
Unlike the mode mentioned in the previous stanza, you cannot drop an open object using this mode.
But, you can drop a closed object over the surface. No attempt will be made for inserting the mesh while you are interacting with it.
However, when you click Accept, this mode will attempt to merge the surfaces using the Composition Mode that you’ve chosen in the dropdown.
There is another option available in the mode named Append To Mesh.
The function of this option is that it does not attempt to merge the objects into a single shell. Instead what it does is, creates an object with two disjoint shells.
The other option called Create New Object adds the solid to the scene as a new object.
And lastly, Boolean Union creates a single surface by performing a Union operation on the existing target shell and the solid being dropped.
After reading about the two modes in which Meshmix operates in the Meshmixer review article, let’s look at the way in which you will be able to download this application as well as import and export files on it.
Downloading Meshmixer, Importing and Exporting Files
The first thing that you need to do for getting Meshmixer software on your device is to download and then install Autodesk MeshMixer.
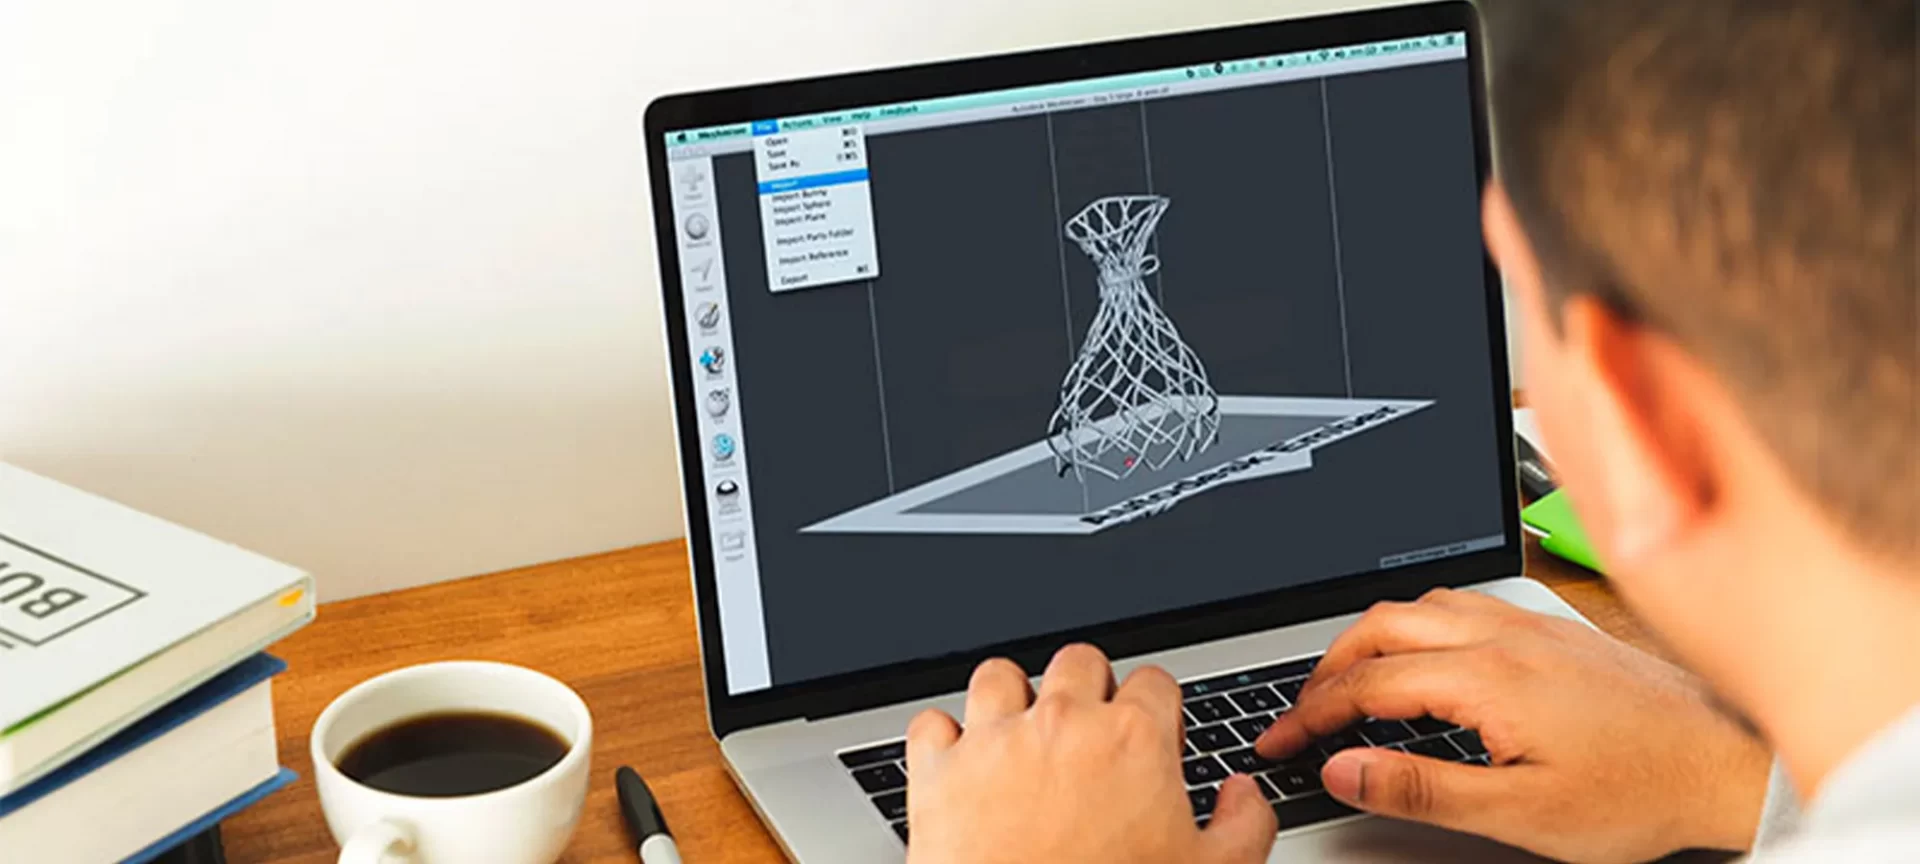
After doing so, you will have to import the 3D file that you wish to work on or the 3D design on the software.
For doing so, you will have to Start MeshMixer and click on Import in the middle of the window.
Once this is done you will have to select the file that you wish to edit.
At this point, we would like to tell you that Autodesk MeshMixer supports the common mesh file types like STL, OBJ, PLY, AMF, 3MF, OFF, and MIX.
If you do not wish to use this method, you can simply drag and drop files out of the Explorer into the edit space.
And you can choose between two options i.e. to replace the current object or append to the model.
After completing the first step, you will have to learn about setting up a particular print space wherein you can change your files and play with the changes smoothly.
This is exactly what we are going to explain in step two of our Meshmixer review.
Free Easiest Tools to Repair STL Files Online
Top 3D Rendering Software for Beginners
Best Free 3D Modeling Software for Beginners
Setting up a Particular Print Space using Meshmixer
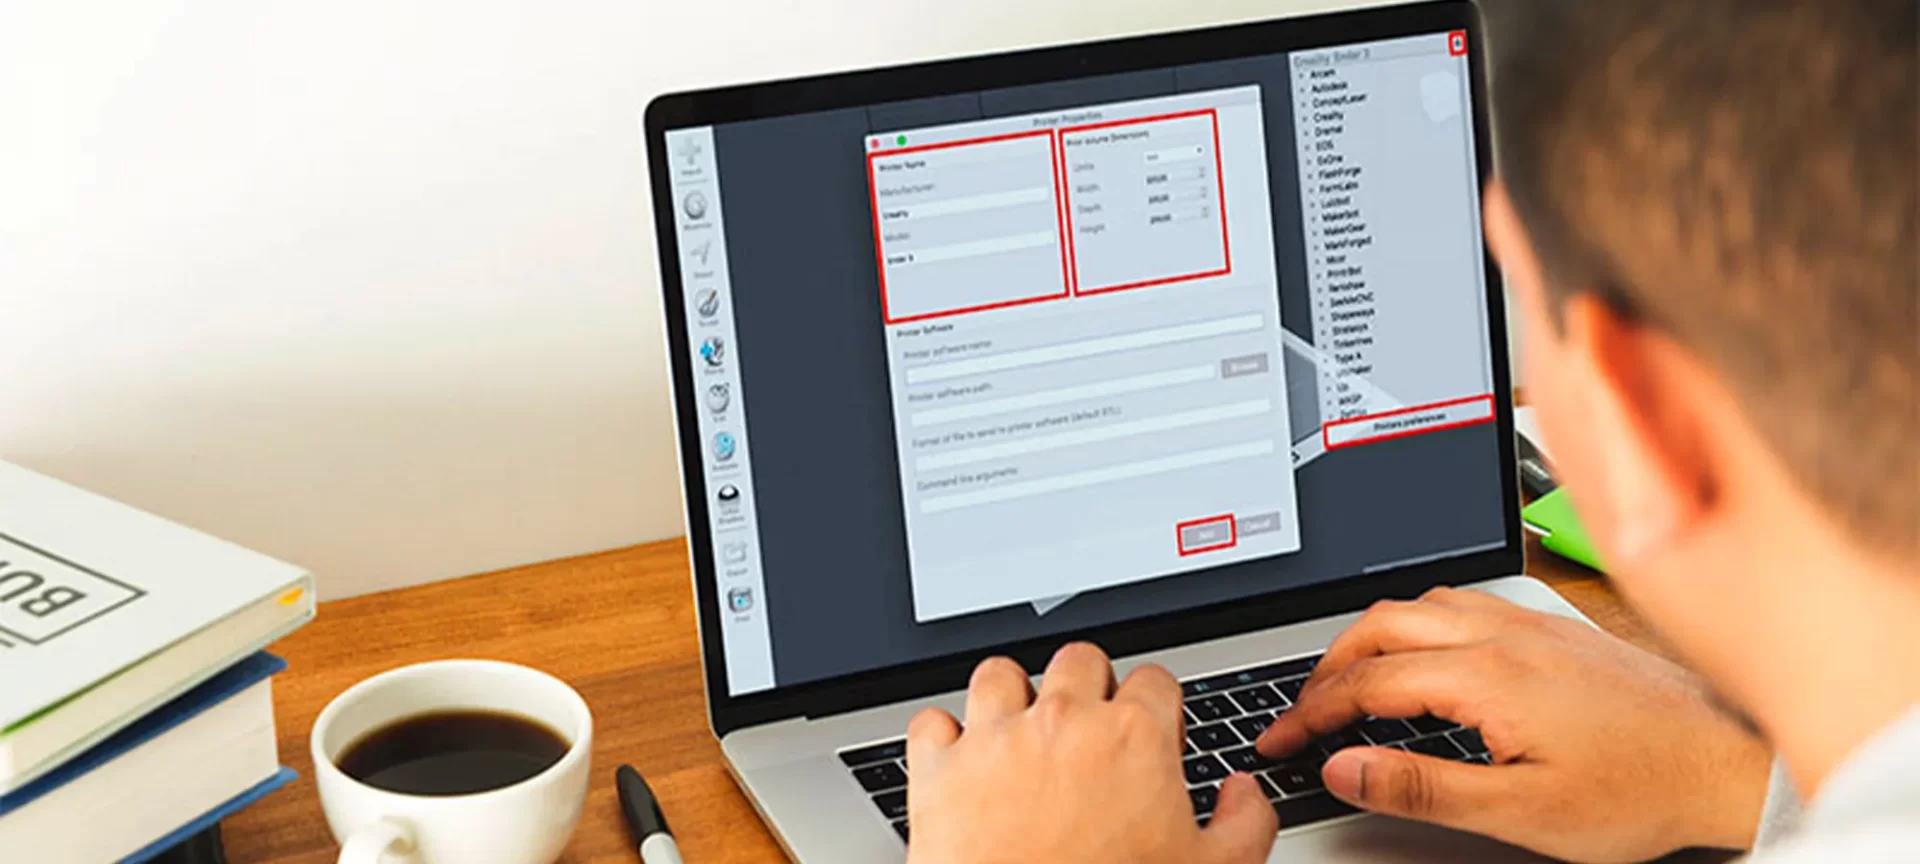
There is an option for choosing your printer from the Meshmixer software.
In case your printer is not listed on the list you can enter your 3D printer properties manually.
The other thing which this software lets you do is to disable the printer bed by clicking on View and uncheck Show Printer Bed.
However, if you own a 3D printer or plan for a 3D printing object you can also choose your type of 3D printer from the top right corner of Meshmixer.
And in case that is not available to select, you can add your configuration.
Steps for doing so:
- Locate the Print option which is present in the bottom left corner of the application and click on it.
- That will open a drop-down menu, in which, from the many options, click on Printer Properties.
- Clicking on Printer Properties would open a new window with many options. From the available many, you will have to select Settings.
- At this point, switching on to the Printer tab and clicking on Add New Printer will allow you to return to Printer Properties.
- This you will have to do if your printer is not registered. You will have to add the name of your printer and select the Process of Printing.
- Once this is done, you can set the size of your Print Space which can be measured from the bottom center of the build plate or bottom corner.
- After doing this, you can set the Thickness Threshold to a numeric one. And then clicking on Add to list of 3D Printer will allow you to work within the digital print space.
After learning how to set up your particular print space, the next step in this MeshMixer review article is to learn the basic movements in Meshmixer software
Basic Movements in MeshMixer

There are three basic movements as far as Meshmixer software is considered. Those three are named Pan, Orbit, and Zoom.
For panning across the current plane you can use the central mouse button.
Whereas for orbiting around the center of the coordinate system you can either hold down the right mouse button, the left mouse button with ALT or middle mouse, and Shift.
A point to remember here in the Meshmixer review article is when you get lost, you can click on View and then select Recenter View.
Doing this would allow you to focus on the center of the coordinate system again.
In case you are limited with your mouse, you can also hold down the space bar for accessing all camera tools.
Using the space bar, you can also change the visual style of your object.
MeshMixer is a software that can smoothen the surface of your object or show all the triangles your object is composed of.
Custom Support for your Prints
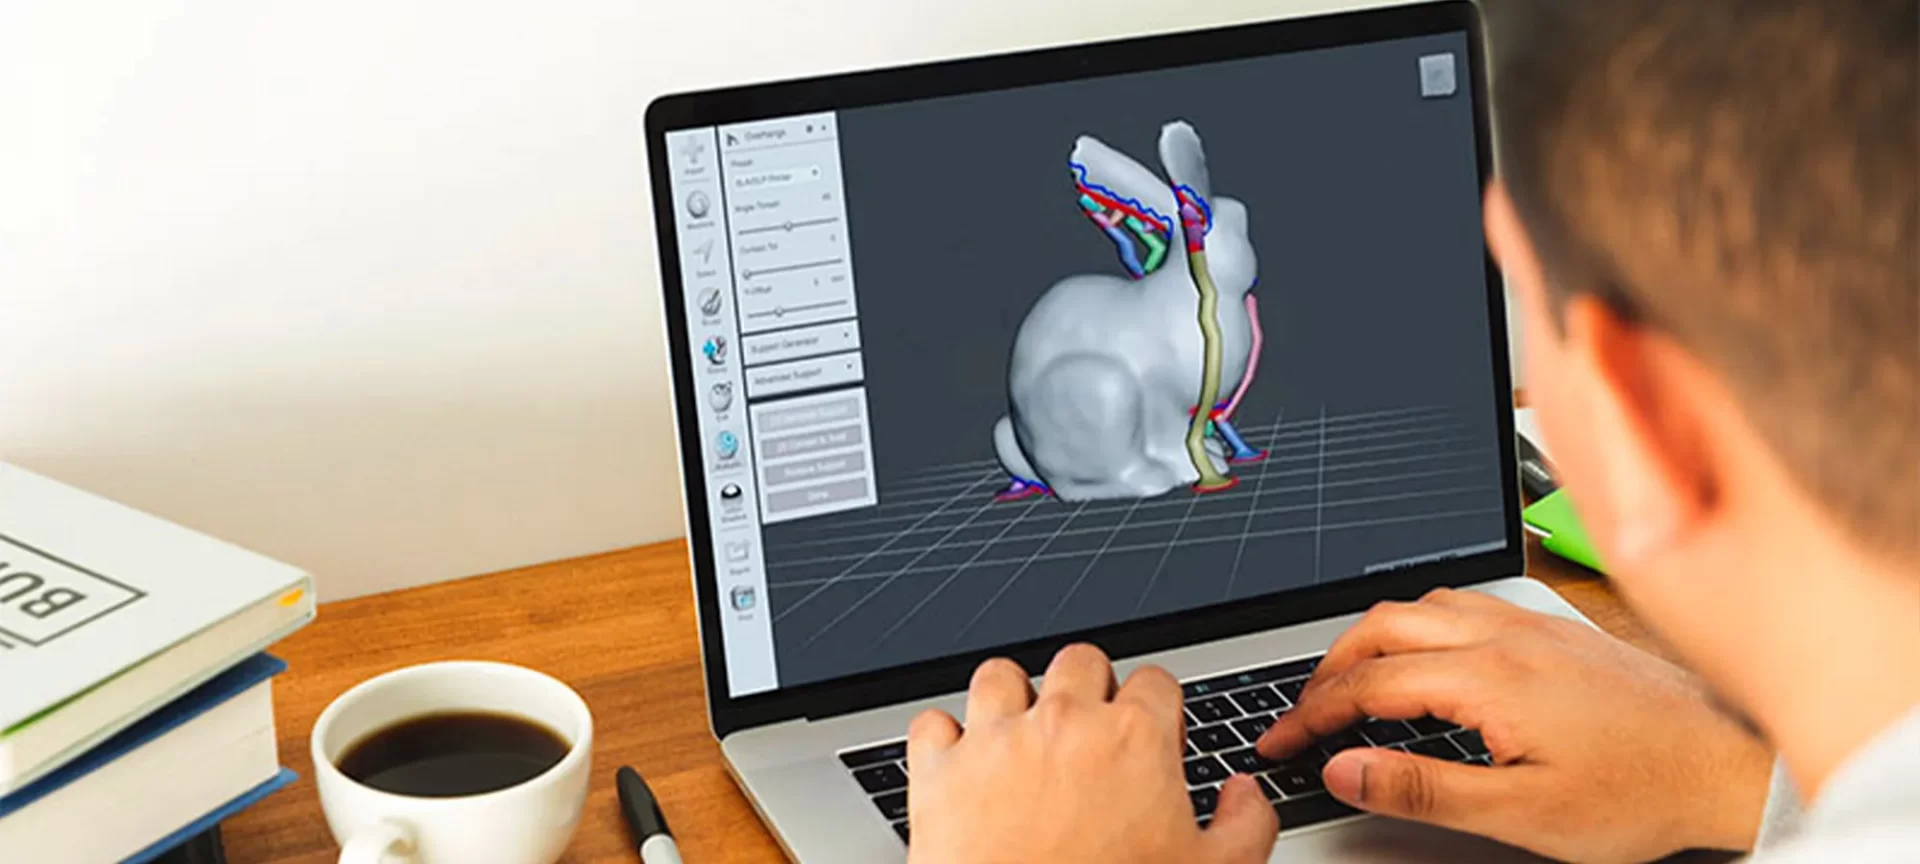
In case while 3D printing you wish to create your support models, Meshmixer offers you a great tool. The software can generate its support automatically.
But it is advisable to not generate supports when you plan for printing your model with a 3D printing service provider online.
Steps for Customizing your Support Structure for Printing
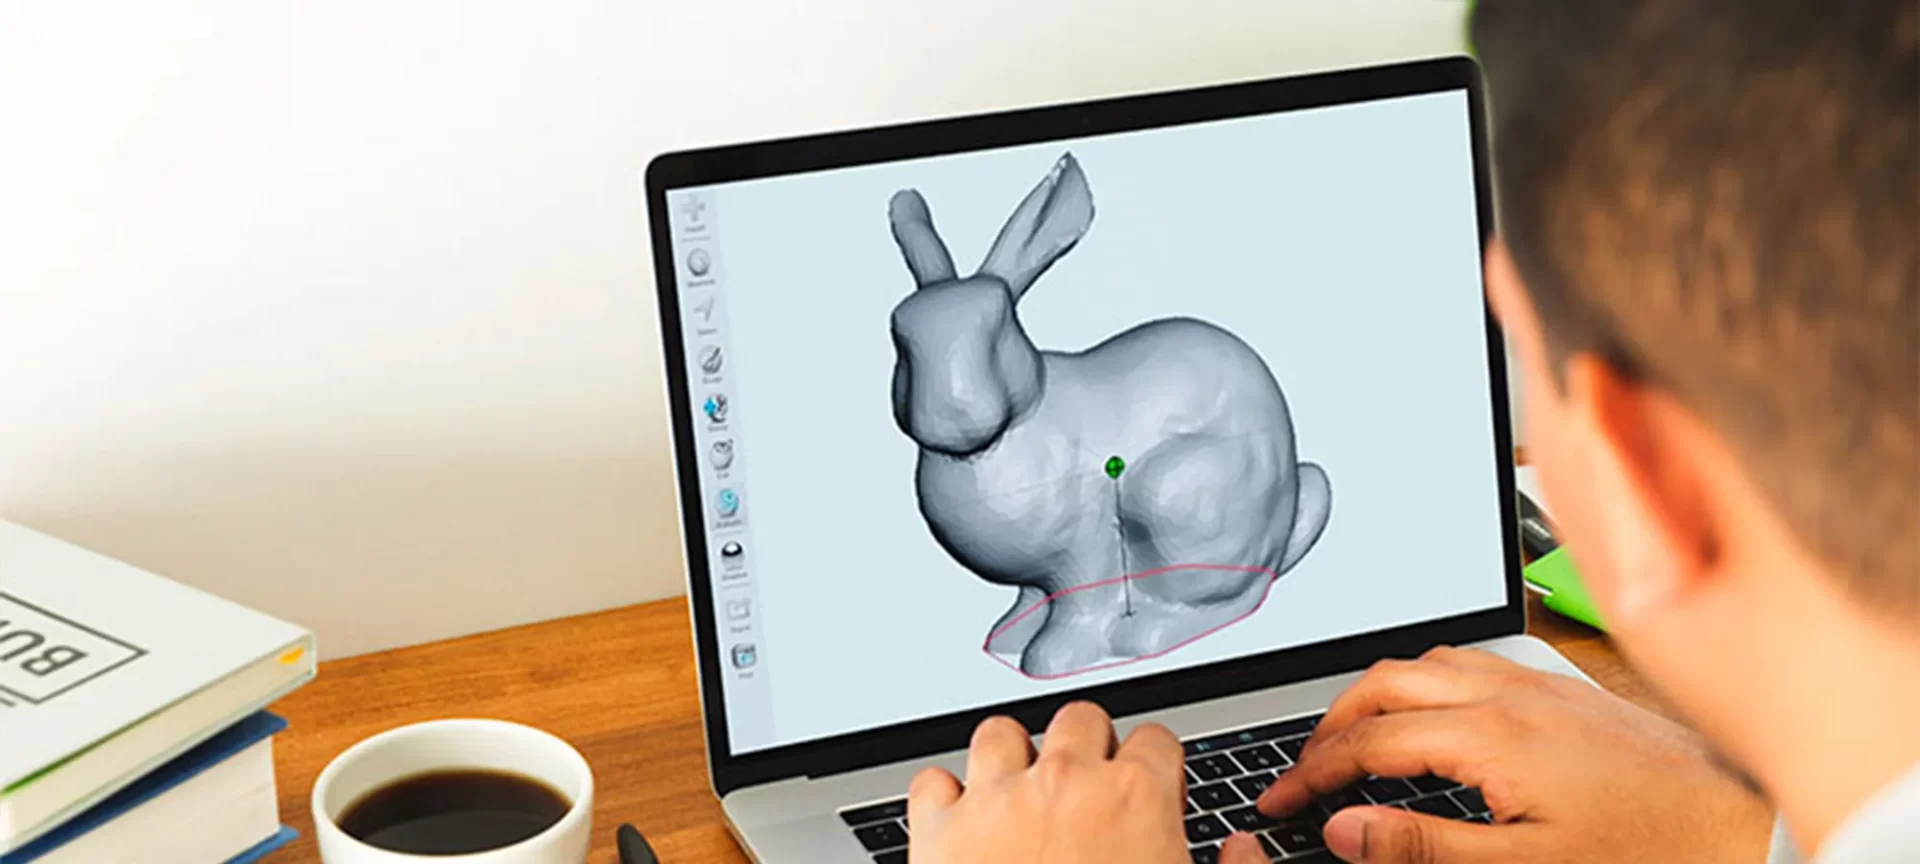
- First and foremost you will have to place the object that you have created on the ground plane. You will then have to go to the Analysis option and select overhangs. Then you will be able to select preset on one of the listed printers.
- For the setting of detecting whenever an overhang is hanged you will have to Adjust the Angle Thresh. Theoretically, an overhang is defined when the angle of the perpendicular vector on each mesh tile compared to the vector pointing straight to the ground is less than the set angle.
- The other thing to take care of is the Contact Tol which is defined as the distance between an overhang to another face. Whenever this distance is below the required value it will not be detected as an overhang.
- Another feature that works just as Contact Tol is Y-offset which is defined as the distance between the ground plane and overhangs. It works similar to Contact Tol but about the ground plane.
- Density is the option that sets the spacing between the supports. So in case, you need supports for big and heavy overhangs you will have to set this one to a lower value. Layer height is something that also needs to be set according to the layer thickness of your 3D printer.
- A point to remember here is about adjusting the Base, Post, and Tip Diameter of the object. By doing so, you can design very small or huge support structures.
- There is a red-marked overhanging area that you can click onto, for creating support with the selected setting. When you change the settings, what will happen is, the next placed support will automatically adopt these properties. So, you do not need to work on it again and again. You can also delete supports by clicking on them while holding CTRL, provided if you made a mistake. Remove the Support option will help you delete all support structures! There is also an option for dragging supports in the direction in which you wish to have them faced.
- Clicking on Place Supports will automatically let you place support structures with all the previously selected settings.
- And finally Create Solid is the option that will transform all the support structures into a solid model.
Before concluding our Meshmixer review, we would like to take you to the final tip for printing your 3D model.
For 3D Printing your Ready Model
When your 3D model is optimized and ready for 3D printing, you can then export your object by clicking on the Export option available in the software.
In case you own a listed 3D printer, you can send it directly to the 3D printer’s original slicing program and by pressing Print, start 3D printing it.
The other option here is for exporting the file and opening it in the slicing program of your choice.
One thing that is completely novel is the option given by Autodesk MeshMixer to directly send the model three online 3D printing services: Sculpteo, i.materialise, and Shapeways.
The Conclusion
Honestly, there is so much to write about Meshmixer review that it cannot be summed up in just one article.
We have however tried to sum up the main concepts where users of this software would need the most amount of help in.
For more help you can visit the website of Meshmixer which shows you the tab of MM Manual, clicking on which you would be redirected to Autodesk’s website.
Doing so would help you get more help regarding the software. There are also videos available that would help you design your first 3D part or functional prototype using this software.
This Meshmixer review contains all the main parts that will let you start and end the process of 3D designing using the software efficiently.


