3D printing technique has a popular manufacturing method for individuals of every class, be it craftsmen or a hobbyist.
The first prints disappoint enthusiasts as the model does not come out showroom floor ready and needs some or the other touch.
Most 3D prints display claiming to be 3D printed, have had a lot of post-production polishing.
In such a scenario, having a truly finished product is far from professional exclusive, and the work pays off.
Your post-production polishing is only as good as the surface you’re working with. Painting 3D prints can be a lot of fun.
In this article, we will share some advice that you must keep in mind while after 3D printing, for completely making a product ready for sale.
In this article cum guide, we also cover the basics of painting PLA and ABS 3D prints.
We cover topics from smoothing to the actual painting process and in between provide some tips too.
What we also cover in this article is spray painting and not the use of a brush or airbrush because it’s less laborious and fairly affordable.
Knowing your Model and Knowing its Material
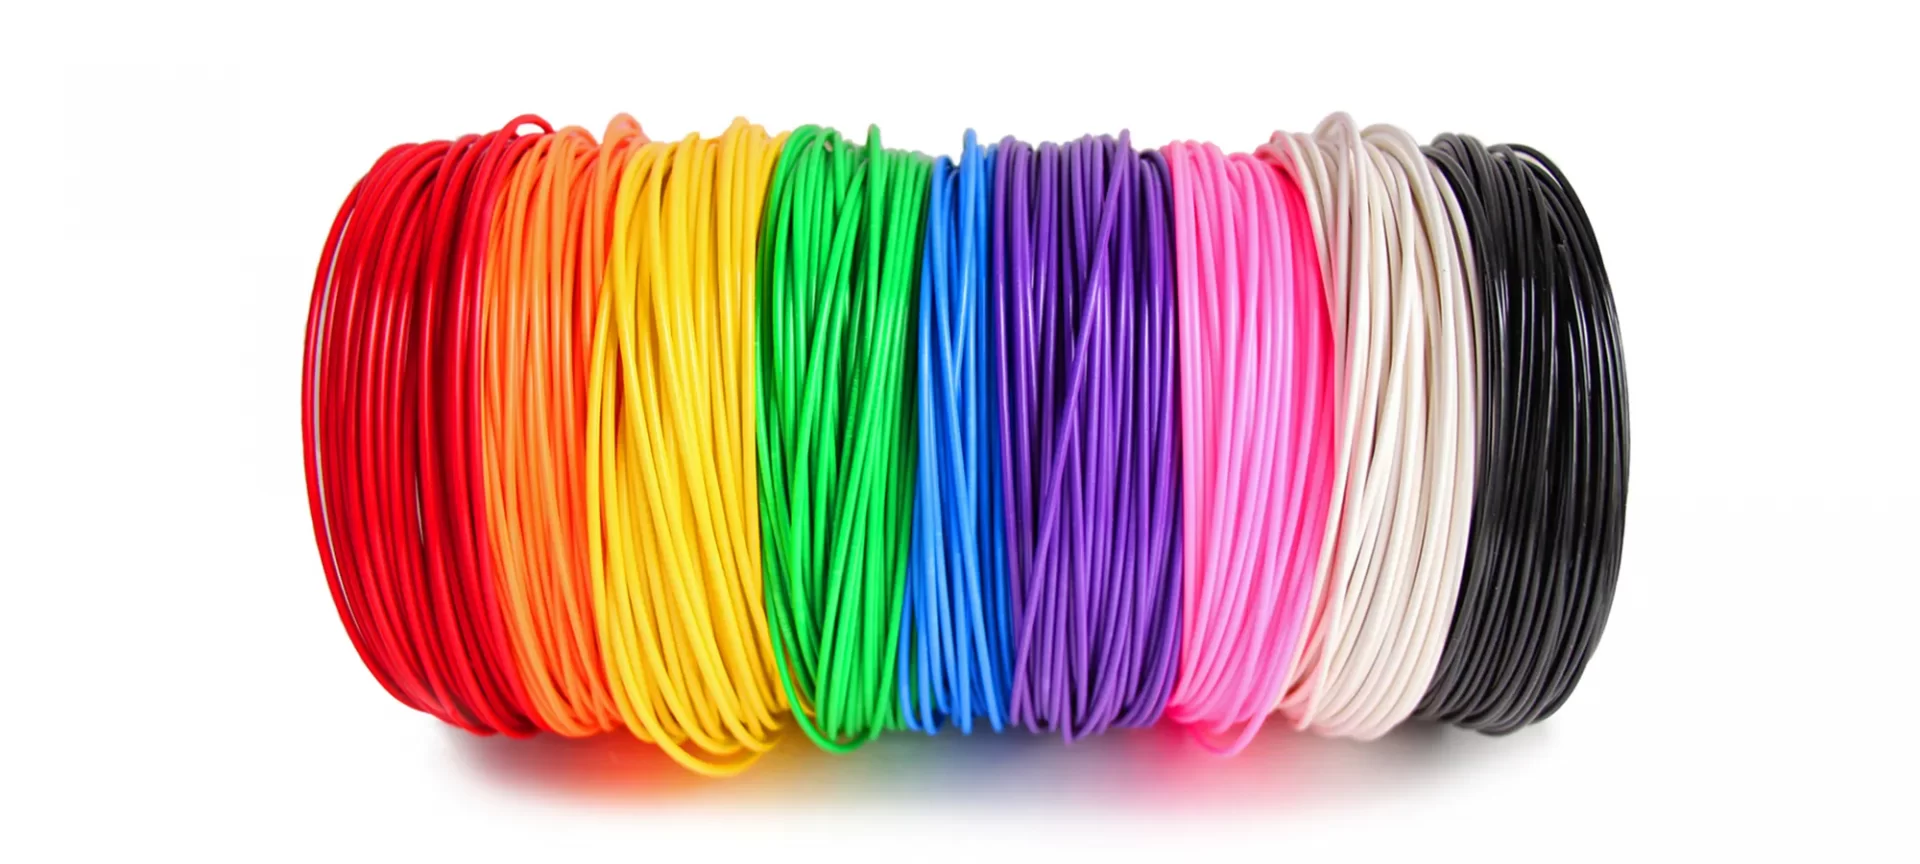
Some materials are better for malleability while some are not. Some material’s sturdiness is more than that of others.
So each one of the plastics with which objects can be 3D printed is different from the other.
Talking about ABS material, it is known to be smoothed using acetone. Whereas for smoothing PLA, you will need ethyl acetate.
Also, materials reaction to first-hand polishing is different. Some materials would turn up with one color, whilst the others won’t.
Considering a typical example of metallic filaments, they are best left in a tumbler for an average of 12–36 hours.
Another example is of quality wood filaments, unlike metallic filaments; these can usually be sanded like real wood.
Coming back to one of the most popular filaments of 3D printing i.e. ABS, the material is more heat resistant and works great for interlocking parts, Whilst the second most popular 3D filament, PLA won’t warp during your print as much as ABS would, and is more rigid than ABS.
Exotic filled filaments react completely differently than metallic or quality wood filaments as they will mostly depend on the thermoplastic second ingredient.
Which Paint to Use?
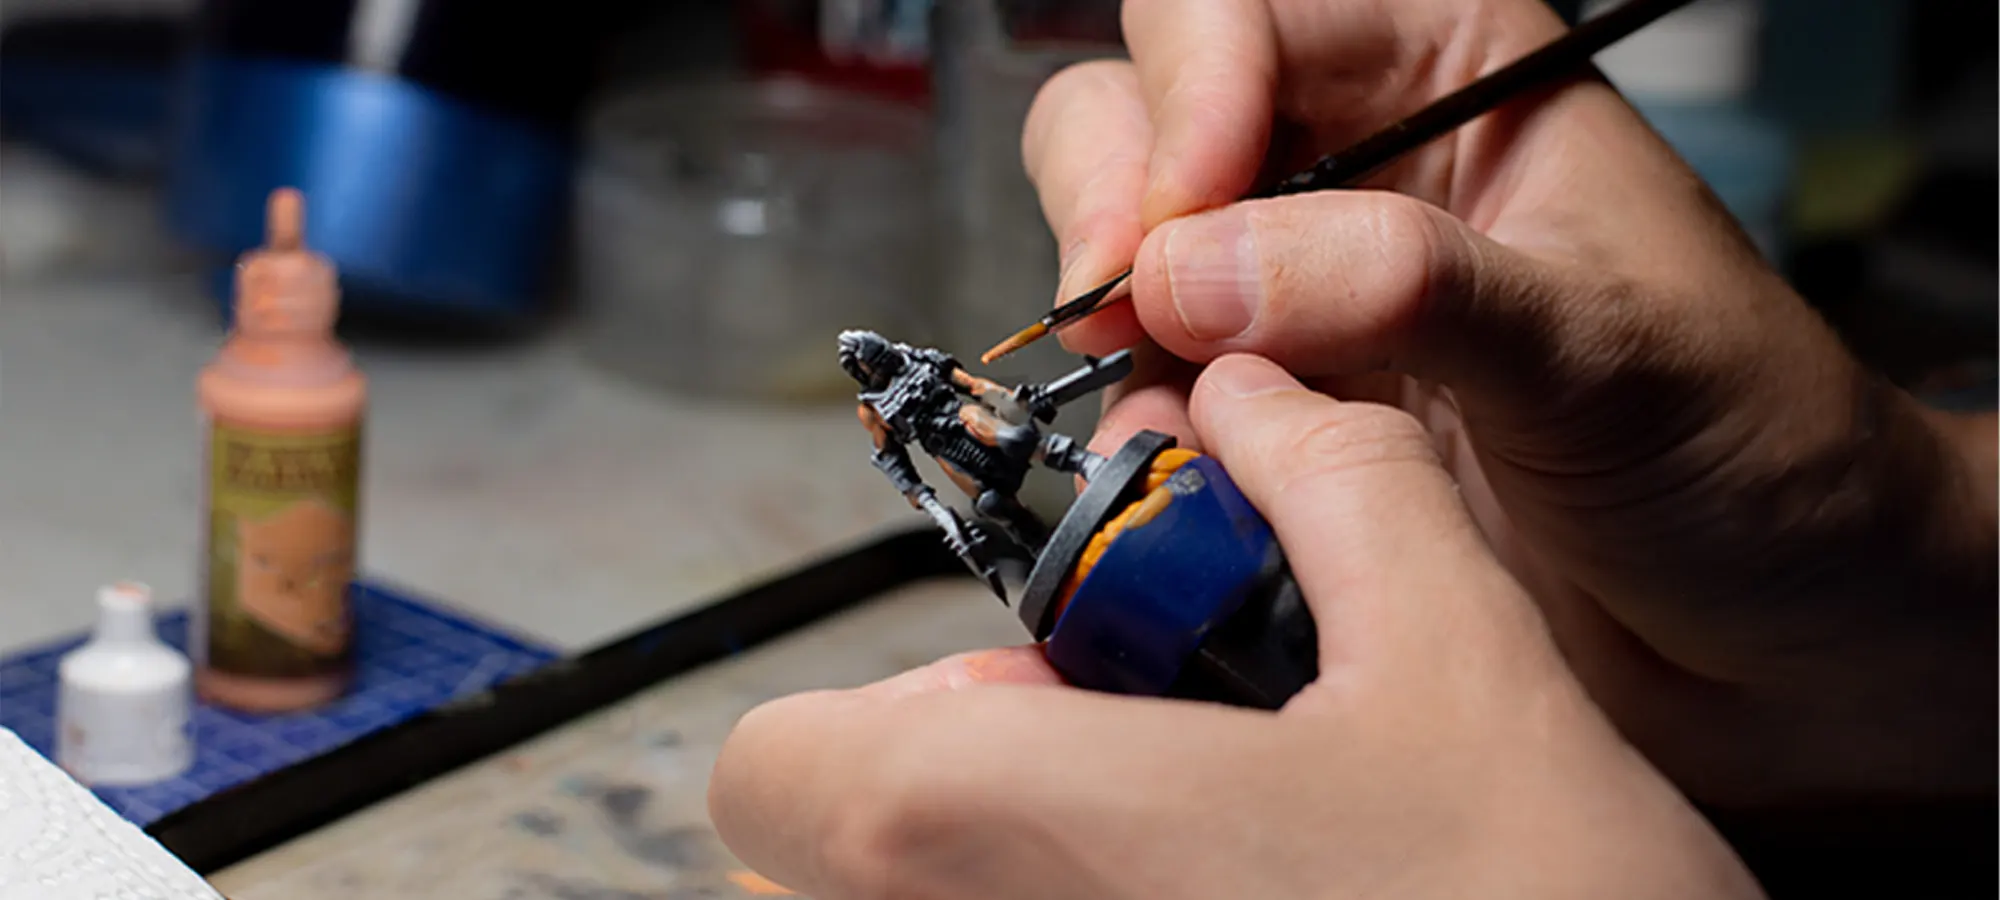
The categorization of paints that can be applied for painting 3D prints, is based on the solvent.
The most common solvents are oils, enamels, lacquers, and acrylics, most of these work well with both ABS and PLA.
As a newbie, you’d be wise to stick to acrylic paints since they dry fast and can be cleaned with water.
Usually, you have to decide whether you’re going to use an airbrush, a brush, or canned spray paint.
While a brush is cheaper compared to the other options, it can be tough to accomplish an even coat of paint, with noticeable “blobs” in some spots and the underlying color appearing in others.
An airbrush, on the other hand, is costly and typically has a steep learning curve.
This leaves us with spray paints, which strike a clean balance between affordability and ease of use.
What Type of Primer Should You Use?
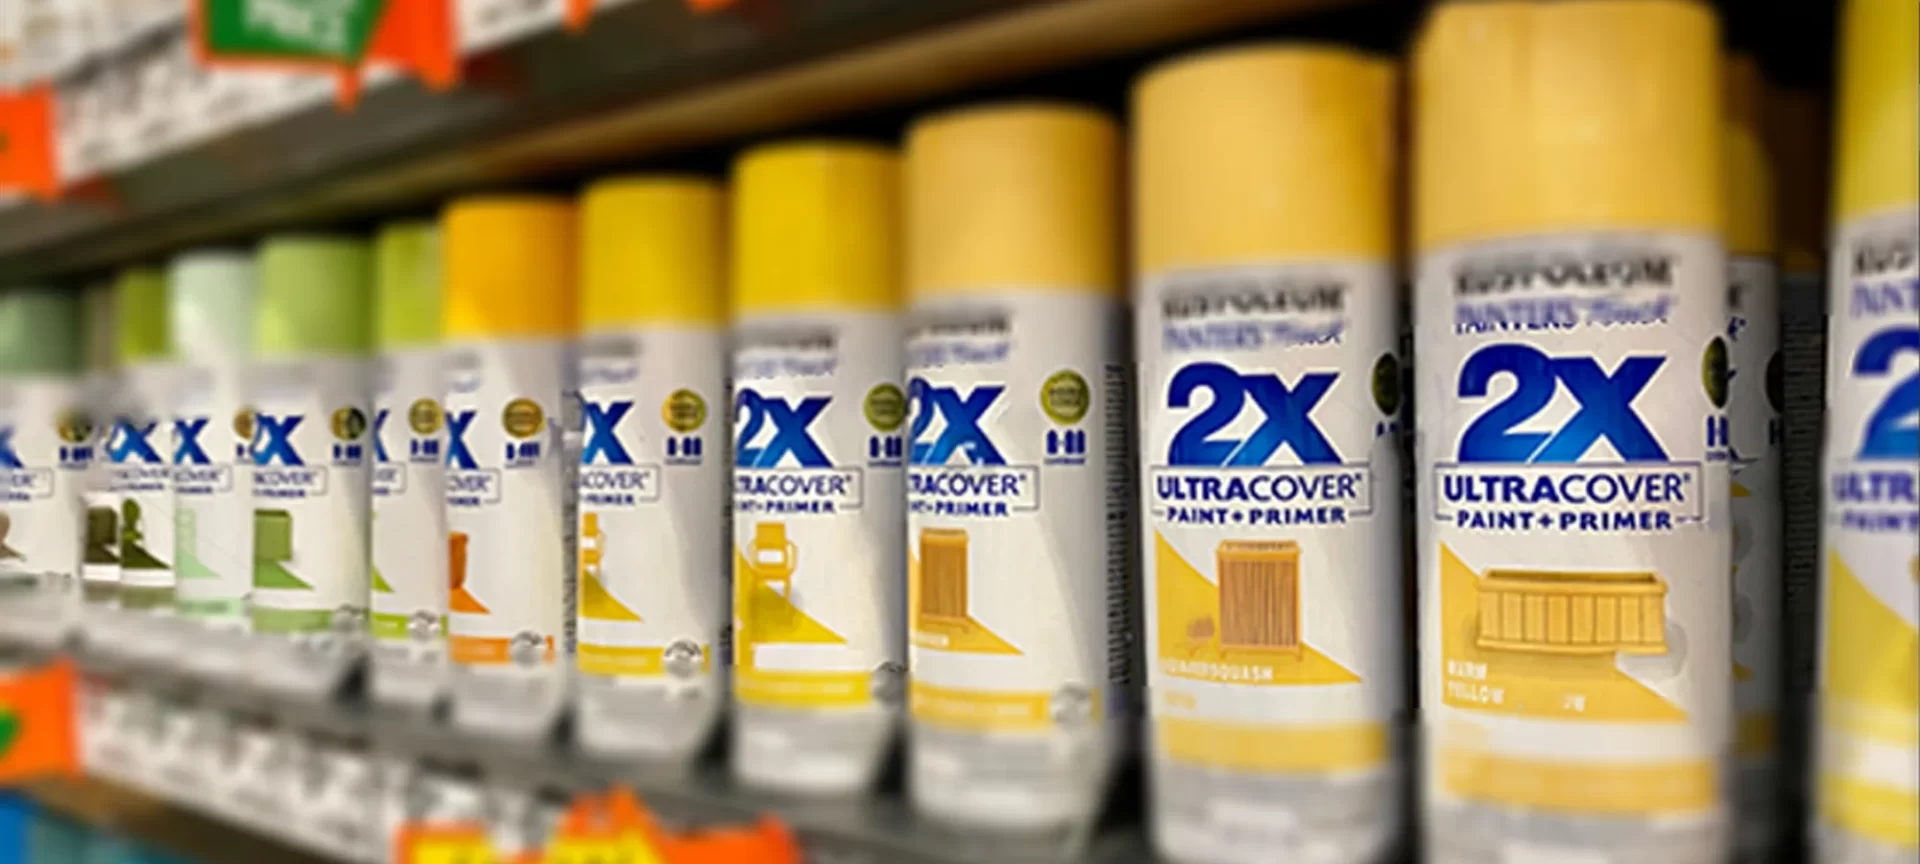
For painting 3D prints, you will need priming, for those who wish to know what is a primer and what is priming?
Printed parts and prints need a mediator and that intermediary layer and that which serves this purpose is Primer.
The other purpose of primer is to smooth artifacts in your model of a part or functional prototype.
Primers also provide a bonding surface for paint and create a consistent finish. But before priming your part, you have to identify features that you won’t be painting and cover them.
The process of covering the features after identifying them is known as masking.
For covering these parts, several mediums have to be used, the most common one among it is painter’s tape.
This can be cut and shaped to your geometries. There is also something which is called masking paints.
They are also available which are brushed on and then manually removed after use.
There are different types of primers that you need to necessarily know before painting 3D prints.
Types
Among the wide variety of primers that exist, you can choose to depend upon your part properties and the paints you’re using.
Primers come in a various number of different weights.
Light primers are known to go on as thin coats and will provide a smooth surface for painting but won’t mask scratches and artifacts in your part, while heavy primers are thicker and are a good choice for large parts that lack intricate details.
The primer that you use must be compatible with both the material of your printed part and your paints.
Many common primers will be labeled as “plastics compatible,” and these tend to be suitable for most 3D printing materials.
Common paints like acrylics and enamels will be compatible with most primers.
Primers exist in both spray-on and brush-on options.
Which you use will depend on your specific application, and a common workflow is to use a spray-on primer for the majority of your model and then touch up with a brush-on material.
Painting 3D prints are not as easy as it sounds, you need to undergo a smoothing process before it.
How to Smooth Out 3D Prints?
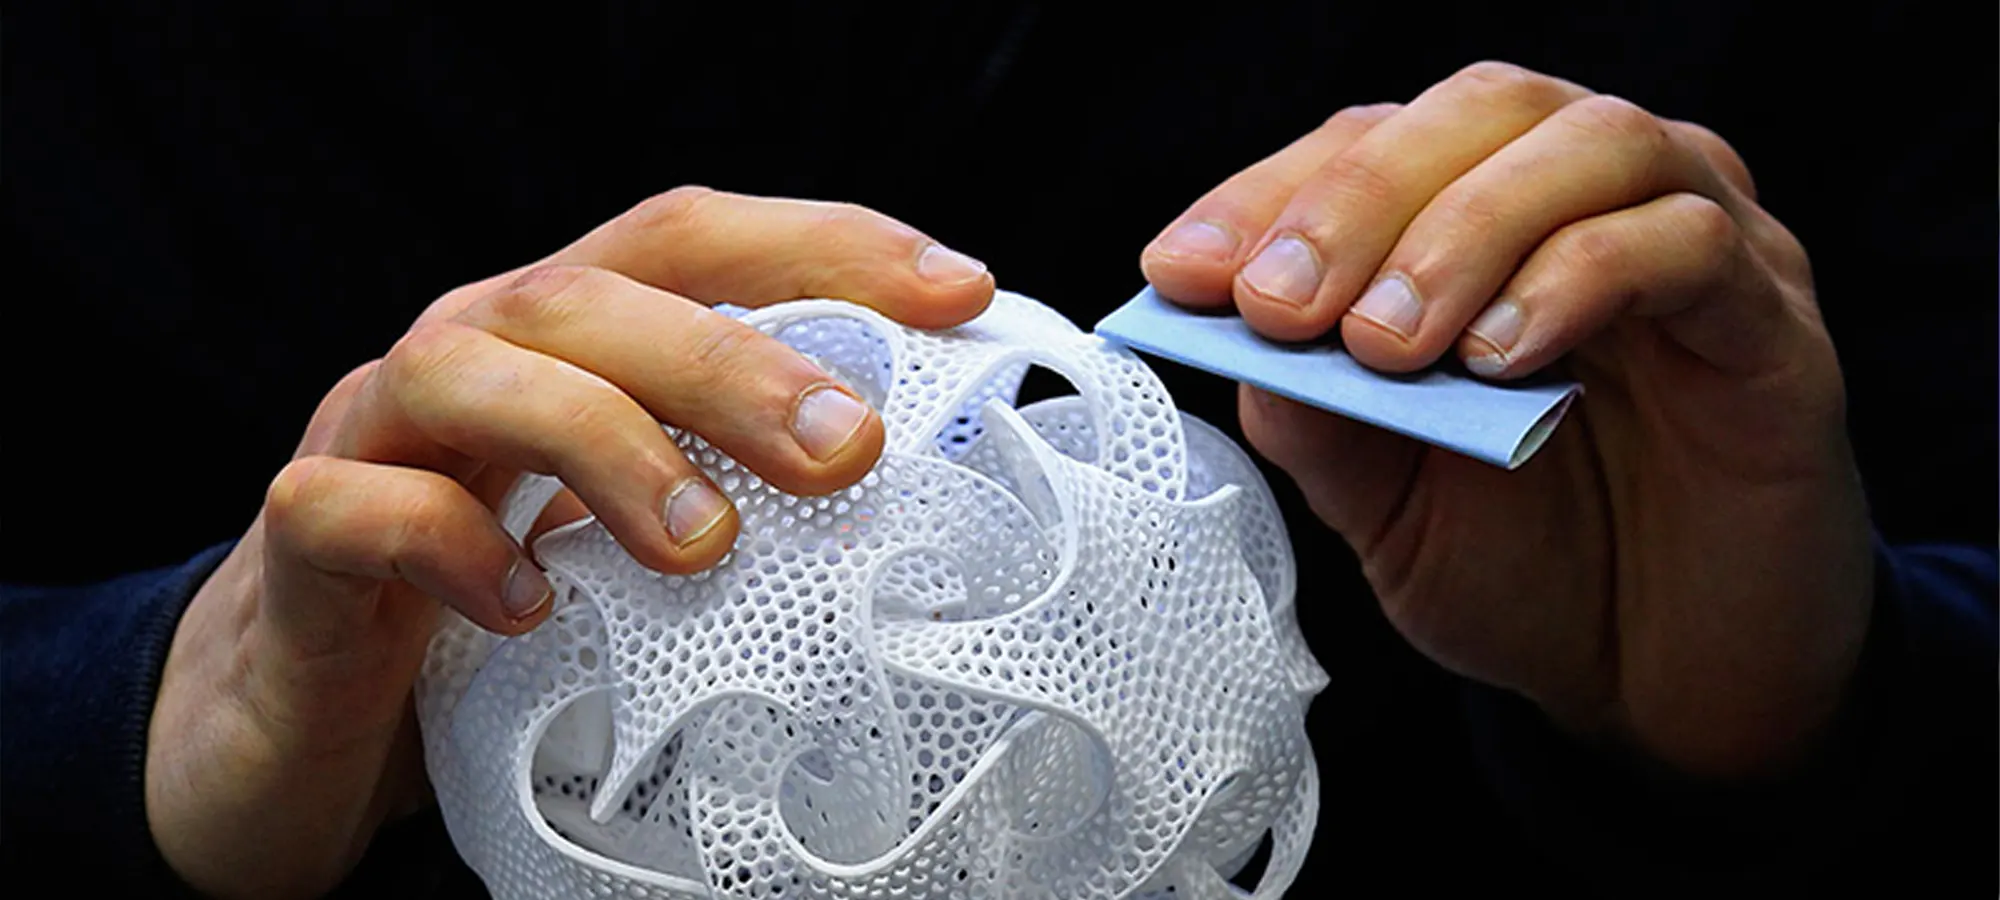
The first stage of smoothing is called pre-sanding. This is considered the first stage, and it involves trimming rough print features, such as support stubs, before sanding.
The number of things that you are going to use during this includes a Craft knife, sandpaper, tweezers, toothbrush, and pliers.
The key is to eliminate any protrusions and make sure the paint is clean. You can peel off supports with your bare hands, or you can use a knife. It doesn’t matter, as long as the final result doesn’t have bumps or protrusions.
You should begin with 120-grit sandpaper and work your way up by using circular motions to avoid visible scratches.
Here you have to pay more attention to the sides while avoiding the edges, corners, and any other fine details. 120 grit can be too strong for small details.
Doing sanding smoothens deformities, and can be time-consuming depending on the size of the print or finish you are aiming for.
Sand down the support marks and make sure you’ve removed any filing or tooling marks.
You can progress through the grits depending on your print, but remember once you’re finished with 200 grit, start using water. Doing this prevents clogging and gives a finer finish.
While you are doing the sanding, feel the surface of the print at intervals to get an idea of how smooth it is. Once the smoothness is to your liking, use a brush and water to wash away any trapped dust. Naturally, you’ll want to let the paint dry before moving on to the next steps.
After reading about the smoothing process, here is another process that is a must for painting 3D prints.
Base Coating
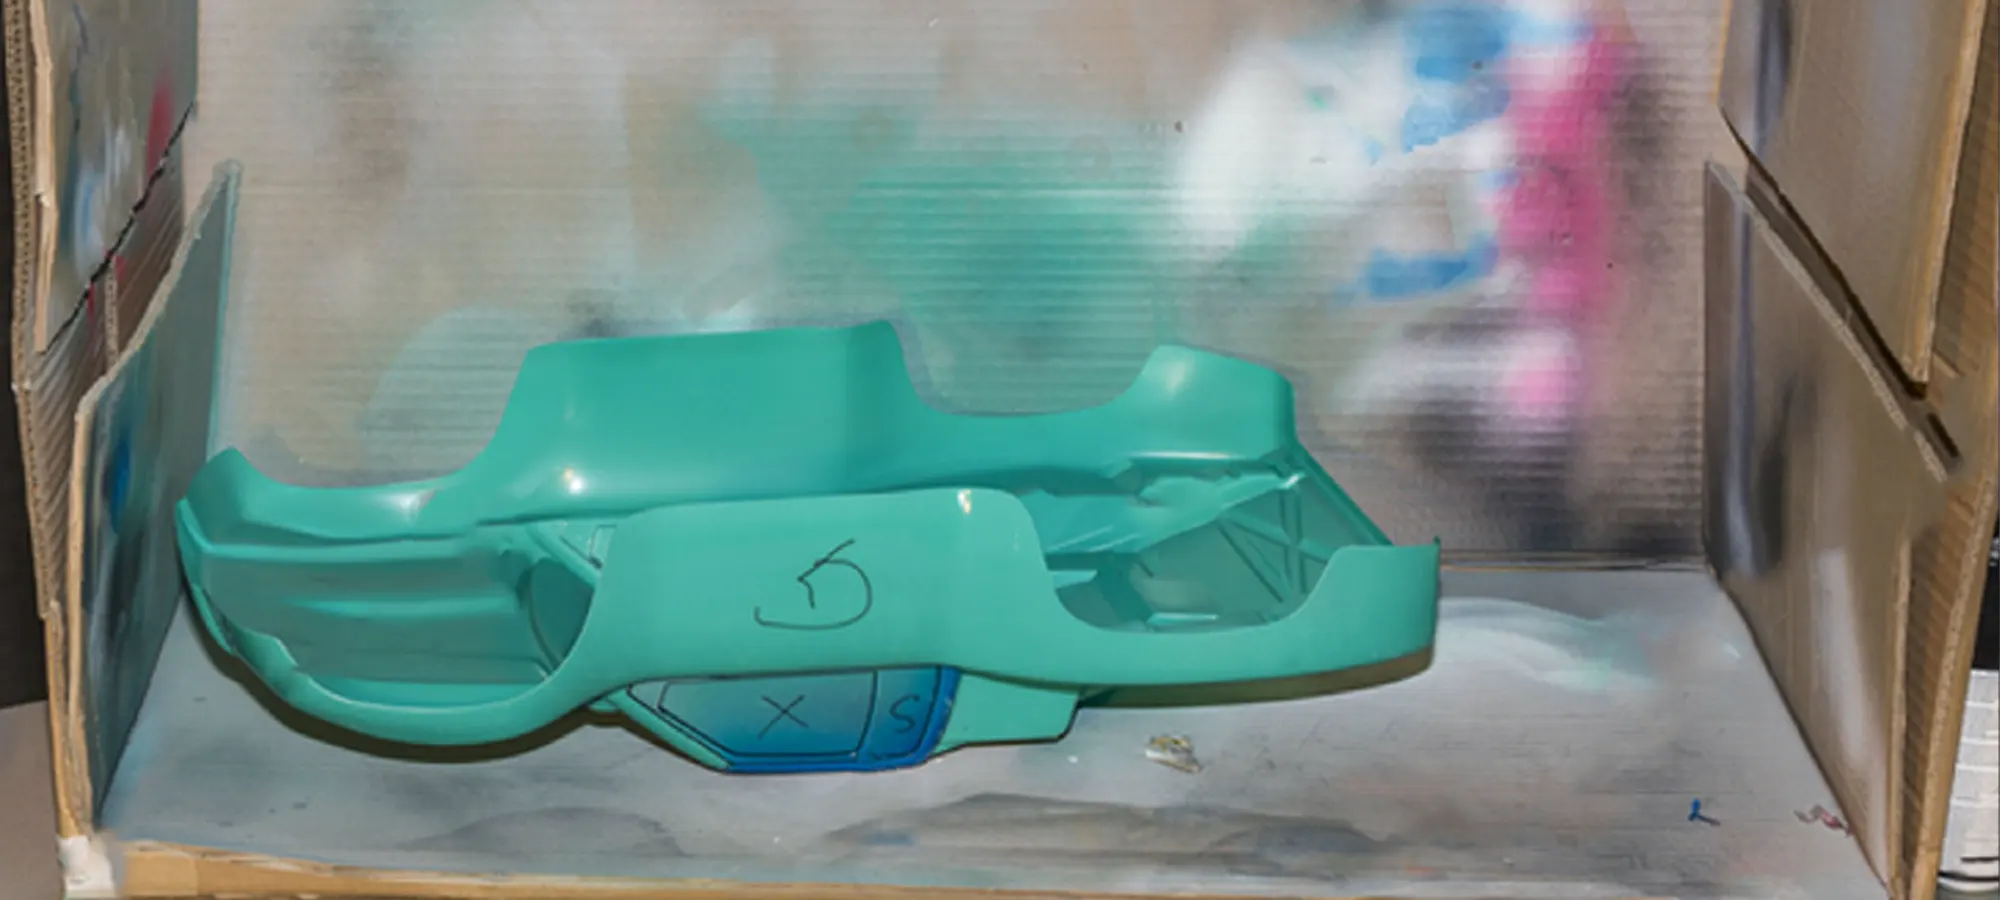
Intricate parts are often painted in several layers, starting with a base coat and progressing to higher levels of detail.
The base coat is brushed on and then details are added later in the process.
The most common types of paints, and the ones that work best with most primers, are acrylics and enamels.
Acrylics are water-based paints with a variety of different surface finishes, and enamels are solvent-based with predominantly glossy finishes.
For applying fine details on top of your base layer, you’ll need one or more paintbrushes.
Brushes come in several shapes, sizes, and materials, so many beginners will opt to purchase a kit to cover all their bases.
Smaller ones often focus on thin liner brushes designed to be small enough to accurately apply fine details.
While larger ones may benefit from flat or round brushes capable of quickly covering large surfaces.
You should gather your materials, and when that happens start painting an even base coat.
Don’t worry too much about intricate details here, as we’ll work on those later in the tutorial.
If you mess up, grab a damp cloth and remove the paint as best you can. Any residue can be cleaned up later during the more detailed stages.
For painting any model you should split it into a painting of several main components, and chose a color scheme for each one, and applied the primary color of each as a base coat.
These models should split into multiple pieces to make this process simpler, and then you would not need to worry as much about paint getting on unintended surfaces.
Now you are ready to read about the instruments and process of 3D printing prints.
Painting
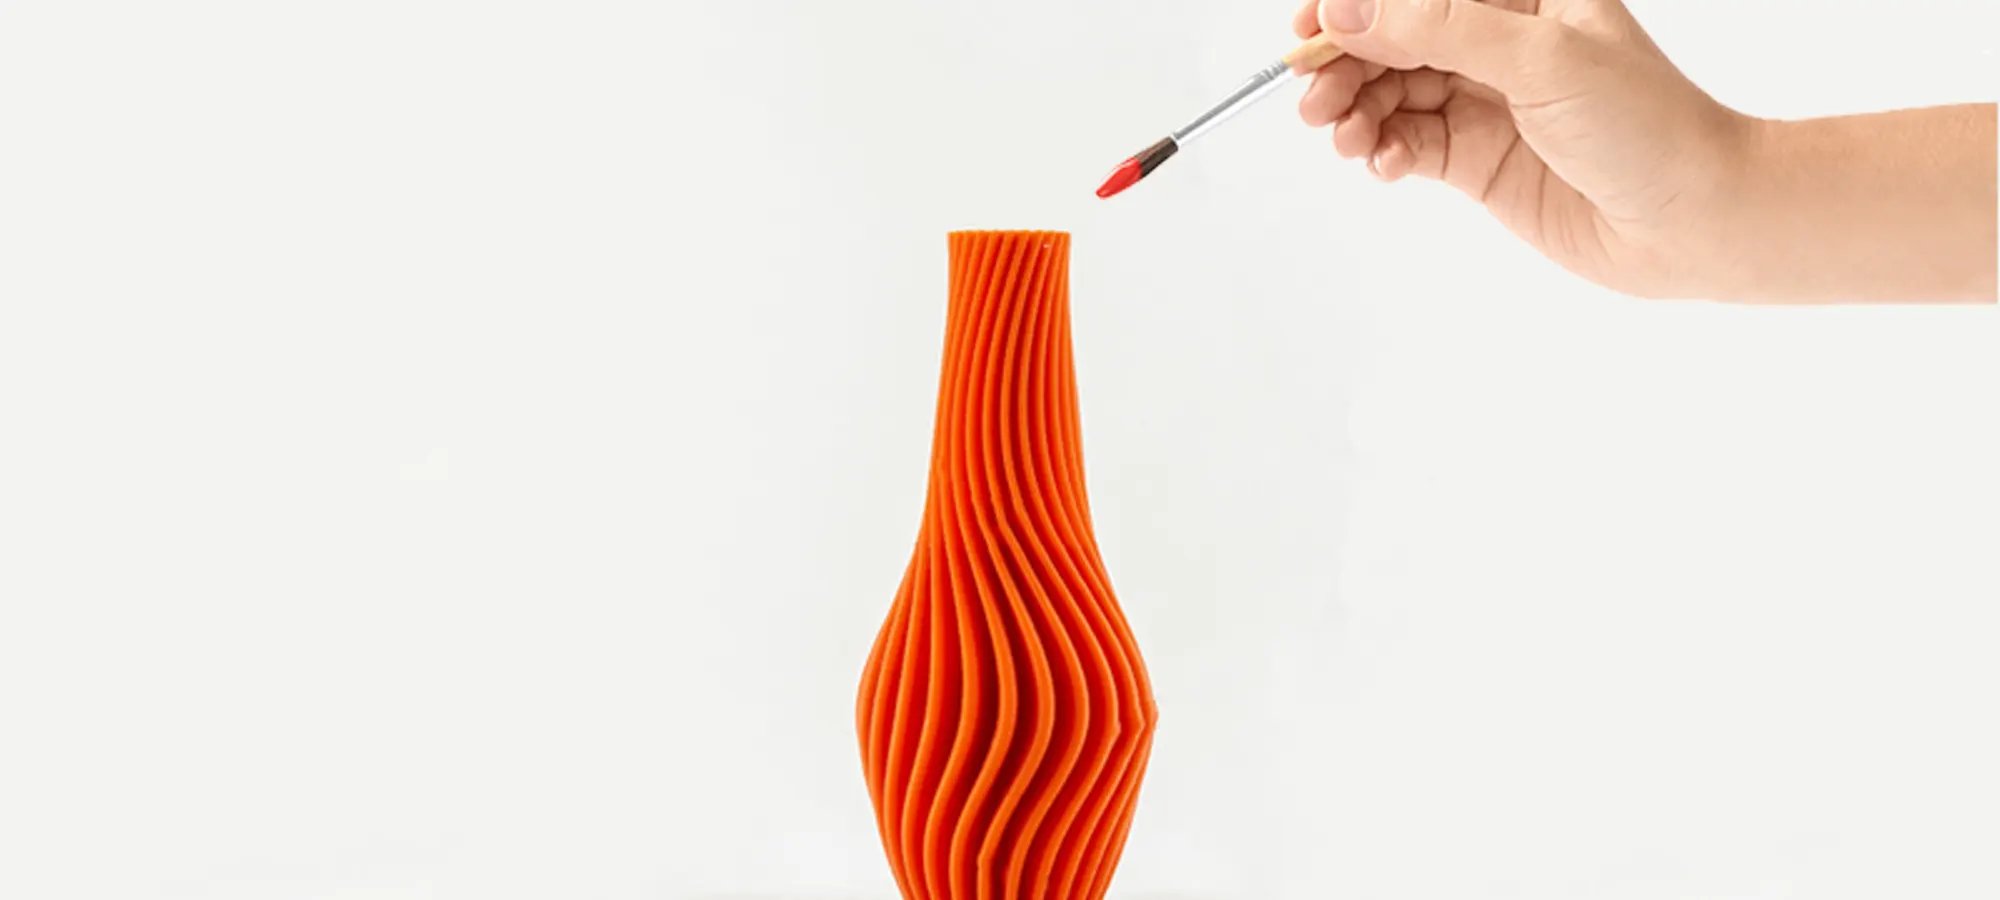
It is at this point, that you should have a mental image of the finish you’re trying to achieve. And you should know that the painting process is quite similar to priming.
If in printing you need a 3D printer and other equipment, here for painting you will need materials such as Painter’s tape that sticks firmly to surfaces yet comes off cleanly.
The tape will be used to mask some areas of the printed parts to prevent the paint from seeping underneath.
Use a hard object, like a credit card, to force the tape into the creases of your model.
Next is spray paint in which Tamiya spray paints are highly recommended because they come in a variety of colors and finishes, and they go well with plastic.
For applying them you should first apply the coats, this you can do by holding the nozzle near the rotating model and move quickly.
You can start with two light coats and finish with three or four wet passes, waiting 5-10 minutes in between to avoid sagging.
If you want to continue refining the surface, you may buff and polish the paint surface to maintain a smooth surface that will look glossy under the clear coat, but this is optional for painting 3D prints.
After doing this, you can add the topcoats by masking the relevant areas to preserve details and add the topcoats. Think of topcoats as layers over the previous coats.
The first and second coats will show more if the topcoat is thinner, but in between applications, let the paint sit for a couple of minutes and observe if the color is saturated enough.
Then finishing with a clear coat is optional and meant to seal the painted model, protecting the paint surface and achieving the desired sheen.
Apply the clear coat in one or two thin and even layers, waiting for about 10 minutes between applications.
At this point, your painting is done, but you can still polish it further with wax or a fine polishing compound if you want a super glossy finish.
After this is done, you should let the paint dry overnight and clean the part the next day using a tack cloth.
Suggested Articles
The Conclusion
There are some pieces of advice that you need to follow while painting 3D prints. The painting should be done in a controlled environment where there is no wind or draft.
You should always remember that even the slightest movement of air can change the direction of the paint particles.
If there are any items in the spraying zone proximity needs to be covered, as specks of the paint can get on them.
Alternatively, you can spray while holding the piece inside a cardboard enclosure.
This helps to protect the surroundings from paint, and the painted item will be sheltered from dust while it dries.
Don’t spray too close to your print or you’ll end up with noticeable drips.
Multiple coats are better than one coat but keep each coat light.
Figure out where your painted part is going to stand since it needs some time to dry.
Moving the model while it’s drying is not a good idea. Spray paints are hazardous.
They are toxic and flammable, and they can be harmful when inhaled. Therefore, it’s best to wear appropriate clothing, rubber gloves, and a respirator to be safe.
Painting 3D prints is an art just like 3D printing of parts and functional prototypes.
It is just the stereotypical mentality of yours if you are using 3D printed parts in their original form and not painting them.
By doing so you are wasting an opportunity and letting your product sell for a lesser rate than it actually can.
A professional working in this field knows the correct efforts that are needed for playing with colors and equipment while painting.


