There are hardly any other names attached to 3D printing as hard as Autodesk is. As a beginner, an intermediate, or a professional in the field of 3D printing you might not be exposed to 3D printers as much as you would be to Autodesk.
The company has been in the market and earned its reputation as a design software provider for quite a time now.
The 3D Printing process is completely dependent on the 3D design file and for making that 3D design file you need software.
Although now there are many companies that provide their own software along with the printer they have manufactured, if you are looking for a company that is exclusively into software making, it is Autodesk.
There is enough software provided by this company in the field of 3D printing that they can if they wish to launch a separate company by the name Autodesk 3D printing.
You are bound to be shocked by the wide range of options Autodesk has and its specificity.
The company has something in the Architecture segment, Structural Design, MEP Design, Construction, Infrastructure, Product design and engineering, simulation and analysis, manufacturing and production, filming and VFX, Gaming and VR, 3D modeling, additive manufacturing, Additive manufacturing optimization, animation, bid development, windows, and Mac operating systems as well.
For the additive manufacturing process, Autodesk offers Fusion 360, Product design and manufacturing collection, and NetFabb.
Before you get lost in reading and imagining about all of them, let us inform you that in this article, we are going to read about Fusion 360 which is one of the three Autodesk 3D printing software suggested by Autodesk on their website.
Integrated CAD, CAM, CAE, and PCB: Fusion 360, and Autodesk 3D Printing Software
There are two choices available online for buying this software:
- The first one, equipped with full features is available for $495 per year.
- Whereas the second is available for free.
The company has also, for avoiding any misunderstandings, offer you an option to have a free trial of the $495 per year pack.
The Free Version should be preferred by hobbyists or students in this field.
In short, if you are still exploring other options for your career, it’s better to know what this software offers by trying a free version of this software.
You will have to decide which one of these options to select from. After you have downloaded the software on your computer, you are good to go.
The interface of Fusion 360
Some basic areas of user interface that you would find on the interface of this Autodesk 3D printing software are as follows.
Toolbar
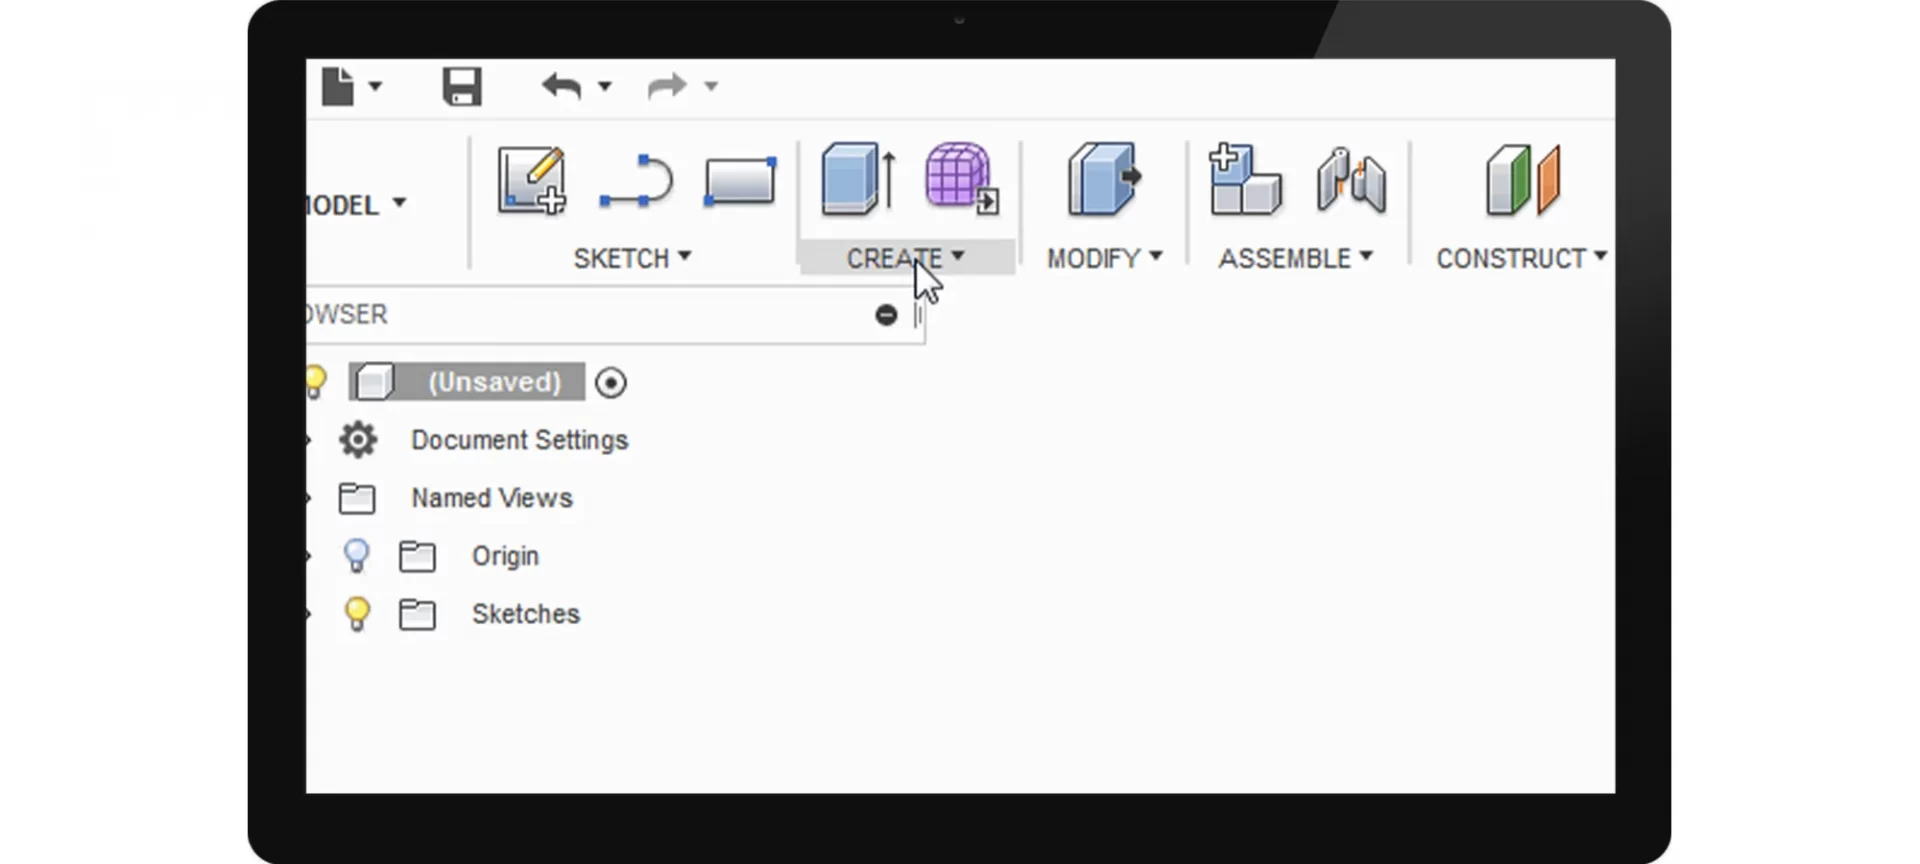
This option helps you make a selection of the main functions that are used for the creation and manipulation of models.
The toolbar is well organized and contains all the important functions to help you create amazing designs.
Just by browsing through the AutoDesk Toolbar, you can get to know the various features the software is equipped with.
Browser
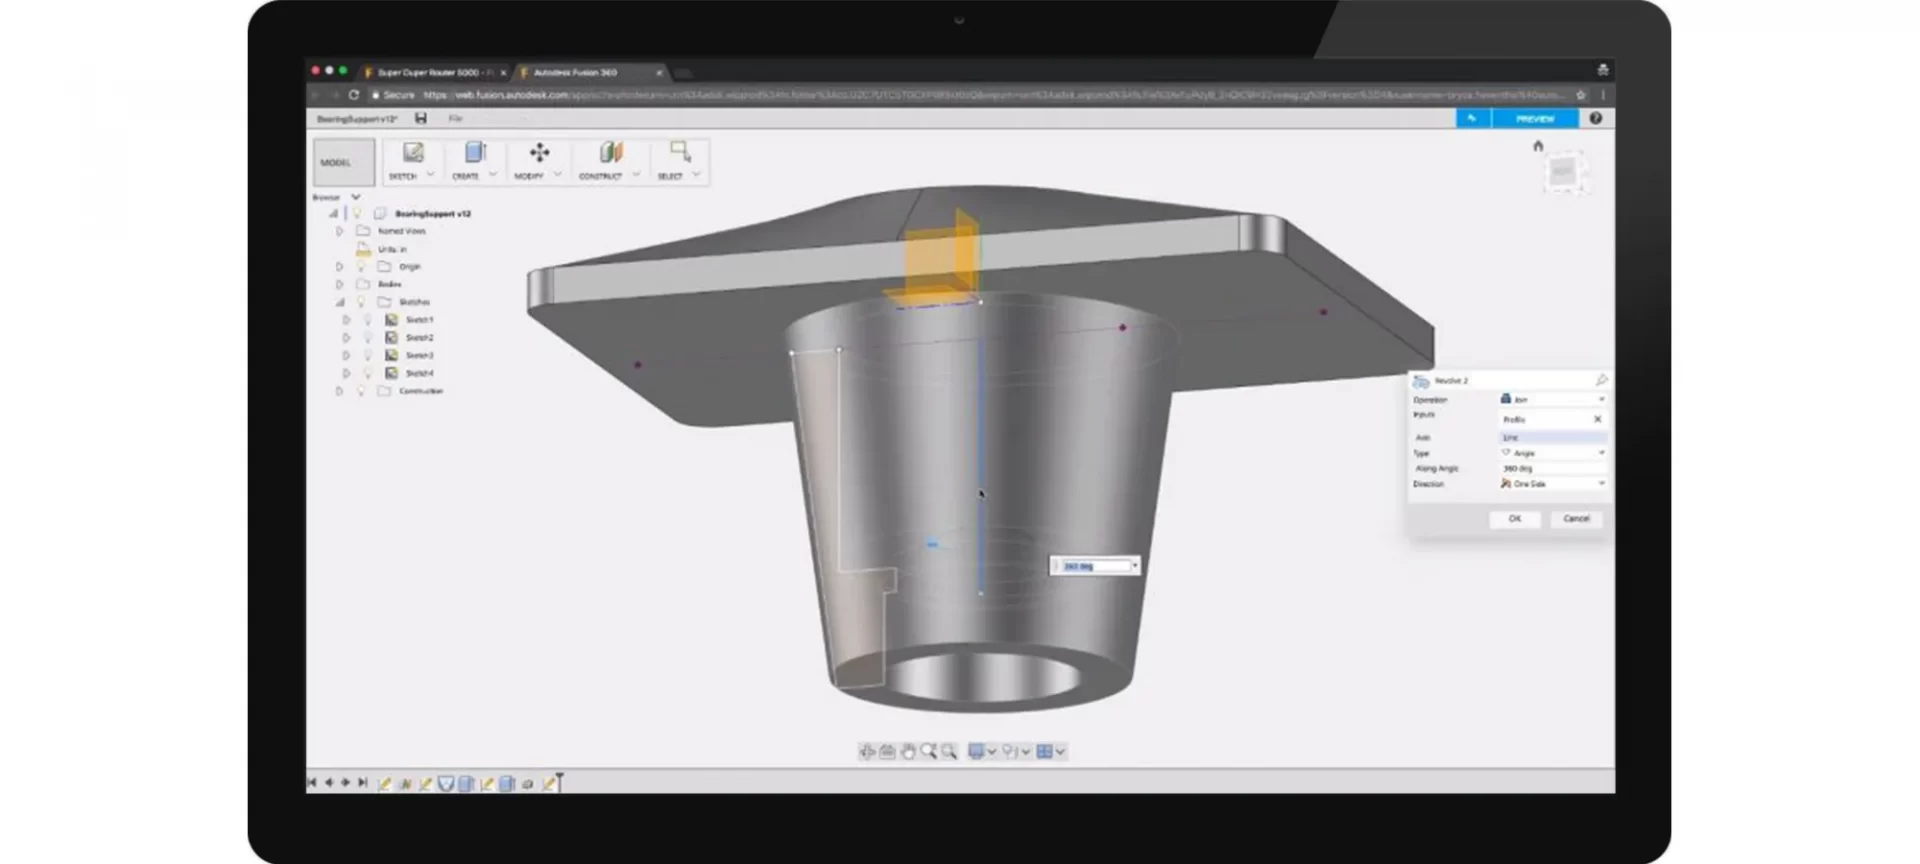
Browser, as the name suggests, features all the components like bodies and planes in a file structure.
You can play with this option by renaming items, this you can do by double-clicking on their names.
The triangles can be used on the left either for opening or collapsing folders as well as toggling the visibility of bodies and planes with a light bulb.
Timeline
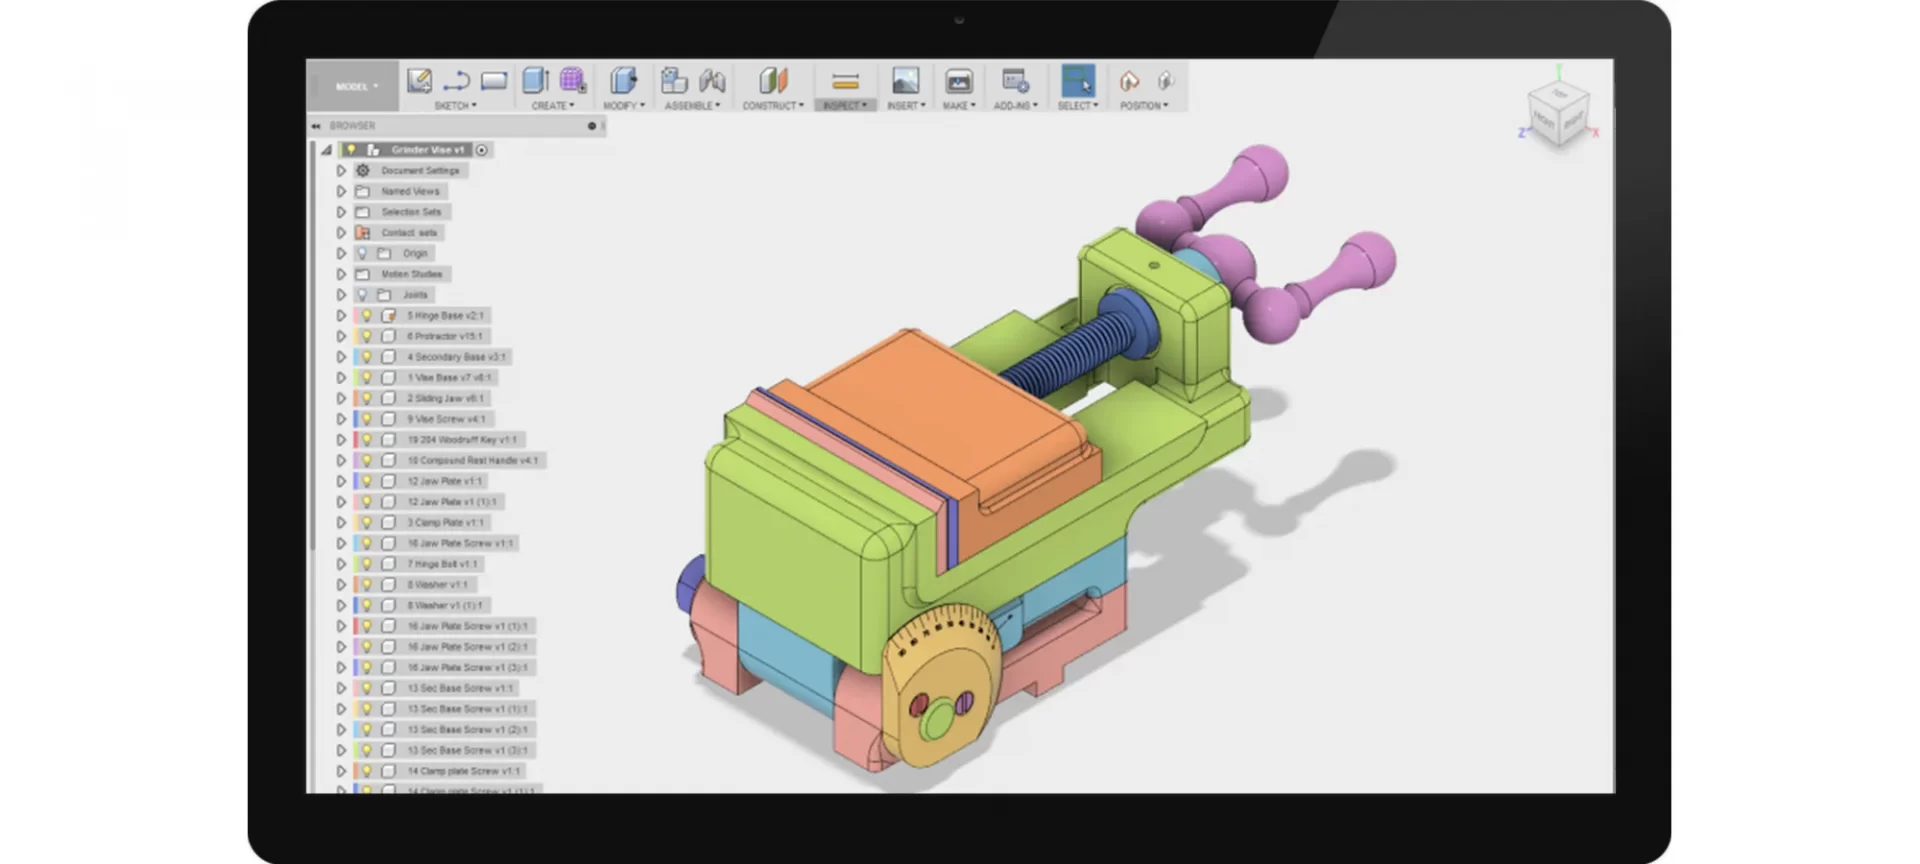
Here comes a key part of this Autodesk 3D printing software. This one is for all those who were wondering what the difference between AutoCAD and Autodesk is.
This option helps you visit the changes you made to your design.
For example, the option “Create box” will allow users to get an idea by showing how each model is made at any point in time, and if you wish to make edits, you can do that too.
Navigation and Display
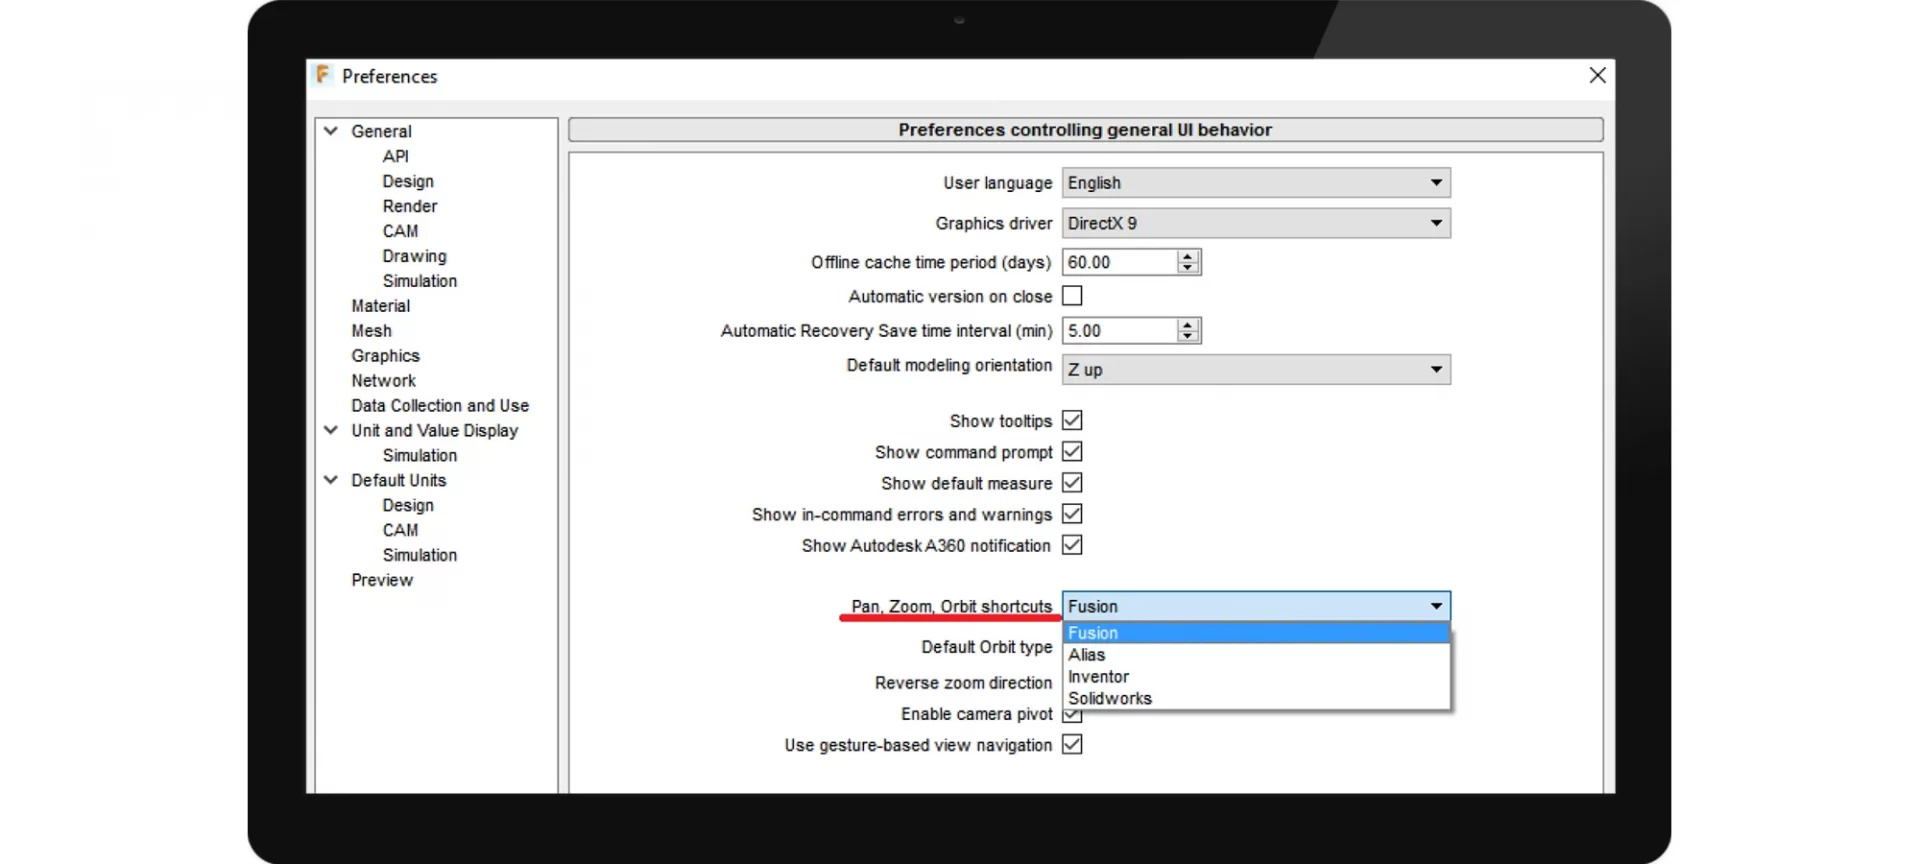
For toggling the display settings manually you can navigate the complete view.
You can do this by clicking on the middle mouse button, zooming, or holding the shift and middle mouse button.
In the next section of this article, we will show you how to use these options that are available on this Autodesk 3D printing software for printing a simple part or functional prototype.
Creating a Sketch
A popsicle on a stick is the most basic thing that anyone can create to check whether he or she is comfortable with the various options that are available on Fusion 360.
The first step is to create a basic sketch and then extrude it and before creating modify it if needed.
Please note that we are not going to be able to cover every command and also there is more than one way to create any model.
Lines and curves on a 3D plane make a sketch. You need to start by clicking on the Create Sketch option that you would be able to access from the Toolbar.
Then you can select the plane that you wish to start drawing on, slowly the view will shift from being three dimensional to two dimensional.
You are advised to draw a typical shape of the popsicle using two rectangles and a circle. Selecting both the shapes from hotkeys ‘R’ and ‘C’ is also a possible way to do it.
An important tool to note here is called Sketch Dimensioning. As the name suggests, it has to do with the dimension of the shape that you are willing to 3D print.
You can access it by pressing D and selecting the line that you wish to set the dimension of. Stop Sketch would bring you back to normal.
Once you are done with the sketch, the next step is extruding your two-dimensional shape.
Extruding your Shape
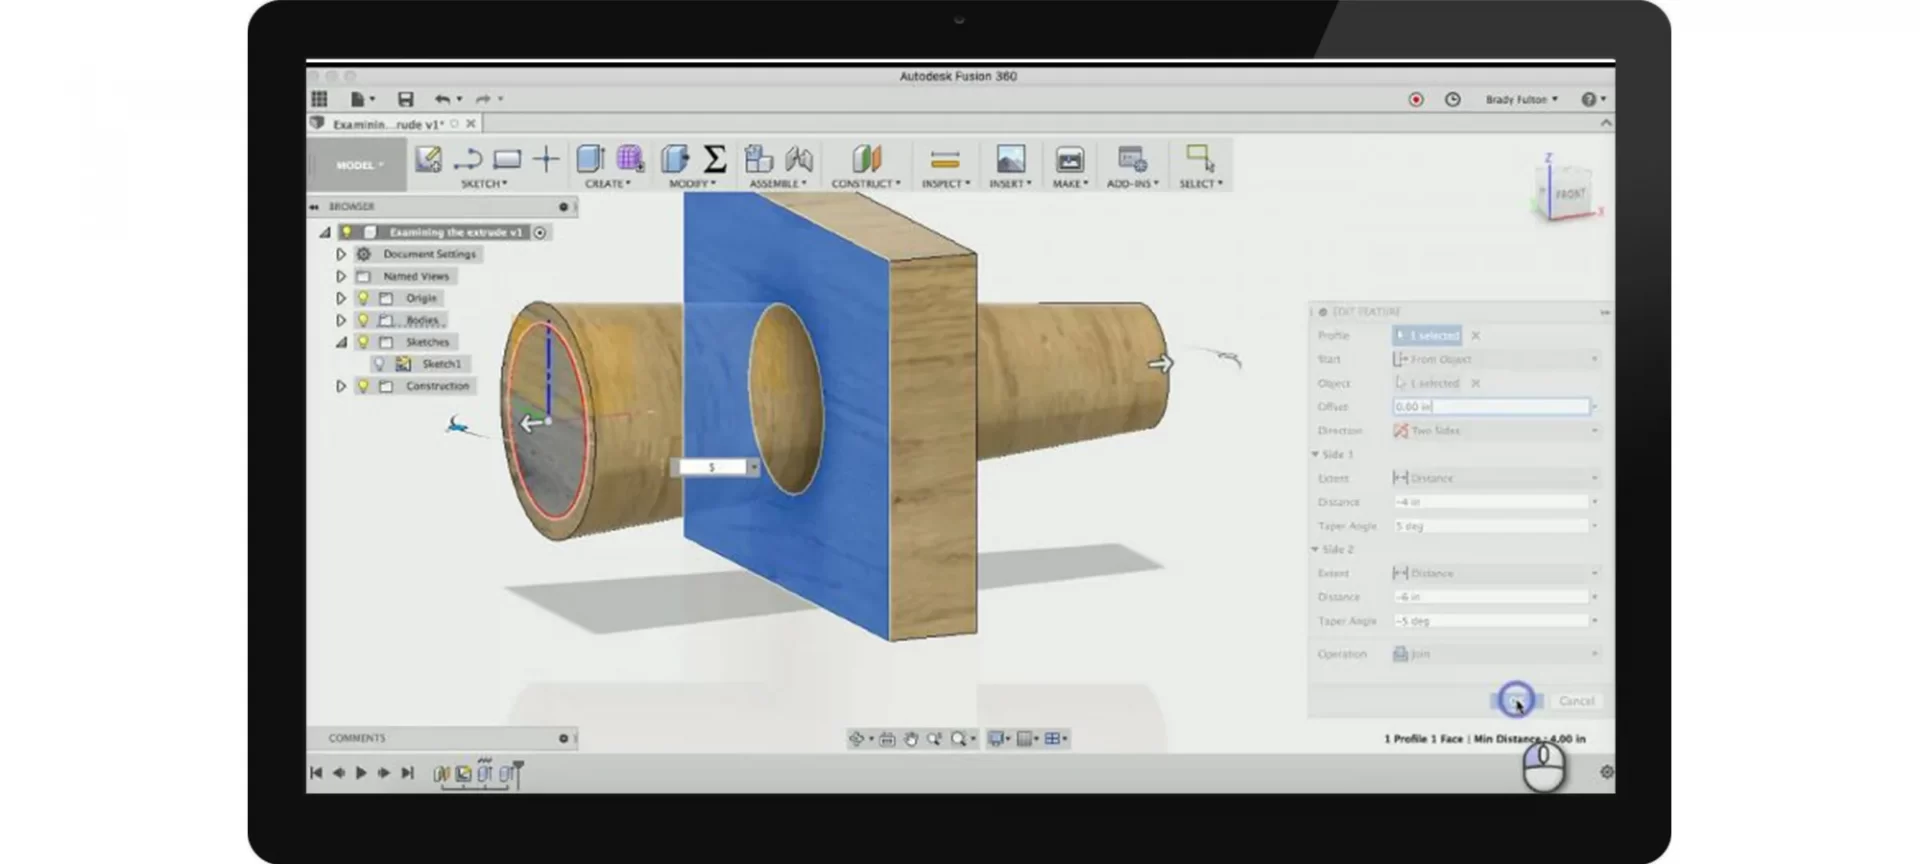
This is from where the fun part begins, the two shapes that you created would now be turned into a 3D object. It would be expanded in one more plane than it has already been.
So if it were a rectangle you would get a cuboid, if it were a circle, you would get a sphere.
For starting this operation on your model you would have to click on the Extrude button on the toolbar or E on your keyboard.
This would pop up a menu on the right side of your screen on which the first thing that you are advised to do is selecting the profiles you wish to extrude.
You can start with the main part of the popsicle and exclude the stick for now.
For selecting more than one profile you need exactly the same thing that you wish to do when you wish to select more than one file adjacent to each other on your computer in general i.e. hold on Shift while selecting.
You can use the arrow buttons or the menu button for specifying how far you are willing to extrude. The recommendation here made by websites is choosing 15 mm.
Now the operation should be set to New Body which will ensure that everything you are doing is correct.
It is also worth noting how the operation setting also has boolean operations like join, cut, or intersect for creating all kinds of shapes that you wish to.
After having done all these, you would have to inflate the popsicle stick and extrude it in a similar way, with the only difference being to select the stick part.
In case users are not able to see the sketch anymore, maybe it is hidden. In that case, you are requested to unhide the sketch from the browser on the left side of the screen.
Since it is the stick you would want it to stick out from the center of the popsicle, so instead of extruding this part from the profile plane, you would have to offset it by 5 mm.
With this, you can also join this to the main body of the popsicle so that both of these are a single element.
After having extruded your part, it’s now time to edit it and make it a final go-to model.
Editing
The popsicle might look a little blocky, mostly along the edges, for achieving a bit more natural and curved look, you can use a Fillet.
This command is available under the Modify tab or by hitting F. Doing this would apply a curve of specified radius to the edges that you would select.
It is advised to select the top and bottom edges of this popsicle by 3 mm, adding a 5 mm fillet to the bottom of this part will make it even curvier. After having made the model curvy, our work is almost completed.
For users who think the model is thinner and should be thicker, you can do that with a special feature given by Fusion 360.
This can be availed by simply right-clicking on the model on the Extrude command and clicking on the Edit feature; this would let you modify the extrusion as freely as you wish to.
Saving and Exporting a File
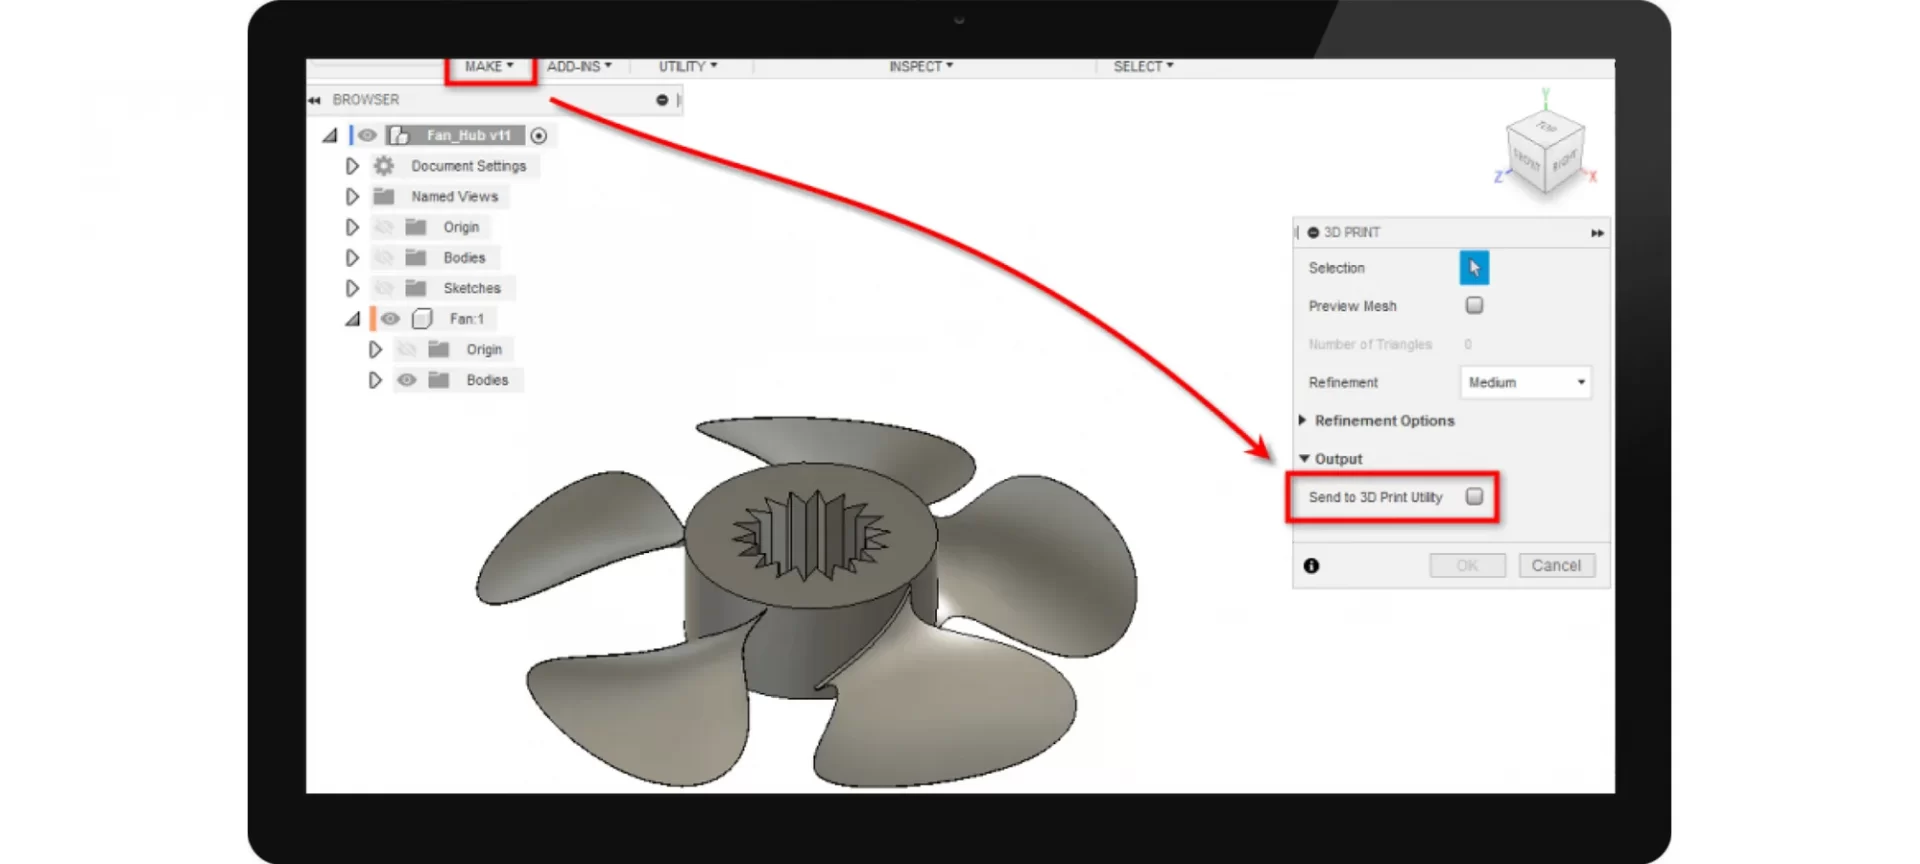
A simple Ctrl plus S would save the file that you have chosen to be final and require no more editing.
Fusion 360 is known to store all your files in the cloud so they can be accessed from any computer, not just yours.
You can even access it from your phone if it permits you, by logging into your account on Fusion 360’s website.
Using Fusion 360 you can easily open the data panel on the left for viewing and organizing your files.
Make sure your popsicle is available in the STL format which is believed to be the most widely used format for 3D modeling files.
For ensuring so, just right-click on the component and choose Save as STL, this would ensure that your model is sent to everyone in the STL format which is the format that almost every printer accepts.
In case you are exporting it to a printer that is going to manufacture parts of this popsicle individually, you would have to save individual bodies as individual STL files.
This would enable you to easily print a single part of the complete file on that printer.
After having done, what suits your 3D printer; you can send this file to your printer and go ahead with the printing part.
Learning and Support Provided by the Company
Autodesk 3D printing software also has separate sections for offering to learn related to software as well as supporting you in case of any doubts.
Complete information about how to get started using this software, Install and Configure this software, see the Data and Account management of this software, notice the system requirements of it, CAD transitioning, Generative Design, Manufacturing as well as Modeling.
Not only this, but also there is Self-paced learning, product documentation, events and webinars, blog, virtual services and training, and community forums.
And of course, if you are new you can also learn from the software’s YouTube channel.
Suggested Articles
The Conclusion
Apart from this Autodesk 3D printing also offers the other two options which are available for prices of $2720 and $240 per year.
Although they are different from Fusion 360 in a lot many senses, they are also recommended equally as Autodesk 3D printing options on the additive manufacturing category of the Autodesk website.
If you have a printer that asks you to use their own software, you would have to design your model from there. You can also model this software and then use the STL file for printing on your printer.
However, before doing anything you are better advised to ask your printer manufacturer about the compatibility.
For the hard work that you do, you should not leave with the disappointment of Autodesk 3D printing software not compatible with your printer because of which you have to model the complete file again!


