3D printing technologies can be classified into six categories: 1) vat polymerization 2) powder bed fusion 3) material jetting 4) binder jetting 5) material extrusion.
In this article, we would explore one of those 3D printing technologies that find its applications in the 3D printing world like no other. FDM stands for Fused Deposition Modeling, sometimes also known as Fused Filament Fabrication.
FDM 3D printing belongs to the material extrusion family. This technology represents the widest installed base of 3D printers globally. And is, therefore, the first technology that a newbie in additive manufacturing is made familiar with.
There are many ways technology has helped bring some of the most difficult applications to the forefront. Now, consumers can build a complete product from their homes. The question is: Where did all this start? So, let’s find out more.
What is FDM Technology?
FDM was created by Scott and Lisa Crump in 1988. It is interesting to read that the creator actually founded this technology to build his daughter a toy frog by using a glue gun and a blend of polyethylene and candle wax.
He and she were successful in creating the toy frog and after that, they got this technology patented on their names and founded a company named Stratasys.
The company that they founded in 1989, then created software that converted the STL files into other formats. STL is an abbreviation of Stereolithography. It is important to note that before this invention 3D printer hardware could not communicate with computers.
This software gave a green signal to computers for communicating with the 3D printer hardware. What this software also did was something called section slicing of a 3D model. So as you predict, this was also a major breakthrough in additive manufacturing.
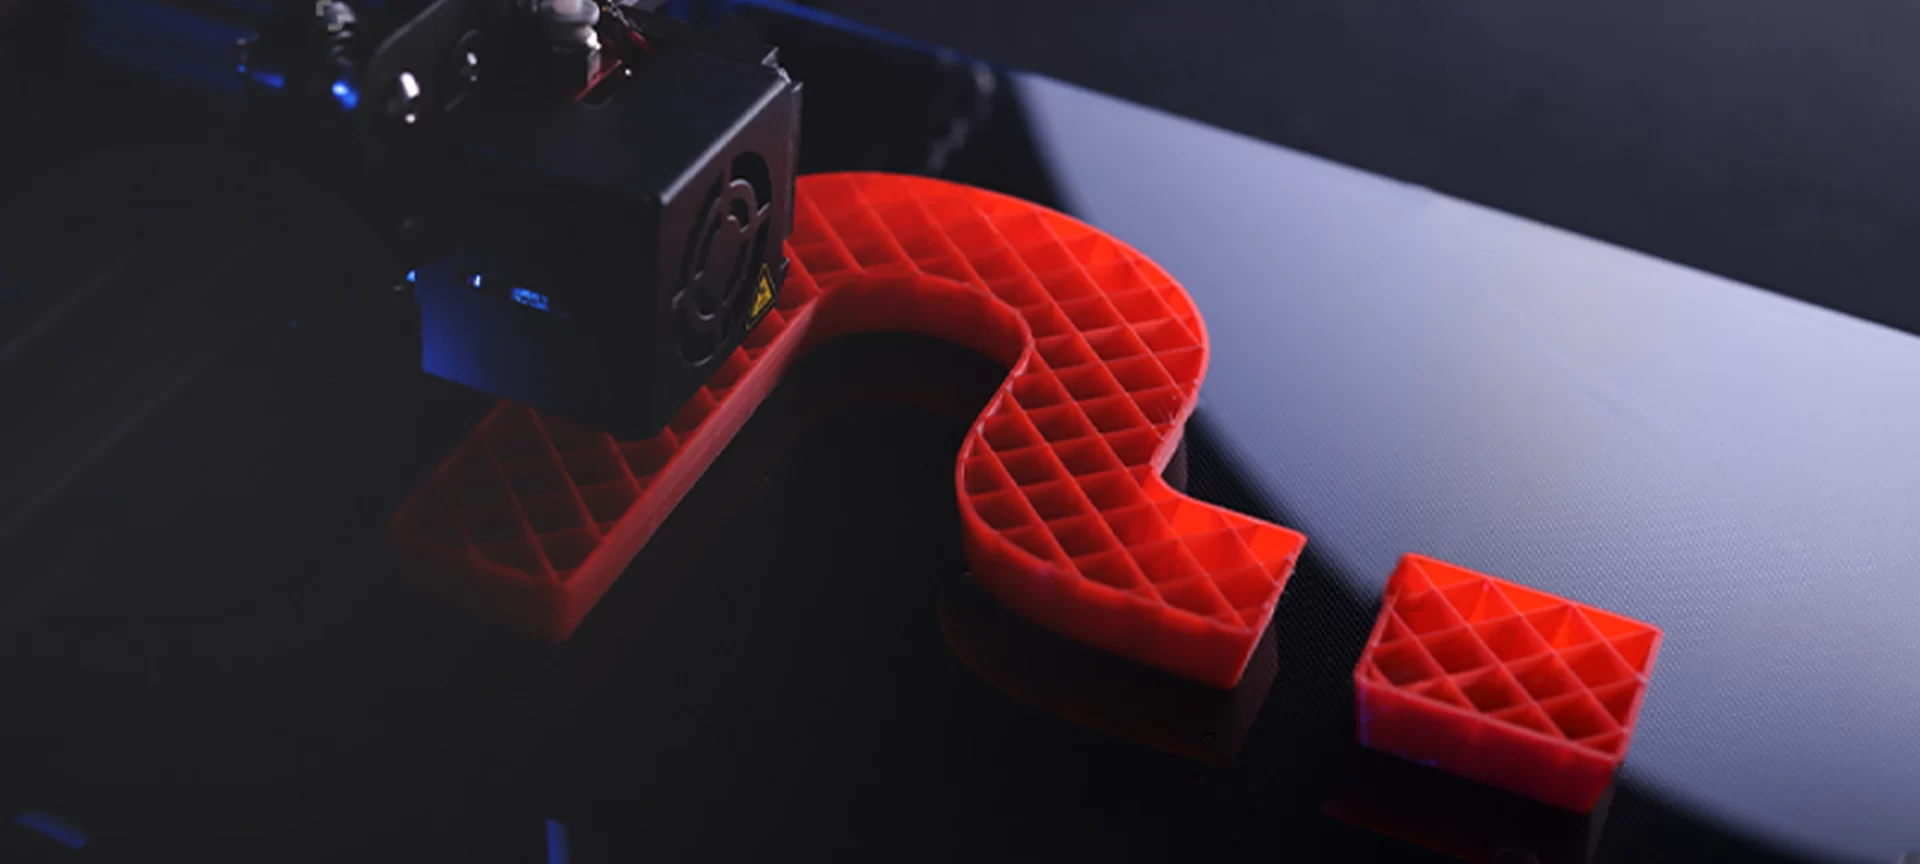
In FDM, a product is built by selectively depositing melted material in a pre-determined path. This deposition is done layer after layer and the materials used here are thermoplastic polymers that come in filament form. Now that you have gained a little knowledge about FDM 3D printing, let’s, step by step look at how it takes place.
How Does an FDM 3D Printer Work?
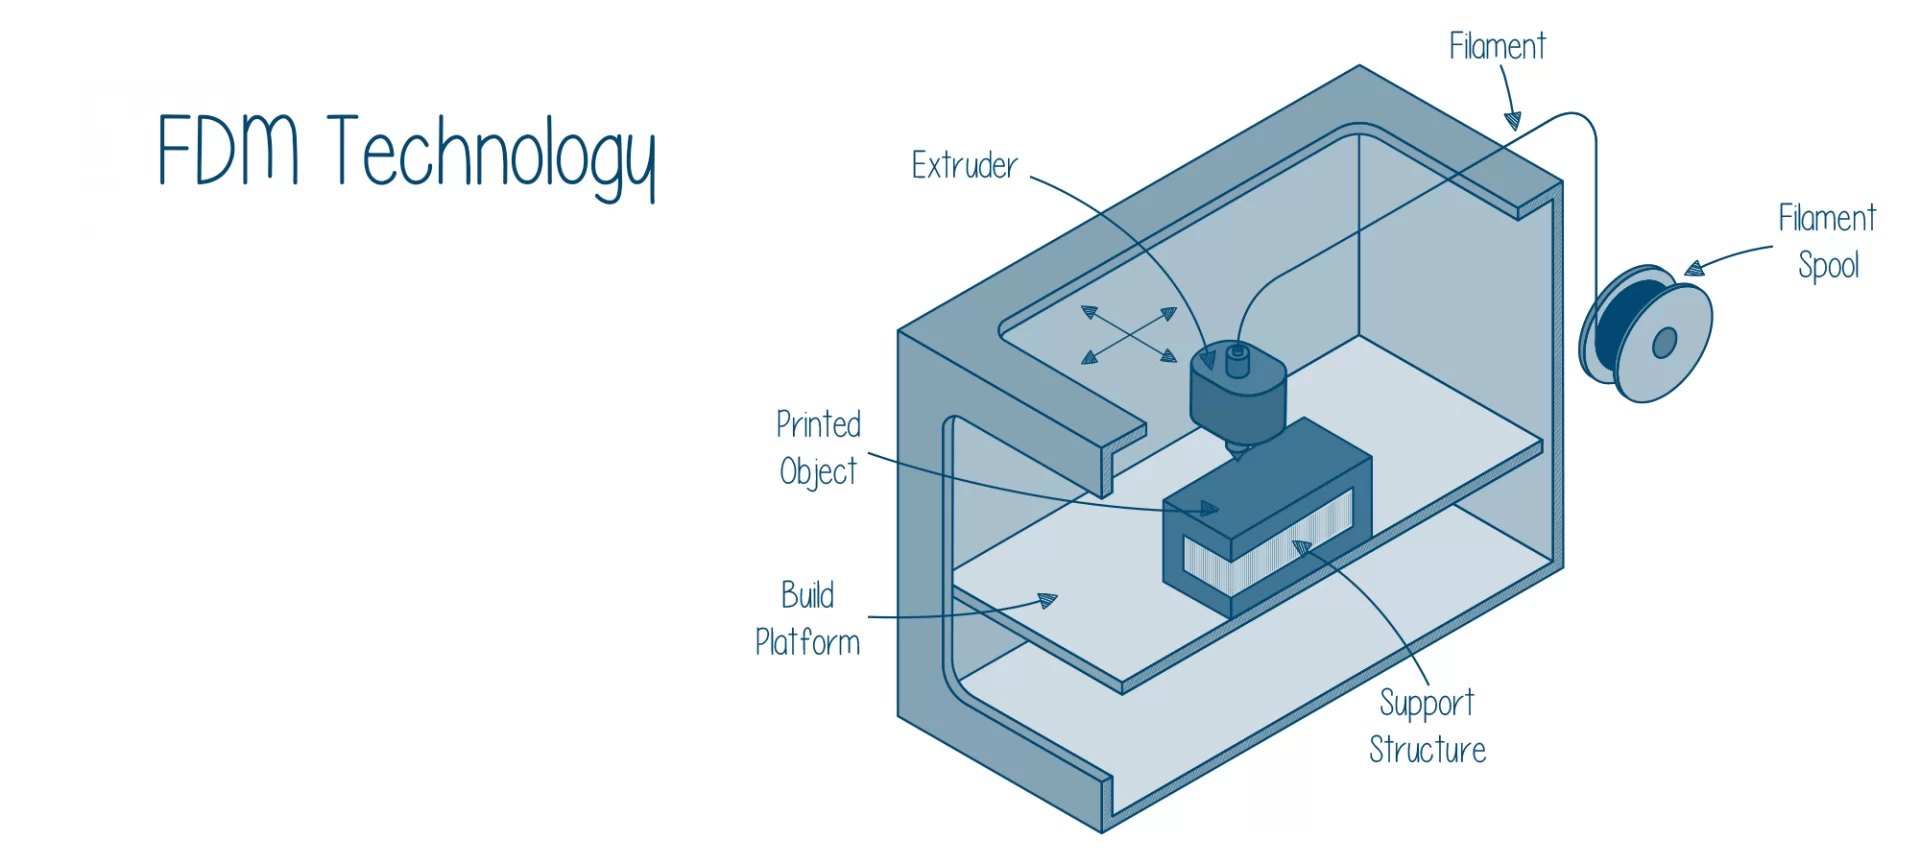
You are now familiar that the deposition in FDM happens layer after layer. To better your understanding, here are the three steps which will let you have an in-depth study of the processes involved in FDM technology.
- The process starts with the loading of the spool of thermoplastic filament. These thermoplastic filaments (explained later in the article) are the material for FDM printing. This filament goes to the extruder when the temperature of the print head reaches the melting point of the specific filament. The temperature will differ as per the selection of the materials in FDM 3D printers.
- You must have a design ready for printing. According to the 3D design, the print head moves in all around the different axis. Now, as the extrusion head is loaded with the melted thermoplastic material, the deposition starts with the movement of the extrusion head. One layer after the other, the material is deposited as per the 3D design that has been inputted in the FDM 3D printer. After each layer, the cooling of thermoplastic material takes place using the cooling fans that are attached to the extrusion head.
- After each layer completes, the build platform moves down giving room for the next layer deposition. The next layer comes over the previous one and the entire process continues until the complete 3D part is printed out of the machine.
For gaining a better understanding of how an FDM 3D printer works, below is a schematic diagram of the same:
Now that you have seen a step-wise procedure of how an FDM 3D printer works, it’s time to look at some typical characteristics that every designer must keep in mind.
Points Designers Must Follow
Like every technique, FDM technology also has some of its own specialties and limitations. A good designer should use this technique in such a way that he can gain maximum out of the specialties and minimize the limitations.
However, before designing with an FDM 3D printer, a designer must keep in mind the following things.
Build Size and Layer Heights
A common desktop 3D printer that is used for the domestic purpose has 200*200*200 mm dimensions. While a common 3D printer that is used for the industrial purpose has 1000*1000*1000 mm dimensions.
When printing using a domestic printer, big parts should be broken down into small and then assembled, whereas if you are using an industrial 3D printer, you can build a complete part using that.
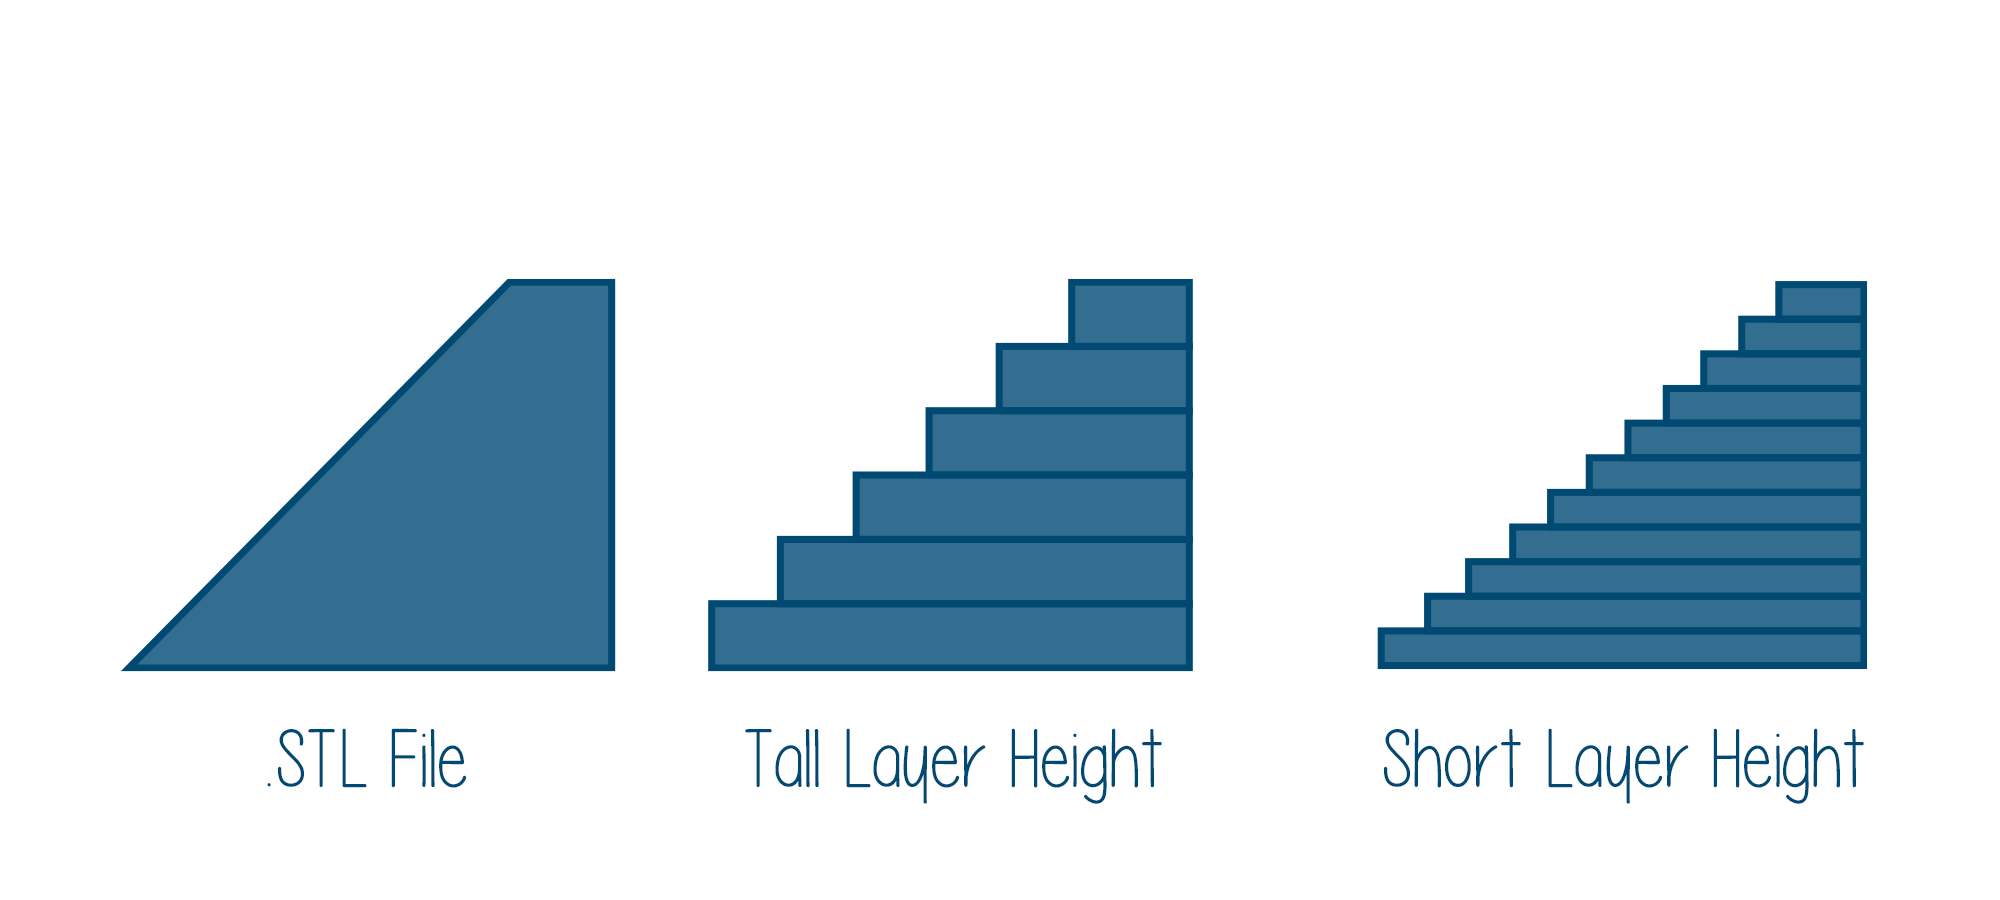
Here comes the first contradiction: if you keep a small layer height, you will be able to produce parts that are smooth and has curved geometries.
A bigger layer height would enable you to produce with a greater speed than smaller layer height. Now you cannot have both at the same time.
So, remember the rule: whenever you need to produce curvy geometries or need precise edges in the product, keep the layer height small. Whereas when that accuracy at height is not needed, produce faster by keeping a larger layer height.
Warping
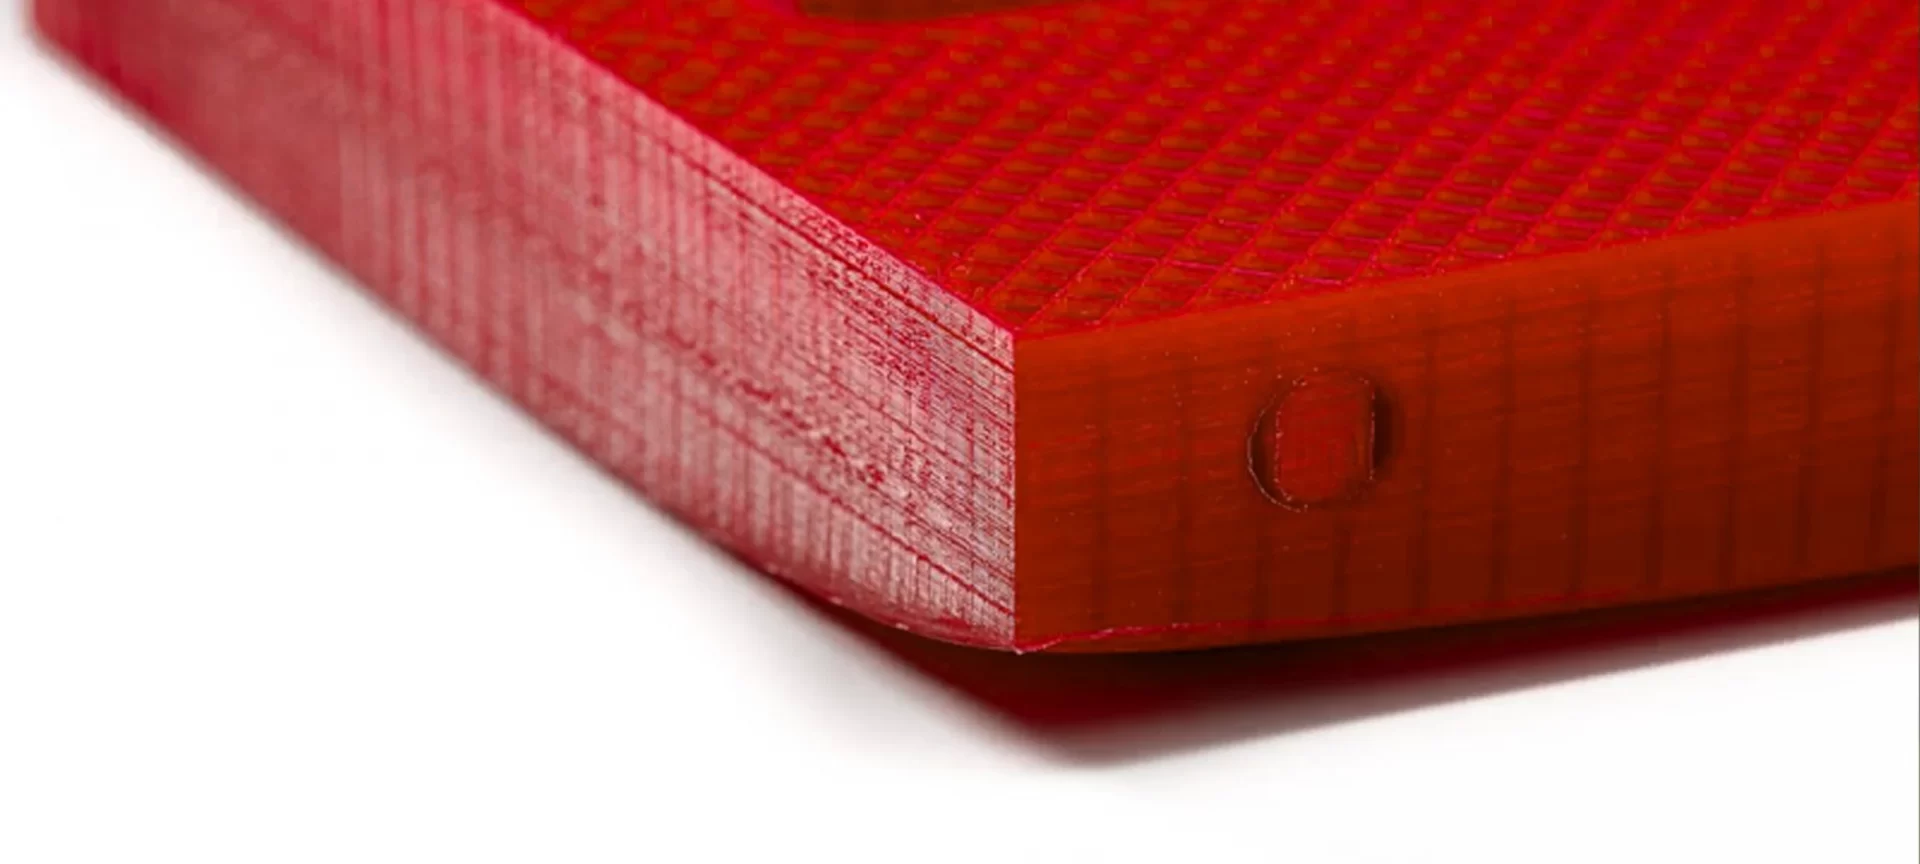
This effect is caused by the solidification that the thermoplastic material has to undergo, once the layer by layer deposition is done.
Irrespective of the geometry of the material, it will have different cooling rates at different portions on its surface. In warping, the material that is chosen by the designer plays a major role. Now, how’s that?
- Through observations, we can deem that ABS, a common thermoplastic material used in FDM printing is more sensitive to warping compared to PLA or PETG. The reason for this phenomenon is a higher glass transition temperature and a relatively high coefficient of thermal expansion.
- Thin protruding materials also undergo more warping. So, before undergoing an FDM 3D printing of such materials always keep a sacrificial material at the edge of the material. This will increase its overall area that will remain in contact with the build platform.
- Opposite to it, large flat areas should be avoided to undergo FDM technology because they too are prone to warping. Even sharp corners warp more often. Hence, one must keep fillets in the design while printing using the FDM printer to avoid warping.
Layer Adhesion
While studying the general topography of any material, one can clearly see that the higher the layer adhesion, the higher is its strength.
This rule stands true for parts printed with FDM 3D printing as well. Remember, the deposition happens layer by layer.
Meaning that the high temperature of the thermoplastic material would melt some surface of the previous layer and enable the bonding of the new layer with the part prior to it.
This will also result in the deformation of a material. Indicating that parts produced by FDM will always have a wavy surface and small heads or threads that may need post-processing after FDM technology.
Using minimalistic support structures
Sometimes, the 3D design won’t be able to go through the printing process without a support structure.
The reason behind using a support structure is: geometries cannot be deposited on air. These structures provide support for the designs with overhangs or other limitations.
This is the part where designers need to take care of the most. The FDM part must be printed in such a way that it needs the least amount of support structure.
Because support structures would be printed in a similar way as the FDM part is printed. And, it would only increase the post-processing hassle. Moreover, the surface finish is also compromised when scrapping the structure out of the printed parts.
Infill and Shell Thickness
A fact to learn about FDM printing is that the parts aren’t always solid. This is done to reduce time and also save material.
The outer material that is traced using passes is called shell and the inner material is called infill.
These both affect the overall strength of the FDM part. There are general settings available for different types of printers that a designer should know. This is to ensure the accuracy of the design.
Pros and Cons
Now that you have known FDM 3D printing in-depth, it’s time to know the method’s pros and cons when compared with other 3D printing techniques.
Pros:
- Unlike other 3D printing techniques, one can produce the part with a huge size range. Parts can be as small as in millimeters or as big as meters can be produced using FDM 3D printing. The reason for this huge scalability is that FDM has lesser constraints in its build area.
- FDM 3D printing can be accomplished using a huge variety of materials. Thermoplastic materials can undergo a few modifications. Despite modifications, the material produces fantastic end results.
- The lead time of FDM is short and hence it can produce more compared to other technologies within the same time limit.
- The FDM process is also the most cost-effective 3D printing technology for producing customized thermoplastic parts. Because thermoplastic materials are available in a wide range and are compatible when it comes to building a prototype.
Cons:
- FDM Printing has the lowest accuracy when it comes to getting the perfect dimension material. Also, the resolution that one gets in this technique is the lowest when compared to other 3D printing techniques.
- The layer adhesion mechanism makes FDM technology naturally anisotropic. Because the parts that are produced have visible lines that are formed by layer after layer deposition. This also increases the time required in post-processing to get a smoother finish than other techniques.
Top 3 Recommendations for FDM 3D Printers
FDM 3D printers are available at a wide range of prices. Domestic ones are generally cheaper than industrial ones. Because of this, it is recommended to use a domestic one if you are new in the field of additive manufacturing.
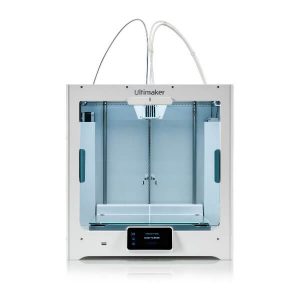
Ultimaker S5:
|
By producing impeccable prints, the dual extruder carrying Ultimaker S5 took the market expectations to its zenith. This FDM 3D printer is made by a company that’s based in Holland and is priced approximately $6000.
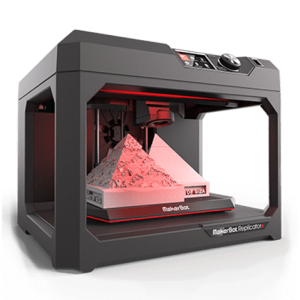
Makerbot Replicator Plus:
|
Made by a company based in the USA, this FDM 3d printer costs approximately $2000. Be it PLA, PVA, or PETG, Markerbot Replicator+ can print a wide range of thermoplastic materials. The company has released a special package to provide education to enthusiasts in schools.
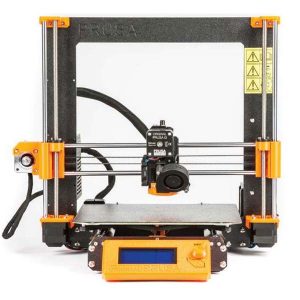
Prusa i3 MK3S:
|
This printer holds the title of being the best FDM 3d printer that’s available under $1000. Created by a company based in Czechia, the 3D printer is known for its creation from the Rep Rap movement and can be accessed by a USB drive or an SD card.
As promised above, let’s find out what are the thermoplastic materials that are commonly used in FDM 3D printing before concluding the article.
What are Some Common FDM 3D Printing Materials?
ABS, PLA, Nylon (PA), PETG, TPU, and PEI are the names of the most common thermoplastic materials that are used in FDM. However, the list does not end here. There are various PLA composite materials also available such as wood, metal, and a lot more.
The Conclusion
If you are a maker or planning to be one, you need to remember some rules that go with FDM printing. FDM is known for being a 3D printing method that is low in cost and that produces prototypes and functional parts faster than other 3D printing methods.
So, if you take away these qualities from FDM 3D printers, it would have an adverse effect. FDM technology produces inherently anisotropic parts, so any experiment with isotropic materials would result in a failure.
If you choose this printing method, you’d be always on a safer side to 3D print because of its availability and wide reach.
Other methods are still growing its reach and would take time to be as wide-spread as FDM 3D printing. Because of this reason, the technique is also the most favored technique for beginners in additive manufacturing.

