There are nine basic types of 3D printing techniques that currently exist. FDM, SLA, DLP, SLS, SLM, EBM, LOM, Binder Jetting, and Material Jetting. Amongst these nine, the most common ones are SLA, FDM, and SLS 3D printing
What is SLS 3D Printing?
SLS is an abbreviation of Selective Laser Sintering. In this method, a powder bed fusion is processed to build 3D parts and functional prototypes. This technology of additive manufacturing is applicable while doing rapid prototyping as well as production.
Basically, what differentiates SLS mainly from other techniques is the source that is used to solidify layers. The laser is the source that solidifies the material used for printing using SLS 3D printers.
The powdered form of Plastic, Ceramic, glass, metal, or other materials are used in this technique to 3D print.
Similar to other 3D printing techniques, here too, the building of part is done layer by layer until the object is complete.
The laser source traces the pattern of each layer slice into the powder bed, then the bed is lowered down in height to trace another layer, and finally, they are bonded with the layer above them.
To explore this technique in a little more depth, let’s see the working of this technology.
How is Working with SLS 3D Printing?
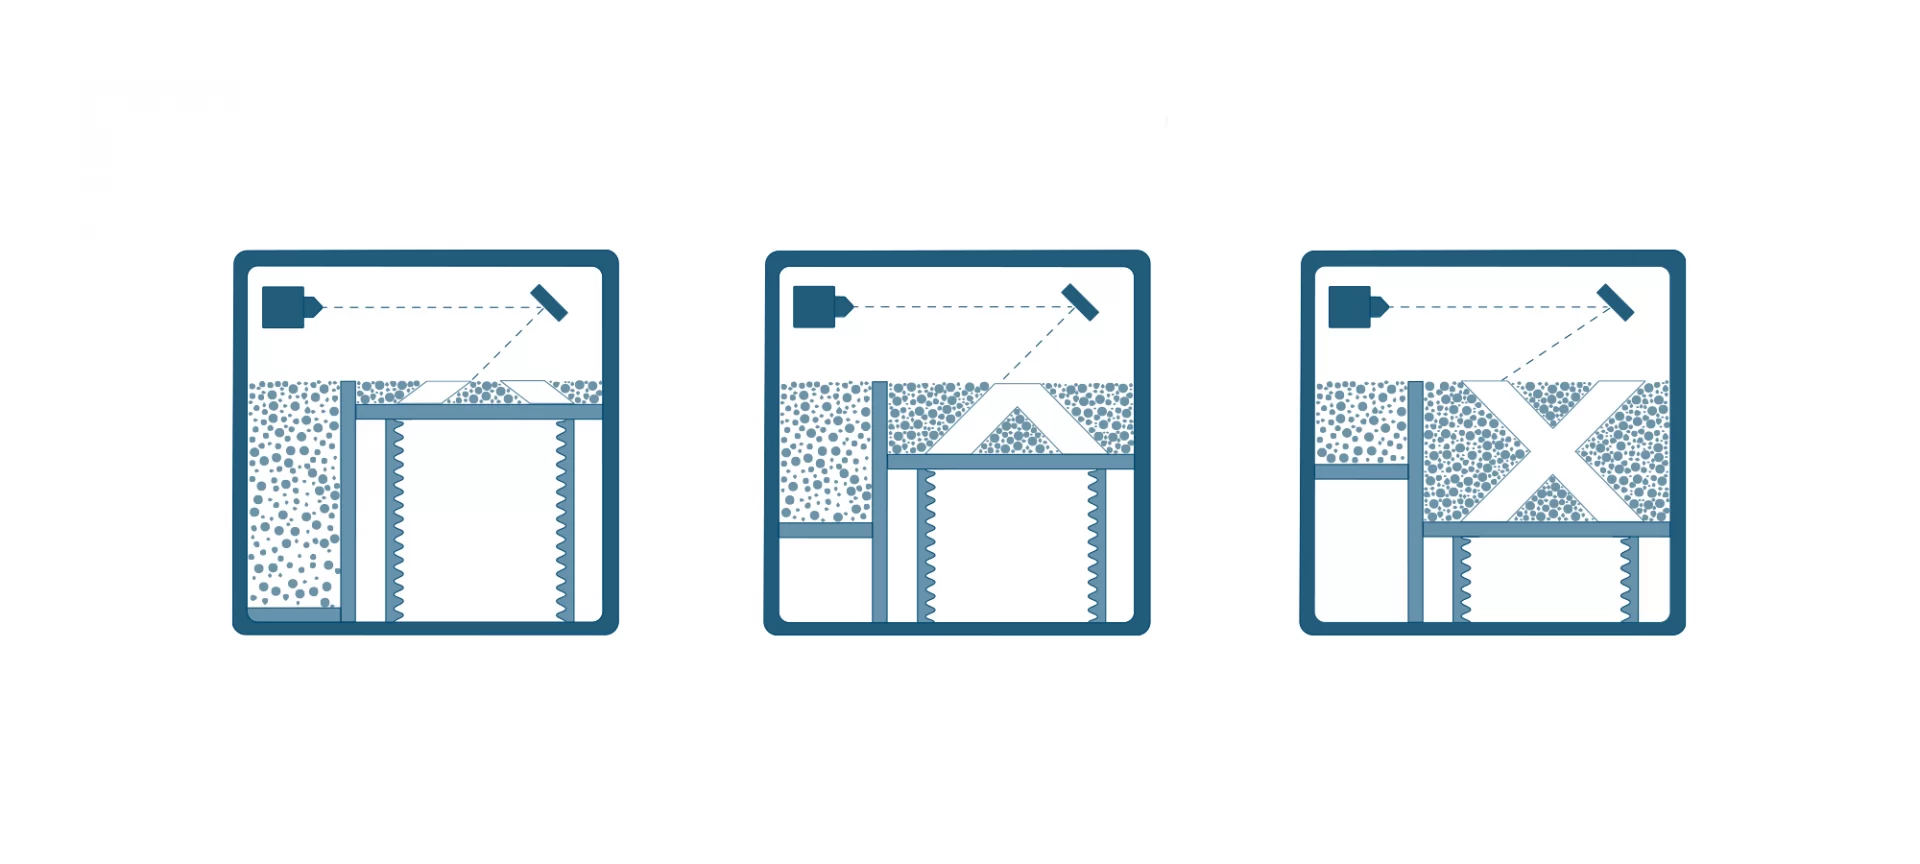
SLS technique’s working can be generally divided into four steps. Let’s take a look at those steps one by one.
Step 1
As at the start of every technique, there are parts that are supposed to be heated to form a liquid part according to the design. In SLS, the powder bin and build area are the first two sections that are heated.
While heating, special care is taken to not heat these areas above the melting temperature of the material that is used in the printing process.
Meaning if the heating material is ceramic, the temperature of the powder bin and build area would be lower than its melting point and so on for other materials.
In the meantime, the recoating blade spreads a thin layer of powder over the build platform of the SLS 3D printer.
So, the moving parts of the SLS 3D printer in step one are a) the source from which the powder bin and build area are heated and b) the recoating blade.
Step 2
Selective Laser Sintering uses a CO2 laser and a thermoplastic powder polymer to build parts. This CO2 laser, scans the contour of the next layer and particularly fuses together or sinters the particles of thermoplastic powder polymer.
In this step, the material that is to be completely scanned or solidified is prepared. And the liquid part is exposed to the laser. As soon as the exposure is given, the solidification procedure of the 3D part starts.
Step 3
The solidification happens layer by layer. As soon as the first layer solidification is complete, the build platform of the printer moves downwards, instead of upwards as in printers based on other 3D printing techniques.
So when the solidification of a layer is complete, the build platform can move downwards for exposing it to another layer to the laser. At the same time, the blade of the printer re-coats its surface.
This step is not done, just once, but is repeated until the 3D printing of the part or functional prototype is completed.
So, in step 3, the build platform moves again and again which makes the exposure of different layers to laser possible. This is the last step of the SLS 3D printing process.
What about after the Printing Process Is Completed?
After printing of the part is completed, the parts are fully encapsulated in unfused powder. At this point, the powder bin has a high temperature, because of which, that part cannot be unpacked.
Generally, the time taken for cooling is 12 hours. However, the time taken depends on the printer and the system which they have got in place to cool the component.
Once taken out, these components should be cleaned with compressed air. Sometimes blasting media is also used to clean the parts. Then the part is ready for post-processing.
The remaining part that is a powder that hasn’t been converted into the part can also be collected and re-used. Although SLS powders are only 50 percent recyclable.
Now that we have looked at the in-depth, stepwise working of SLS 3D printing, let’s look at some of its typical characteristics.
SLS 3D Printing’s Characteristics
Every technique has some typical characteristics which are only found while doing that practically. For SLS, we have listed five and here they are.
SLS 3D Printer’s Parameters
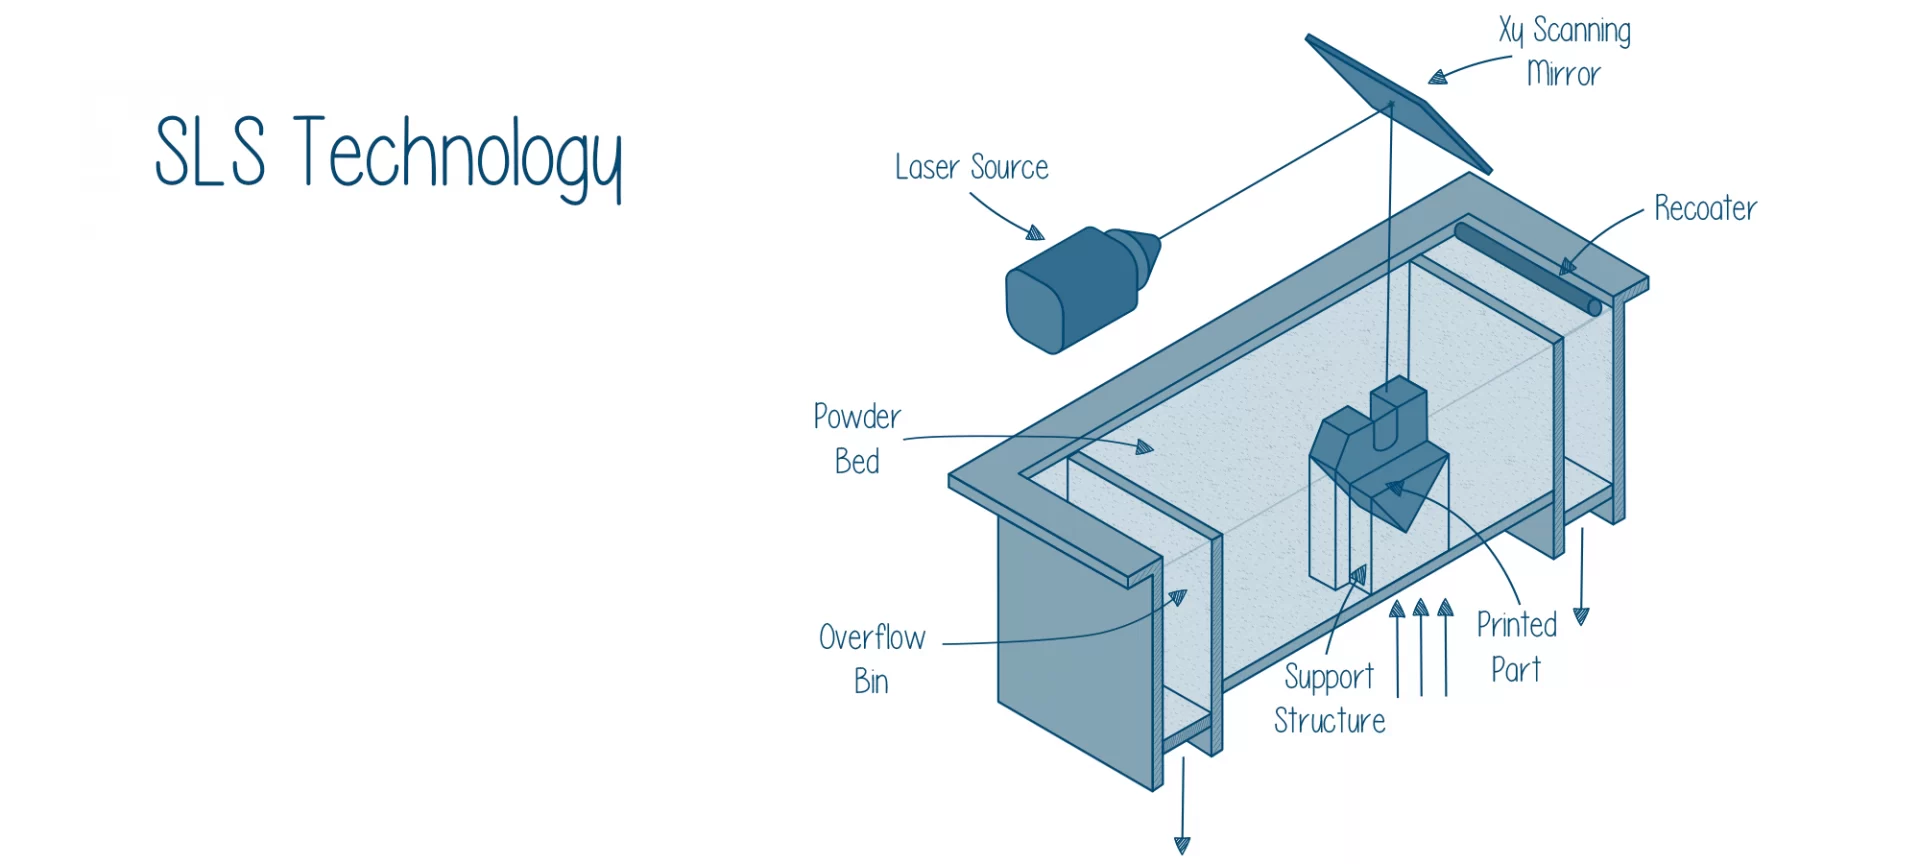
These parameters are concerned with the layer height, support structures, bin packing, and batch productions. SLS 3D printing does not require any support structures.
The non-sintered powder makes up for the support structure. It is because of this quality that SLS is used in making freeform geometries that are impossible to manufacture with other 3D printing methods.
Typically, the default layer height used in SLS 3D printers is 100-200 microns. SLS 3D printing is used especially for small batch productions.
Particularly, if the bin is of the same height, it will take some time to print independently of the parts it contains.
The reason behind this is that the re-coating step determines the total processing time and the 3D printer will have to cycle through the same number of layers.
The bin packing also affects lead times of small orders. Though, the operators usually wait until a bin is filled before starting the 3D printing procedure.
Layer Adhesion
This parameter is concerned with the 3D parts that are printed with the SLS technique. The bond strength that is found between layers of the parts that are manufactured is excellent.
SLS printed parts have isotropic mechanical properties. The tensile strength of an SLS 3D printed part in the X-Y direction is 48 MPa, while in Z- direction is 42 MPa. The tensile module of the same in X-Y direction is 1650 MPa, while in Z-direction is 1650 MPa.
A particular SLS printed part is 30 percent porous. This porosity gives SLS parts a grainy surface finish. And it is this characteristic that makes SLS 3D parts absorb water because of which they can be easily dyed in a hot bath to a large range of colors.
However, if they are to be used in a humid environment, they require special post-processing.
Shrinkage And Warping Parameters In SLS 3D Printing
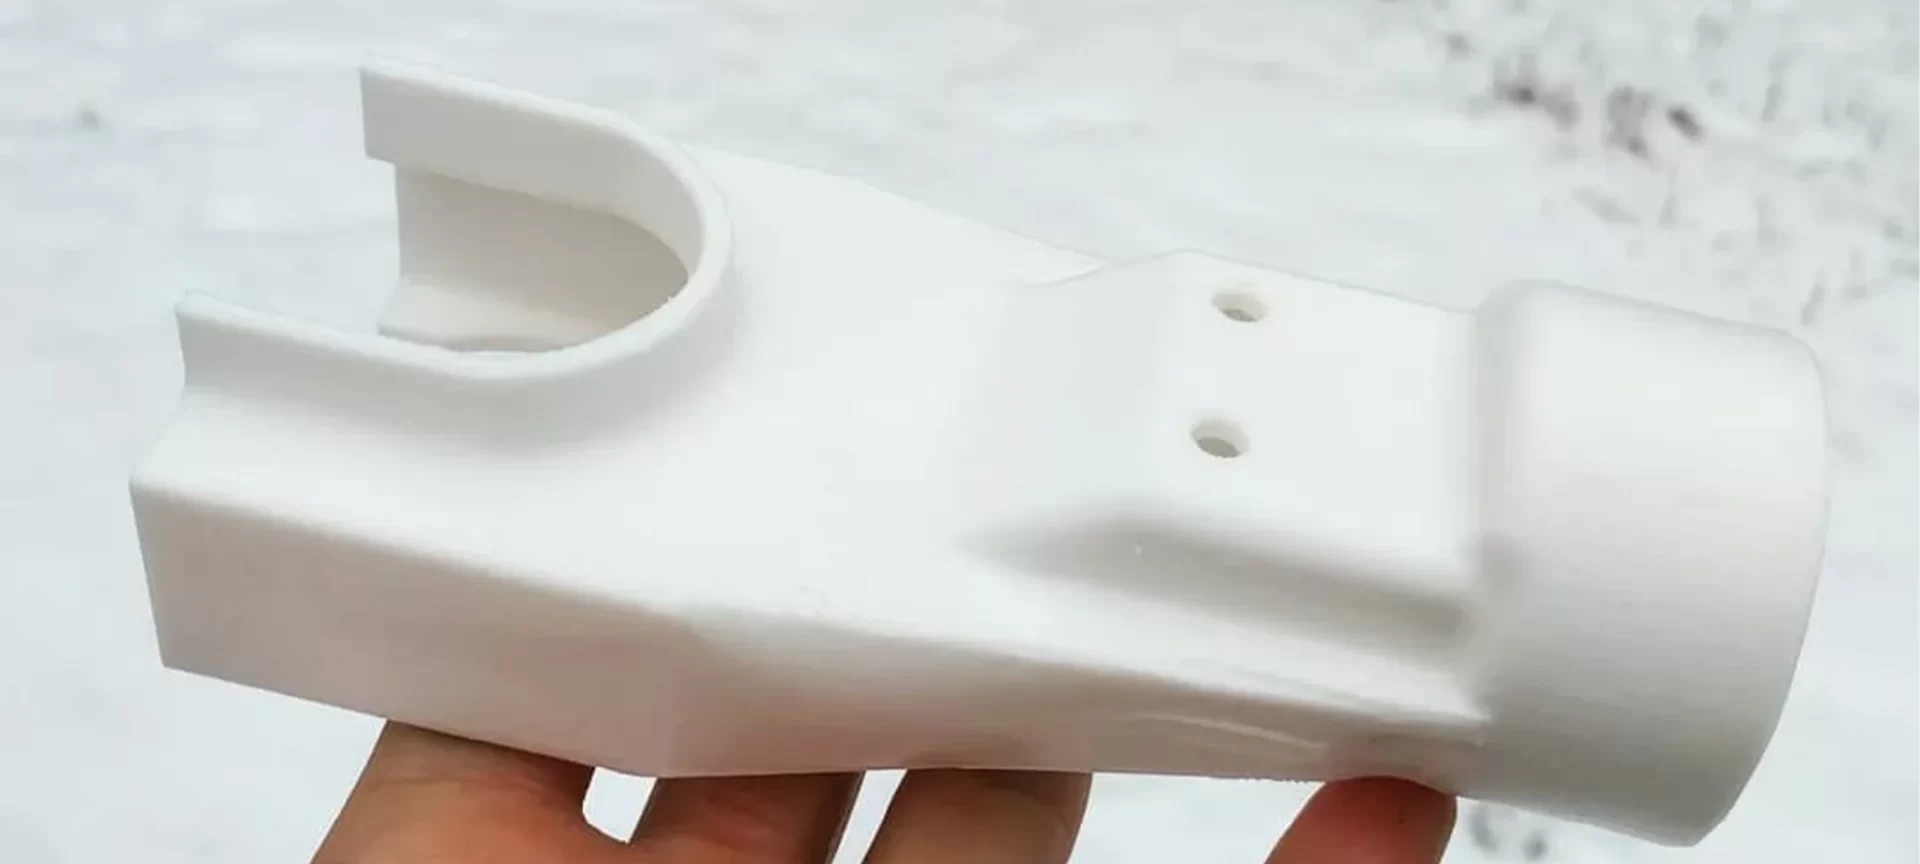
As the newly sintered parts are subjected to cooling, shrinkage and warping develop in them. The dimensions of newly developed parts and prototypes increase and decrease and internal stresses start to prevail inside them.
According to the research, a 3 to 3.5 percent shrinkage is typically present in parts developed by SLS 3D Printing. However, machine operators are very well aware of this and they take a precaution and develop the design accordingly.
On large flat surfaces, however, there is the problem of warping. The orientation of build platforms particularly in the vertical dimension can cure this problem to an extent, but this practice is best to reduce the volume of the part.
However, warping will exist as it does in every other technique. But this strategy can reduce it and also the overall cost of the part as less amount of material would be used in it comparatively.
Oversintering In Parts Printed With SLS Technique
This parameter typically needs to be checked when the radiant heat produced by laser fuses the unsintered powder into some random feature.
Loss of detail in some structures can also be an issue due to this parameter. Whenever you see holes and slots in a 3D part printed by SLS technique chances are high that it was due to oversintering.
However, this parameter depends on the size and wall thickness of the feature. To make sure you understand it correctly, here is an example.
A 0.5 mm hole or slot with a 1mm diameter will print successfully on a wall that has a thickness of 2mm. But, the hole will disappear when the wall is 4mm long in diameter or more.
So designers keep in mind that slots wider than 0.8mm with a diameter larger than 2mm can be printed with SLS technique without encountering this problem.
Powder Removal
As you know, very well know that SLS printing requires no support and the powder itself acts as a support for structures. Hollow sections can be printed with ease and accuracy using the SLS technique.
This reduces the overall weight of the material and hence the cost. It is a general recommendation while printing using the SLS technique that you design should at least have 2 escape holes with a minimum diameter of 5mm each for safe side printing.
If in case high stiffness is required in printing any material, parts must be fully printed solid. An alternative that one must take care of in this case is, to make the design hollow wherein the escape holes are omitted.
This way the part which will be designed would have higher weight than normal. Hollowing a part in this way also reduces warping inside that part.
Now you know some of the minute detail that is only known to those who have already printed with SLS technique. Before concluding this article let’s go through some of the pros and cons of SLS 3D printing.
Pros and Cons
- The biggest advantage while printing in the SLS technique is that you would require no support structure. As in other techniques, there are support structures required which increase the overall weight and cost of the structure. However, this is not the case here. And it’s the main reason why this technique is one of the top three most preferred 3D printing techniques.
- SLS parts and prototypes are built inside the powder bin. Here, the non-sintered parts act as the support material to the printed part. Meaning that there will be lesser efforts or none required in post-processing of SLS 3D printing. Unlike other techniques that will require you to remove the support structures and maybe damage the material a little bit, in SLS 3D printing the remaining powder needs to be only brushed away.
- While printing with this technique, a laser beam is used to solidify the parts. So, multiple parts can be printed easily. This advantage makes SLS ideal for small manufacturing units and businesses.
- In FDM, the printer can be used straightway after the printing is done. However, this is not the case in SLS printers. Parts of the printer need significant cooling to be used again.
- As the printing technique is different than others, these printers are high in cost than FDM or SLA. So, if you are wishing to start printing as a hobbyist you might wish to go for SLA or FDM over SLS.
After having looked at the pros and cons of this technique, if you have already made the mind to enter the competitive field of additive manufacturing, here’s a recommendation.
Top 3 Recommendations for SLS 3D Printer
A few years ago, SLS 3D printing was costly to the point that only industrial-grade 3D printers were designed using this process. However, with the advances, small businesses can also afford it now. Let’s have a look at recommendations.
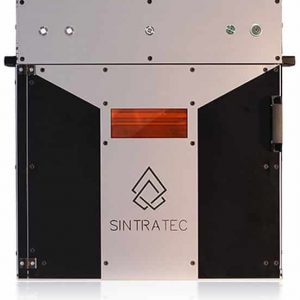
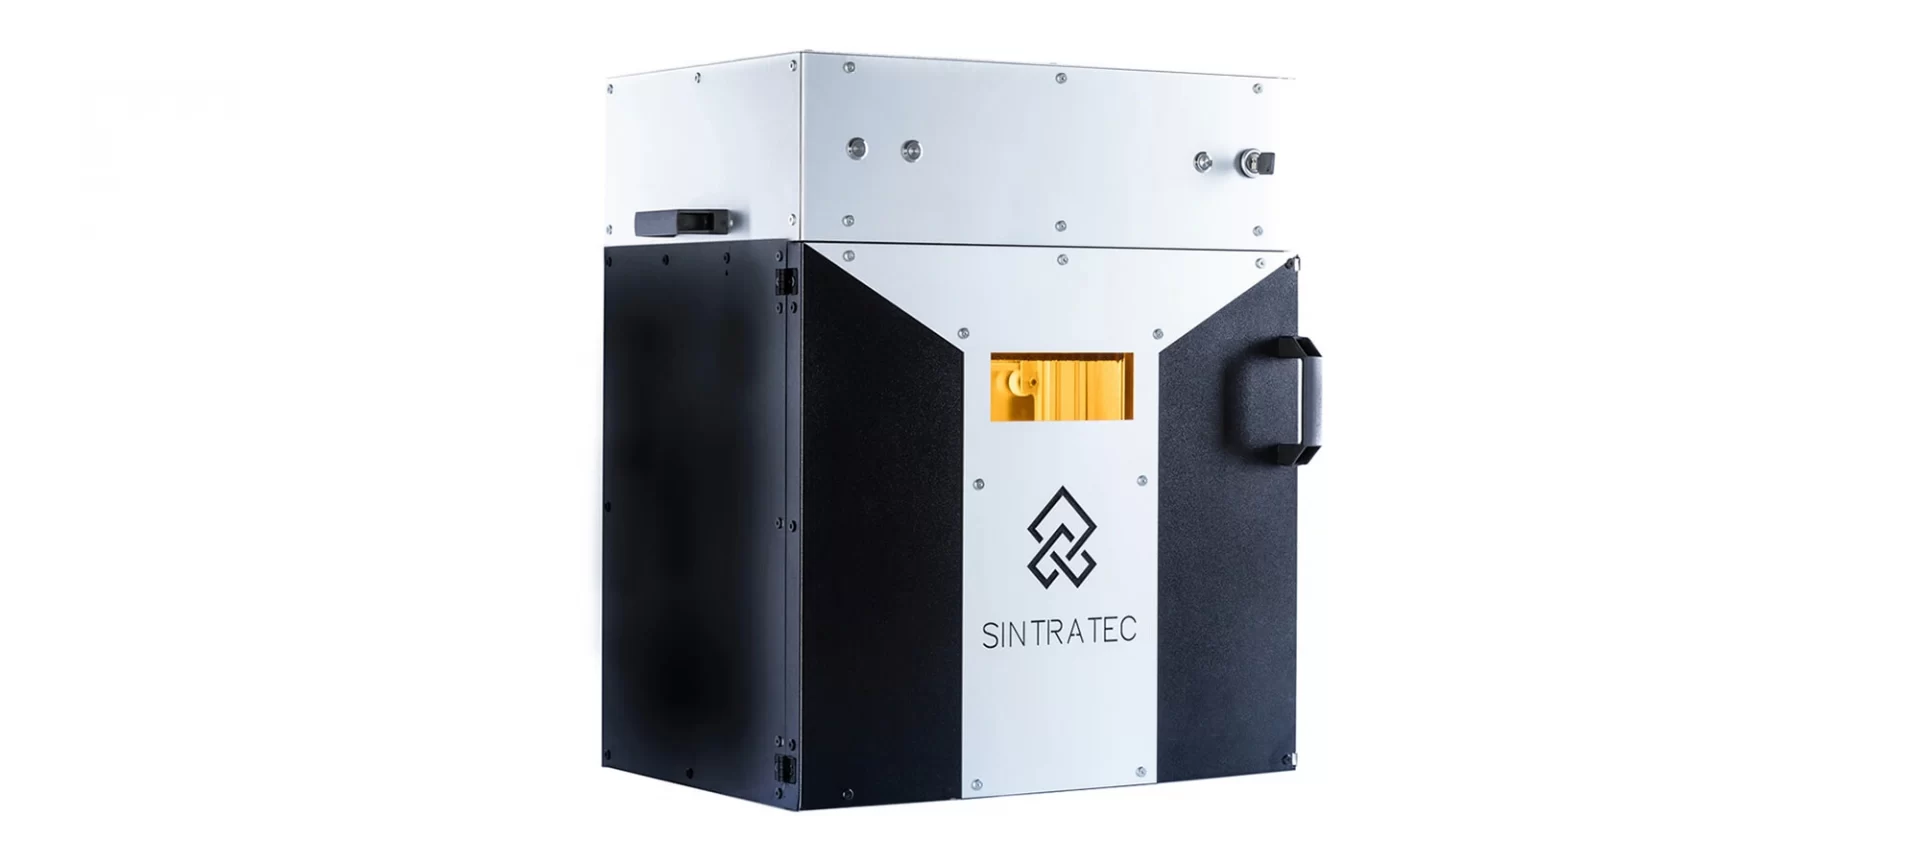
Sintratec Kit
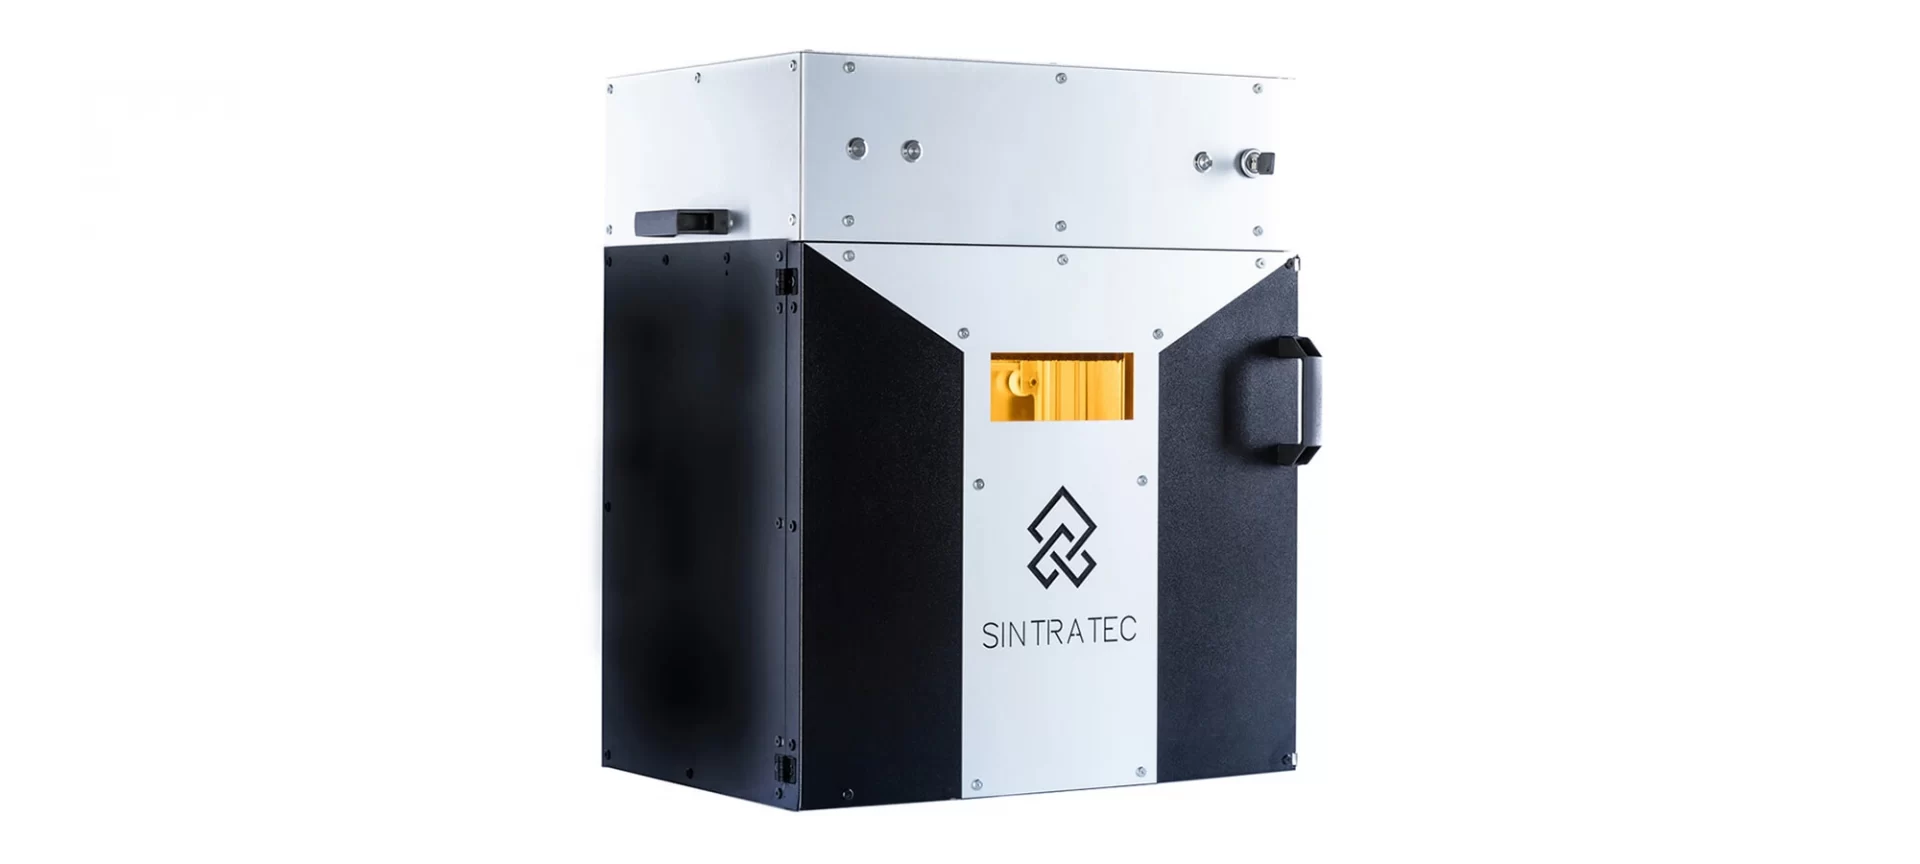
Manufactured by a company based in Switzerland, this printer is priced in the market at around $6500. It has a build volume of 130 mm * 130 mm * 130 mm.
|
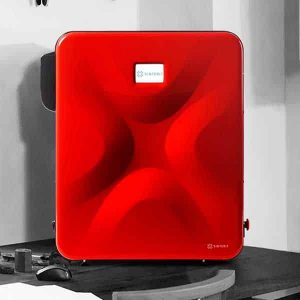
Sinterit Lisa
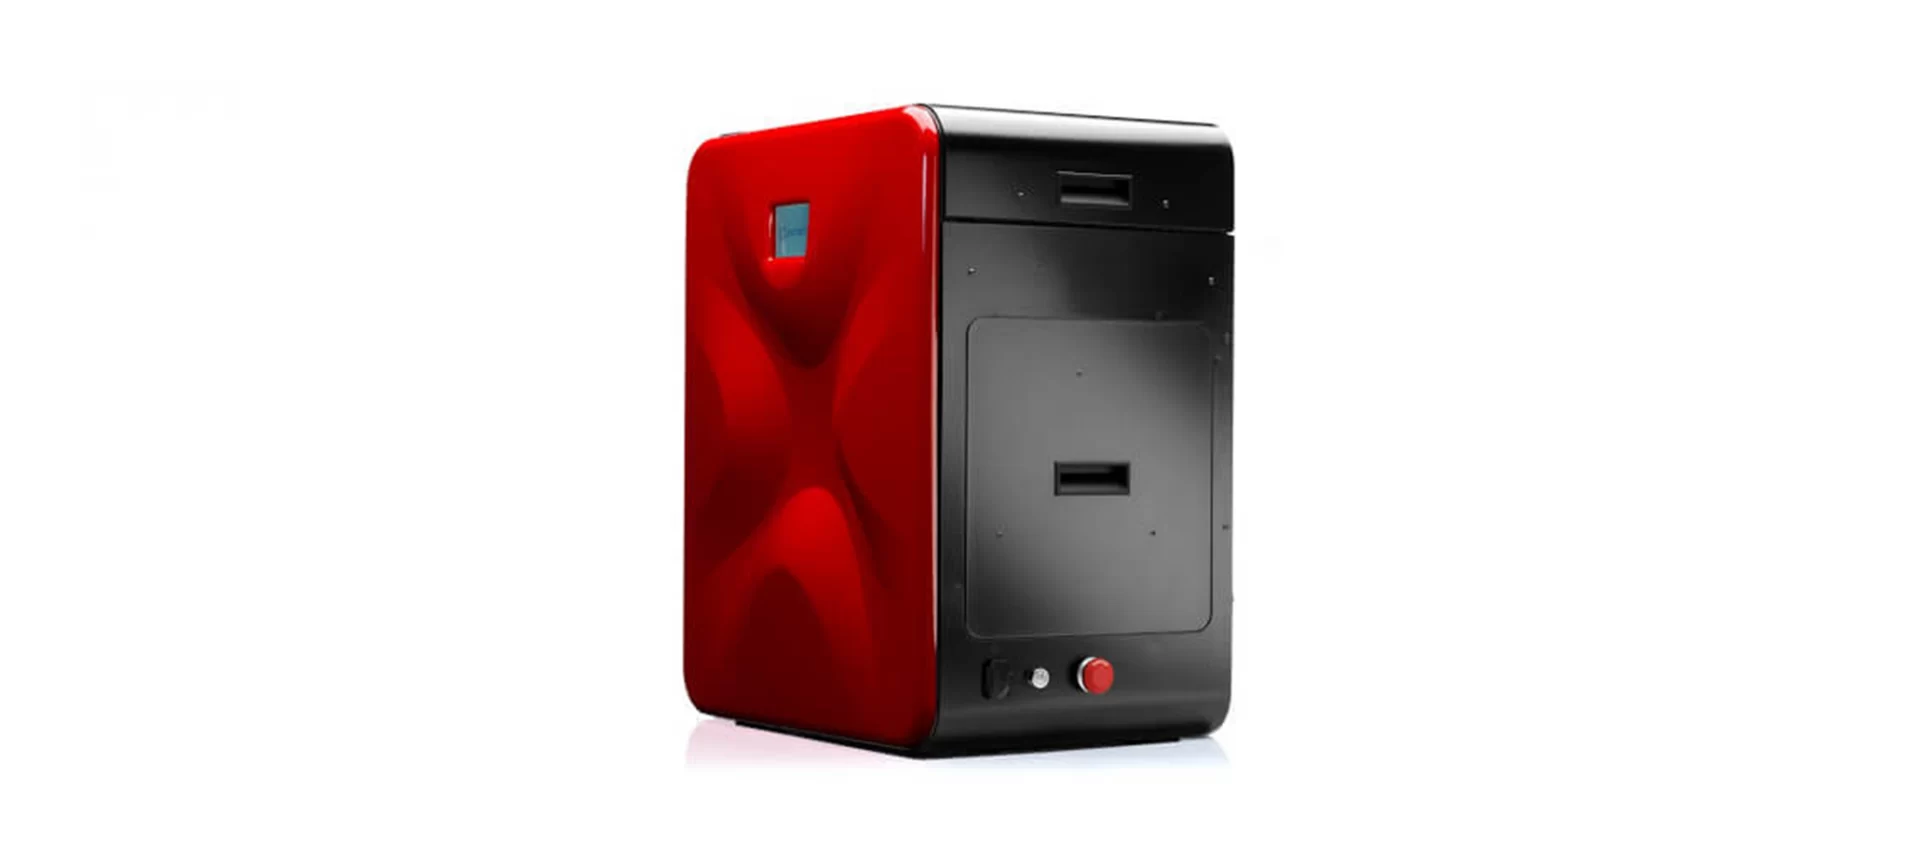
This SLS 3D printer is manufactured by a company based in Poland and is available in the market at around $7000. Sinterit Lisa has a build volume of 150 mm * 200 mm * 150 mm.
|
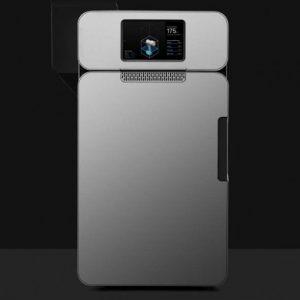
Formlabs Fuse 1
Formlabs is a company based in the USA. Fuse 1 is available in the market at $10,000 and has a build volume of 165 mm * 165 mm * 320 mm.
|
In A Nutshell
After FDM and SLA, the most preferred technique for additive manufacturing is SLS 3D printing. Like other techniques, SLS has some limitations, but its advantages account to be far more than that.
Users of this technique can print with a surety that the coming 3D part will be closest to his/her imagination.

