COVID 19 pandemic called for strict actions and every nation did what was best for their people. In the midst of all the important research and testing, wearing protective equipment in order to stay away from this infectious virus soon became the new normal.
From healthcare staff to general people, everyone started wearing these masks and respirators to keep themselves safe during this crisis. And, the trend still continues.
Therefore, it becomes important more than ever to learn about 3D-printed respirators. With demand and supply not working in sync, anytime one can be left without many options but to create one for themselves.
There are many companies that are supporting the front-line workers by filling in for supplies that often run out of extra demand. Using 3D printers, it is becoming possible to create these masks and respirators in less time. One can even customize these preventive tools to fit the needs.
Let’s find out how you can also create 3D-printed respirators at home. But before moving ahead with the guide, let’s have a clear perception of what exactly is a respirator.
What is a Respirator?
Many confuse this equipment to be similar to the usual face masks. However, that is not true. There are certain design differences along with the extra safety strength that these provide over masks.
Respirators are designed with hard-shell using the industry-rated filtration medium. Due to this, these devices are capable of removing harmful particles scattered in the air. By using a combination of one or more filters, Respirators create a safety seal to the face. Hence, allowing higher safety standards to the users.
Just remember, 3D-printed respirators do offer safety and are similar to the ones available commercially in terms of looks, but these aren’t the same.
It is not wise to use them as a replacement for certified respirators such as KN95, N95, etc. This is because the commercially available respirators are certified and must pass extensive regulatory testing. So, these are preferred over 3D printed counterparts.
But in case of shortage, the knowledge to create the device all by yourself will certainly pay off a big time. So, let’s get started already!
How to Create 3D Printed Respirators?
No wonder why many people are looking for the same tips. With increasing demand, the skills to help yourself come in handy in times of need. So, here is what you can do when unable to find respirators in the market.
Choose the Design Approved of Quality
There are a few approved designs available around. However, two of these respirators are not only easy to create but require easily available material for printing.
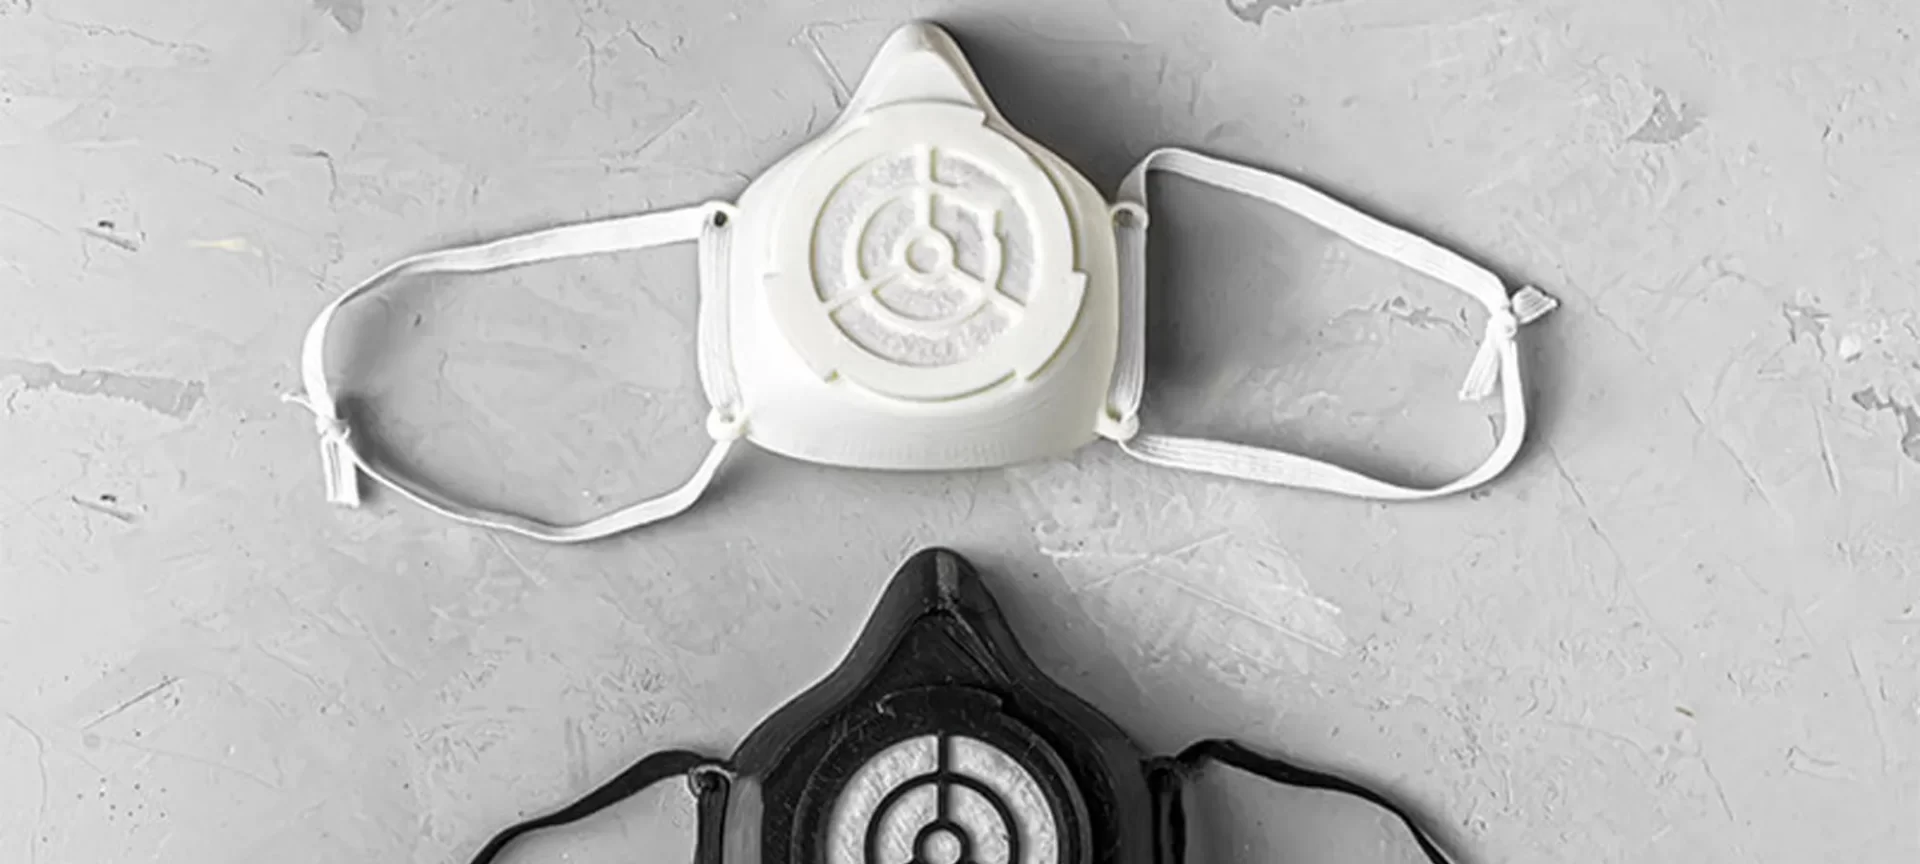
One is the Montana Mask designed by Makethemasks. And, another is from Rowan University, known as Rowan Mask. In addition, these designs are very comfortable to wear and with simple shell design and easily adjust to different face structures. Not to forget, these also use a wide range of filter mediums.
Get the Needed Material
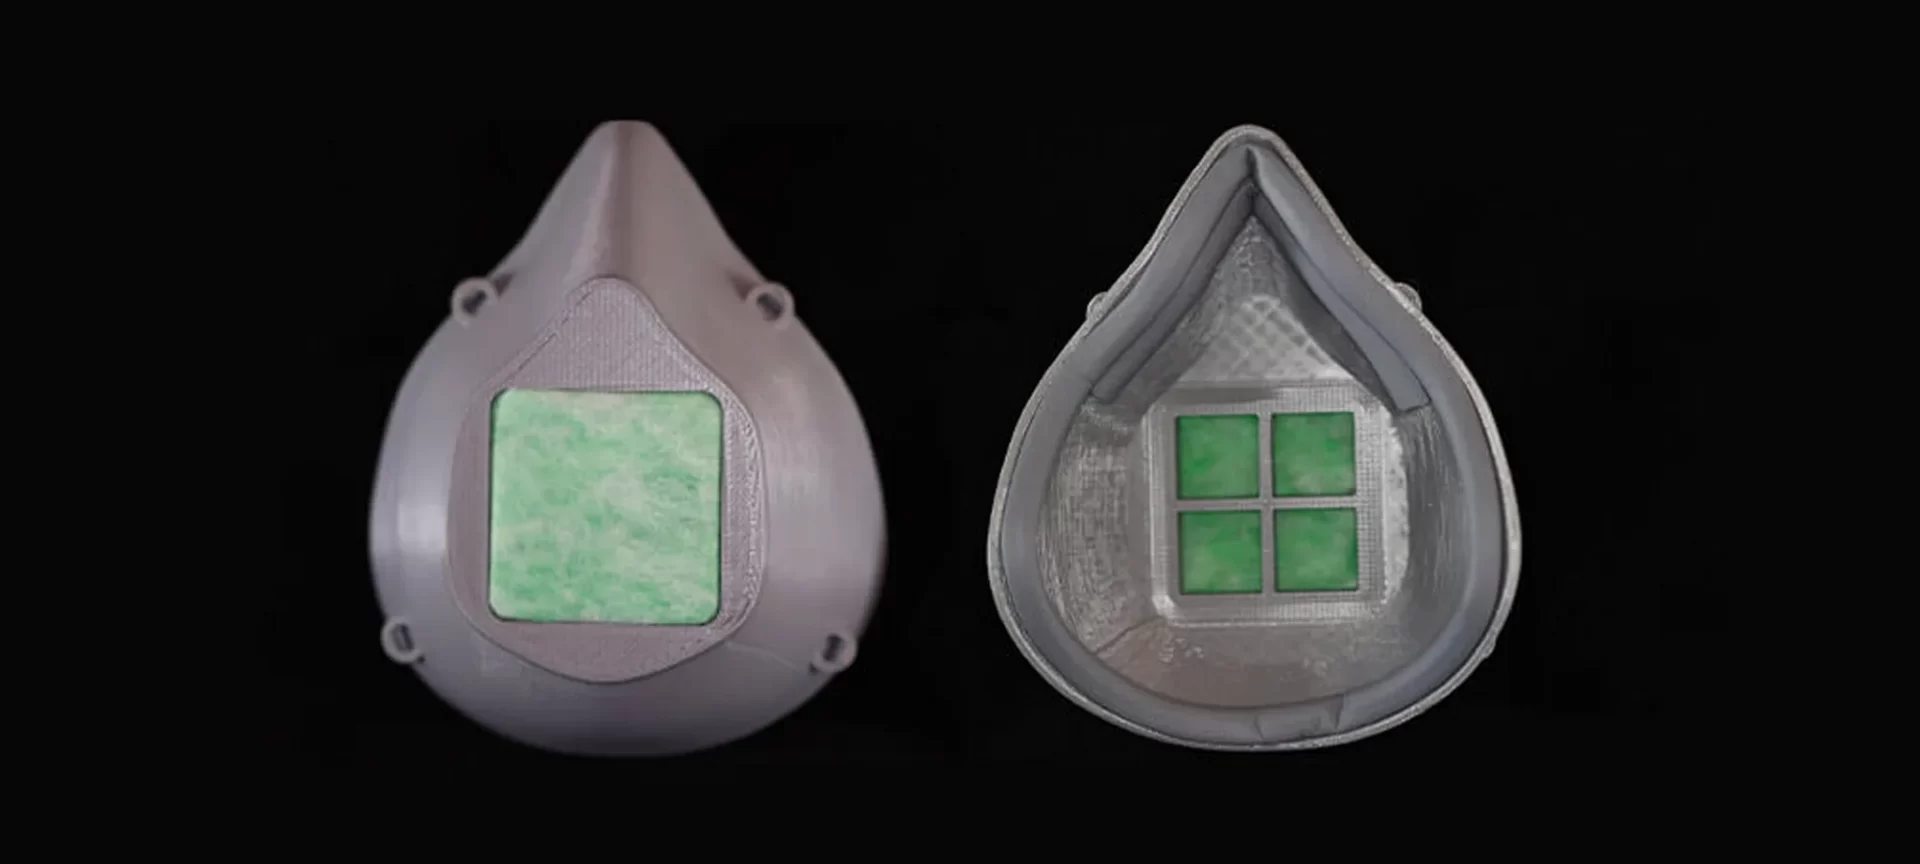
Respirators, unlike typical face masks, consist of four different parts: respirator shell, filter frame, filter material, along strapping. In addition, there are a few respirator designs that also incorporate a flexible gasket. Hence, these are able to provide much more comfort in addition to a better seal to the face.
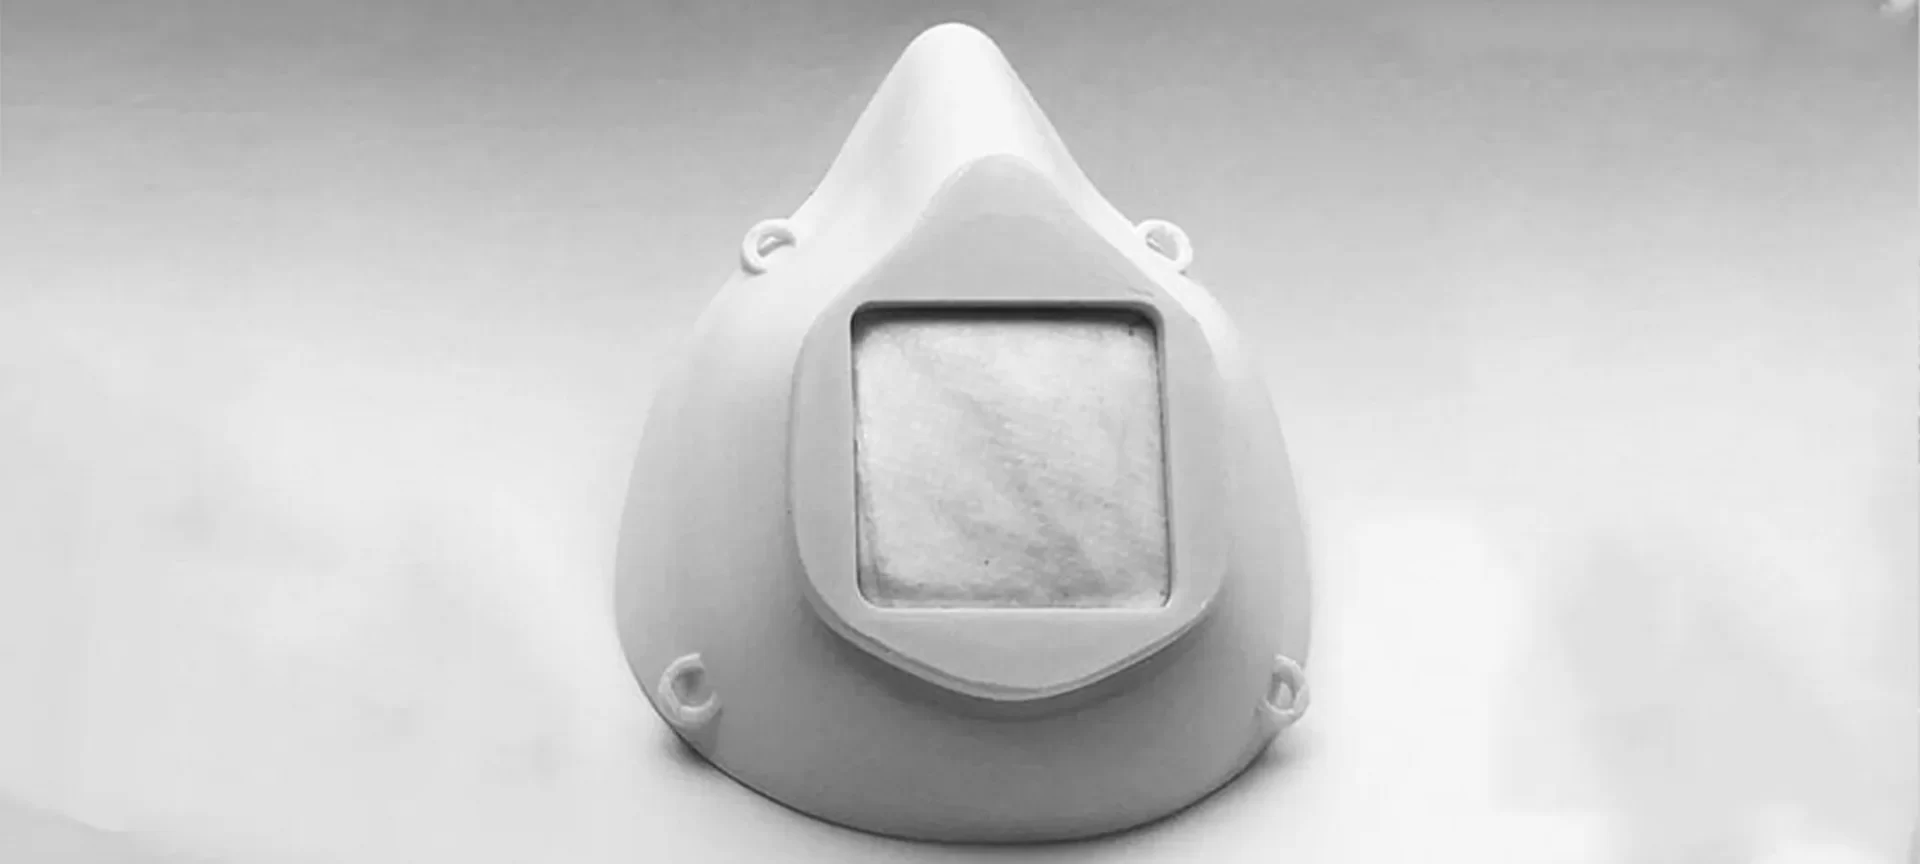
The Respirator Shell
To create the shell of the respirator, you can make use of PLA. Shell being the largest part of the complete design within respirator assembly needs extra care when printing.
Not just that, it also hosts a complex surface geometry. Therefore, choosing PLA filament allows users to easily achieve decent print quality. At the same time, with PLA’s lower melting point than other polymers, users can also warm the shell using hot water to adjust the design to the face.
The filter frame
For attaining dimensional consistency and tuning between the respirator shell and filter frame, it is advisable to print the latter using PLA too.
The filter material
Well, if you are making your respirator at home, you have got plenty of options to fill in for the filter material. For instance, it could be as common as cotton fabric. Just snap the required material from a pillowcase or a dress you do not use anymore. Alternatively, for attaining a higher degree of filtration, you can use a furnace filter.
Usually, in companies printing respirators, the common filter materials used are HEPA filters, MERV-rated HVAC filters, and vacuum bags. If you are planning to go with any of these materials, ensure that it’s not created using fiberglass particles.
Otherwise, these may pose health hazards being unsafe to inhale instead of providing safety against COVID 19 virus. To be on the safer side, use vacuum cleaner bags as these are tested for being as effective as surgical masks.
Check the Print Settings
It is important to put needed efforts to ensure that the print settings are in tandem with the design aspects. Otherwise, you may not achieve the highest print quality. Or worse, your prints may fail in between.
If that rings a bell, check out some of the best practices for optimizing your printer settings before you start creating your respirator-style models. With just a few tips, you can certainly succeed in the first attempt while making a 3D printed respirator at home.
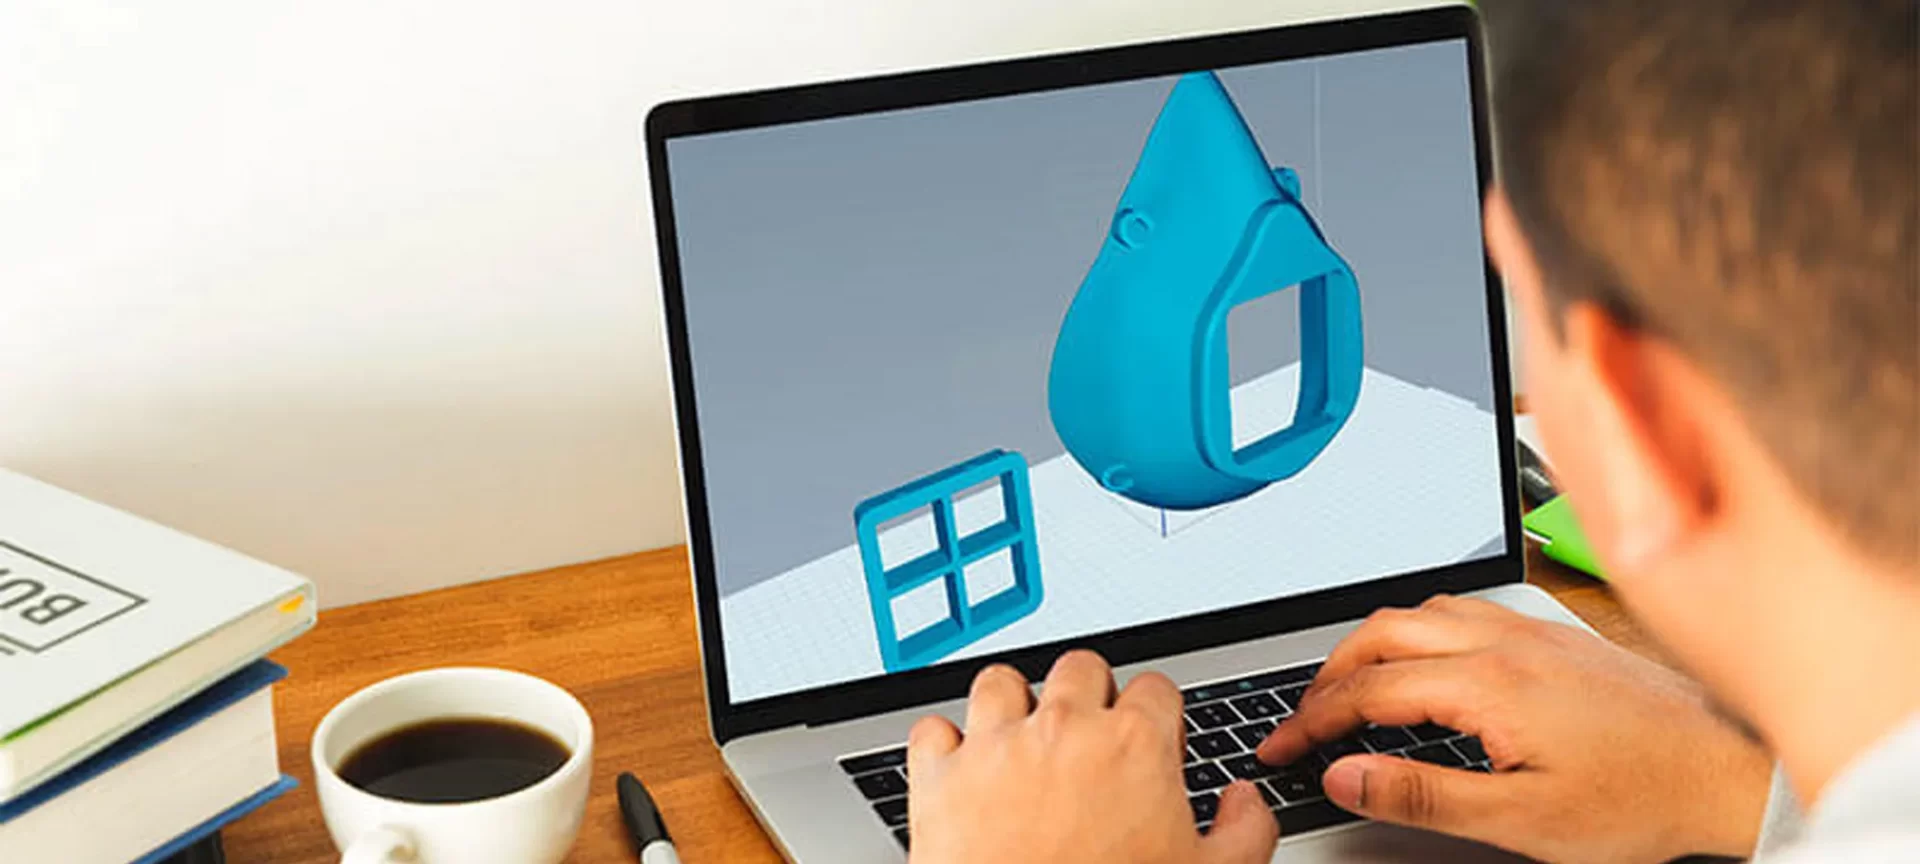
Place the Respirator Shell Upside Down
If you have noticed, the majority of the respirators have a flat section right in the shell’s front for accommodating the filter tray. This is the perfect spot to start the printing.
Being flatter, it offers the necessary cross-section for strong adhesion to the bed. Hence, you must place the shell’s flat front on the build plate. This will ensure that the first layer is firmly attached to the print bed while the other layers are deposited.
When using the Simplify3D slicer, press Ctrl with the L button. This will let you click on the face of the respirator. Following this, you can easily align the face to the build plate.
Alternatively, just double-click on the model for activating the Model Settings Panel. Once done, you can not only rotate but scale and make other optimizations to the part as per your requirements.
Use as Fewer Support Structures as Possible
When working with a well-calibrated and tuned 3D printer, it is simple to print the Montana Mask as well as the Rowan Mask without any involvement of support structures.
However, in most cases, you may come across a few print defects at certain spots when printing without supports. Such as the area near the strap attachments as well as around the nose along with chin areas.
Therefore, if you feel your printer won’t be making high-quality respirators without supports, create custom structures to help the sites needing some extra help. You can easily create custom supports for the trouble areas. Just use your slicer settings to do the needful.
Try to Use Minimum Layer Height Settings
Remember, you will be carrying this respirator on your face outside. So, you must wish to have a good-looking design. If that is the case, lowering the layer height will do the trick. Not only it will assist in improving the surface quality of your prints but will offer precise printing in the curved areas.
Do not forget to check the estimated time the printer will take to create the complete respirator in the preview window. And, tune-up the layer height to fit in the printing process within your time constraints.
If you go with our recommendation, use 0.1 to 0.15mm layer height for a great balance between surface finish and print time.
Finalize Your 3D Print
You are almost about to complete your 3D printed respirator. The parts are printed and need assembly. Once done, you can either use it for yourself or for your loved ones. Make sure you just be a little more patient to carry the assembly for getting perfectly designed respirators.
Arrange a Clean Material to Create Your Filter
If you are printing the Montana Mask, you must cut the filter into 2”x2” square parts. On the contrary, when working with the Rowan Mask, this measurement will differ. The filter cloth for the latter one is larger and must be a 3”x3” square of fabric.
In addition, do not forget that these designs make use of a filter tray. This is the component in the respirators that helps in keeping the filter material stretched tight. Or else, you may feel uncomfortable carrying the respirator over your mouth and nose when the fabric is loose across the opening in the front of the shell.
Therefore, it is important to cut the fabric large enough, ensuring it completely hovers the filter tray. Hence, eliminating any possible gaps leaking outside air inside the shell.
Personalize the Fitting as Needed
As suggested, if your respirator is printed in PLA, the fitting procedure would become as easy as a piece of cake. All you need to do is, warm the outer edges surrounding the respirator shell, meeting your face. You can also do it using a hairdryer if a hot water bath doesn’t seem handy.
Let the plastic soften a little bit. Once done, it would be easier to slightly customize the outer edges to better fit the required facial features, either yours or others. Just remember, hot plastic can cause burns. Therefore, wear gloves when you are heating the edges and fitting the same while it’s still hot.
A small tip: If it’s the Montana Mask that you are creating, you can also accommodate a gasket. Make sure the size is perfect to fit the 1/4 inch weather stripping inside the shell. This will help in creating a tighter as well as highly comfortable seal to the face.
Make Sure to Disinfect the Respirator
Either you are creating the mask for yourself or for someone else, disinfecting it before use is very necessary. Among the various ways to disinfect the complete assembly, the one most accessible for home users is bleach.
To use the same, just submerge the respirator shell along with the filter frame in a 10% bleach solution. Let this stay for about 5 minutes in order to get rid of any possible contamination.
Take the respirator out and it’s ready for use. Try the respirator once dry. If it fits perfectly, you have successfully created a 3D-printed respirator. Isn’t that an achievement in itself amid the COVID pandemic? You can also share these masks with your friends and family or with those in need.
The Conclusion
We keep talking about different functional models that 3D printers can create. And, the list keeps on increasing. There was a time when these machines only produced prototypes. Not just that, the limited accessibility and higher cost kept these printers shut inside the doors of large-scale industries and research settings for years.
However, with time, things are changing. Parts as complex as 3D printed respirators are now possible to print using simple desktop printers. Not just that, one can use the cheapest and beginners’ friendly material, PLA to print these parts.
That is a huge leap for technology towards development. Sooner, we will be able to make more things and 3D printing sooner will be mainstream.
Till then, those who own 3D printers must contribute during the pandemic with what is the most common need of the time, respirators. Especially, when using the proper guidelines and approved designs, it’s actually not that difficult to create 3D printed respirators.


