3D printing is a very interesting technology. Anyone who comes across the term ‘additive manufacturing’, wish to explore more.
For a few, it may seem like an automated process that does not require much effort from users. But the story is completely different.
Those who are experienced would know the various 3D printing errors that make the technology complex with a steep learning graph.
Sometimes, even the easiest looking models refuse to go as planned. We all have our fair share of challenges. But some face these issues more than others.
Learning and starting to 3D print is not an easy job. For beginners, with no prior expertise, these errors could become the greatest challenge.
Hence, it is important to find out these problems that are common in 3D Printing.
And, as you would know, only finding the problem won’t fix it, we must find out solutions for those too.
Therefore, find out the most common 3D printing errors and the hacks to tackle those issues.
The article lists some of the most obvious and often occurring troubles that may put your work at pause.
Most Common 3D Printing Errors
Either you are a beginner or an experienced 3D Printing user, getting trapped in between a print is not something rare.
We all go through such problems when 3D printing. Sometimes our prints won’t stick to the surface and other times, it may start oozing.
These do seem scary. And, trust this, those who go through these troubles every now and then, feel frustrated and drained out of options.
However, the good news is that there is always a solution. If you know how to tackle these issues, you can easily avoid most of them.
And, if these do occur, you can tinker with a few settings and fix the problem yourself.
So, let’s start with the 3D Printing errors that haunt users and make it difficult to 3D Print their favorite models.
Print Stuck with No Filament to Move Further
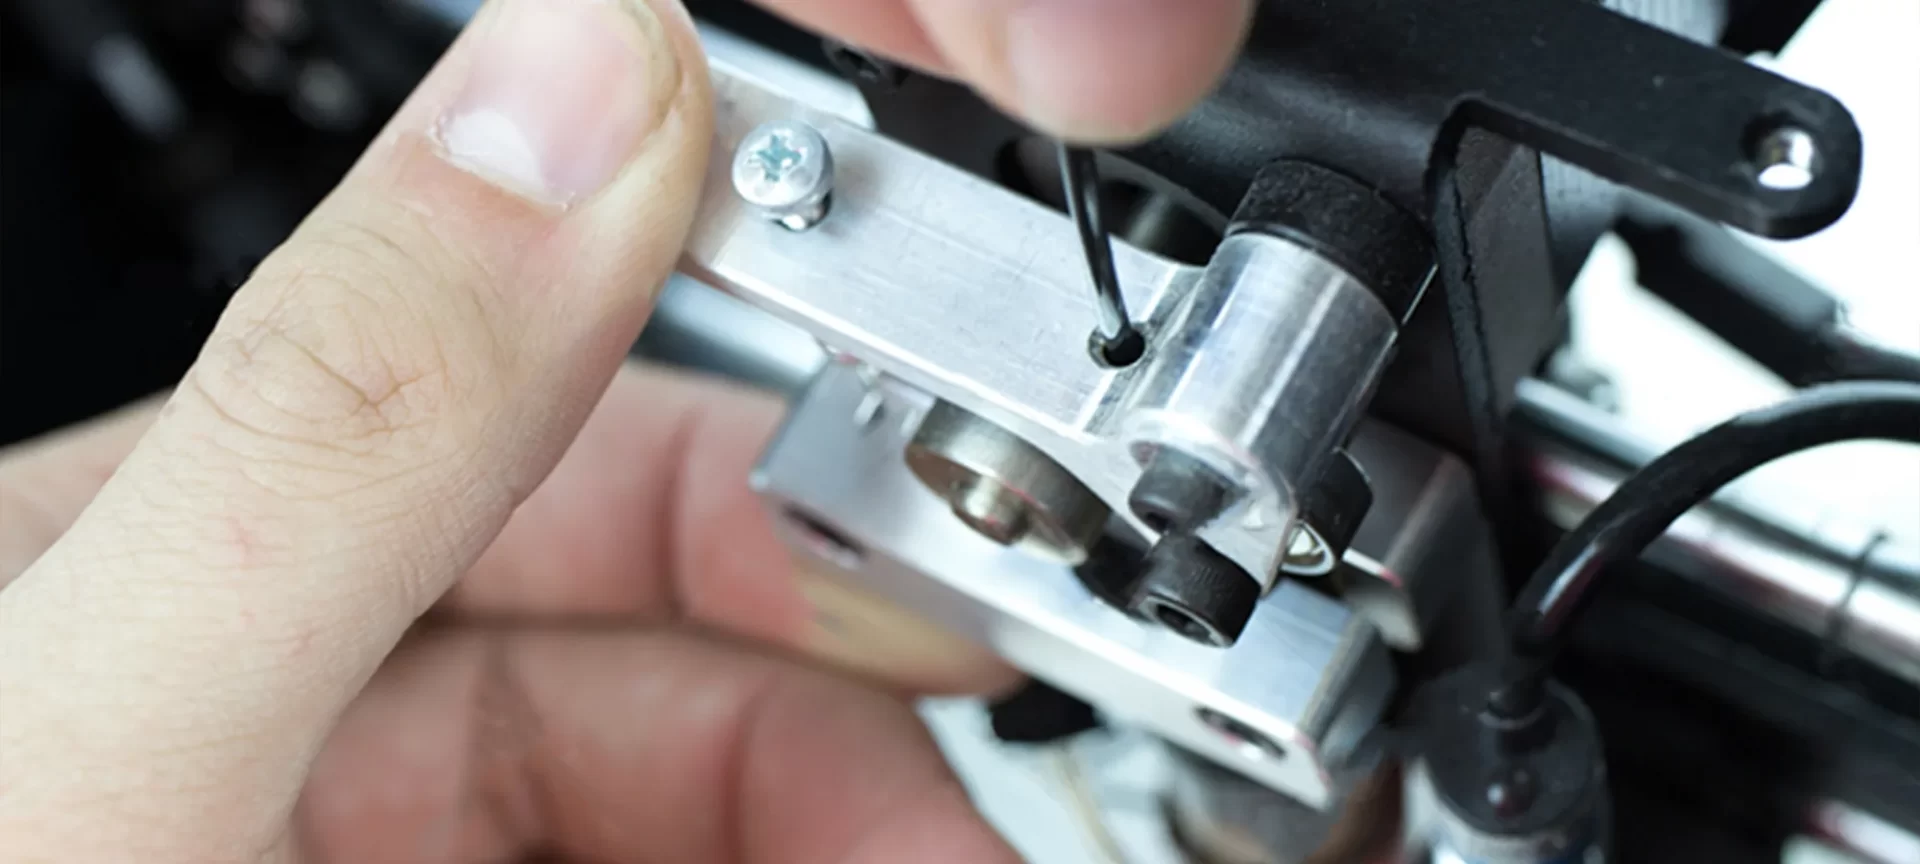
Getting out of filament seems like a very obvious issue. And, why not? Every 3D printer has limited spool space.
For larger and denser models that require more filaments than usual, keeping track of the remaining filament spool is very important.
Some printers offer a complete view of these filament spools. However, others either hide the filament spool to the back of the 3D printer or inside the machine.
In these cases, users may forget to keep a check on the filament spool when not in direct view.
In such cases, the 3D printer often stops, and some even crash. Heading users to a dead end. In the worst-case scenarios, one may have to restart the entire printing from scratch.
Hence, to ensure that your models do not have to go through such problems, you must always keep an eye on the filament spool.
If it seems to be running out, pause your print and refill the spool for uninterrupted printing.
Those, who believe that staying vigilant isn’t their cup of tea, can go for smart 3D printers that offer automatic filament detection sensors.
In these machines, the printing stops as soon as the filament spool ends. Right after users refill the filament spool, the printer resumes from where it stopped printing.
Unwanted Strands Around the 3D Model
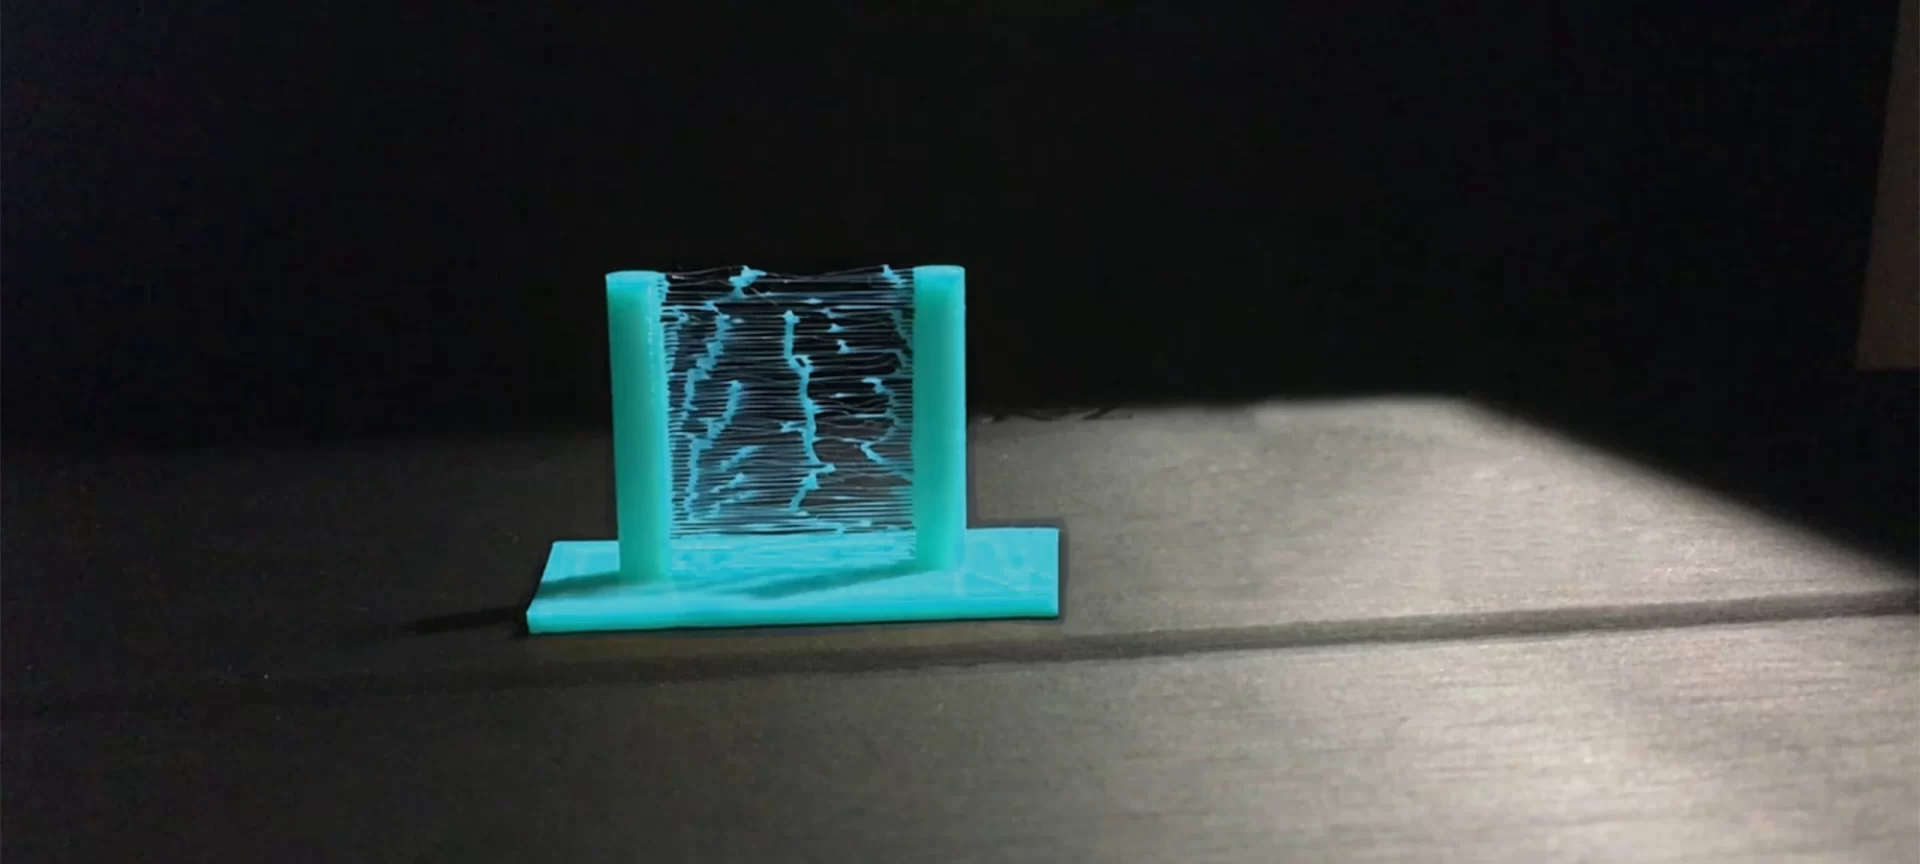
Stringing is a very usual problem that every 3D Printing user goes through once or a few times before mastering the solution. So, what is ‘Stringing’?
3D printing stringing happens when cob like strands surround the 3D print and ruin the complete model. This occurs due to the leakage from the printer head.
The filament leaks and forms strands where it should not deposit filaments at all. The end result could be very terrible.
Most of the time, it is impossible to correct the design through the post-processing methods as well.
To avoid stringing of filament, one may try twigging the temperature setting.
However, this isn’t a permanent solution and the problem keep coming back, usually with a change in the filament type.
So, for a better and most apt solution, users must enable the retraction setting of a 3D printer.
This setting will retract the nozzle before it would start moving. Hence, the filament won’t drip where it shouldn’t.
Blocked Nozzle
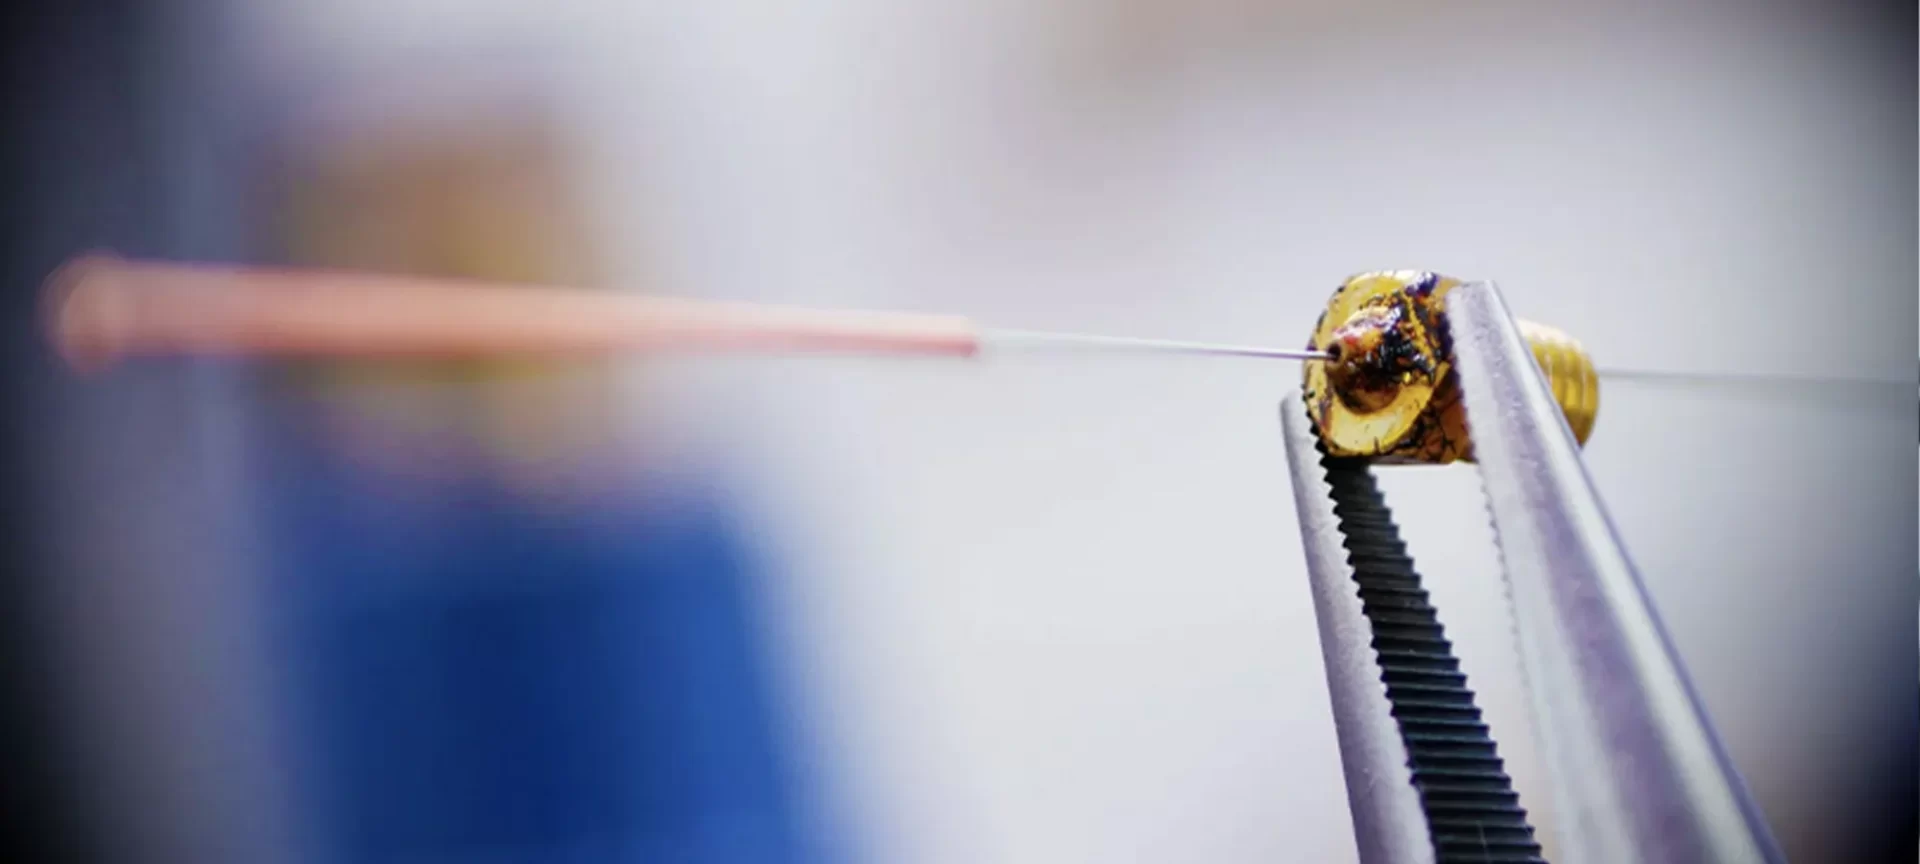
This again is one of the very common 3D Printing errors users encounter when working with 3D models.
This happens when you try to print and nothing comes out of the nozzle.
If the filament spool isn’t out of the material, it certainly has to do something with the blocked nozzle.
The problem occurs for many reasons. For instance, the materials from the previous print may harden and stuck inside the nozzle, not letting the filament to pop out. Dirt build-up can also cause the same problem.
Hence, to get rid of the blocked nozzle, you can use a small pointy needle and stuck it inside the nozzle head to break the dirt into smaller particles.
This would come out with the heated filament when you will start your next print.
Or, there is one more way to get this done. When this procedure won’t work, try the cold pull solution for the stubborn 3D printing error.
In order to make the cold pull, start heating the nozzle to 250 degrees Celsius.
Later, just pass the filament through the hot end to clean the previously stuck material. Make sure to cool the hot end before you start printing the next model.
There is one more way to get rid of the stuck dirt. Simply remove the nozzle head and clean it with solvents.
For instance, materials such as ABS and PLA can dissolve easily with the help of ethyl acetone.
By keeping the nozzle dipped inside the solvent for a few hours, you can clean the clogged nozzle easily.
The Staircase Problem
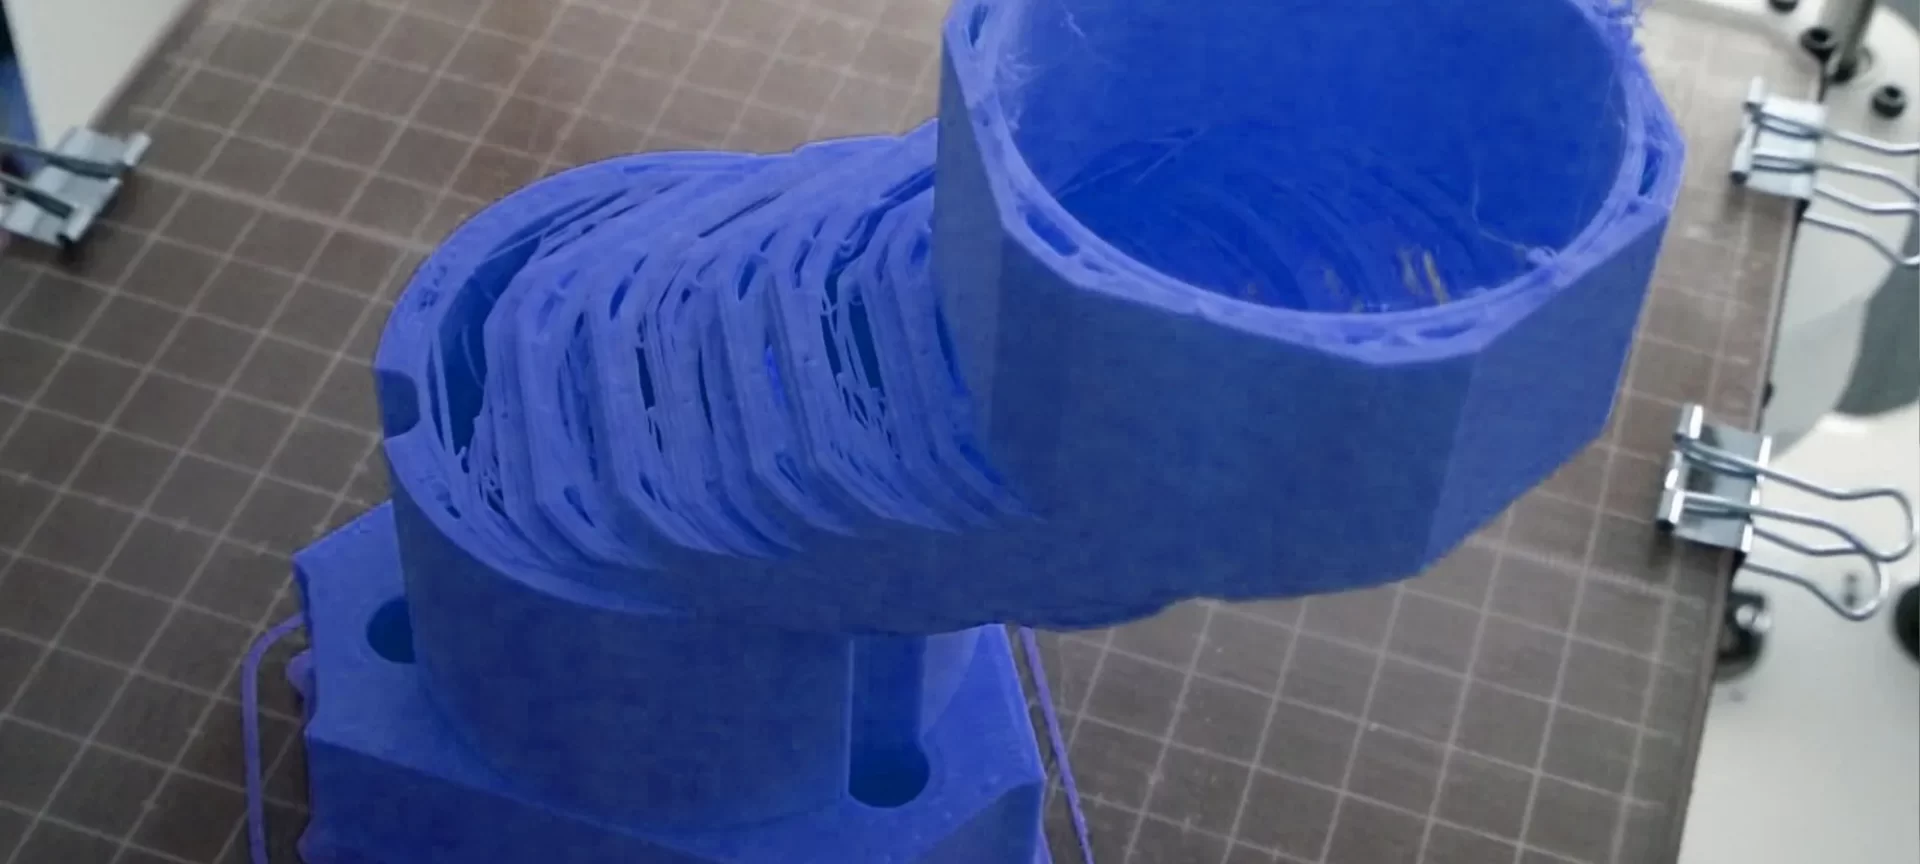
Nothing can daunt a 3D Printing user more than the staircase look of the model. Yes, it does seem to be one of the most frustrating 3D printing errors.
The issue distorts the entire design and ruins the 3D model for worse. There is no way you can correct the problem once it is done.
So, how does it happen? The staircase look arises when there is an issue with the X/Y motion of the extruder.
In most cases, it may start occurring with no care for the proper maintenance of the machine.
The layers are misaligned and you can feel the shift in the layers every time a new layer is created.
If you want to fix the issue, start with checking the belts and pulleys of the 3D printer and ensure that they aren’t loose. With regular use of the 3D printer, these do need time to time tightening.
As is the case with any other mechanical part, these also start slacking with time. And, giving a hand to tight them back can get the work done in most cases.
Another reason for layer shifting is the collision between the printer head and the model.
In your case, if this is what is making your projects suffer, just lower the travel speed of your printer’s nozzle.
Alternatively, you can even allow the Z-hop setting of the printer on the slicer set.
This will enable the nozzle to skip through the already printed area, avoiding a collision.
Weak Model Infill Pattern
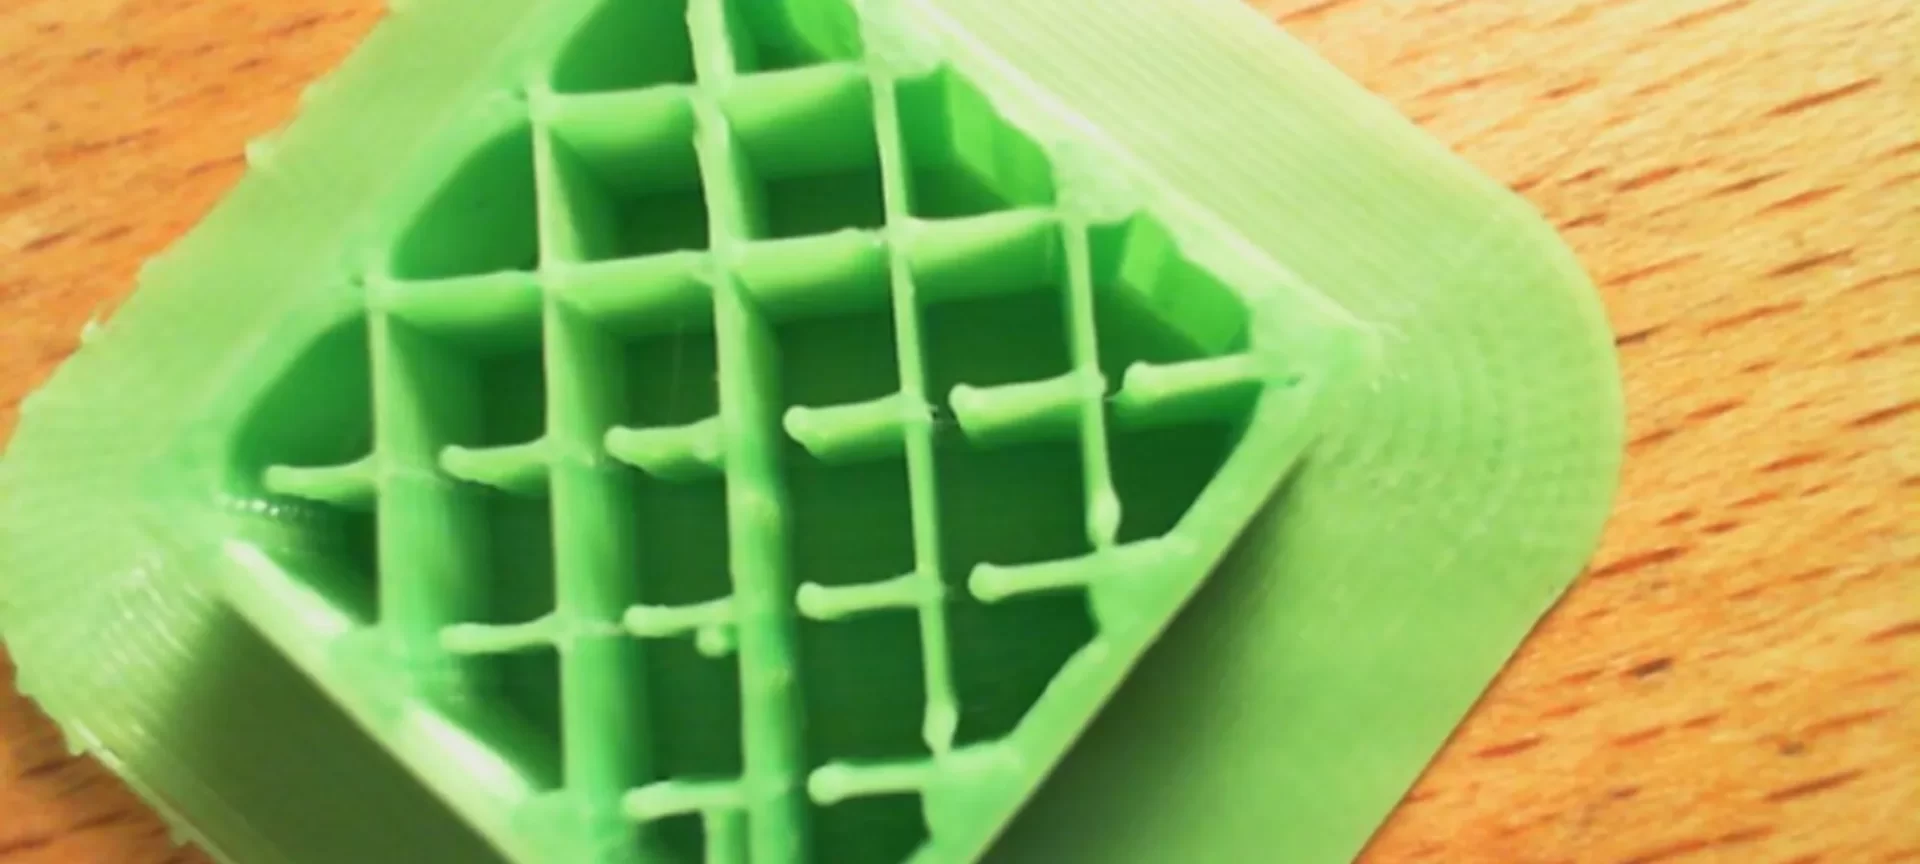
Every model’s strength is based on its infill strength. These infill patterns are responsible for keeping the outer shell connected and saving the upper surface from collapsing.
If you do not take care of the infill patterns, a weak interior design may result in a weaker overall model.
The weak infill pattern will make your final model flimsy and easy to break. Hence, you must take extra care for providing a robust infill pattern. You can select a variety of infill patterns from the slicing software.
Choosing patterns with lower hollow spaces would allow for a more solid model.
For instance, how about trying the triangular pattern. You can also go with the honeycomb infill pattern.
When you are selecting the infill pattern, do not forget to lower the print speed.
This will help avoid the cases of under-extrusion when printing the infill pattern.
In any case, when any of these tricks do not work, try increasing the width of your choice of infill pattern. The setting is available in the 3D printing software.
Over Extrusion of the Filament
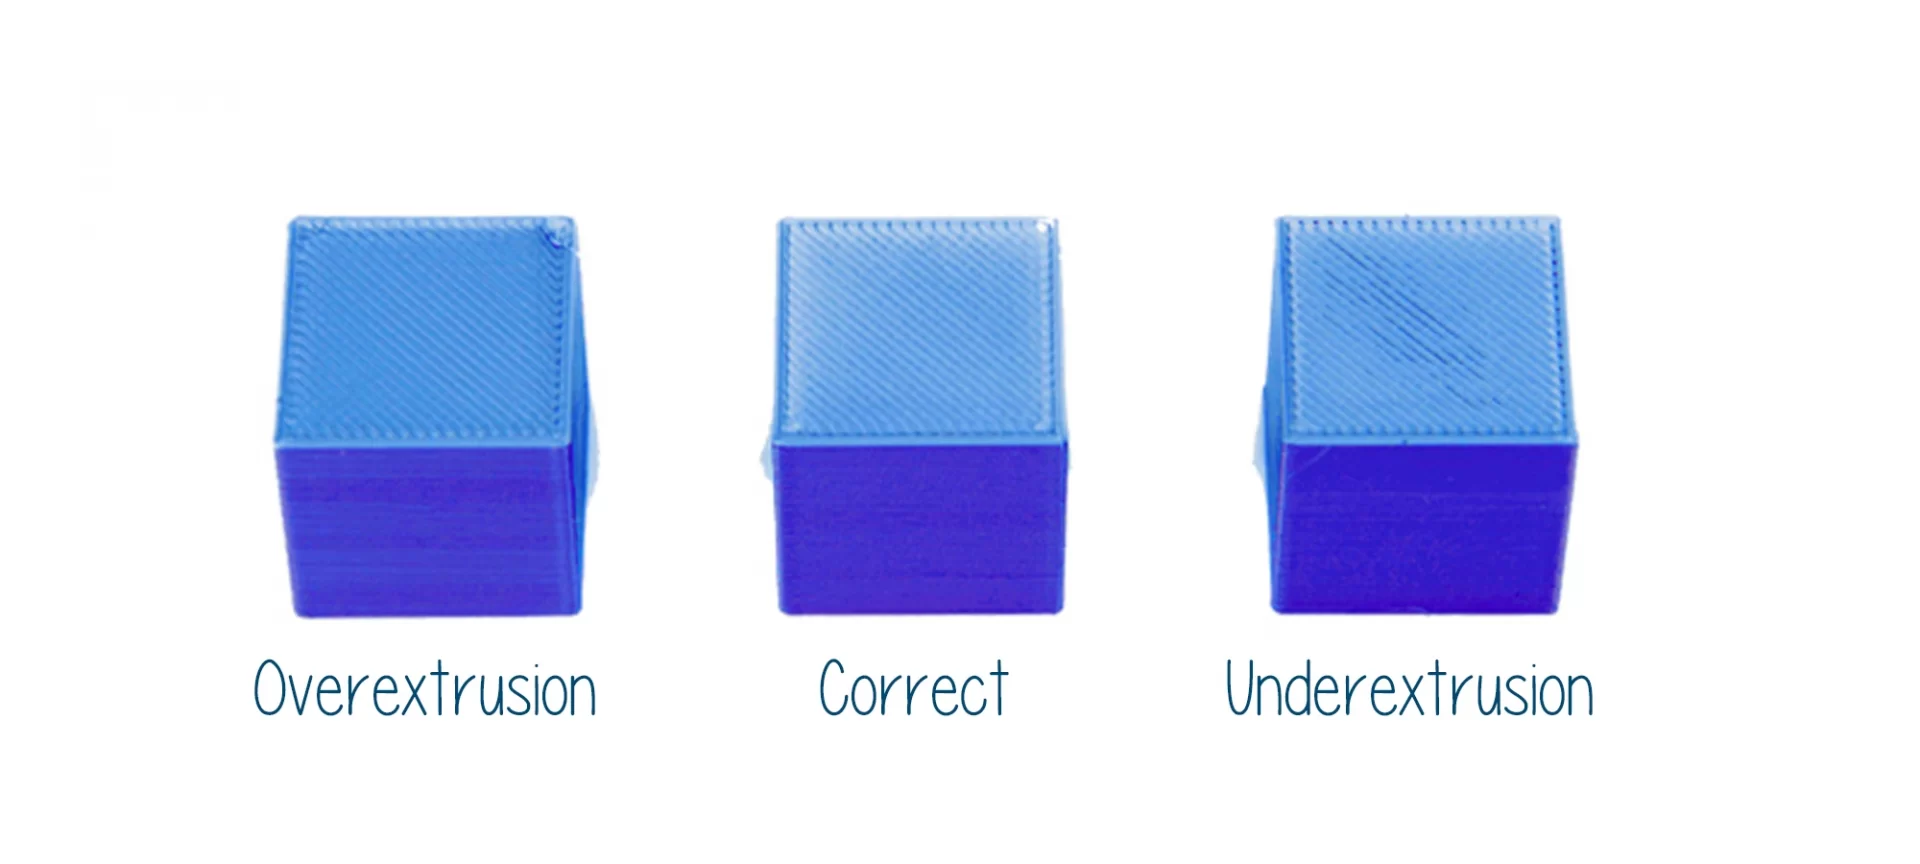
Apart from the many common 3D printing errors, over extrusion seems to be a lot easier to tackle. But it could become trickier impossible to handle sometimes.
But the good news is that there is always a solution to every problem in 3D printing.
Over extrusion can be handled and there are a few tricks that would help you ensure that the issue is gone for good. But how to find out that the 3D printer is over extruding?
Well, you would see it right away. If there are signs of stringing, as described before, there are higher chances of over extrusion.
You may find the printer head extruding materials when not needed. Or, extruding in excess. How can these signs be hidden from anyone?
So, once you have found the problem, you must work out the right solution instantly.
The first setting you must tinker with is the extrusion multiplier. This 3D slicer software has a flow setting that manages the rate of the extrusion of the filament.
Try plummeting the setting by 2.5%. If you still feel the problem persists, again plummet the rate by 2.5% rate.
Do not decrease with a higher rate right away. Keep your increments consistent and low.
If this trick isn’t working, lower the print temperature. Many times, faster filament melting causes over extrusion.
Controlling the temperature to the right settings would help get through this problem.
Make sure you lower the temperature with consistent increments of 5 degrees Celsius. In every setting, this is the thumb rule you must not forget.
Changing settings drastically may get out of control. So, make smaller changes and note the difference in the results to ensure you achieve proper settings.
Printer Head Extruding Inconsistently
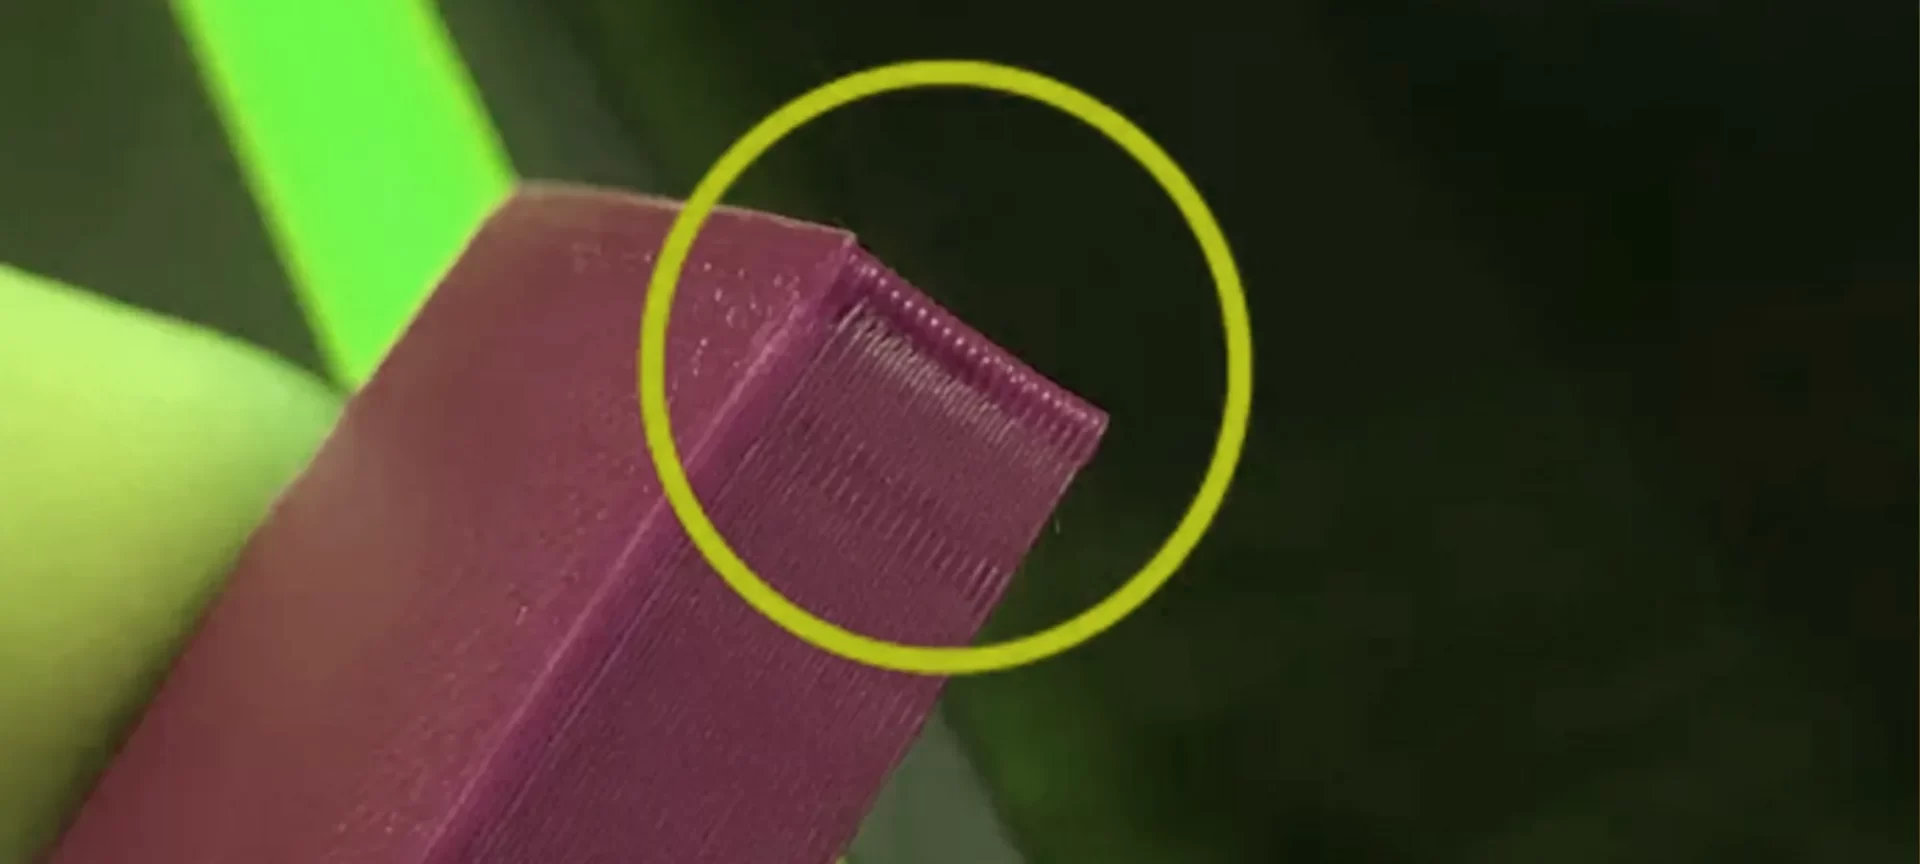
Smoother printing experience comes along with consistent extrusion of the 3D printing materials.
In case, these materials aren’t extruder properly, and causes inconsistent extruding, the end result may ruin completely.
It directly affects the appearance of the models. To find out if your 3D printer is going through this 3D printing error, simply investigate the issue closely.
Try to 3D print a straight line. If the line is distorted, bumpy, or broken, your issue is related to inconsistent extrusion. Many times, this problem is because of the tangled filament spool.
So, before trying any other hack, ensure that there is no tangling of the filament spool in use. The filament must move freely in order to provide a smooth extrusion.
Also, you can try applying some lubricant to ensure that there is not much resistance and the filament is able to move freely.
Another reason for such a problem is the blocked nozzle. Hence, check the print head for impurities and follow the resolution discussed above for the blocked nozzle to get rid of the issue.
If everything seems fine, it may be the quality of the filament you are using. A low and cheap quality filament can also lead to such issues. So, you must buy your filaments from a reputed manufacturer.
The Conclusion
While 3D printing is the most innovative technology of its time, it can become frustrating to use the 3D printers when encountering printing issues.
These problems ruin the models and lead to the wastage of material, time, and money.
Hence, one must be patient when working with 3D models. Mastering the art of solving 3D printing errors takes experience.
You cannot expect to print smoothing right from day one. So, try out the different tricks and solutions and learn with time.


