Additive manufacturing technology has surprised everyone with its nuances of perks it offers to its users. From complex models to precise details, technology makes things possible in a matter of time.
However, getting caught up into common 3D printer problems isn’t too rosy. Rather, it could be highly infuriating. How about you start working on your 3D model and find out that the nozzle is blocked? You may have to wait a little more to get things working properly before you could start your printing project.
There are certain problems that are easy to tackle. However, there could be many other problems that may be too stubborn to go on its own. And, who likes to lose time and effort when not able to get the desired model after carrying the compete for the printing process?
Hence, it is always better to find the root cause of such common issues associated with 3D printers and work in advance to ensure there are minimal to no chances of occurrence of these setbacks.
In this article, we will be outlining some of the major and most common 3D printer problems and their probable solutions. Hence, offering you a better understanding of unexpected situations that may arise when working with these amazing 3D printers.
List of Most Common 3D Printer Problems
As stated before, 3D printers do have a lot of potentials, but only when, used correctly. You cannot just start the machine and print whatever you need. For smooth experience and without your machine getting into hiccups, you must ensure that you are well aware of the common issues connected with 3D printing.
To give you a more thorough outlook of what you may expect, here are a few common 3D printer problems that often bug users when printing 3D models. Also, with each problem, we have included the solution for the same.
Incorrect Selection of 3D Printing Process or Material
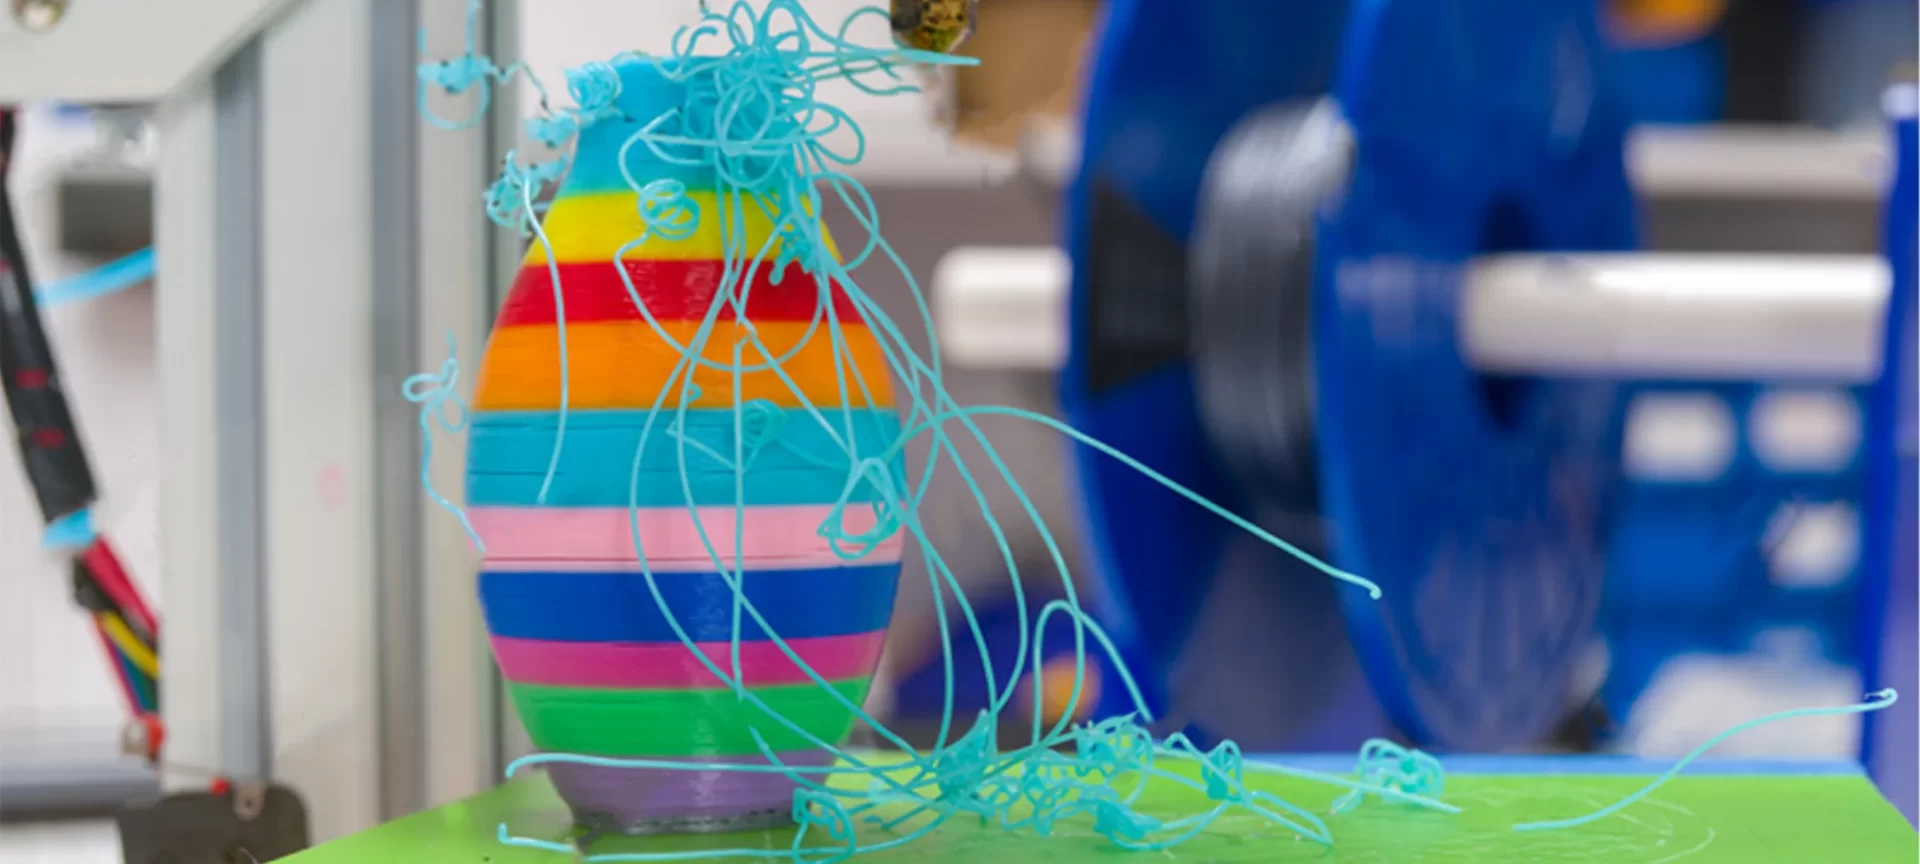
Every 3D printing process has its own set of perks and few limitations. Likewise, the same goes for the materials you choose. For instance, FDM 3D printers are the most affordable choices and provide easy workflow when compared to other printers.
But you cannot achieve the amount of accuracy and preciseness as you can accomplish with SLA or SLS 3D printers. These technologies are capable of creating isotropic models where layer difference is not visible. This is not true for FDM 3D printers though.
On the other hand, SLA 3D printers are slow and costly to own. And, these often are difficult to manage. Also, the materials used in different 3D printers vary.
While FDM 3D printers use a filament, which are polymers such as ABS, PLA, etc. However, SLA 3D printers work with resins. And, SLS 3D printers make use of powder. There are other technologies as well with different material options such as metal and other alloys.
So, you must choose the technology that is compatible with the material you wish to work with. When making the selection, there are many factors that come into play.
These materials offer varying physical and mechanical properties to the 3D models. Likewise, the choice of 3D printing process also ends up with varying model’s properties.
When selecting the right one, you must gather enough information about each process and material. This way you can avoid ending up with an unwanted 3D part.
Stringing is Very Frustrating
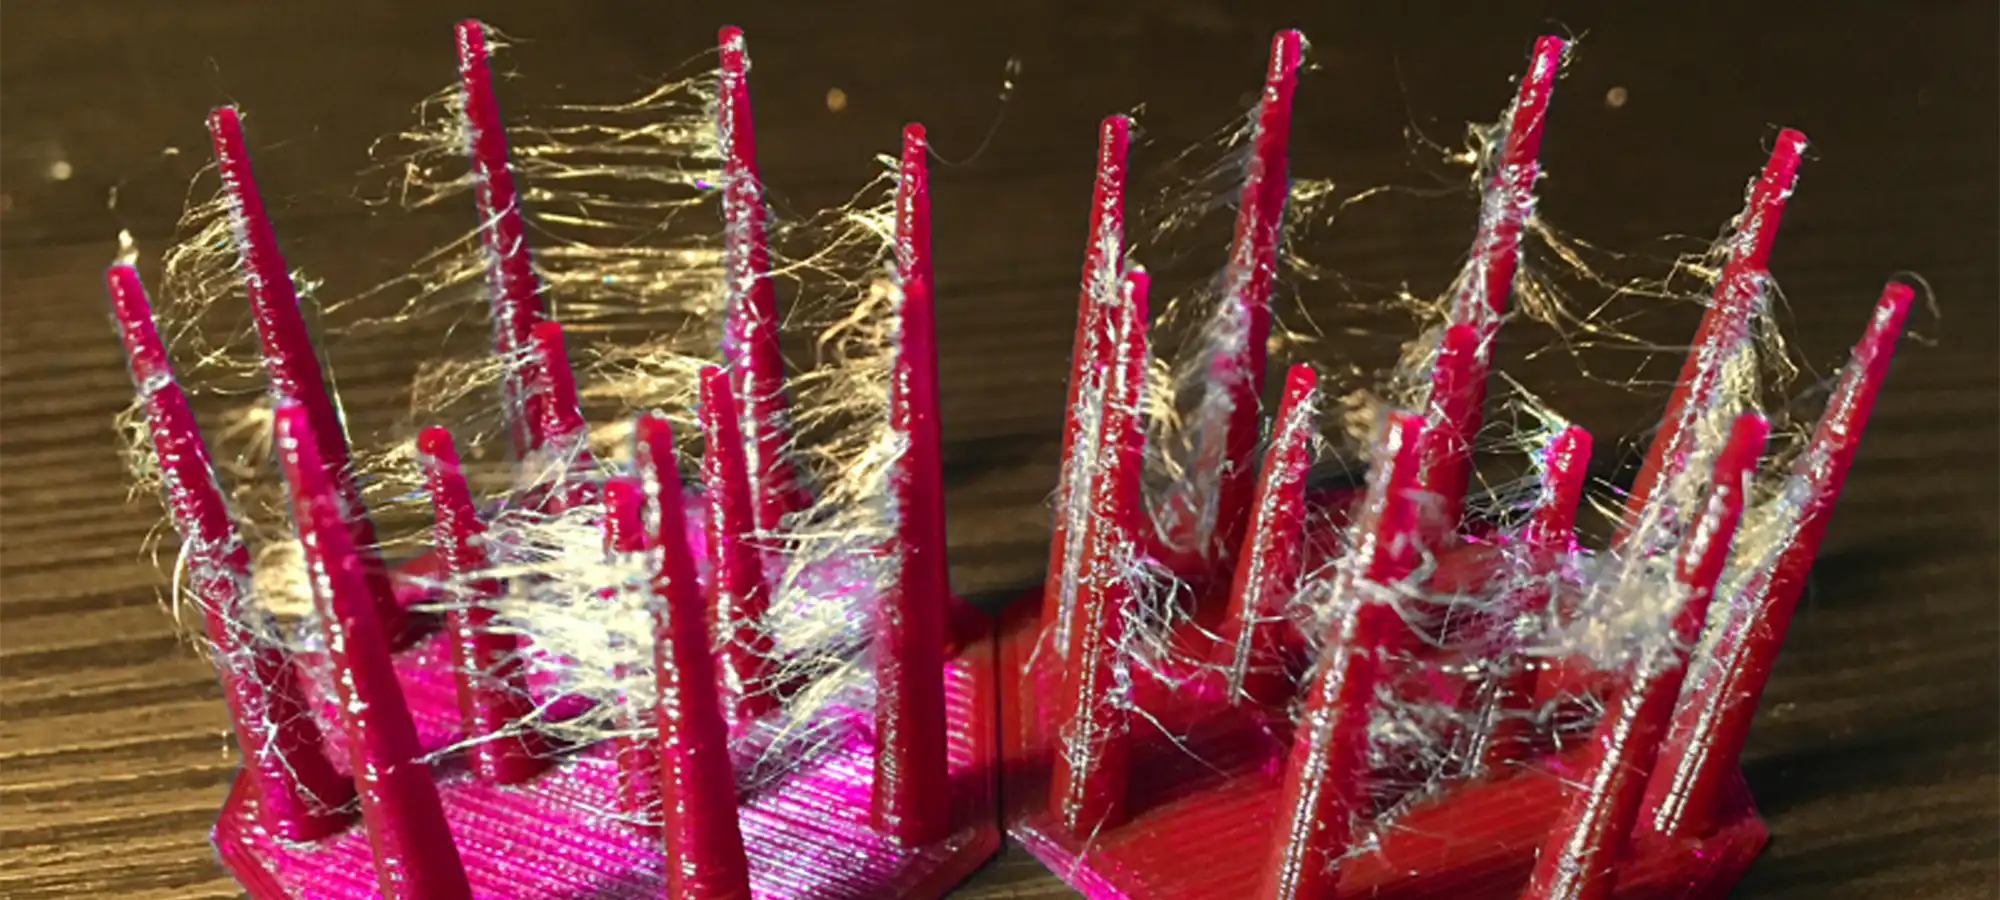
Isn’t that true? FDM 3D printers are the ones that are prone to this problem, stringing. What exactly is stringing? Stringing results in strings of plastic woven around the printed part.
This happens because of the leaking of filament where it is not required. This not only makes your print look terrible, but your parts may not be usable at all, even after post-processing.
There are a few ways to stop this from happening in the first place. You can tweak the temperature settings and test your prints with a few degrees change in the temperature. This may be a quick fix for simple 3D models.
However, when the models are too complex, you may have to look for other solutions. And the best way to do this is by enabling the retraction setting.
When the setting is turned on, the filament retracts back inside the nozzle until the nozzle head starts moving again. Hence, ensuring that the leaks are in control and filament are not deposited when not necessary.
First Layer Adhesion Problem
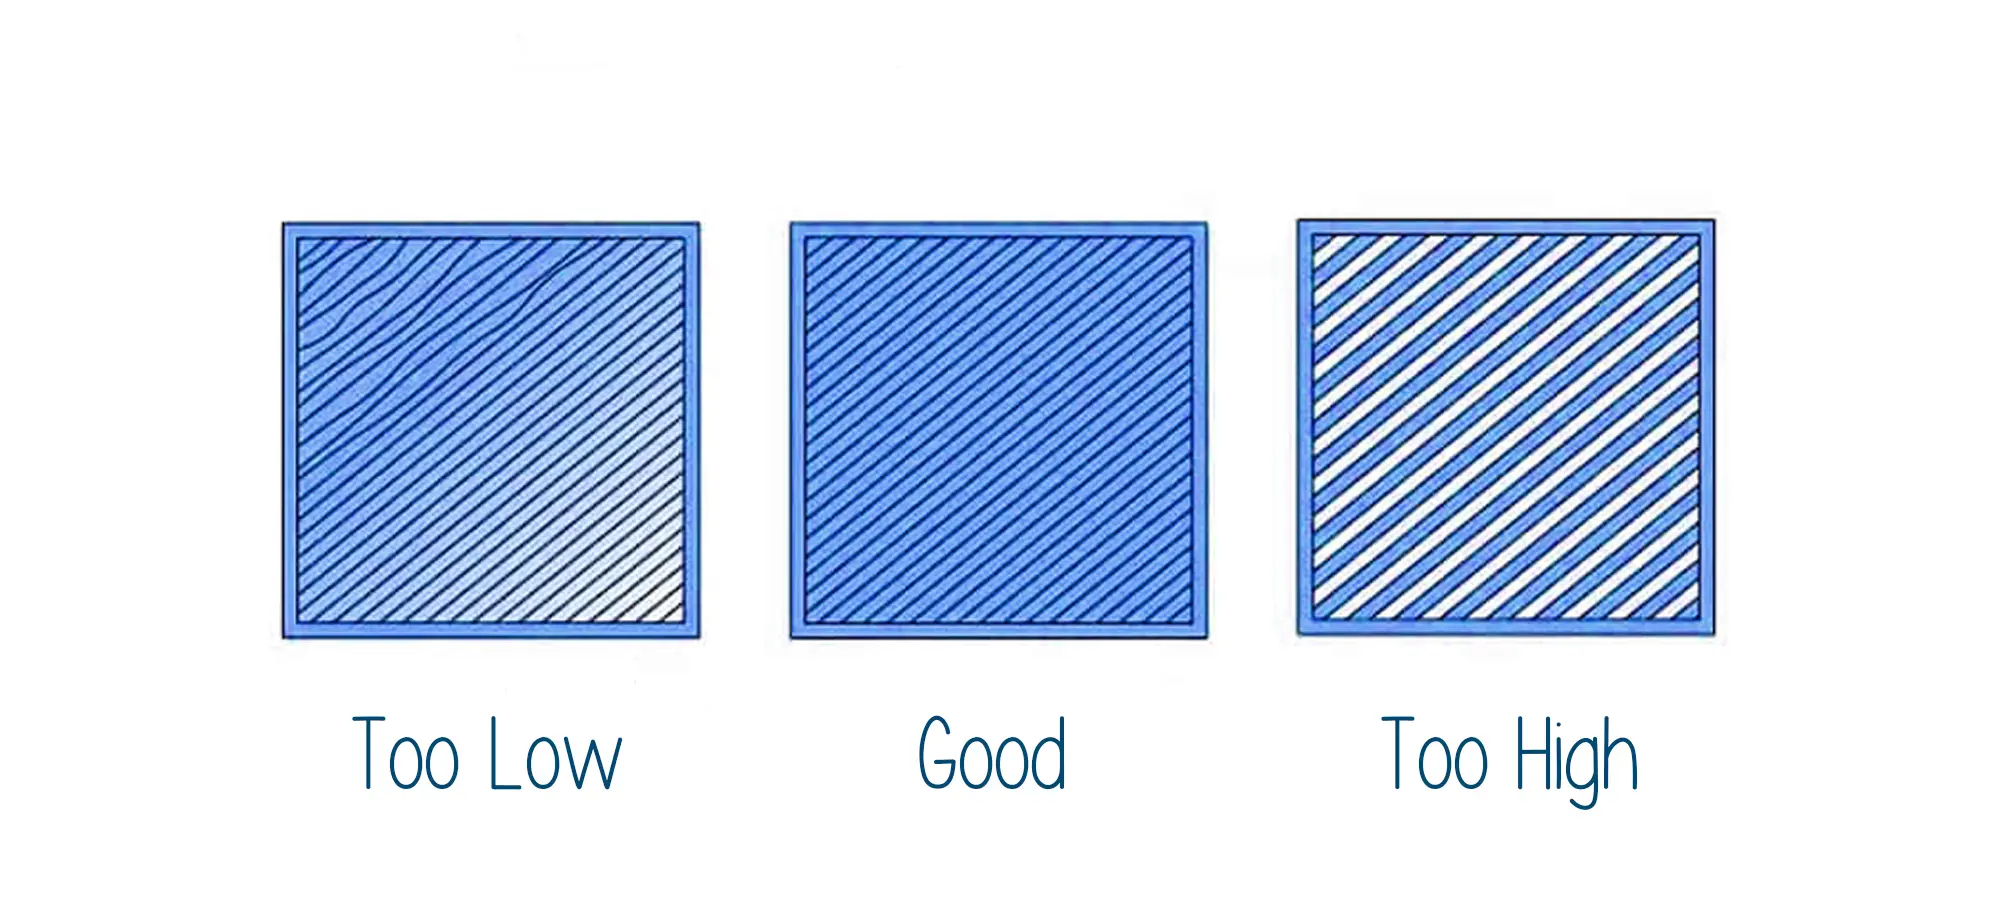
Let’s talk about one problem that almost every maker must go through when working with 3D printers. Hence, it is one of the most common 3D printer problems out there: The first layer not sticking properly.
When the first layer fails to attach, the entire base is ruined for the 3D model. This ultimately results in a failed print.
In other words, a lot depends on how stronger is your first layer adhesion is. The next layers of the 3D model rest on the first layer.
If it is not strong enough to hold the pressure of the rest of the layers, the print may fall in between. Or else, it would shift and create a ladder effect, running the entire 3D print.
All these do seem like a big concern for those 3D Printing. You must not like watching your 3D print fall in between. Would you? That is why it is important to learn the cause of this problem and how to stop this from happening.
First of all, the first layer adhesion can become flimsy because of the greasy build platform. Hence, you must ensure that the build plate is clean before you start every new print.
You can use a wipe to clean the surface and remove any dirt sticking on the surface. The other reasons for weak first layer adhesion could be incorrect hot end temperature or blockage of nozzle.
All these problems could be corrected effortlessly. Try increasing the temperature of the hot end. Or, using a wider nozzle for more firm first layer could also help avoid the issue.
Above all, you do have other ways to increase the first layer adhesion. For instance, the use of glue sticks, hair spray, and other adhesives. These would certainly help achieve stronger first layer adhesion. And, better print results for all your models, irrespective of the complexity of the design.
How to Stop 3D Part Warping?
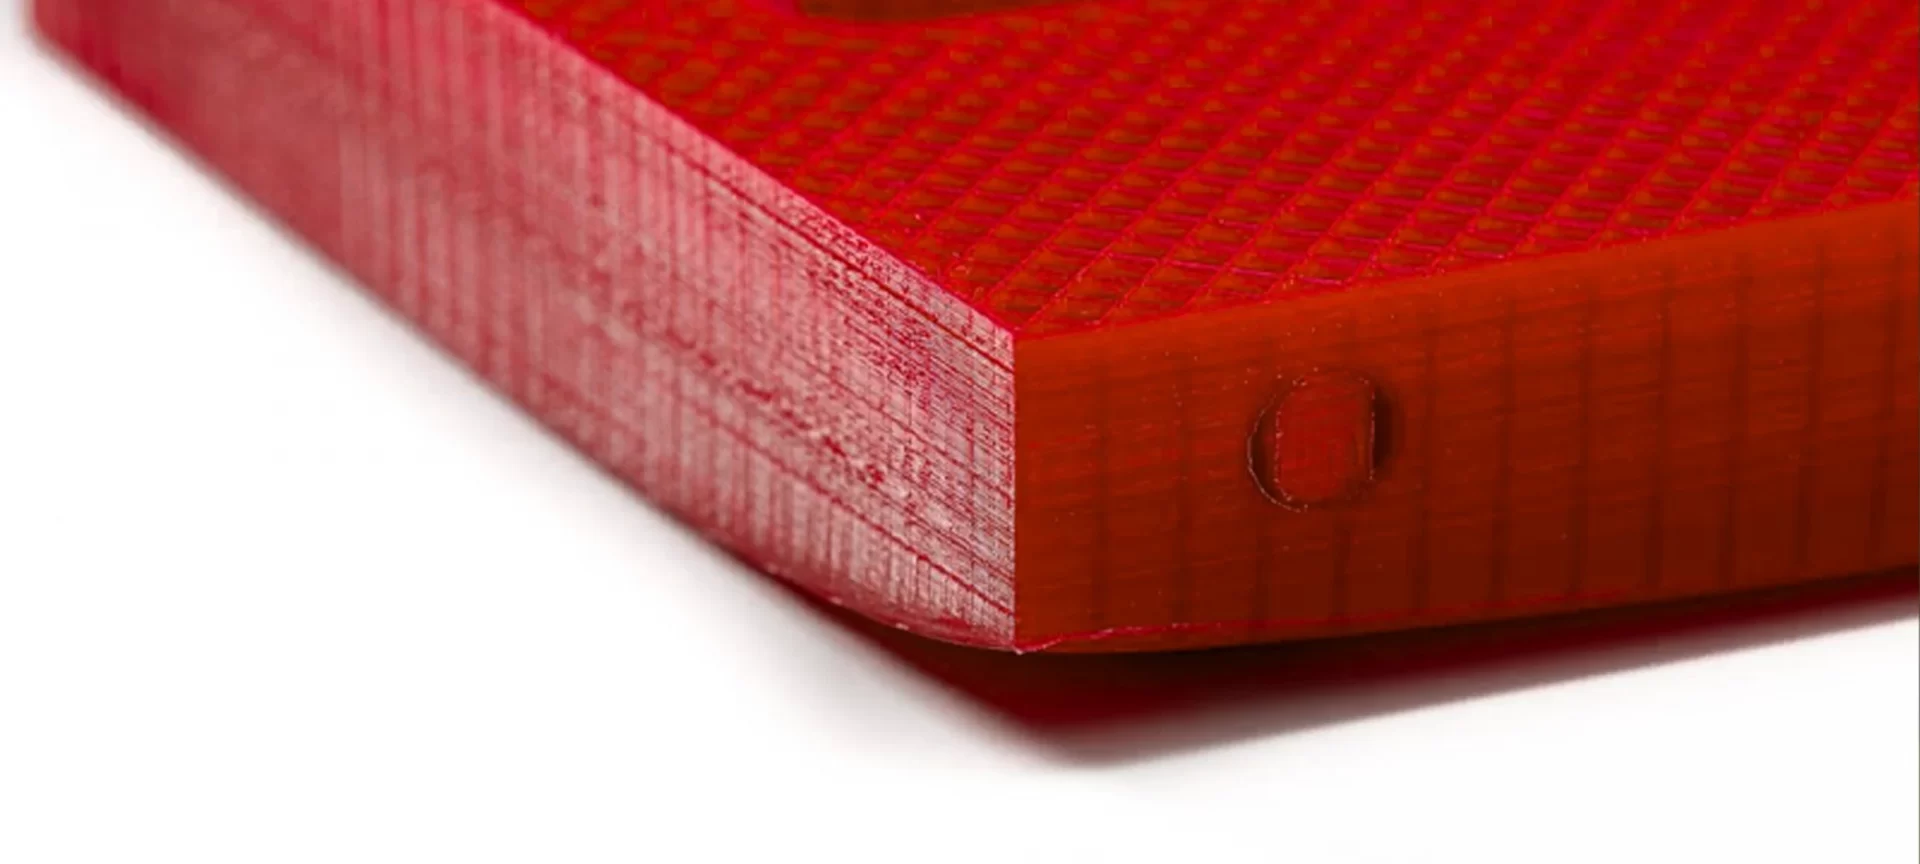
If you have been working with 3D printers for quite some time now, it is rare not to fall prey to warping. This is also one of the most common 3D printer problems which often leads to irreversible 3D part failures. It is as scary as it sounds. Making the entire part ugly and improper to use, it leads to failed prints.
So, what is warping and how does it happen? Warping results in bend edges. The edges start bending upwards, creating a warping of parts. What’s worst is that the problem also leads to cracking print segments. Warping is a very unwelcomed problem and occurs because of uneven and fast cooling. Learn more about 3D warping here.
During warping, the filament starts contracting, distorting the compete for the 3D part. But, gladly, there are many ways to resolve this problem. Somewhat the problem also depends on the first layer adhesion. Hence, the better the first layer adhesion is, the lesser are the chances for warping.
To solve the problem, you can prefer using a closed 3D printer for maintaining a consistent temperature. However, that does not mean that enclosed 3D Printers do not go through this issue at all.
If that is the case, try using a pre-heated build plate. Or else, you can also maintain the temperature for the first layer just below the melting point of the material in use. This will allow the first layer to sit flat on the surface of the build plate.
Do not forget to ensure that the build plate is properly leveled. If all of these fixes still seem insufficient, try using adhesives for stronger first layer adhesion. The better is the first layer adhesion, the lesser is the possibility of warping. As mentioned before, isn’t it?
Filament Extrusion Stops in Between of the Print
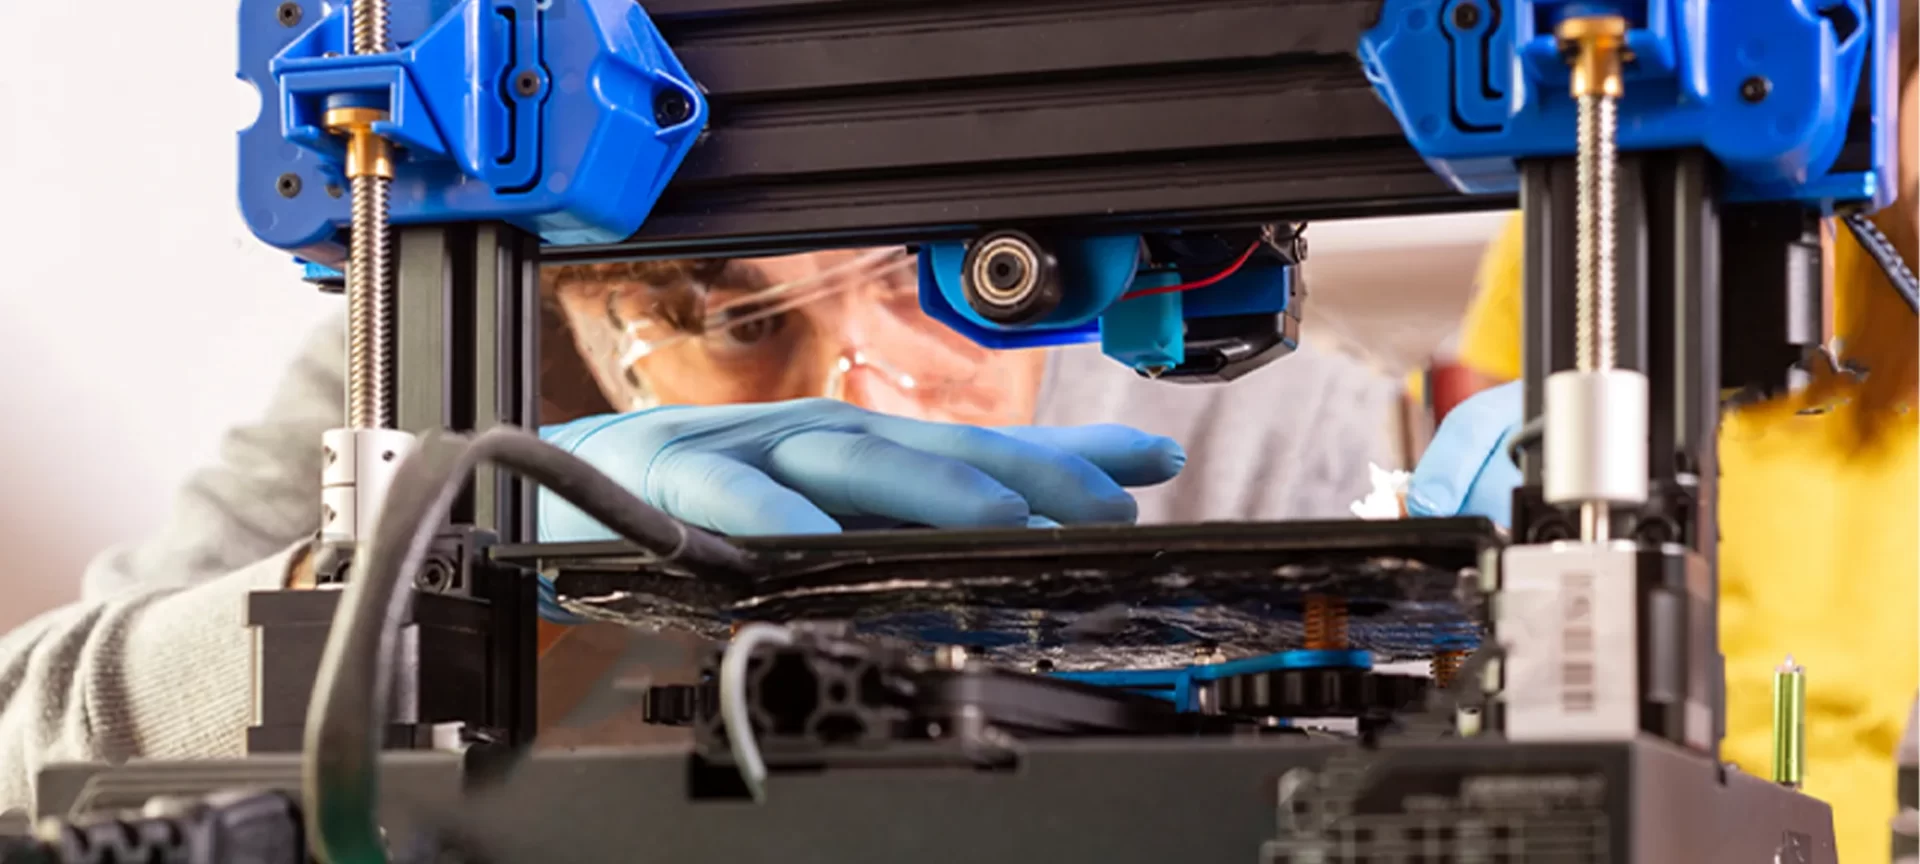
Among all the obvious reasons, there are two common ones for the occurrence of this problem: 3D Printer not able to extrude after completing a certain percentage of the print.
Yes, it is pretty frustrating to see your print halfway done after returning back when expecting to find a completed model. This is a very common 3D printer problem and must be taken seriously.
Not every 3D printer has the ability to start from the point, the filament stopped extruding. And, you may end up creating the entire model again. Hence, losing money and time.
So, why not understand the core reason for the problem and stay alert to ensure such issues do not stop you from completing your 3D printing jobs in between?
The first thing to notice is the amount of filament left in your spool. Whenever you start your 3D printing project, look for the filament still left inside your 3D printer. In case, it seems too low, do not forget to refeed the filament spool to ensure uninterrupted printing.
For larger and complex prints, that may eat up the filament spool, you must keep an eye on the printer’s action to be ready to feed the filament whenever needed.
Now, that was about the insufficient amount of filament stopping the printer from extruding in between the prints. However, there is one more very probable reason that you must not avoid considering. And, this could be due to the blocked nozzle. Yes, if the filament is not clean, it may carry dust to the nozzle head.
In such a case, the dust will start building up at the nozzle end, ultimately blocking the flow of filament. Hence, stopping the print job in between.
When you find out that the filament is already stacked up and the printer is not extruding, you will easily sense the blocking problem. So, clean the nozzle and try again.
There is one more reason for 3D printing stopping in between. And, this is due to the overheating of the motor driver. So, you can simply turn off the machine for cooling it down and start printing after a little break.
Inconsistent Extrusion of Filament
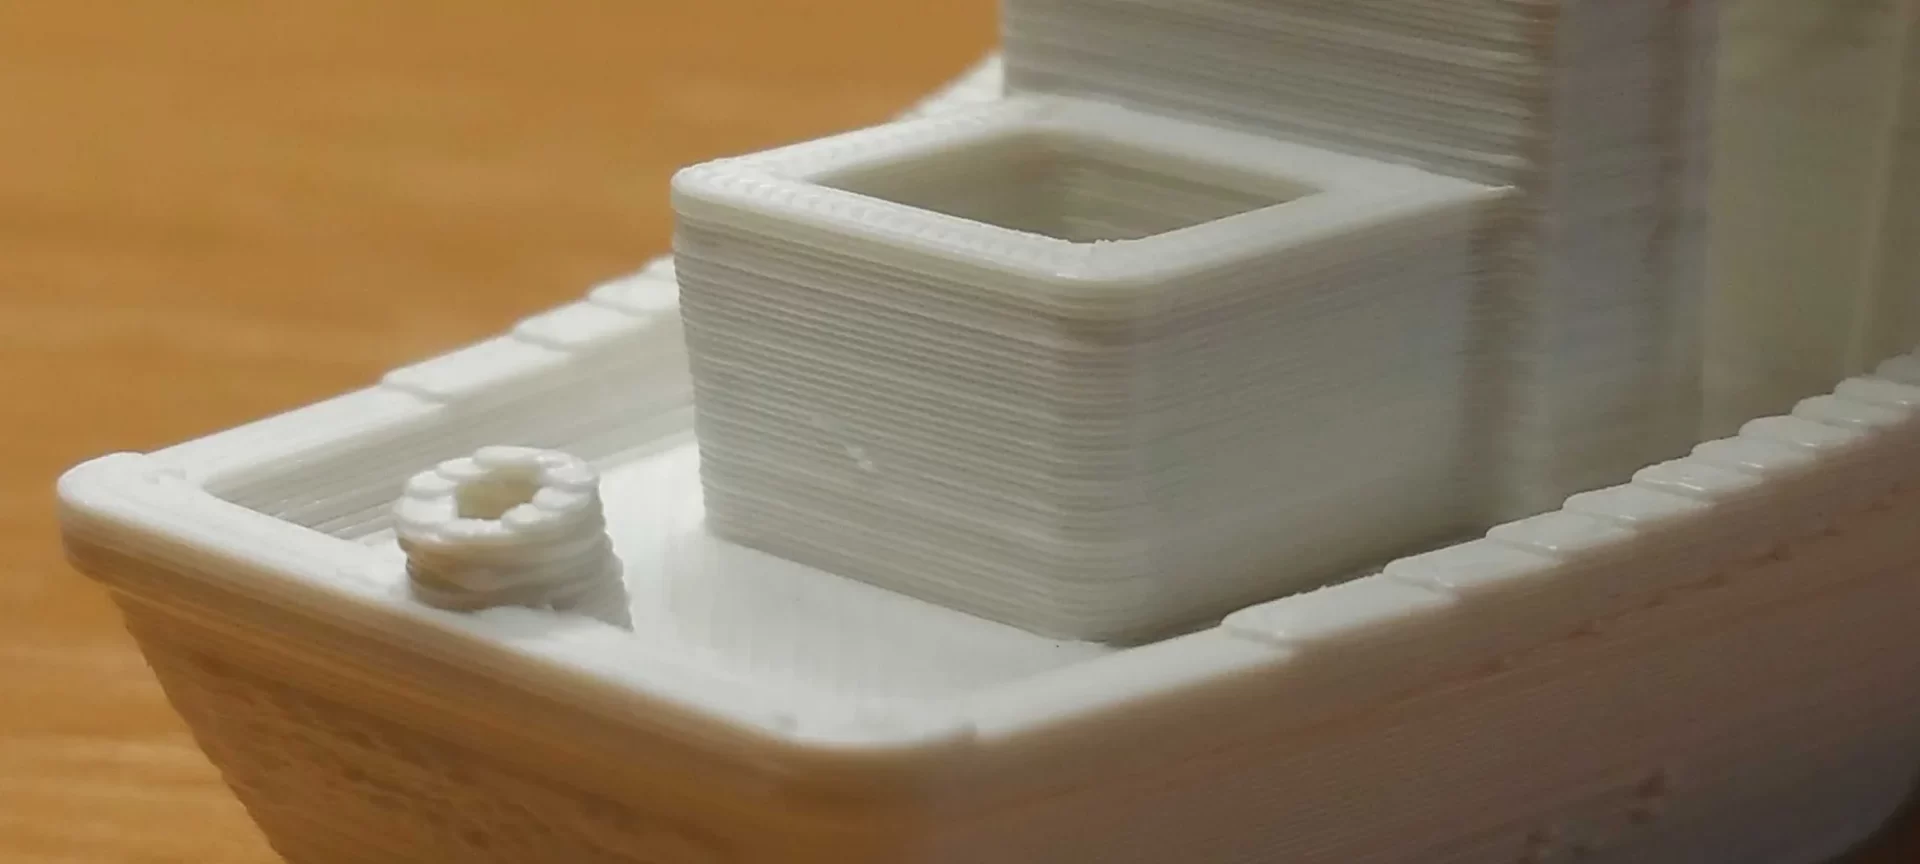
Moving towards the last of all the common 3D printer problems, this is what you often come across: an inconsistent filament extrusion. Before you would realize that the problem is there, the 3D print may even be out of your control to manage.
The problem may not seem bigger in the beginning, but trust this, you may end up with a failed print. And, what could be more heartbreaking than a complete print getting wasted?
So, why not find a solution to the problem before it leads to bigger issues later. To start with, ensure that the filament is not tangled. Ensuring that the filament is tangle-free, you can allow the filament to move freely to the nozzle end. Or else, it may lead to inconsistent extrusion.
The other way to avoid this is by ensuring that the nozzle is not blocked. Clean your nozzle before starting every new print. This would certainly reduce the chances of inconsistent extrusion a lot.
Not to forget, this problem also depends on the quality of filament in use. If you are using a poor-quality filament, this problem is very obvious to occur. So, try to pick your filament from a renowned manufacturer. Or, the ones you have tried for best results before.
The Conclusion
3D printing is not an easy task. Although the machine takes care of all the hard parts, you do need to keep an eye on the entire process.
Either you are a beginner or an expert, the common 3D printer problems may bug anyone. So, why not take necessary precautions to keep these at bay. And, if encountered, you must know the right tricks to solve it right away.


