|
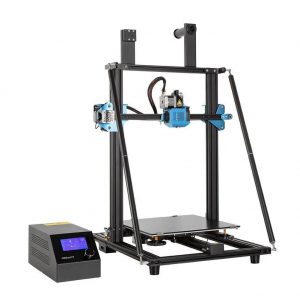
This is a moderately tweaked version of Creality CR-10 V2. The thing that sets it apart from previous versions is the direct drive extruder.
And apart from that, there are some other amazing features and specifications that the printer has to offer to you, but we will reveal them during the course of this article.
Features
At one glance the printer has new firmware and extruder, but all in all, it has much more than that. What is it? Well, read yourselves, to find out!
Direct Drive
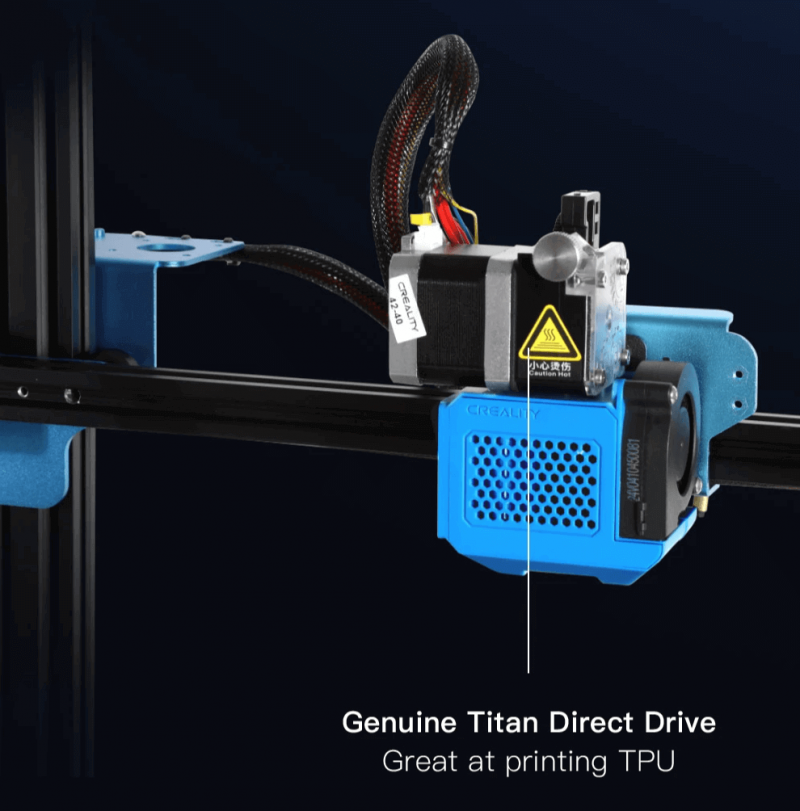
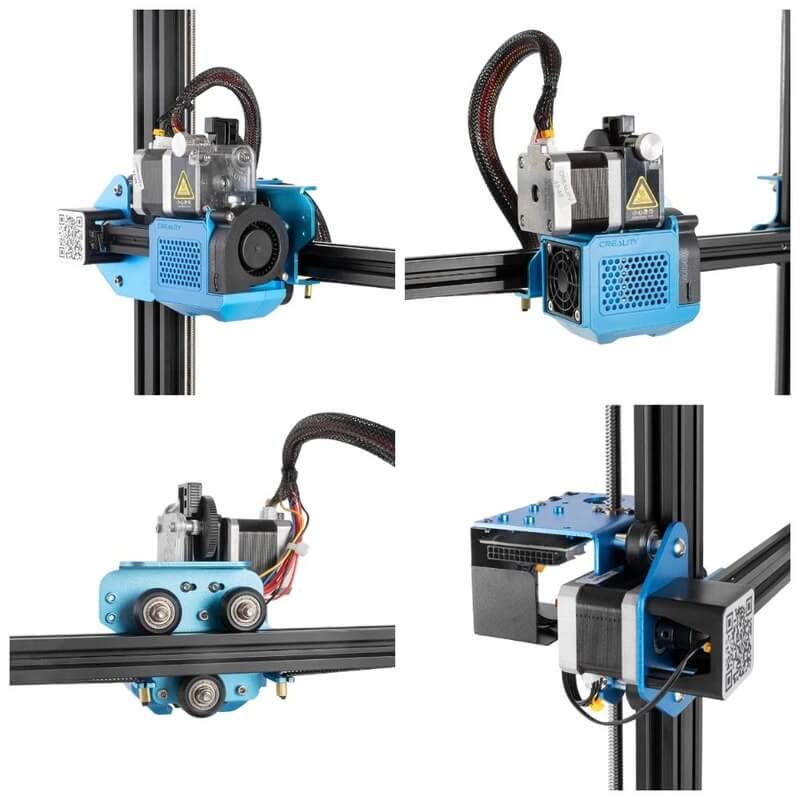
This is the biggest and the most noteworthy novelty i.e. a switch from a Bowden extruder, a Creality staple to a direct drive Titan extruder.
To have a direct drive setup is to have some benefits at your end, particularly better handling of flexible filaments and better filament retraction that leads to lesser stringing and oozing during prints.
For making this change in the construction of their printer, Creality transferred their spool holder and filament sensor from the control box as it was in CR-10 V2 to the top of the frame.
If they would have added weight to the frame like this, they would have contributed to instability and Z-wobble, but the support braces do good enough to counter all of this.
Sturdy Frame
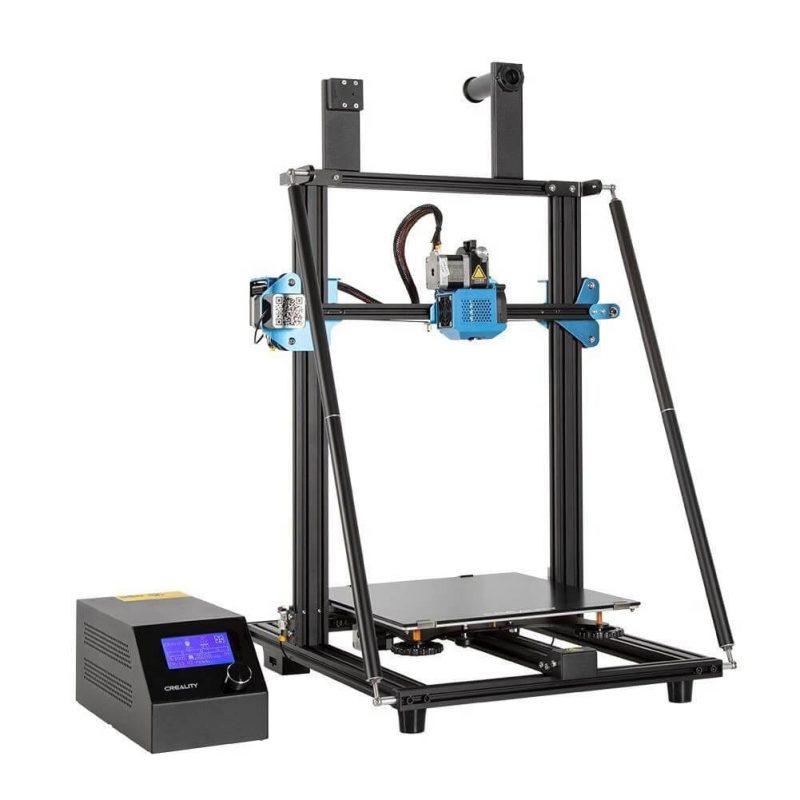
Titled by the printer manufacturer as the golden triangle, used in their CR-10 Max, this improved frame is not to be referred to as the famous tourist area in Asia.
But here the golden triangle refers to the Z-axis brace that connects the top of the frame to the base.
Why the printer manufacturer has kept it this way? The aim of this printer manufacturer is to give the printer a sturdier frame that reduces vibrations and Z-wobble for ensuring the prints have a smooth finish.
It is only from experience that we can confirm how this design helps in giving Z-axis consistency.
Effective power supply
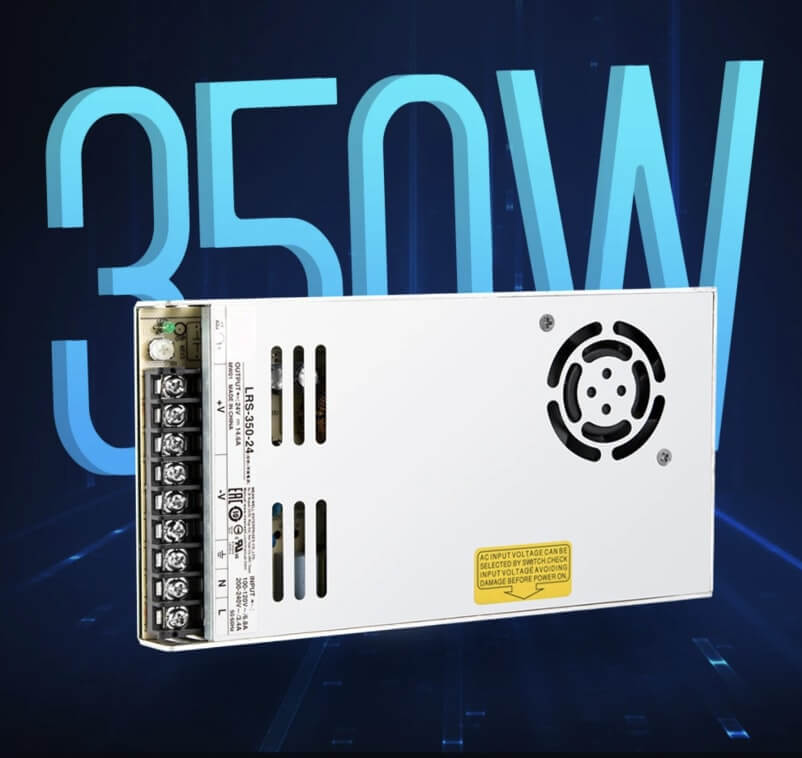
The power supply of 24 Volts/350 Watts which was also used in Creality’s V2 version has been used in this one as well.
This is because there has been a history of struggling Creality printers for reaching and maintaining the desired print temperatures.
Because of this brand-name power supply, this issue has been tackled, and this allows for a wider filament range that can be processed.
V3 power supply heats up quickly and maintains a consistent temperature.
Silent Drivers
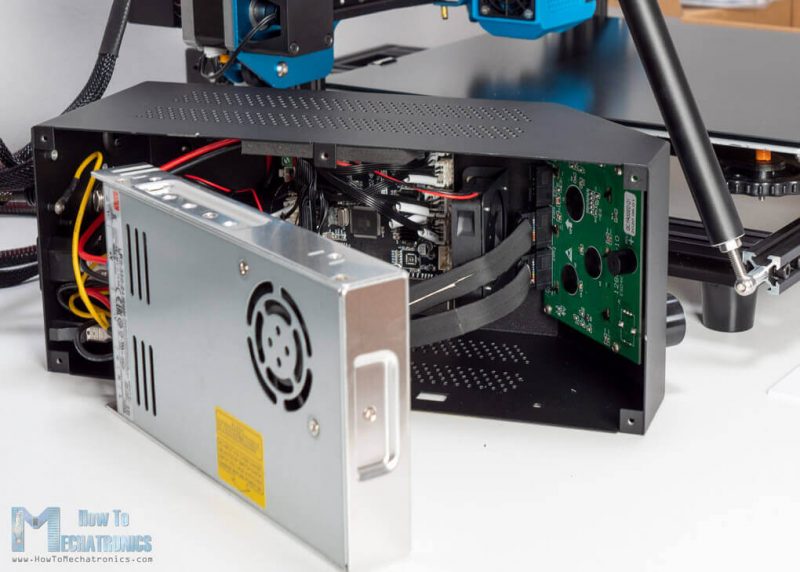
As it is in CR-10 V2, so it is in this 3D printer as well, the V3 is equipped with the new motherboard and a TMC 2208 ultra-mute drivers.
With this silent stepper driver, the printer is just like its predecessor, can operate well under 50 decibels.
There is a guaranteed smoother printing experience with much less motor noise during the running 3D printing process. Although you wouldn’t want to call it ultra-silent, it is silent enough.
DIY Upgradable
The printer manufacturer has intentionally left room for DIY improvements on this 3D printer.
For the stock version, the bed leveling needs to be done manually, but the machine does feature space for a BL touch bed leveling probe.
This is will lead to a longer life of this 3D printer compared to other 3D printers in the same price range that cannot be upgraded.
A resume-print function, filament run-out sensor
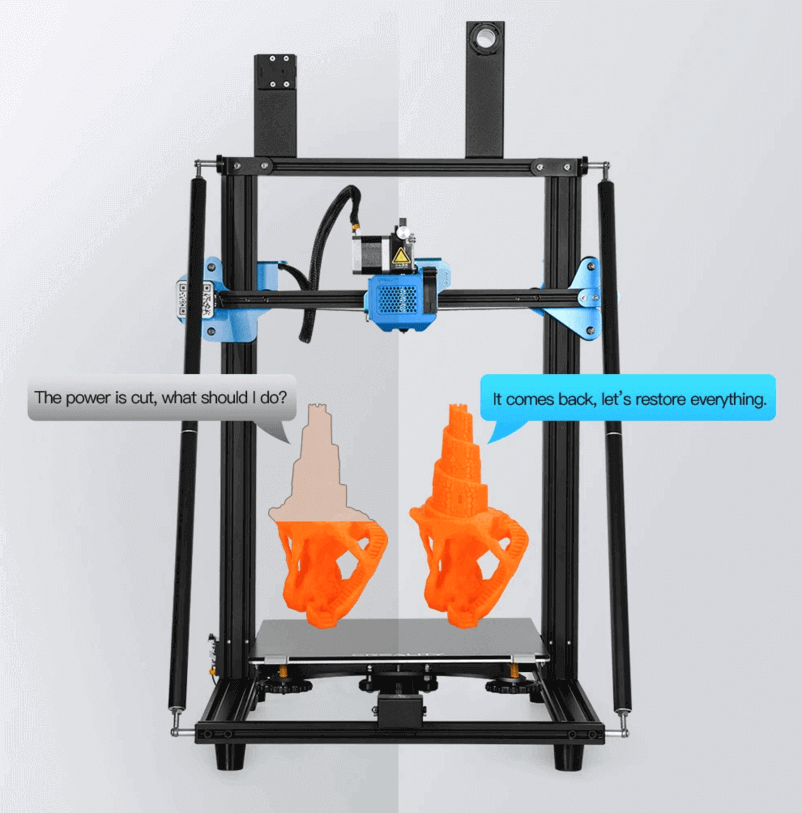
Say if you are 3D printing a part or functional prototype and the electricity runs out! Your progress would be stored in the memory of this 3D printer and you would be able to resume your work from the same place.
Creality CR-10 V3 comes with a resume-print function that lets you not lose your work progress even in times of electricity running out.
The printer is equipped with a filament run-out sensor that notifies you when the filament has gotten over.
So that if the print suddenly stops, you don’t have to waste time in figuring out the reason behind the stoppage of the printing process!
This decreases your human effort and also informs you about the correct cause for the pause of the print process.
Direct Titan extruder
There is a direct extruder present right above the hot end of the printer with little space. This arrangement enables the extruder to push the filament directly into the nozzle.
As it minimizes the distance for filament traveling to the hot end, the direct extruder is more and more assisting and reliable for producing 3D prints with flexible soft filaments such as TPU and ABS.
Moreover, the biggest benefit of using a direct extruder is the easy filament retraction which avoids filament stringing and oozing during the 3D printing.
Specifications
The printer is based on FMD 3D printing technology and has a Cartesian XZ-based construction. It offers a maximum build volume of 300 mm * 300 mm * 400 mm.
The feeder system of Creality Cr-10 V3 is a direct drive. Its print head consists of a single nozzle that lays down parts and functional prototypes of different geometries on the printer’s print bed.
The printer’s maximum hot-end temperature is 260 degrees Celsius and its maximum heated bed temperature is 100 degrees Celsius. Creality Cr-10 V3’s print bed is made up of a carborundum glass platform.
While the frame of this printer is made of Metal! You can level the print bed of this printer automatically as well as manually. For connecting to Creality Cr-10 V3 you will need an SD card.
The printer comes equipped with a filament sensor that will notify you of the completion of filament, during, after, or before the 3D printing process.
There is no on-board camera present in this printer hence you will have to monitor the 3D printing process from outside the body of this printer.
You can print using filaments like PLA, ABS, PETG, TPU, and other common materials provided the diameter of this filament should be 1.75 mm.
The frame dimensions of this printer are 420 mm * 550 mm * 650 mm. It weighs 11.5 kilograms.
The maximum print speed that can be achieved on this 3D printer is 180 millimeters per second, whereas the normal print speed range of this printer ranges from 30 to 60 millimeters per second.
It is able to give you a precision of lesser or more than 0.1 mm. The layer thickness in parts and functional prototypes printed using this printer ranges around 0.1 mm to 0.4 mm.
Price
The market price of this printer is $512.
First Impressions
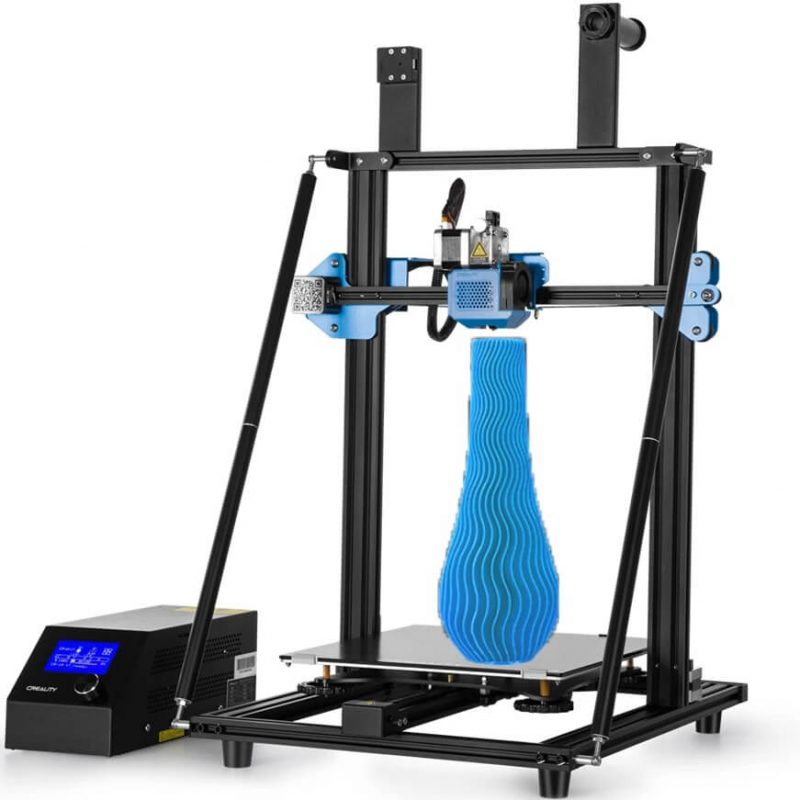
Creality VR-10 V3 has an open body, there is no print chamber that you have to manage the temperature of.
When looked at from the front end, the printer looks like a neat rectangle with two horn-like structures is present on the head of this printer’s body on the left and the right.
There are two stands on the left and the right of the printer which supports its print head and the nozzle system.
Because of the rails on these two stands, the nozzle system and the print heads are able to move up and down.
This is what enables the nozzle to lay melted 3D printing material on the printer’s print bed.
To support the complete construction, the stands’ connection is connected with the base on which the print bed is placed.
The touch screen interface is placed beside the printer and lets you operate as well as control some of the key functions of this printer.
Setup
As soon as you open the box of the printer, you will find an instruction manual above the layer of thermocol beneath which the parts of this printer are present.
You will find the base and the print bed as the first part present in the box. One by one, you will have to take out the parts that are present inside the box on your worktable.
The list of parts present inside the box is as follows.
- Gantry
- Filament Sensor
- Pull bars
- Filament
- Tool Box
- Control box
- Teflon Tube
- Blade
- Filament Spool holder
- User manual
- Frame Base
- Power Cord
The first recommended step for setting this printer up is mounting the gantry on the frame base using the screws and the LN key. Once that is done you will have to install the pull bars using the screws provided for it.
Preparing the L-shaped structure using screws is the next step. This would make up for the stand that connects the head of the printer with its base in an inclined fashion. It would ensure the stability of the printer during the time of the printing process.
After this is done, it’s time to install the filament sensor on the left side of the head of the printer! Then you need to install the filament spool holder on the top right of the head of the printer.
Next on the cards is the installation of limited switches. Once that is done, you will have to connect the aviation connectors, the DuPont cable, and the limited switches.
Then connect the stepper motors and the power cord. After that, you can turn on the switch which will lead to turning on the user interface.
By clicking on auto-home the print head would move down once, indicating the operation of this printer.
After that, you have to click on Disable steppers which will permit you to put a piece of paper between the nozzle and the platform.
Once that is done, adjust the four nuts beneath the platform, one after the other. Preheat the PLA, and then load the filament.
Finally, insert the SD card and then choose the model to print. This complete procedure will take not more than ten minutes.
Printing Type/Cost
Creality CR-10 V3 is based on the FDM 3D printing process. Wherein a solid filament spool of a 3D printing material is used for 3D printing parts and functional prototypes!
The filament spool is heated and its temperature is brought equivalent to the glass transition temperature after which the melted filament is allowed to flow from the nozzle system to the print bed.
The cost of 3D printing a part is lower compared to other 3D printing technologies. However, it depends on the geometry of the part or functional prototype and the infill required in it. The cost also depends on the type of filament used.
Print Quality
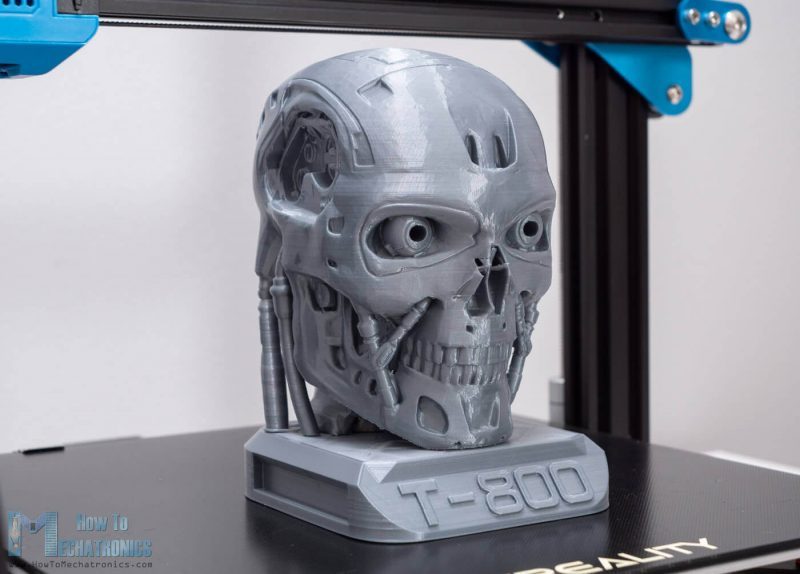
Overall the surface finish of parts and functional prototypes printed using this 3D printer is like any other FDM 3D printer in the same price range.
You will be able to manufacture smaller parts with intricate designs, with a kind of dimensional accuracy.
Software
The recommended slicer software with this printer is Cura, Simplify3D, and Repetier Host. They are compatible with systems operating on Windows XP or higher versions, Mac OS, and Linux. Filex Types that you can input in them are STL, OBJ, and AMF.
Customer Support
There are lots of video tutorials available online for helping you solve doubts about this 3D printer. Apart from this, you can contact the company’s technical team via email as well as phone.
The company is also available on various social media handles such as Facebook, Twitter, Instagram, and YouTube.
Parameters Influencing Buying Decision
Some of the most basic parameters that you will need to refer to quickly while buying this 3D printer are as mentioned below.
3D Printer Cost: Pretty affordable even to any hobbyist in the field of 3D printing.
3D Printer Quality: Priced at around $500, the printer manages pretty good quality parts and functional prototypes.
3D Print Speed: Extra-ordinary.
3D Printer Capability: You are able to print with almost all the common filaments.
3D Printer Practicality: It produces a lot of noise during printing a part or functional prototype, also the UI is updated. But on the other hand, the print quality of parts is excellent.
3D Printer User Expectations: You can use this 3D printer for manufacturing things at your home, office, in your academic institution to teach your students, and even for manufacturing. Overall, the printer manages to fulfill the expectations of a wide range of users.
The Verdict
In a nutshell, Creality CR-10 V3 is simple, convenient, affordable, good quality parts and functional prototypes producing in extraordinary print time, and a day-to-day 3D printer.

