The print quality of parts and functional prototypes is dependent on many factors.
Among these factors, if the quality of 3D printers and filament is excluded then the most important factor that remains in consideration is the printing of the first layer of that part of a functional prototype.
If the first layer is printed as per norms, the complete part stands on it as per your imagination.
This belief that 90 percent of your battle for obtaining a high-quality part or functional prototype ends after the first layer is printed nicely.
Bad bed adhesion is one monstrous phenomenon that does not let the bridge between good quality parts and your efforts stand.
To make sure the bridge not only stands but sustains, the tools like 3D printing raft, Brims and Skirt should be considered.
These tools are recommended by the experts to ensure good bed adhesion. In times like these, the extra preparation at the beginning of your print comes into play. You can improve your prints’ reliability.
In this article, we are going to see what roles does 3D printing raft play in improving the quality of parts and functional prototypes.
For the increasing quality of the first layers’ print, not only raft but also brim and skirt are held responsible.
We will start in this article by focusing on what is a raft and its use in 3D printing, thereby looking at its pros and cons, some settings that your slicer should have while you are 3D printing rafts, and some parameters that you need to take care of.
3D Printing Rafts
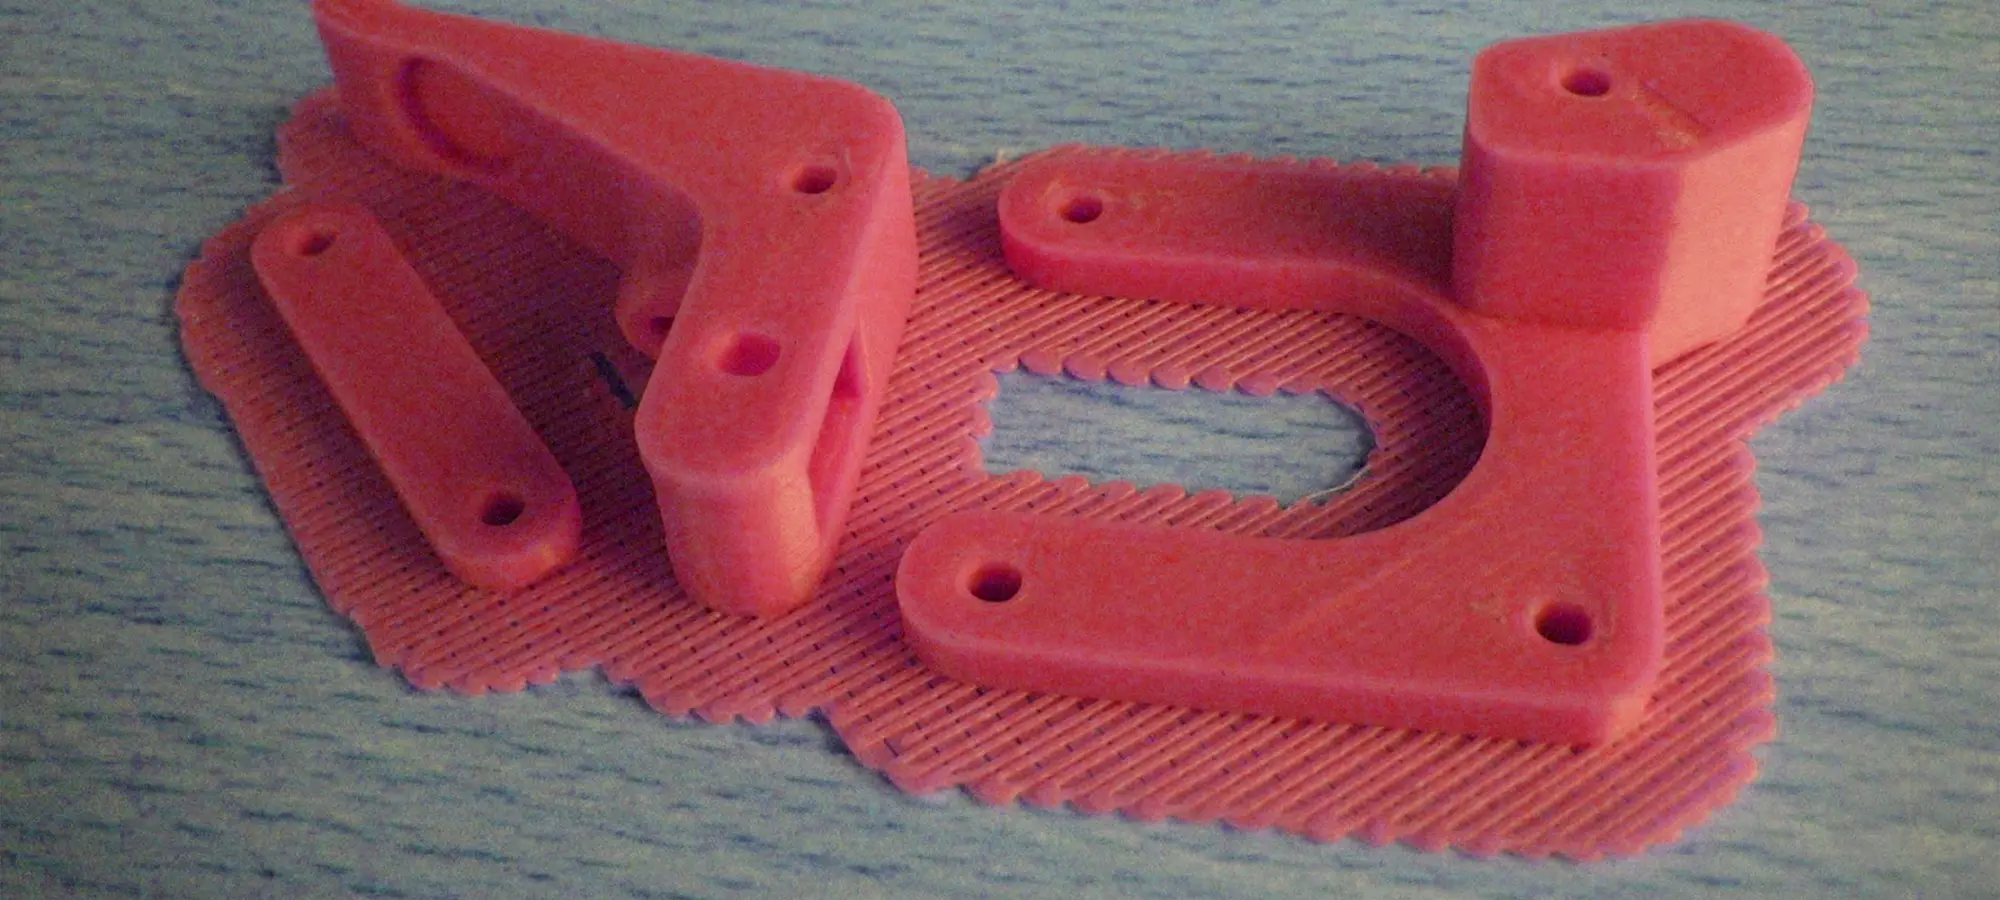
A horizontal object that sits under your printed object is defined as a raft.
Composed of a predetermined number of layers that vary from part to part and functional prototype to functional prototype a raft is made up of a specific infill percentage and extends a specific distance away from the sides of your object.
The important point to remember here is that the primary purpose of a raft is to help your part or functional prototype with bed adhesion.
The main benefit of 3D printing a raft is enjoyed by materials, like ABS. The raft is laid down first to the specified layer depth which varies if you are printing a shoe sole, to a mobile cover. Once the raft is printed, then the object is printed on top of it.
In case you are thinking about what will happen during the post-processing of the object? Don’t worry!
A predetermined small distance will exist between the 3D printed raft and the printed object which will aid in the removal of the raft after the object cooling takes place. So providing it’s correctly set up for your material should not be much of a headache.
As you can imagine, by adding a raft what you are essentially doing is, you are increasing your object’s surface area, so the smaller part which had chances of bad bed adhesion now will have lesser chances as the raft greatly improves adhesion.
Another problem that the raft tackles are the problem of warping in the object itself. Because the edges of the raft are much more likely to warp, it will protect the object from getting warped by leaving the bottom of the object level and square.
The use of raft can also be in providing greater stability to objects that have small footprints, in those cases, it is known to give the object that is to be printed a solid foundation.
When you are printing larger objects or objects that may tend to be top-heavy, the raft is especially recommended.
It can also be used for compensating for any tiny inaccuracies in the printer’s build plate calibration or even-out warped heat beds, scratches, or dents.
What Do you Need to Know While 3D Printing Raft?
Below mentioned are some of the terms that you should know.
Separation Distance
This printer setting is advised as the most important one because it determines the height of the space between the top of the raft and the bottom of your print.
So based on the value that you give to the printer, the post-processing of part or functional prototype will come out to be easy or difficult.
You need to make sure that there is a balance between the print is close enough that it adheres to the raft at the time of starting of the print.
Additionally, also ensure that there’s enough air gap to ensure easy removal once the print is finished. Generally, experts recommend 0.1mm, but the distance is subject to vary with more flexible materials.
Above Raft Speed
The speed at which the first layer of any part or functional prototype is printed on top of the raft is called above raft speed.
You will have to make sure that this speed is slow enough in aiding adhesion, but at the same time, not slow enough to increase the overall print speed.
Raft Top Layers
This definition and the value given to it determines how many layers will be on the top of your raft.
An important point where you should not confuse yourself is that these will also be the same number of layers where the bottom of your print will rest upon.
So essentially, according to the recommendations by experts, you will need 2-3 layers to ensure a smooth surface on your part or functional prototypes.
But you are also advised to increase the layers if you’re getting pillowing on the bottom of your print.
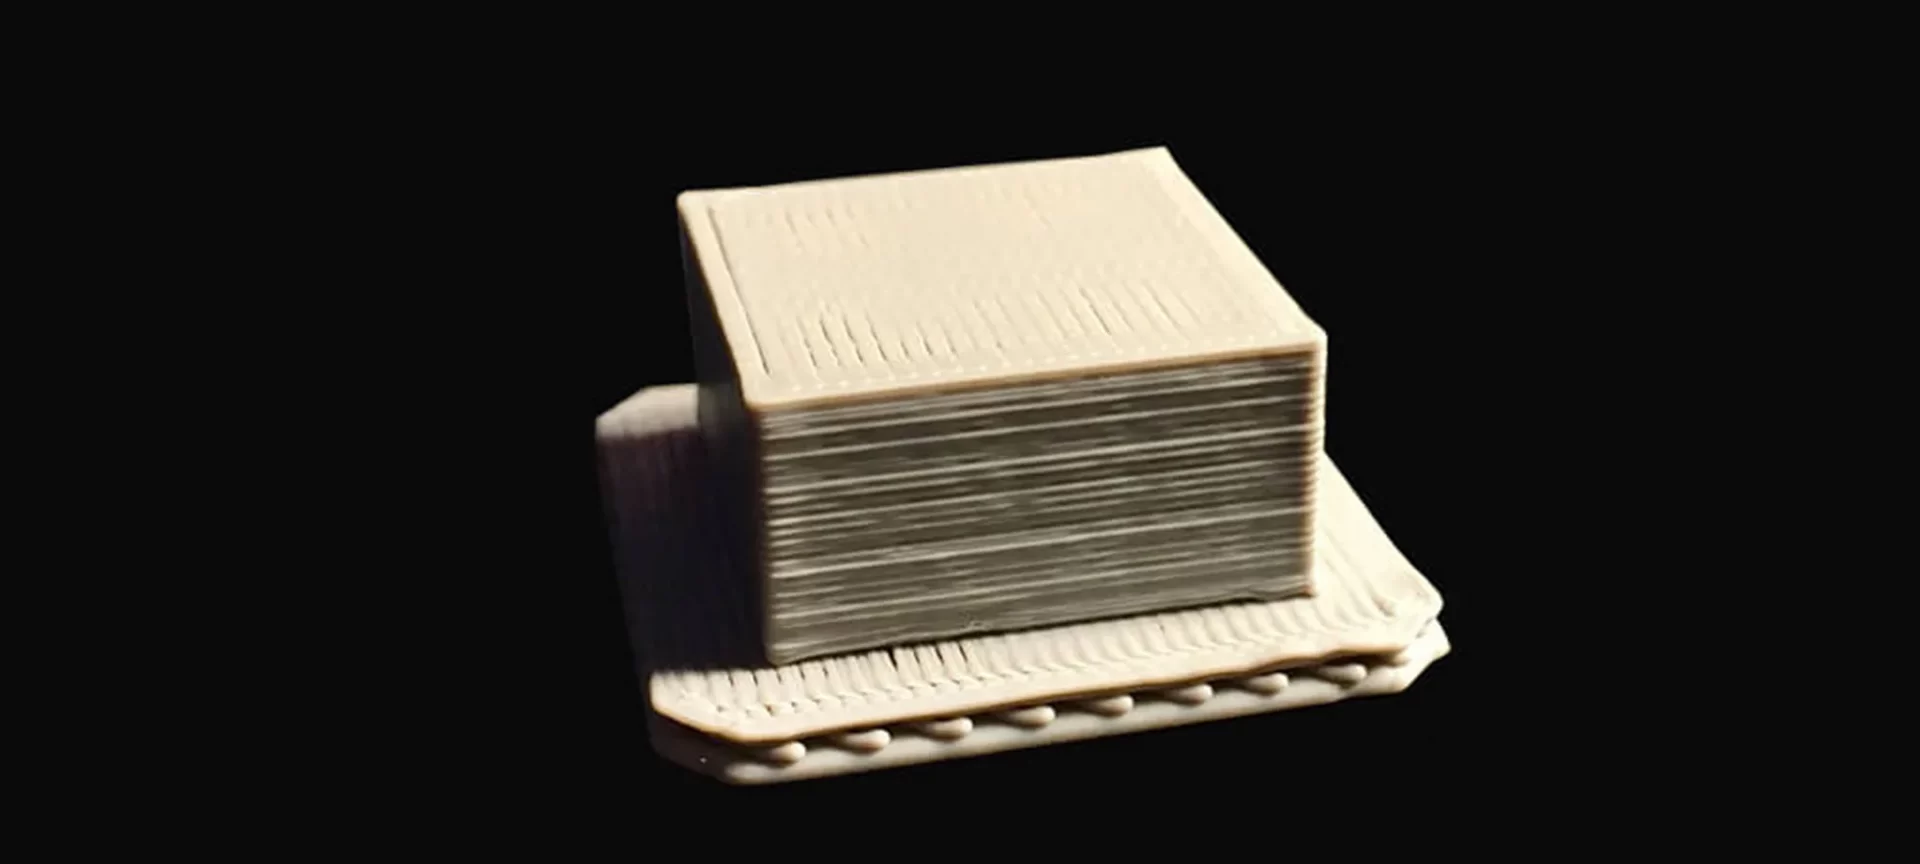
Raft Base Layer
The first, thick, and slow printed layers on the base of the raft are defined as the raft base layer.
The reason why it is important to choose them is that the better they adhere to each other, the better the rest of the print would be.
An important point which we would like to mention at this point in the article is that raft is needed based on the FDM 3D printer that you own.
For example, if you own a Zortrax 3D printer, note how the printer manufacturer claims it uses a perforated heated build plate.
And because of that specific type of build plate, a raft becomes a must to use every time an object is printed on that build plate. Now we will state the pros and cons of using a raft.
Pros and Cons of Using a Raft
- When you are printing using ABS 3D printing material, there are fewer issues of warping, if you are using a raft.
- The bed adhesion in your 3D printing process is improved and hence it becomes easy to remove your part.
- The print output after using a raft for a specific part or functional prototype is consistent.
- The first layer which is otherwise not strong enough is strengthened.
- he bottom layer of the model you are printing gets a rough finish.
- Sometimes a raft becomes strongly attached to the model because of which detaching it from the model becomes very difficult.
- The amount of material that is wasted, increases.
- If the part or functional prototype that you are manufacturing does not have enough print volume, there is a possibility that your part will break while removing the raft.
After seeing the pros and cons of 3D printing raft, let’s look at the Slicer Settings that you need to make before printing one.
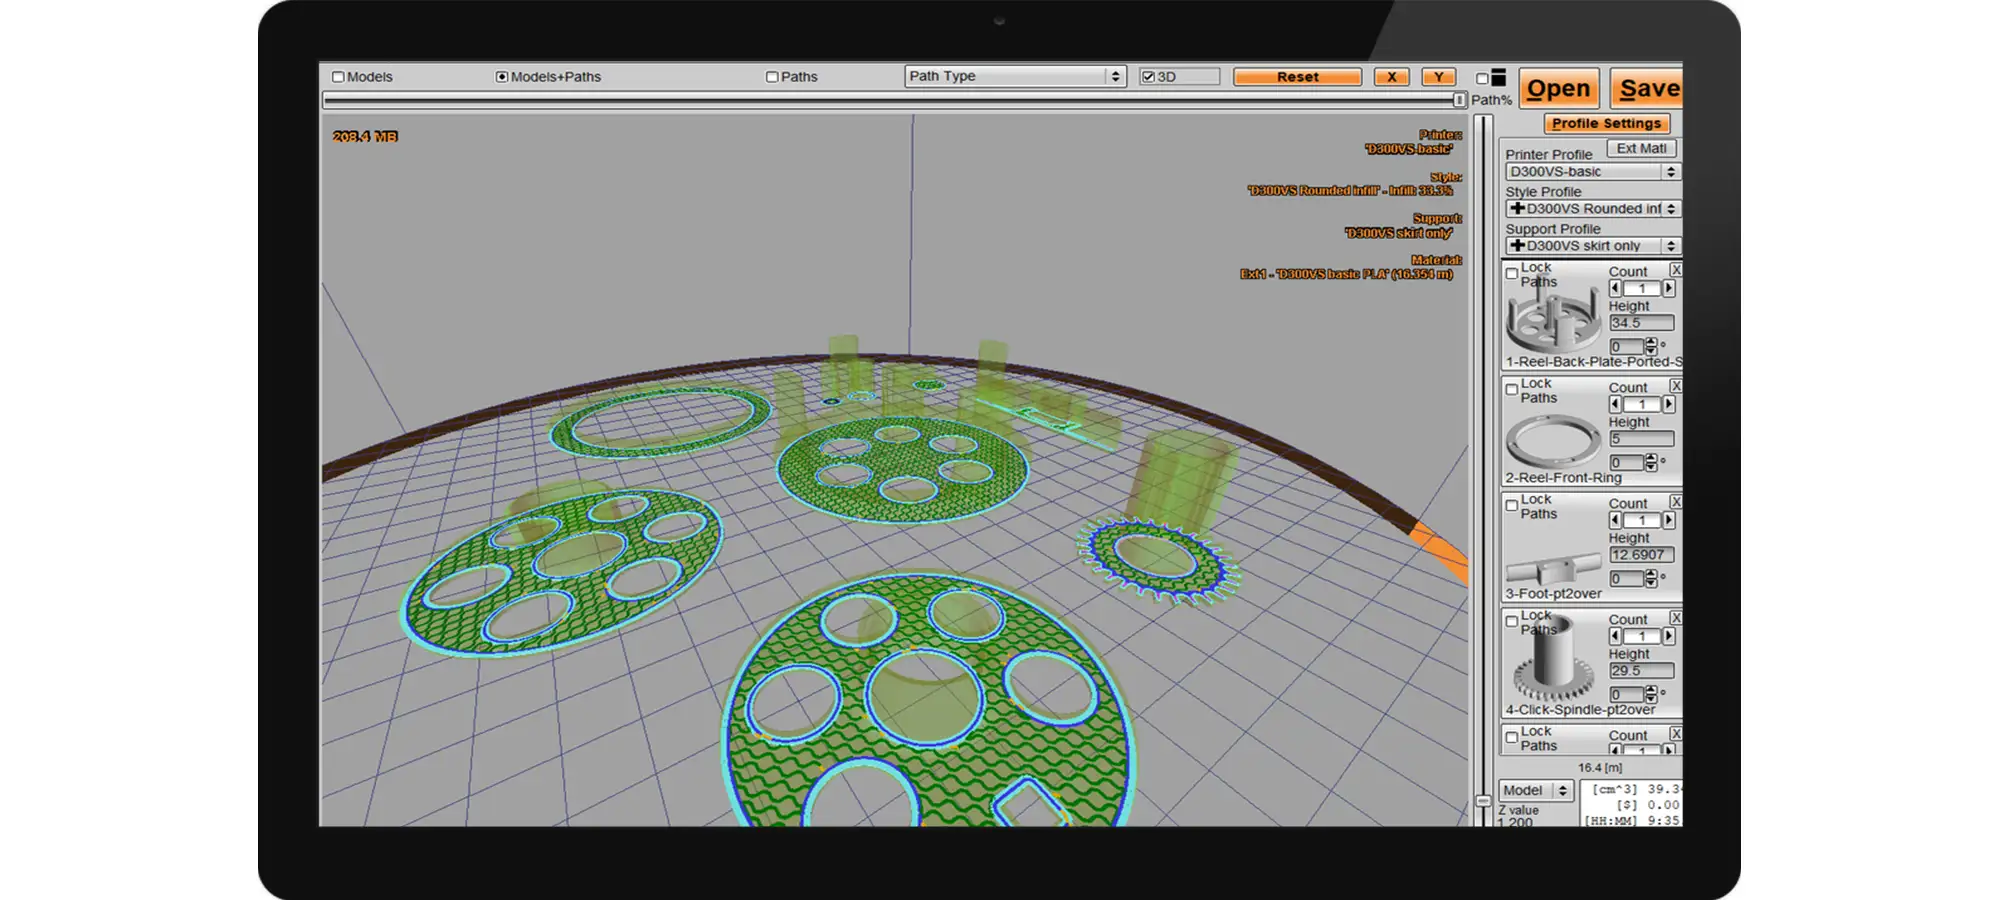
What are the Slicer Settings for 3D Printing Raft?

Almost every slicer has its own recommended settings while making a raft. But there is an option for customizing a raft.
For customizing you need to specify the build plate adhesion type, the raft air gap, initial layer Z overlap, raft top layers, as well as the raft print speed.
It’s important to note your observations when experimenting with slicer settings.
Remember that if you underestimate the subtle changes in settings, whether increasing or decreasing values, you would be shocked by seeing its implications in the part or functional prototype that you are manufacturing.
So, always do the settings incrementally. Doing so will help you check the progress in a gradual way, allowing you to easily fine-tune your ideal settings and also come to a conclusion which not only would be helpful to you, but also to others in the future.
The build plate adhesion type should be selected to Raft. The Raft Air Gap should be brought to a value of 0.1 mm.
The initial layer Z overlap should be valued at 0.05 mm whereas the raft top layers should be attributed to the value 2 and the raft print speed should be kept to 30 millimeters per second.
These settings are recommended depending on the 3D printers that you use to print the part or functional prototype, the filament used, the ambient temperature, and even the build platform.
One setting is not generally suited for all the purposes hence while implying any setting a trial and error process has to be followed to find the ideal setting.
Things to be Taken Care of While Removing a Raft from any 3D Print
- You are advised to place a think scraper or wide knife at the place that falls between the base of your print and gently ease up that side, away from the raft. After one edge of the raft has come away, it’s easier to remove the rest, just like removing pancakes from the frying pan.
- Very rarely you may also need 400 grit sandpaper for taking away the roughness of the base. Just in case you’ve had a harder time removing the 3D printer raft.
- In some instances, there have been complaints from people that they can only get a print to stick to the bed when using a raft. They complain that when they are directly getting one print stuck on the print bed, it does not happen. We would like to state that for this problem the default settings for the raft are a slower, thicker first layer with the fans off. So your printer settings need to be changed accordingly.
- You can also mimic the settings on the first raft layer for aiding the bed adhesion, in case what you are trying to experiment with the raft does not happen.
Also, there is a huge difference between 3D printing a raft, a brim, and a skirt. For those who do not know the difference, reading below mentioned section would clear all your doubts.
What is a Brim?
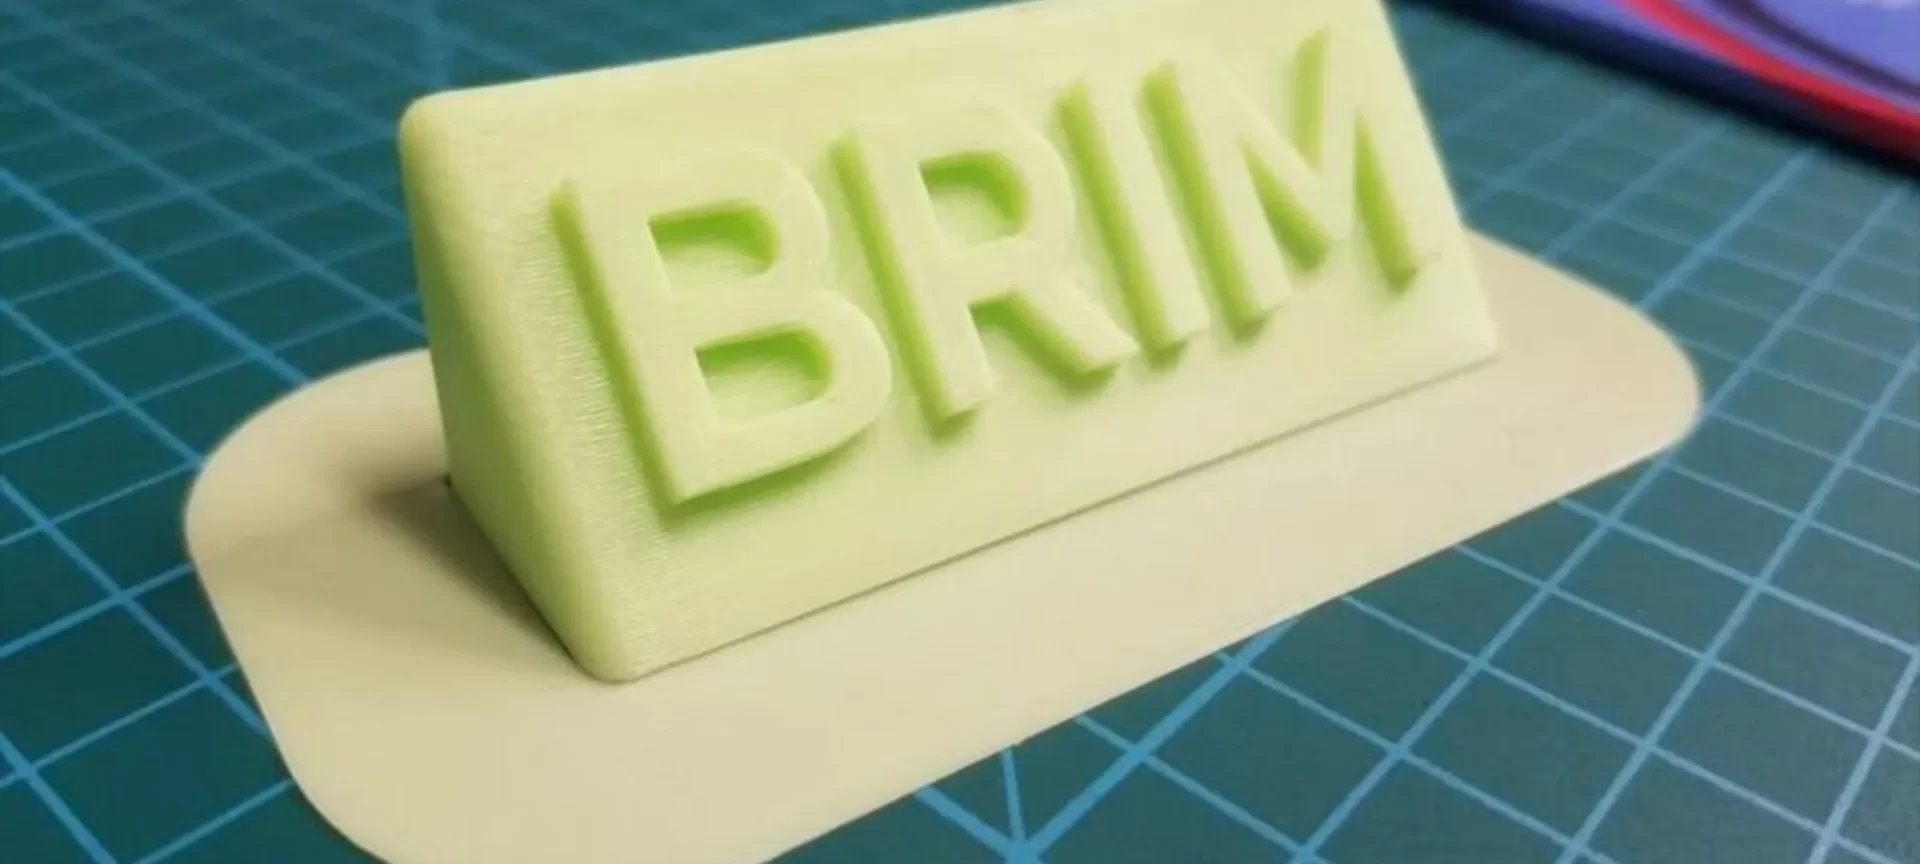
While a raft stabilizes the base that extends completely under a 3D printed object for improving adhesion, A brim, on the other hand, only extends outward from the perimeter of an object, and it is to be noted how a brim does not have any contact with the object’s underside.
What is a Skirt?
Skirts are more common in use compared to a raft or a brim. So it is very likely that your Slicer adds a Skirt to the beginning of each print automatically.
A 3D printed skirt is nothing more than a brim that doesn’t touch the edges of the object that you’re printing.
If it does touch the edges, it becomes a brim, otherwise, it remains a Skirt.
Skirts are known to have a couple of uses and they are usually just a couple of layers thick.
The Conclusion
We hope that the article has served its purpose of making you understand what 3D printing a raft is, how it should be used while the 3D printing process, and what purpose does it serve.
While printing any part or functional prototype, always keep in mind the product design and other criteria. Doing so would help you design the raft, or a brim, or a skirt.
It is also important to note the definitions of each one of those, which will let you create a difference between all of them in your mind.
And once you learn to play with these tools, 3D printing a part or functional prototype would be more fun because the dimensional accuracy that you are looking to achieve in your mind would then be made possible for real.


