Almost every 3D-printed parts need to be bettered through post-processing procedures. Whether the part is 3D printed using a normal desktop 3D printer or the costliest 3D printing system in the world, there are a number of times when you cannot put it directly into an application.
A little bit of sanding, support removal, smoothing, polishing, or any other kind of 3D printing post-processing is a must before using the 3D printed part.
Post-processing techniques can improve the overall aesthetics of your part and improve their strength with other properties.
So, what keeps you away from using the best post-processing technique to get the best results? Is it because of the copious amount of information out in the world about post-processing that seems too confusing for you to apprehend?
Well, we plan to address this issue in the simplest manner possible! Reading the article, you can get an easy answer to many related questions.
Not only our article aims at informing you of the correct ways in which post-processing methods should be used, but also, we’ve mentioned the advantages and points to take care of while doing the same. So, get ready to put an end to all the confusion that you have in your head regarding post-processing. Once and for all!
Five Simplest 3D Printing Post-Processing Techniques
Normally after a part or functional prototype is 3D printed, the print bed and the object require cleaning. Regardless of whether the technique employed in the creation of that part is FDM, SLA, SLS, Binder Jetting, Material Jetting, or any other.
If it’s FDM, majorly you’ll have to remove support structures and sand the object before putting it into an application.
There are five 3D printing post-processing techniques that we suggest you use for cleaning and finishing the part that you’ve just 3D printed. And they are as follows.
Support Removal
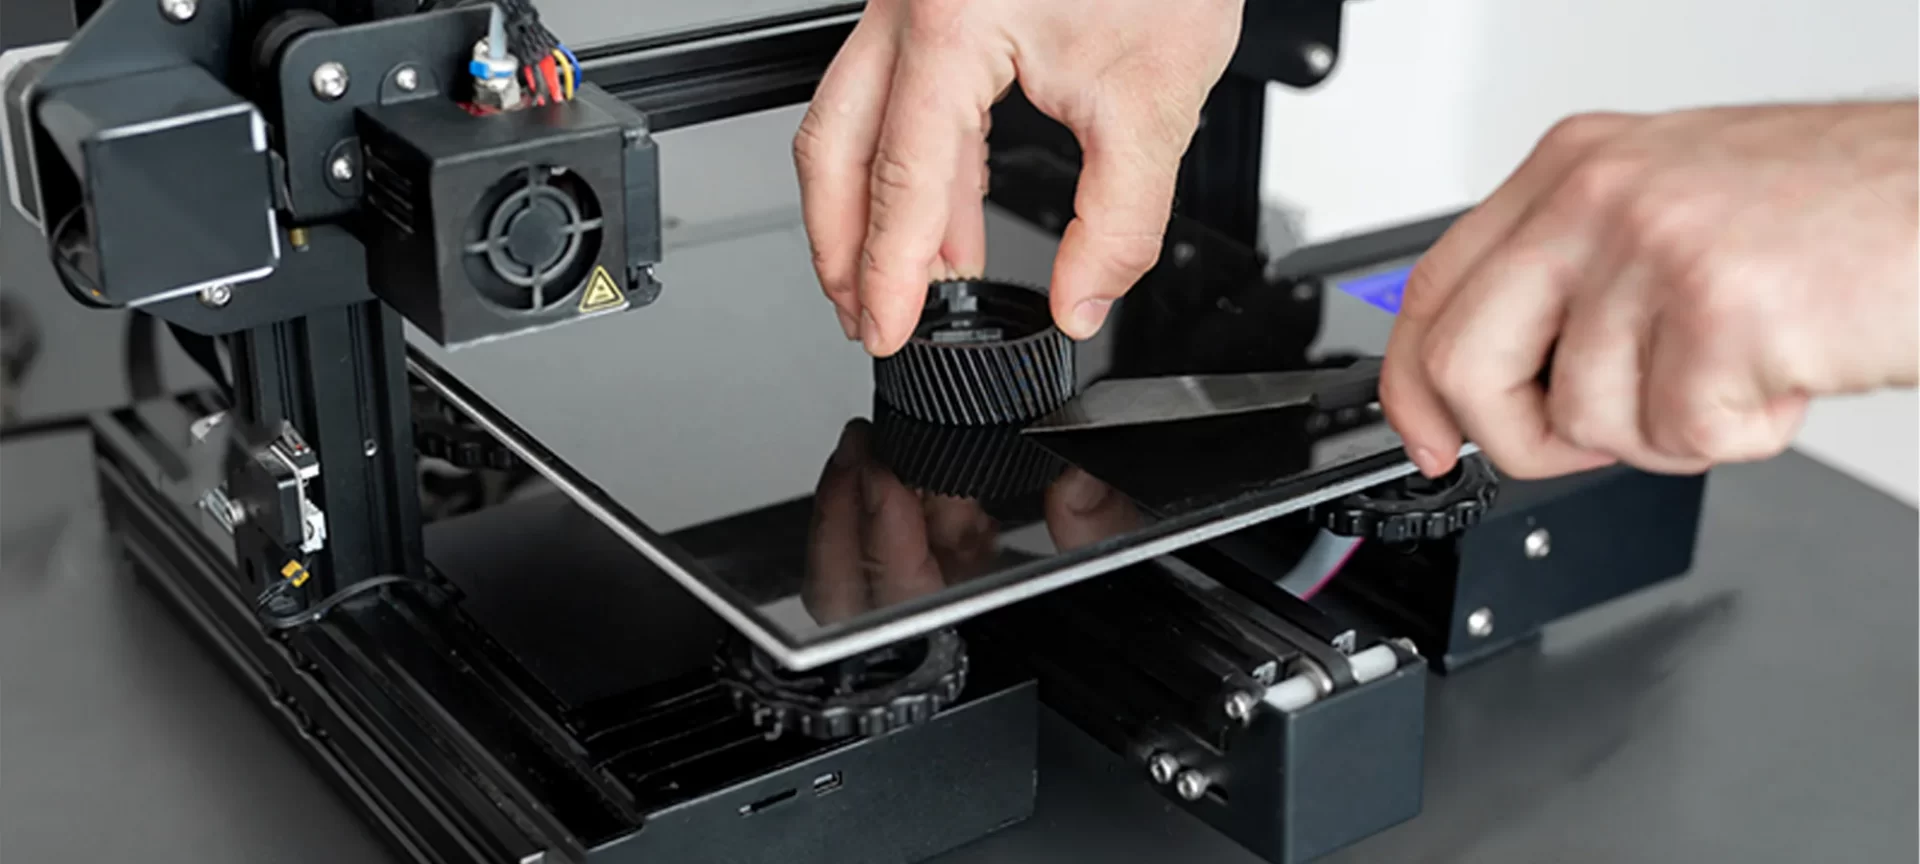
Apart from supports used in tight corners or complex geometries where reaching them is hard, removal of supports is not that difficult. It is the most basic form of post-processing. There can be two kinds of supports in existence:
- Soluble supports
- Insoluble supports
The latter is made from the material with which you’ve 3D printed your complete part. Only FDM 3D printers with a single extrusion system can use this type of support structure.
So, say you are 3D printing a complex part using PLA filament. You will have to print its insoluble support structures also with PLA.
For removing the insoluble support structures you need some snapping practice with your fingers. Even cutting them with pliers is a way to go.
That is in the case of a single extruder FDM 3D printer. Say, you are lucky enough to have a dual extruder FDM 3D printer, in that scenario; you would be able to use soluble supports. As the definition goes, soluble supports can be dissolved either by water, or any other liquid.
It is important to note that with dissolving, these supports do not leave any mark or residue on the 3D printed part. General soluble supports are made of HIPS and PVA. The former dissolves in D-limonene, while the latter dissolves in water.
Advantages of Support Removal:
- Easy to carry out.
- Requires a negligible amount of equipment.
- Provides design flexibility.
Things to take care of while Support Removal:
- If you do not remove them with extra care, they tend to leave a mark which will get carry forwarded even while doing other post-processing techniques.
- You have no guarantee that even after using supports; either the appearance or properties of the 3D printed part will improve.
Sanding
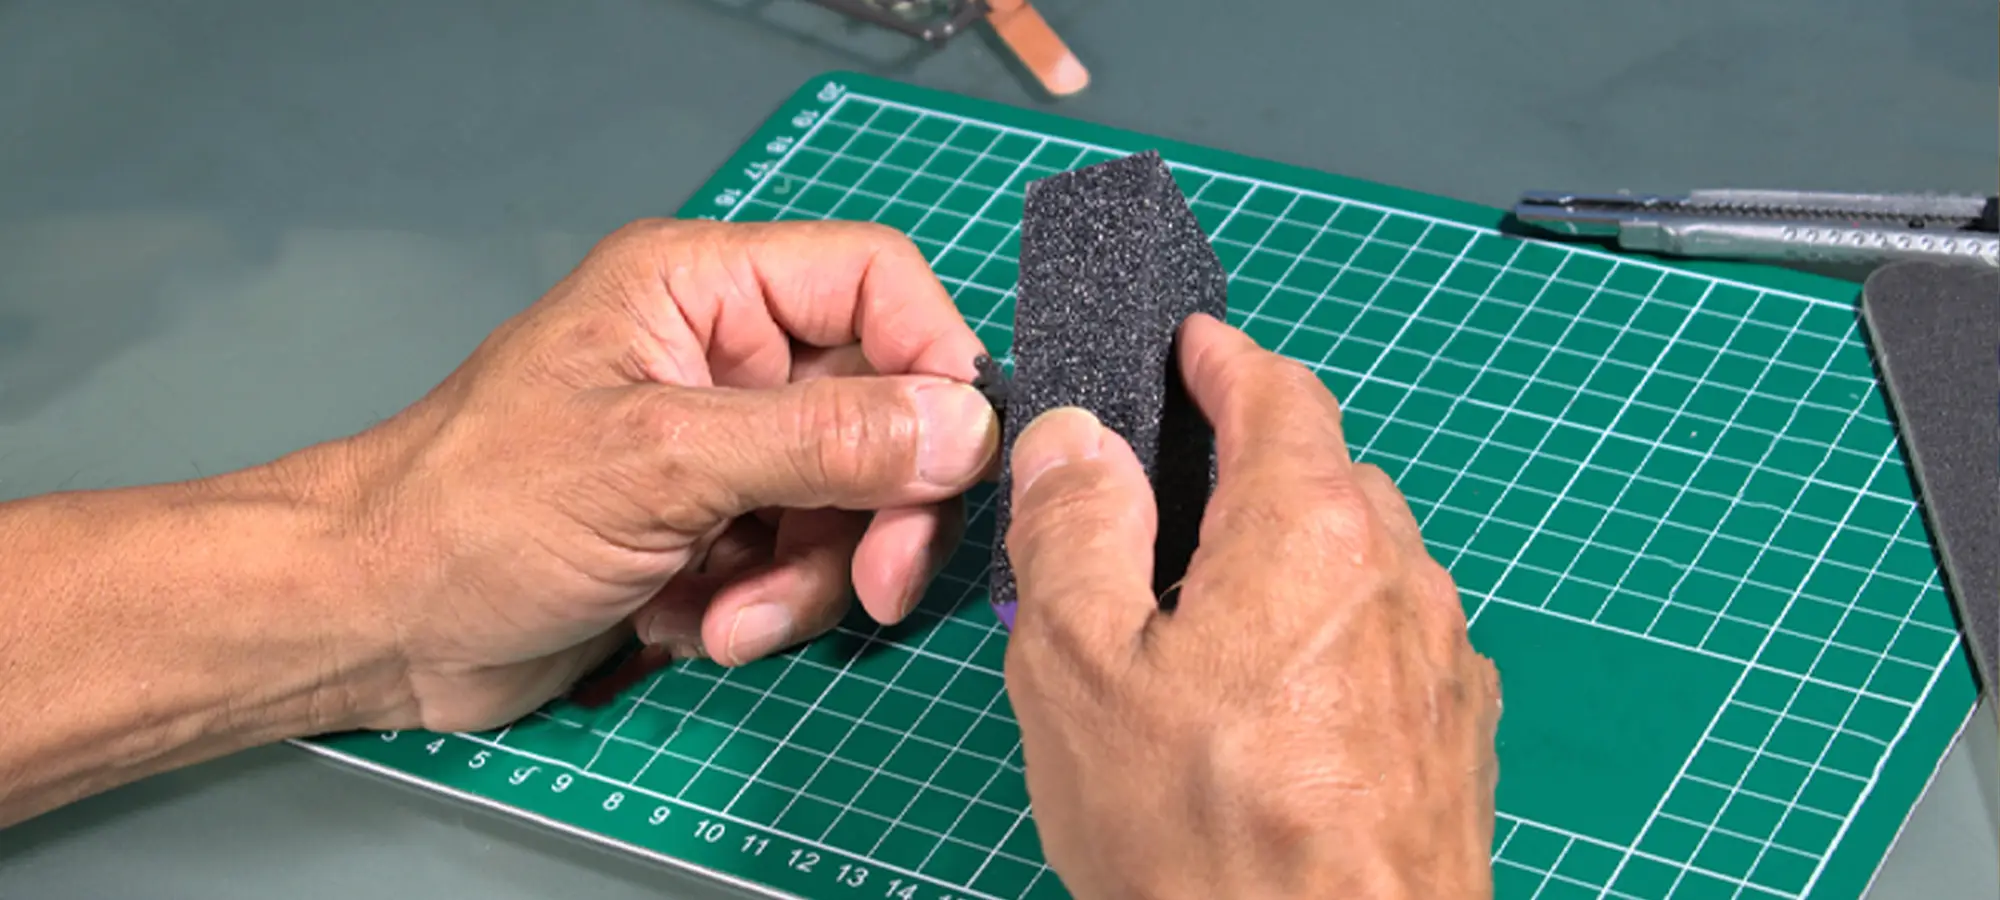
This is the next most common form of 3D printing post-processing after support removal. The easiest way to remove roughness over FDM 3D printed part’s surface is sanding.
Apart from roughness, sanding also helps you get rid of blobs that are left on the surface of the 3D printed part. Apart from blobs, marks may remain on the surface of your part after removing the support material.
And the first phase recommendation for removing these marks and blobs is using lower grit sandpaper generally in the range of 150 to 400.
After you’ve had one round of that sandpaper, you can move towards higher grit sandpaper up to 2000. Starting sanding directly with higher grit sandpaper carries the risk of damaging your object.
You can also try wet sanding and circular movement for removing marks that do not get removed even after completing the above-mentioned two stages of Sanding.
In Sanding, there is a generation of heat due to continuous friction between the surface of the object and the sandpaper. And heating does not necessarily have a positive effect on all the materials.
It might end up damaging the sensitive materials. For avoiding this, you can simply wet your part before starting to rub it with sandpaper. This would absorb the excess heat that’s generated via Sanding.
Circular motion is recommended especially with FDM 3D printed parts because sanding perpendicularly or parallel to the layers might ruin the appearance of that part.
Advantages of Sanding:
- Once sanding is done, the part gets completely ready for polishing or painting.
- The topography of the 3D printed part will smooth once it’s sanded.
- Sanding is a
- Applicable to every kind of FDM 3D printer part.
Things to take care of while Sanding:
- It is time as well as effort-consuming.
- Difficult to perform on parts with small features and details.
- Will affect dimensional accuracy.
Sanding and Support removal belong to the cleaning category of 3D printing post-processing. There is another category as well to post-processing and that is finishing.
Once the 3D printed object is through both of these categories it is well suited for the application.
Having explored cleaning in the first part of this article, we’ll now take you through 3D printing post-processing techniques employed for Finishing.
Priming and Painting
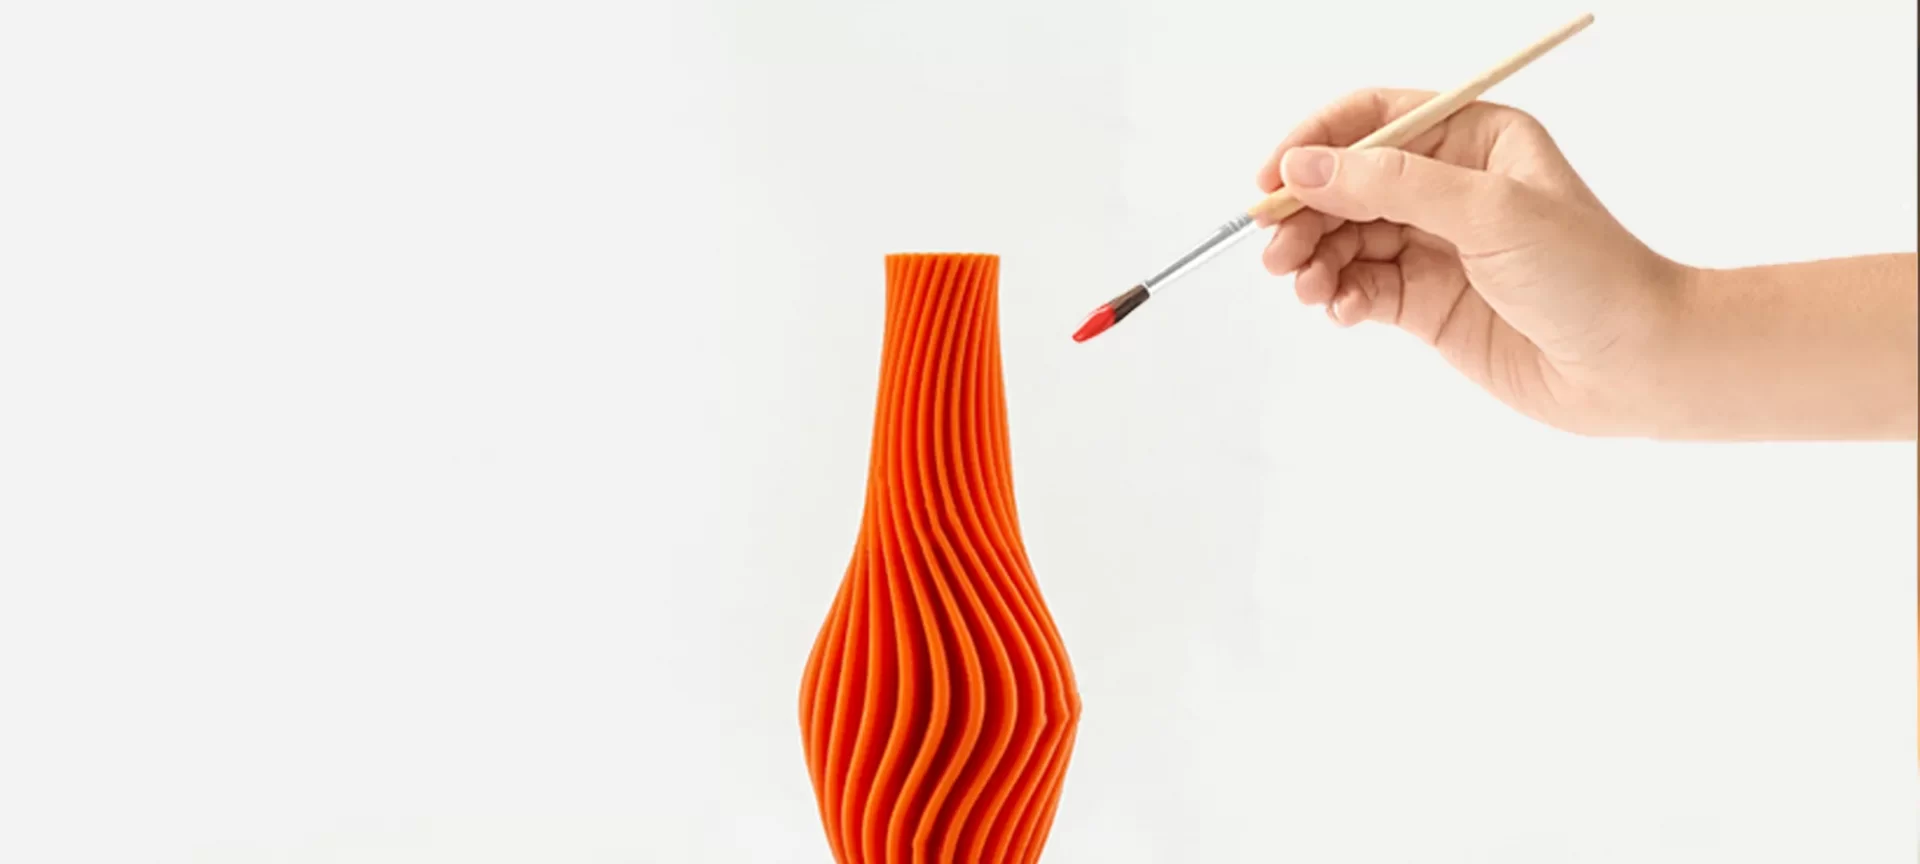
The technique that makes a created object eligible for painting is priming. Either the primer paint or primer spray will be used for coating the 3D printed part.
This is done so that, the painted or sprayed primer can act as a base material for the paint that is to be applied over this object.
Obviously, before priming it’s necessary to clean the part or functional prototype using sanding and support removal.
Ensure that the layer lines are completely eliminated and the surface of the part is smooth. Having ensured so, you can apply two layers of primer to the object.
After you are done with priming, wait patiently till the primed part dries. Only then you are recommended to start painting your 3D printed part. We advise you to either use a brush or a spray for this procedure.
In case you want sharp color intersections, experts endorse masking tape as the perfect solution.
Both, priming as well as painting should be done in an area with enough ventilation or outdoors while wearing a mask to avoid the aftermath of breathing the primer or the paint.
Advantages of Priming and Painting:
- Makes the part aesthetically more appealing by enriching its look, color, and feel.
- Results into a smooth surface finish.
- Applicable with all kinds of FDM materials.
Things to take care of while Priming and Painting:
- Demands you to patiently wait till the part are completely dried and hence is time-consuming.
- The equipment involved in this procedure costs more.
- Skilled labor is required to achieve finesse in this complete procedure.
Smoothing
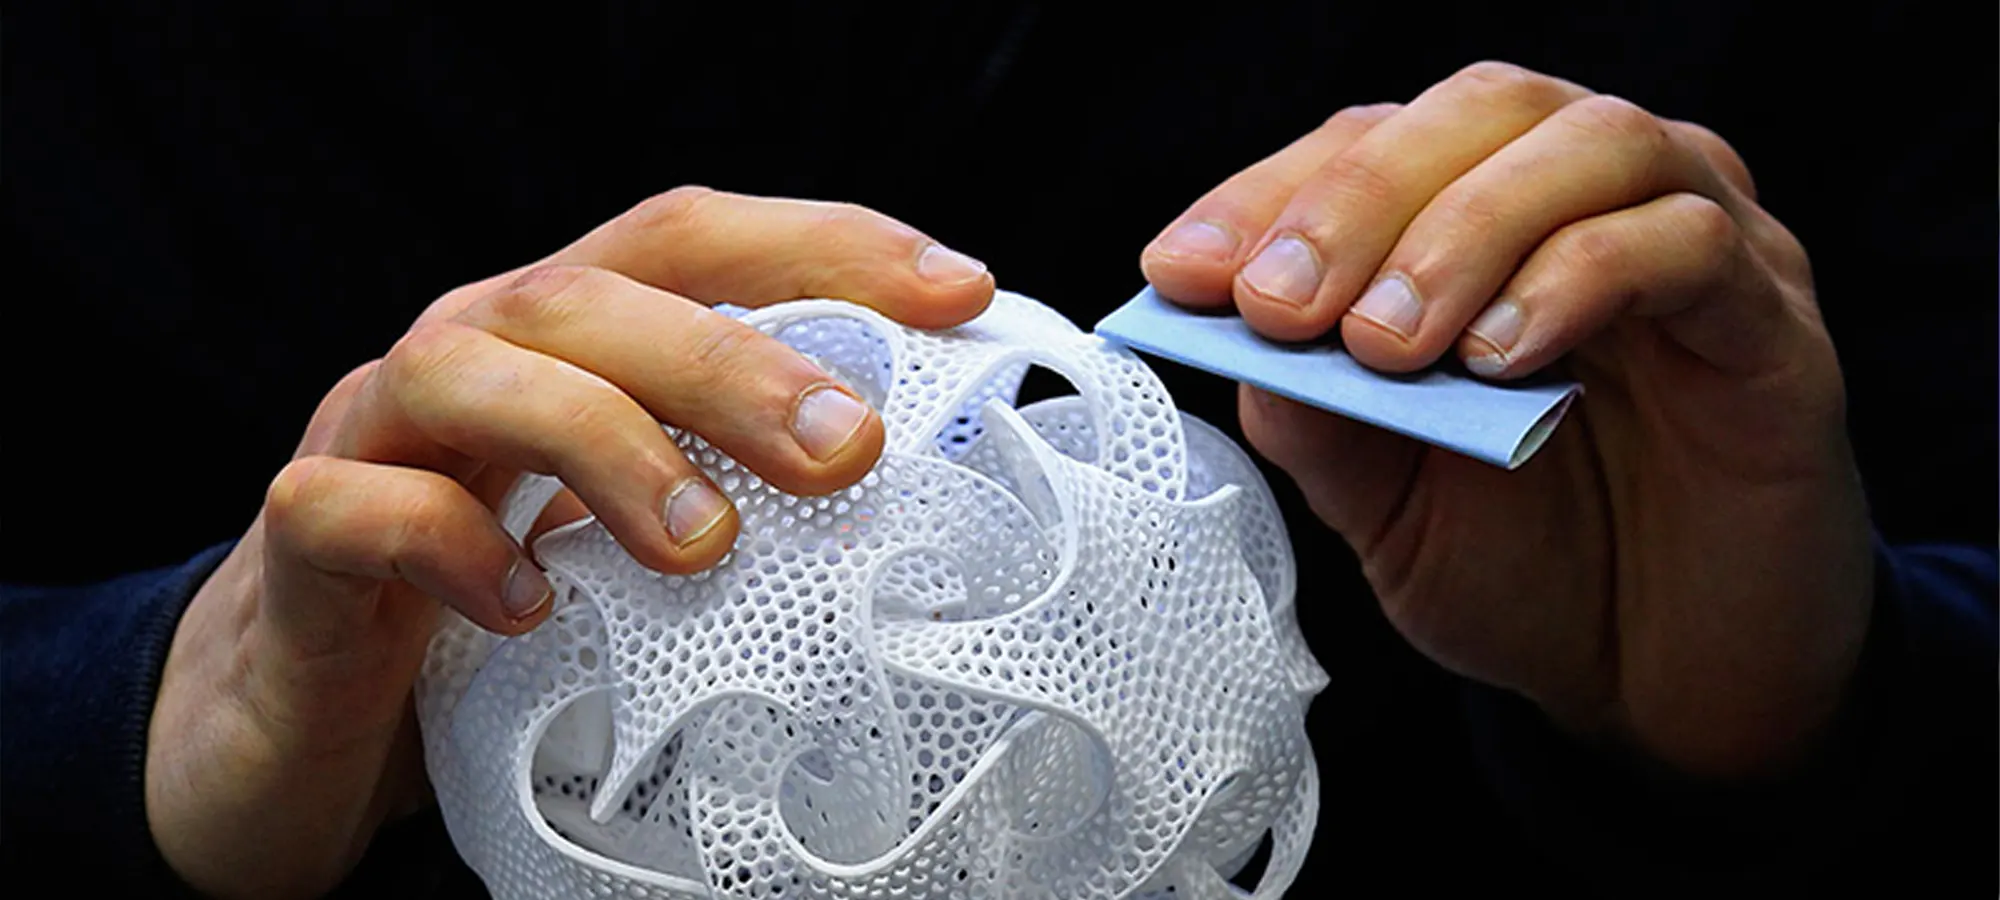
This is one of the most popular 3D printing post-processing techniques especially with parts that are printed using ABS filaments. The material that has the ability to smooth the surface of ABS is acetone.
It takes away the layer lines that are present on the surface and makes it completely smooth for the application.
So, as you can guess the simplest way to carry out this procedure is to pour acetone into a large container and then place your prints on the platform over the acetone.
Close the lid of the container for a duration of ten to twenty minutes till the vapor melts the outer layer of the parts.
The more the vapor escapes the container, the more beneficial it is. So, do not close the lid tightly and if there is no other option, drill some holes on it.
If you do not want to do smoothing in such an arrangement, applying acetone with a brush in a similar way as you apply paint, is possible.
But you should beware as acetone is not some material completely non-harmful as paints. It is highly flammable and can explode if not given suitable atmospheric conditions. So, if you are not following the above-mentioned arrangements, be extremely careful.
Even the fumes of acetone if inhaled above a certain amount, can cause irritation and other negative effects.
So, always work in a well-ventilated area and ensure you are wearing a mask to cover your nose and gloves to cover your hands, for safety.
PLA does not melt with acetone; it can be smoothed using other chemicals such as THF or MEK.
Advantages of Smoothing:
- After your part goes through Smoothing, its surface grows smooth and shiny.
- Acetone is easily and cheaply available.
- Smoothing does not take much time.
Things to take care of while Smoothing:
- Acetone only works with parts printed using ABS.
- There is a risk of warping in larger prints while smoothing them.
Polishing
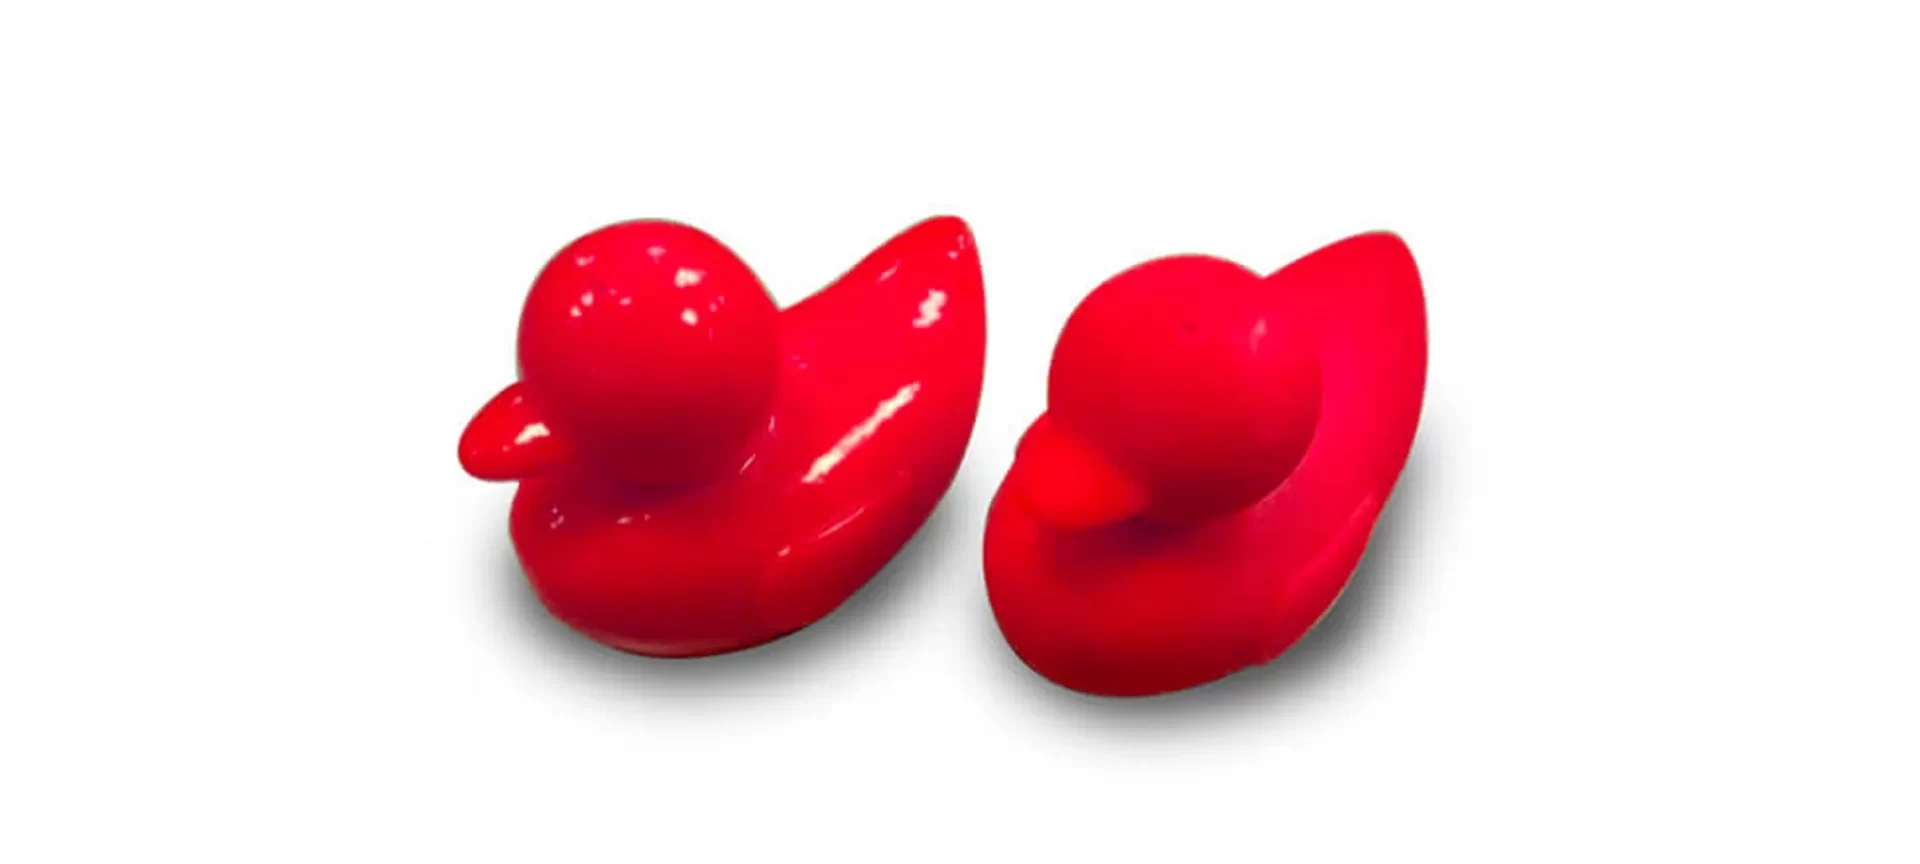
To ensure your prints have the smoothest surface possible you need to make them go through Polishing. There are polishers and tools available in the hardware store near you that’ll allow you to smoothly polish your 3D printed part.
If you wish to spend some money and get a standard tool, experts recommend Dremer. Otherwise, polishing can also be done using a microfiber cloth and a plastic polisher.
But again, before polishing you need to keep a strict check about the sanding of that part. In case it is not sanded properly, you would not get the quality even after polishing it properly.
Polishing a part or functional prototype using a cloth can be done in a circular motion until you get the kind of result you wish to.
While polishing a part, there are no chances of subjecting yourself to any harm as such in the case of smoothing.
A Dremel buffer can also work very satisfactorily, all you need to ensure is that you move it evenly along the complete surface of the 3D printed part.
Advantages of Polishing:
- Smooth to point of being mirror-like surfaces can be produced by polishing a 3D printed part.
- Unless you decide to use some tools, you can do the polishing for free. There is absolutely no investment that you need for polishing your object.
Things to take care of while Polishing:
- In a way by subjecting your part to polishing, you are compromising the dimensional accuracy of the same.
- Polishing does require some kind of skill set. If you start polishing without any experience there are high chances that you will end up damaging your part.
The Conclusion
Please make sure that you are following the sequence that’s mentioned in this guide. You need to start with the most basic support removal, followed by sanding and so on.
Also, note that any kind of inefficiency in doing any of these 3D printing post-processing techniques would lead to the transfer of that inefficiency on the next technique.
Meaning that, if you haven’t done proper support removal, your sanding would be ineffective, and so on!
A result of these inefficiencies would be reflected in the part or functional prototype which may end up failing when put into application.
On the other hand, if done with proper care and attention, post-processing of your part would not only make it aesthetically pleasing but also would get you the highest price in the market.


