It is very common to choose ABS for 3D printing parts. Thanks to the various benefits the filament offers including strength and flexibility. However, the ABS print temperature setting isn’t as subtle as you would expect.
Therefore, it won’t be a bad idea to dive a little deeper into the features of ABS and its various settings. Once you have gathered enough information for printing ABS, it will be a cakewalk to perfect every print.
What is ABS?
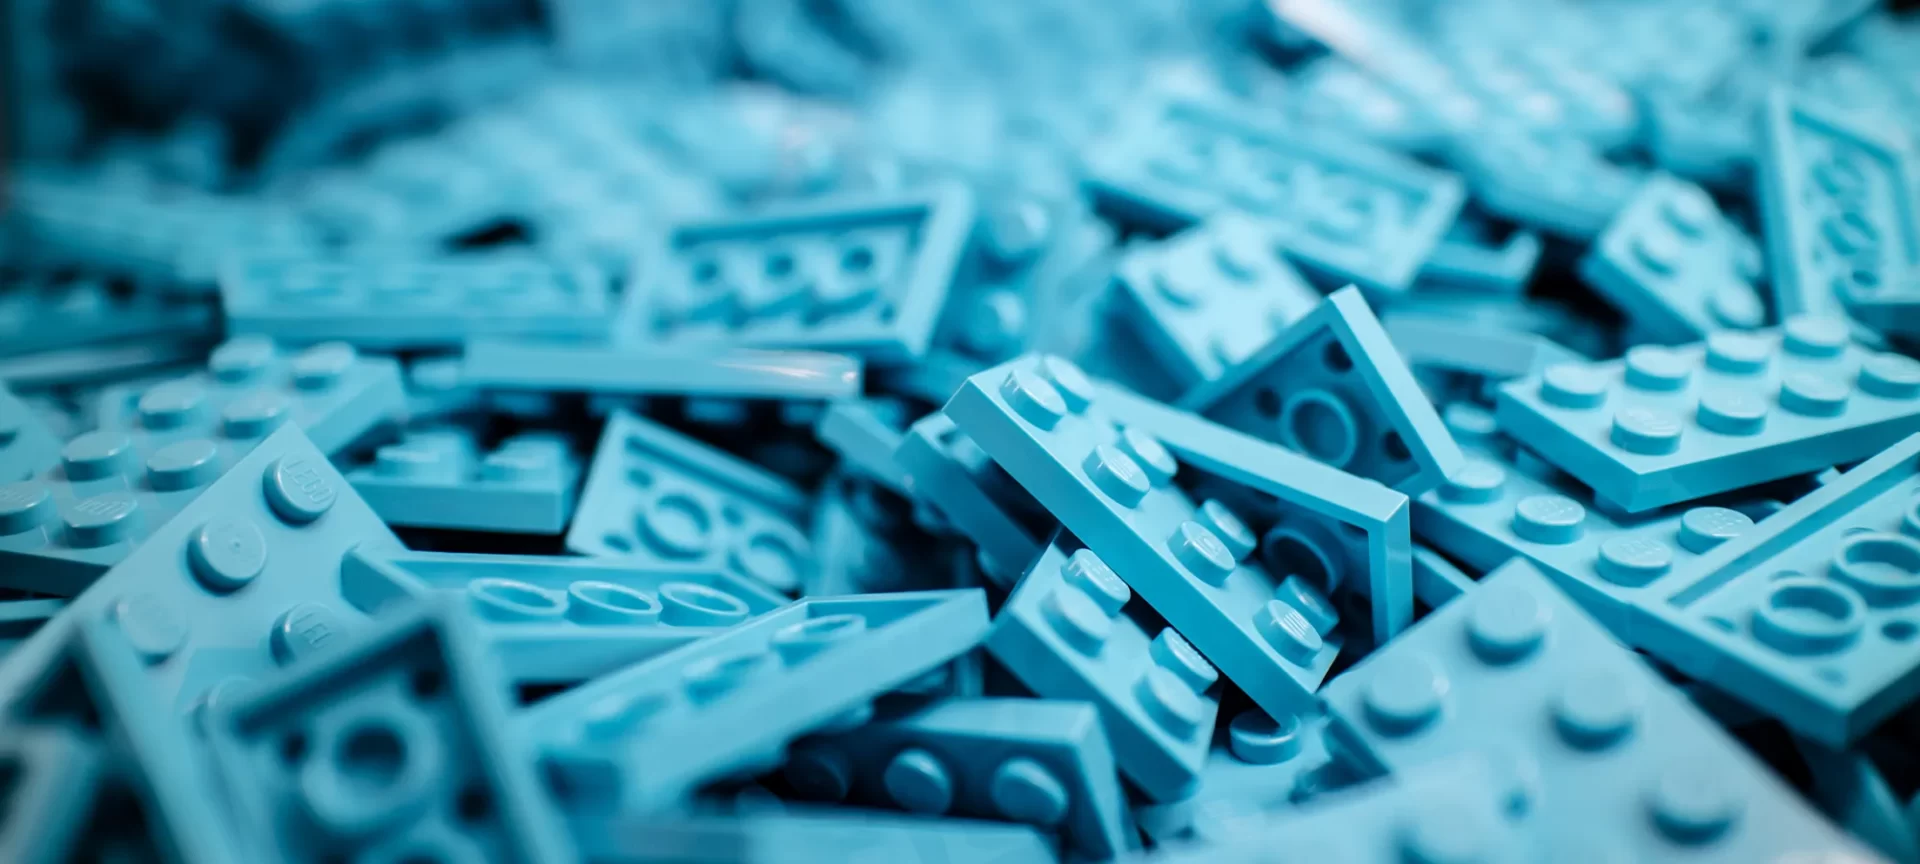
ABS stands for Acrylonitrile butadiene styrene. And it is one of the most popular plastics among manufacturers. Cannot relate? Look at the Lego blocks and you will understand how familiar the material is.
ABS is the preferable choice for users among different niches. It not only provides huge strength and resistance to the temperature but also is a little flexible.
Among the various benefits, its capability to print with a smoother surface finish makes ABS a very demanded filament of all.
With its feature to react with acetone, ABS can attain a smoother finish. Plus, the material does not require much effort when sanding.
However, all these benefits aren’t alone. There are certain issues that are very common with ABS printing.
Along with a need for perfect ABS print temperature, the material also requires extra effort for increasing its adhesion to the bed.
Moreover, warping (explained later in the article) is highly seen in ABS parts. And, not to forget, ABS releases harmful fumes when melted.
So, let’s understand each challenge in brief before we proceed to the ABS print temperature setting.
Challenges Faced When Printing ABS
As already listed before, there are a few challenges you must learn to overcome when printing with ABS.
Warping
Many users feel overwhelmed by the problems ABS brings with its printing. And, one of the most daunting issues is warping.
Those not able to handle the problem may feel helpless at times. But isn’t learning about the reasons that lead to warping must be the first thing to explore for mastering ABS printing?
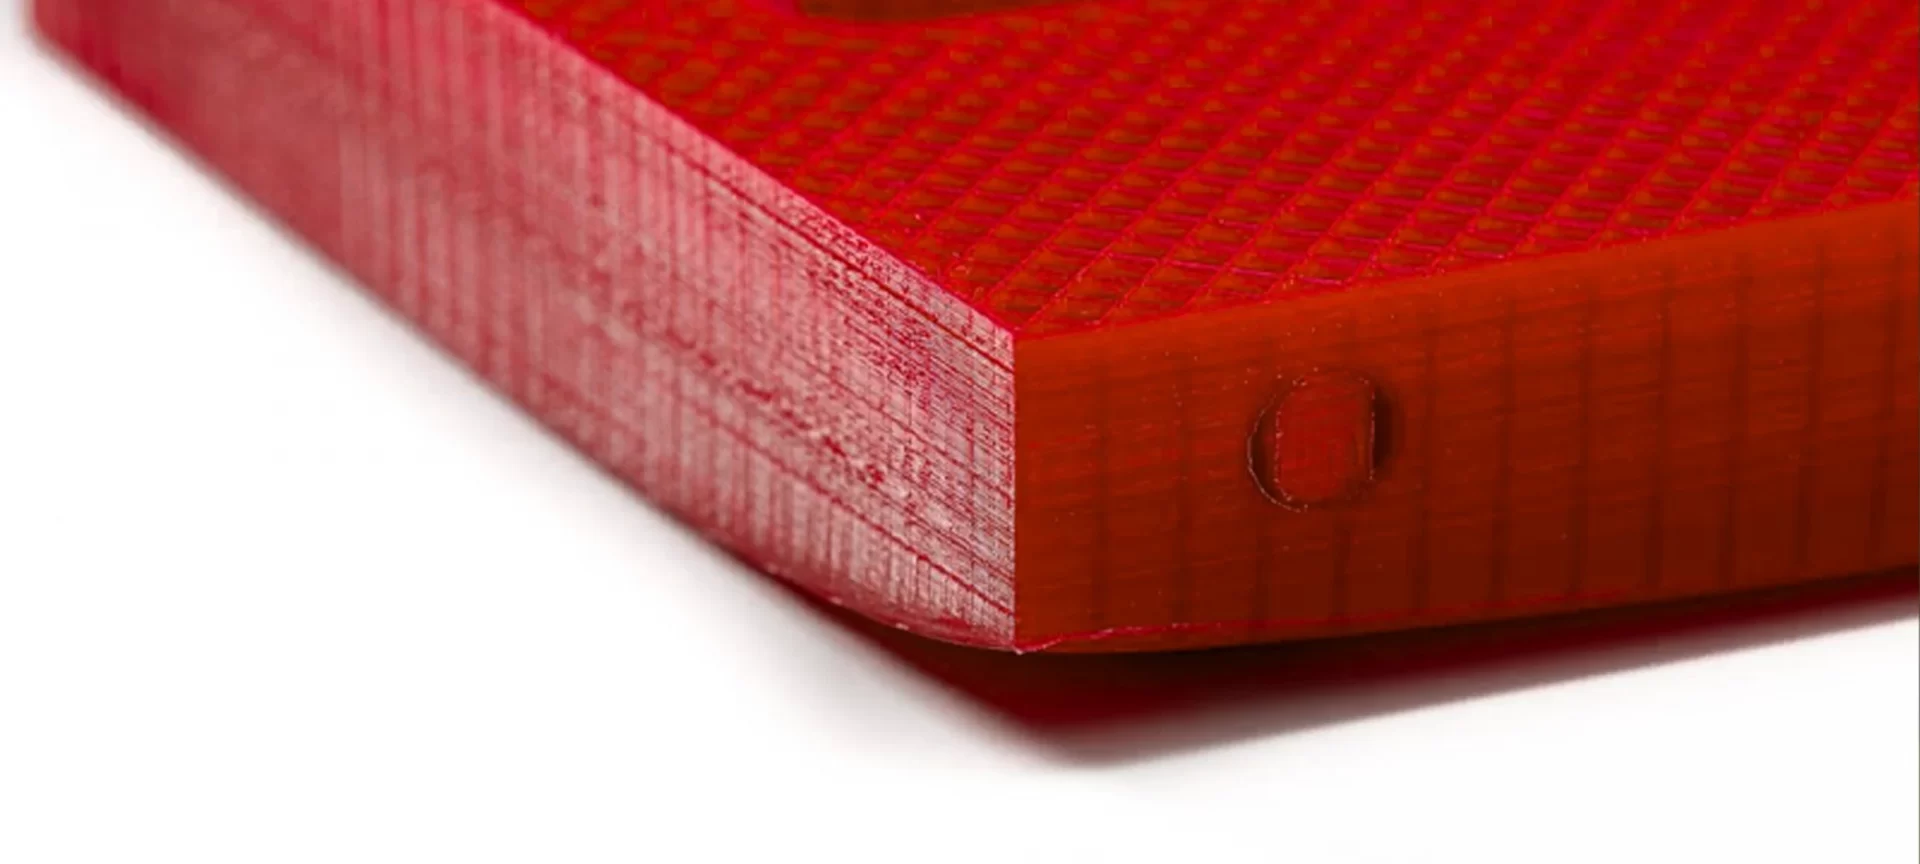
Warping is the tendency of parts to curl and shrink when cooled. This further leads to losing first layer adhesion that results in failed prints.
The heating filament inside the extruder tends to expand it further. And, as per the 3D printing process, the material is deposited over the build surface in the molten state.
This happens in layers. However, after the molten filament starts to cool down, it settles down in solid form and shrinks too.
In some plastics, the case of contraction is more pronounced than in others. And, ABS happens to be one of those filaments.
As the printing happens layer by layer, the layers deposited first, start to cool earlier than the layers deposited later. Hence, the layer deposited earlier contracts before the ones deposited later. As it contracts, it peels off from the printing bed. This gives way to Warping.
Trust this, it isn’t a very fascinating site to experience. Not only your efforts go in vain, but you need to work again for the same part. And, if you haven’t used the correct settings the next time too, you most certainly will have to repeat the process all over.
What Temperature Should ABS be For 3D Printing?
In order to create accurate parts with great finishing, one must know the correct settings for ABS printing. Otherwise, the results may frustrate users. And if you have attempted a few times to tame the material and haven’t found any luck, here is what you must know.
The correct ABS print temperature settings will allow you to perfect almost every print. Definitely, along with other parameters equally important to consider when working with ABS such as speed, adhesion, and more.
Extruder Temperature
Being difficult to melt, ABS comes with a higher melting point. Hence, you can expect it to melt at a higher temperature when compared to PLA.
For beginners, this may sound surprising, but 3D printers that work with ABS do allow such high ranges for heating filaments.
And for ABS, the extruder reaches a temperature between 210 degrees Celsius and 250 degrees Celsius. Mostly, the manufacturers of the ABS filament mention the most preferable temperature for printing.
In case, you do not find such guidelines, there is no problem playing around with the ABS print temperature settings.
Starting with 220 degrees Celsius, you can increment the temperature by 5 degrees to attain the desired finish. Usually, 235 degrees Celsius temperature for extruders does the right job.
Do not forget to ensure you use the best setting. Otherwise, in case the extruder heats up beyond the preferred limits, it will lead to oozing.
To confirm the problem, just check for strings of the web created around the printed part.
On the other hand, if the extruder isn’t heated enough, it will lead to under extrusion. You may find gaps in the prints, eventually ending with failed prints.
Build Plate Temperature
By default, ABS will require a heated bed for printing. You cannot expect to create parts with ABS on a non-heated platform. So, why does this matter?
Among the other perks, a heated bed is necessary to avoid warping. And, as you already know by now, warping could be very stubborn and won’t go away unless you have found the right settings for your 3D printer.
Precisely, a heated bed increases adhesion and eliminates warping. Hence, you must find out the right bed temperature for ensuring strong adhesion of the first layer to the build surface.
To create accurate parts and avoid warping, you must set the bed temperature that is just above the plastic’s glass transition temperature (Tg).
Tg is the temperature at which the plastic converts from solid to a rubber-like state, still far away from turning to a liquid state. For bed temperature, you must keep the range just above the ABS’s glass transition temperature.
In other words, the bed temperature must be above 105 degrees Celsius. You can start working at 110 degrees. It will get your job done.
What are The Best ABS Settings for Slicer?

While ABS print temperature holds huge importance in printing, it isn’t the only factor that can disrupt your print operation. There are other settings that you must master before printing ABS.
Using Brim and Raft
The purpose of brims and rafts is to offer some extra contact for the surface lying between the build surface and the first layer. Hence, enable strong bed adhesion.
Moreover, whenever there is a problem of warping, it is brim or raft that gets compromised. Leaving your first layer intact and good to go.
Hence, if you seem confused about not able to apprehend the best ABS print temperature, avoid warping by allowing brim and raft setting in the slicer.
Height of the First Layer
Did you know that by using a thicker first layer you can minimize the chances of warping? If not before, now you know that.
What it does is increases the surface contact of the first layer. Hence, increasing the firmness of the entire part as you go along printing subsequent layers.
If you like to go by the standard thumb rule, do not forget to set the height of the first layer at 150% of the subsequent layers’ height.
Print Speed of the First Layer
Unlike the layer height for the first layer, you must decrease the speed of the initial layer for minimizing warping. To be more precise, a decrease of around 70% from the regular print speed for the first layer will do the task.
Decreasing the speed of the first layer is mostly useful when you are printing parts with sharp corners. At higher speed, the sharp corners easily peel off running the entire print and giving way to warping.
Draft Shield
If you are working with Cura, you may not find this feature straight away. The draft shield option is hidden away and you can locate it under experimental settings.
What this usually does is creates a single layer wall around the part thick enough to hold a “draft of air” away from the prints. This enables safer printing of ABS while keeping the problems such as warping away.
Cooling Fan
We have read more than often that cooling fans help in settling each layer faster by surging the speed of solidification. These fans allow for consistent airflow around the hotends and quickly cools down the plastic.
However, this is not the case when printing the first few layers of ABS. For best print results, you can just turn off the fan from the slicer setting for the first few layers, from 5 to 10 specifically. Later, you can turn on the fan.
What Else to Consider When Printing with ABS?
Apart from the usual settings, there are certain pre-requisites that you cannot ignore when printing with ABS.
Enclosed Build Chamber
ABS requires consistent temperature for printing. Therefore, it is recommended to use an enclosed frame for printing this filament. The closed chamber will maintain uniform heating while keeping the warping problem at bay.
Those printing with ABS with a heated bed and without an enclosed frame usually experience warping. Hence, it is mandatory to include a frame for printing. If your printer does not have a frame, consider creating one before using ABS filament.
Bed Adhesives for Strong First Layer Adhesion
As expected, ABS will not be very easy to tame when it comes to first-layer adhesion. Making room for problems like warping and failed prints. Therefore, even with a heated bed, you may require bed adhesives to further enhance the adhesion of the first layer.
This helps fight to warp and offer accurate prints. To add adhesives, you can make use of glue sticks. All you need to do is directly rub the glue stick over the build platform. Enabling firmer adhesion of the first layer to the print bed surface.
Another alternative to glue sticks is hair spray. Otherwise, if you do not have these products handy, you can choose to melt a tiny amount of ABS filament and spread it over the build platform.
All these hacks would help create a stronger bond between the first layer and the build surface.
Need for Change in Design
Sometimes, a change in design can considerably help avoid daunting problems when printing ABS. For instance, sharp corners easily peel off, giving way to warping.
This happens because of the stress accumulating at a smaller surface contact, created with sharp corners.
Therefore, a small change in the design from sharp corners to rounded corners will minimize the chances of warping to a great extent.
With rounded corners, the stress, formerly accumulated at a single point will spread over a curved surface.
Therefore, reducing the effect of stress concentration and distributing it over to a broader surface path.
The Conclusion
Many times, users give up when printing with ABS. And, choose to go with standard materials, such as PLA. However, given the limits of the parts created using PLA, this isn’t a practical solution at all.
On the contrary, testing your prints with varying settings and perfecting your skills would rather be a more suitable alternative to giving up.
With its application for a number of tasks, ABS holds very great importance in 3D printing technology. And, there is no way one can create versatile prints by avoiding ABS printing. Instead, practice is the only way to master the art of printing with this filament.
Just find out the best ABS print temperature and other variables and try different combinations to settle for the best settings favoring your application.
From manufacturer brands to the expected end results, a lot of things would come into play when selecting the correct settings. So, ensure to go through all those facts before starting your prints.
Moreover, to further hone your design, do not forget to allow your parts to through the right post-processing methods. Remember, practice is what will help you master ABS printing.


