Although additive manufacturing has gained huge popularity, it still is very expensive to work with metals. Industrial 3D printers cost hundreds of thousands of dollars and are huge in size. These limitations make it completely difficult for hobbyists and enthusiasts to play around with 3D designs created using metals.
Thankfully, with lost-PLA casting, users can now combine 3D printing with traditional casting methods to create parts with metals.
Precisely, this 3D printing technique works in a similar fashion as the conventional “lost-wax casting”.
For years, experts have been using the casting method to make jewelry. And, using 3D printers, one can easily prepare mold and use it to carve metal parts.
All you will need is a desktop 3D printer, a spool of PLA filament, and some fun skills to begin with. Not exactly metal printing, but you can easily design objects made of metals. Sounds interesting?
So, here is a complete guide to the lost-PLA casting 3D printing technique. The method is accessible and hassle-free.
What is Lost-PLA Casting?

Before going into the details of lost-PLA casting, let’s understand how the conventional technique of lost-wax casting works.
To start the process, one needs a sculpted model out of special wax. Further, one must create a plaster mold around the wax model. Once the mold sets, it’s heated until the wax liquifies and leaves the mold through a hole.
This mold then becomes the base for the metal casting. The last step includes pouring liquid metal inside the mold with an imprinted design. After the metal sets following a cooling process, one can easily remove, clean, and polish the part for further application.
Well, a pretty similar procedure happens when working with Lost-PLA casting. However, instead of sculpting the wax model, users print the models using PLA filament.
Known for its low melting point, PLA liquefies faster and easier than other filaments. Hence, ensuring the entire process is quicker, as well as reliable when compared to wax sculptures.
If you are ready to begin, let’s learn about casting aluminum, one of the cheapest and simplest metals to handle.
A Few Tips Before Beginning Lost-PLA Casting
In order to successfully accomplish the lost PLA casting, it is imperative to keep a few tips handy. Starting from safety procedures to various design guidelines, being prepared for everything in advance would help a lot.
Safety Tips
You will be working with high temperatures as the melting point of Aluminium is around 660 degrees Celsius. So, ensure that you have a separate workspace, best if you can manage stone or cement flooring. Do not forget to include vacuum ventilation, hidden away from the weather. Alternatively, you can also use gravel or a sandy lot.
Keeping your work area clean and away from debris is a must. Make sure that the furnace isn’t littered with flammable materials such as wood, paper, etc.
Always have arrangements for necessary tools and equipment such as welder gloves, masks, boots, aprons, and other stuff. Also, ensure that the fire extinguishers are in place.
Design Guidelines
While it is true that lost-PLA casting can help create complex designs. However, there are certain tips you must follow when designing your parts. For beginners, it is advisable to use simple designs.
Having stronger walls and lines would help carry the process without any trouble. Also, weaker supports have the tendency to collapse during the baking process. Hence, design the parts ensuring that the gaps are supported.
In addition, metals tend to shrink after cooling. For instance, aluminum shrinks at a rate of 13.02 mm per meter after cooling down. While this may not bring any difference with small parts, it is recommended to oversize the designs when working with larger models accordingly.
What Are The Pieces of Equipment Needed?
Here are the tools required to accomplish this revolutionary technology.
3D Printer
As the name suggests, you will be making models with PLA. Hence, you will require a PLA 3D printer.
Crucibles
You will require something to melt down your metals. This is where the crucible comes into play. Crucibles are made with graphite. If you do not want to buy it from outside, it’s simple to make one for yourself as well. Use a thick container such as an empty canister or fire extinguisher.
Flasks
You will need a flask to create a plaster mold. This is where the model is submerged in the plaster before going into the furnace for baking. For a hassle-free experience, get the flask that is big enough to cover the model completely inside plaster.
At the same time, ensure that the mold fits into your furnace. In order to save money on the flask, you can use the cardboard mold box too. However, those not ready to compromise on quality must go with flasks.
Furnace
As mentioned, a furnace is where the plaster mold is baked and the plastic is melted. It also enables the melting down of metals before casting. For making a charcoal furnace at home, use a steel bucket.
Alternatively, you can invest a little to buy electric foundry kits that are easy to set up and works right away.
Tongs
Working with heated tools and mold is not easy, especially when just a quick touch to the skin can cause burns and serious problems. Hence, you must keep crucible as well as flask tongs handy. Remember, crucible tongs are used for holding flasks, but you must not use flask tongs for handling crucibles.
Vacuum Chamber
Using a vacuum chamber ensures that there are no bubbles in the plaster mixture when in liquid form. These bubbles are very notorious and can even end up splitting the mold when exposed to heat.
Tumbler
Tumbler helps with the polishing of casted parts. Using a unique design, the tumbler polishes the casted objects through a process of abrasion. While there are other methods to accomplish the job, but nothing gets the result as tumblers do.
Steps to Complete Lost-PLA Casting
Starting with 3D Printing, the technique goes through a variety of different processes to get the desired results. Hence, here are the basic steps involved in Lost-PLA casting.
3D Printing
To start the process, you will require a PLA model. That is why 3D printing is the first step towards lost PLA casting. If you have already worked with an FDM 3D printer, the job won’t be difficult at all.
On the contrary, for first-time users, there might be a few challenges. But given the ease of working with FDM technology, one only needs a bit of patience to master 3D printing.
Ensure that the settings of the printer are correct and optimum. From calibration to extruder temperature, you must complete the settings with the highest precision.
PLA is the simplest material to work with, so you don’t even need a heated bed to print with this material. Called the beginners’ friendly filament, PLA would certainly help you get your first print with perfection, in just a few attempts.
Mold Creation
After you have the printed model, it’s time to prepare the mold out of plaster. Start with applying the sprue wax to your model. For large objects, make sure that the sprues are attached to bigger overhangs. Next, it’s time for mold preparation. Just verify to ensure that the furnace is bigger enough to occupy your mold.
Place the model inside cardboard with an open top. In a separate bucket, mix the ingredients to prepare the plaster. Look for the guidelines in the plaster packaging. However, it is important that you do not leave any dry patches, or else, it will ruin the cast.
After preparing the plaster mixture, pour it quickly into the vacuum chamber. Otherwise, it will start to harden right away. In case you do not have one, skip to the next step.
Pour the ready mixture on top of your model, place it inside the mold box. Let the plaster set. You may have to wait for at least 24 hours to be able to move to the next step. After the mold is dry enough, take away the cardboard along with its bottom.
And, you will be left with the required mold. Make sure you are able to see the bottom of the mold, glued to the base of the cardboard.
Burning Out the PLA
This process will burn out the PLA from the mold, leaving space for metal casting. And, to complete the step successfully, ensure that you follow the direction mentioned by the manufacturer of the furnace.
If you have created it yourself, stay cautious when handling the chosen source of fuel. Heat the furnace until it becomes yellow-red. Use the tong to place the mold inside the furnace with its base facing the bottom.
Usually, it will take around three hours to melt the PLA completely. Once that happens, the liquid PLA will drain away from the bottom hole.
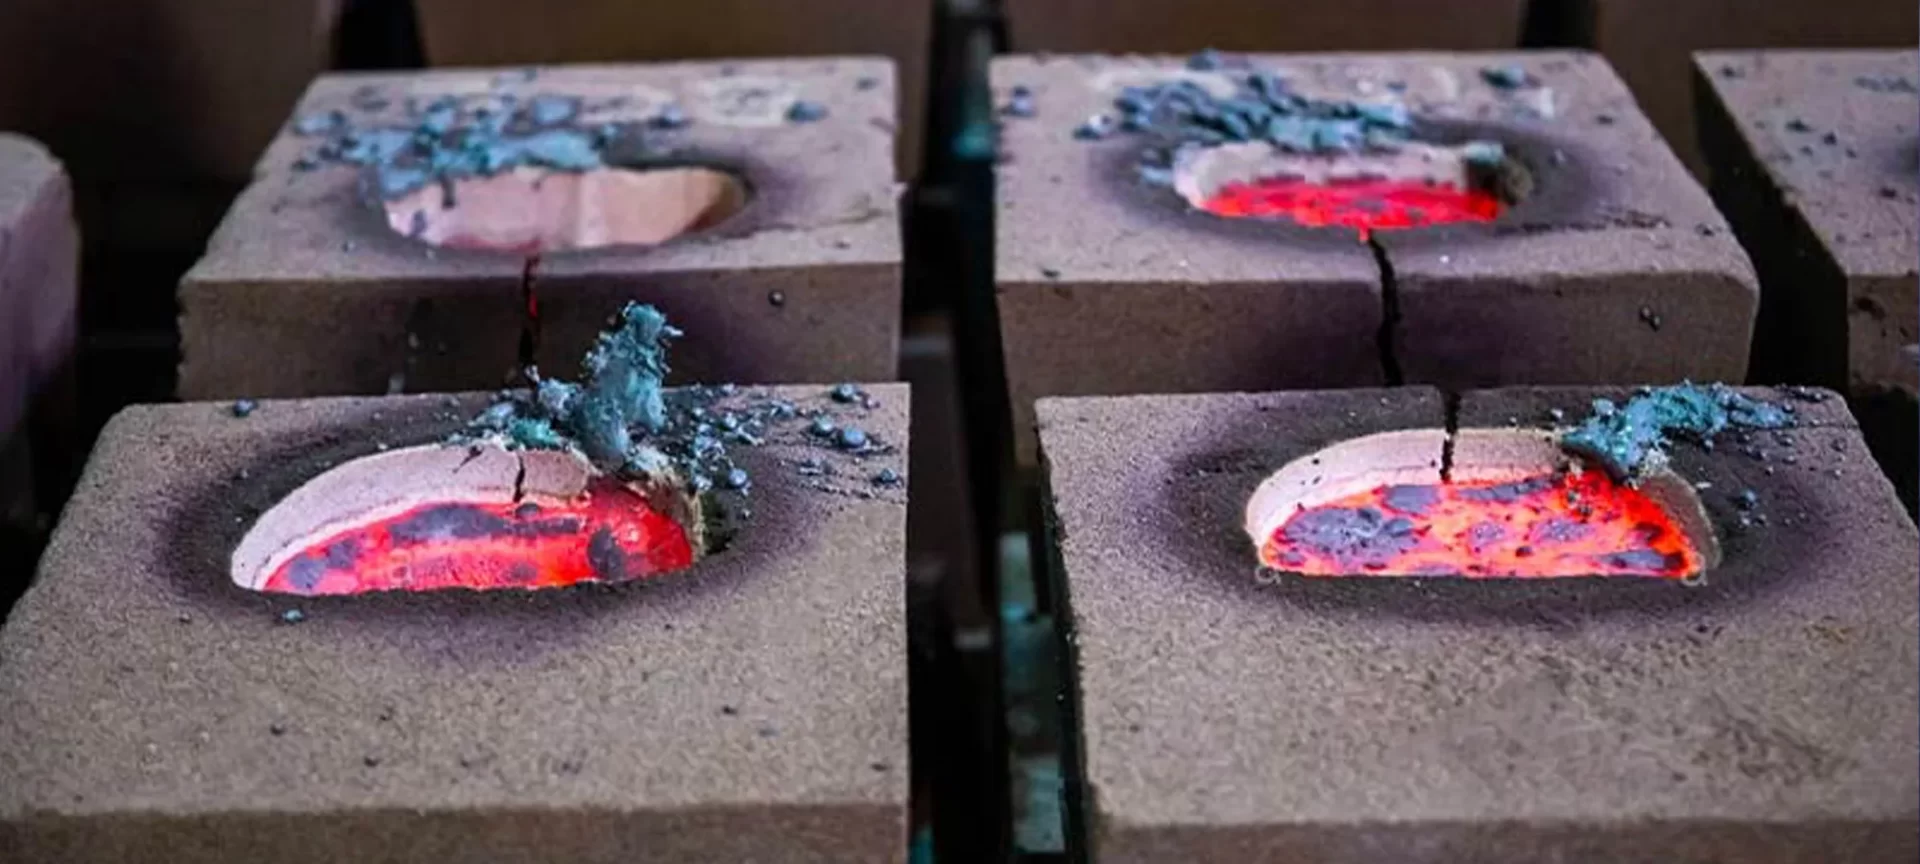
Casting
Place the empty model upside down inside a bucket of silicate sand. For safe casting, you must place the mold in the center of the bucket, with the proper amount of sand at the bottom as well as surrounding the mold.
Making use of crucible tongs, hold the crucible to place it in your furnace. After it becomes cherry-red following heating, start shifting the aluminum into it. Go slow when accomplishing this step by melting every piece of metal one by one. Or else, the liquid metal may overflow the crucible, ending up in accidents.
After you get the melted aluminum, take away the crucible from the furnace to over the mold using the same tongs. With utmost precaution, pour the melted metal into the mold. Keep some distance between the opening of the mold and your body. In case the melted metal pops, step back right away.
Once you complete filling the mold to the top, let it cool for about 30 minutes.
Extraction
You will need a bucket large enough to accommodate the mold entirely. Fill it with enough water so that the mold submerges completely.
Use the flask tong and carry the hot mold to place it inside the bucket filled with water. While the metal will cool down, the plaster will dissolve at the same time. Leaving the metal part behind for polishing.
Polishing
There are times when plaster particles aren’t completely dissolved during the extraction process. Therefore, one must clean the final models before carrying any polishing technique.
Cleaning removes the undesired pieces that were necessary for the part production such as leftover plaster, sprues, and more. The most common tool to clean the part is wire clippers.
These usually come along with most of the 3D printers. These are best for removing sprues. On the other hand, you can use a wet cloth for cleaning the lingering plaster.
Further, to scrap off the soot along with the sprue marks formed during the healing process, one must use fine-grit sandpaper. The technique is coined as buffing.
In the end, all you have left to do is polish the part. Either do it by hand with the help of the polishing wax or use a special cloth. In addition, if you have arranged a tumbler, use it to get perfect polishing results.
The Conclusion
Carrying the lost PLA casting is a tedious process. Unlike the usual AM methods that automate the complete manufacturing workflow, this procedure goes beyond just 3D printing.
Users must be ready to work with heated tools and materials by ensuring full precaution is needed. However, once the technique is perfected, it becomes simpler as well as cost-saving to create metal parts combining traditional techniques with 3D printing.


