|
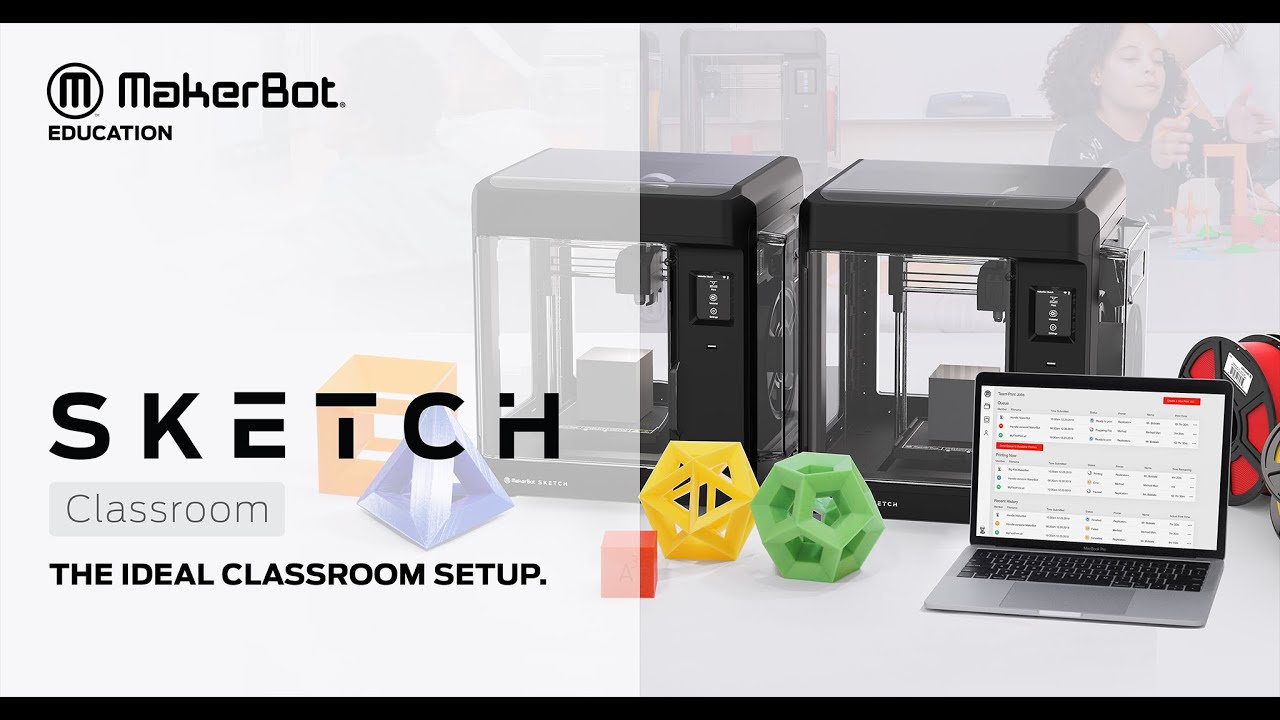
Sketch Classroom provides you with all the tools, both in terms of hardware as well as software for integrating 3D printing to your school from the starting year. Whether you wish to start this course in your school in your classroom or from home.
Without wasting even a moment more, let’s get to various aspects of the 3D printer that make it the most suitable one for studying 3D printing.
Features
Below mentioned are some of the most exciting features that Sketch Classroom is able to provide in the limited price amount at which it is available in the market.
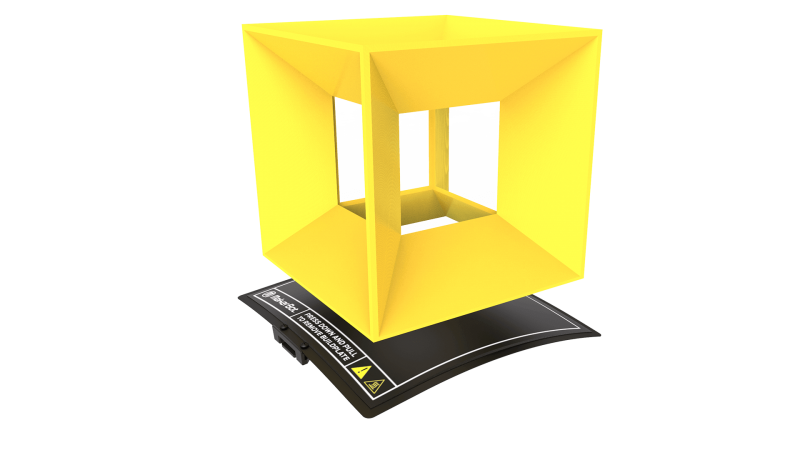
Heated and Flexible build plate: To ensure you get reliable prints every time after 3D printing with Makerbot Sketch Classroom, the printer manufacturer has installed in it a heated and flexible build plate. This will help you get a secure, successful printing and a flexible surface that helps to remove finished prints a breeze.
Touch screen control: For easing your and your student’s interaction with this 3D printer the manufacturer has given a touch screen control interface on the right type of the printer’s body. You can start, monitor, and pause your students’ prints using this interface. One-click on this interface would mean turning on or off of a particular function on Makerbot Sketch Classroom.
Enclosed Chamber and particulate filter: To let you enjoy the facility of placing your 3D printer anywhere you wish to in the classroom, without any worry, Makerbot has got in place an enclosed chamber. So, no one can interrupt the 3D printing process after it has started until there is a pause or stop in the same. A particulate filter is installed in each printer to ensure some peace of mind.
Specifications
This 3D printer is based on Fused Deposition Modeling 3D printing technology. It provides a build volume of 150 mm * 150 mm * 150 mm and a layer resolution range in parts and functional prototypes of 100 to 400 microns.
The filament with which you are allowed to 3D print, on this 3D printer should have a 1.75 mm diameter!
Makerbot Sketch Classroom is compatible with Makerbot Sketch PLA and Makerbot Sketch Tough Material.
The nozzle that’s used for laying melted 3D printer filament on this printer’s print bed has a diameter of 0.4 mm.
The ambient operating temperature range for this 3D printer is 15 to 30 degrees Celsius. Its storage temperature range is 0 to 55 degrees Celsius.
The machine dimension of this printer is 433.4 mm * 423.1 mm * 365 mm. It weighs 11.8 kilograms.
The bedplate leveling is made possible with a heated removable flexible build surface.
The power requirements of this printer are 100 to 240 Volts, 50-60 Hertz, 2.7 to 1.3 Ampere.
You can connect with this 3D printer using USB, Ethernet, and Wi-fi. The resolution of the camera that is in-built in this printer is 2 megapixels.
Price
There are two options that Makerbot offers for this printer.
- $1199 for a single printer setup
- $1799 for two printer’s setup
First Impressions
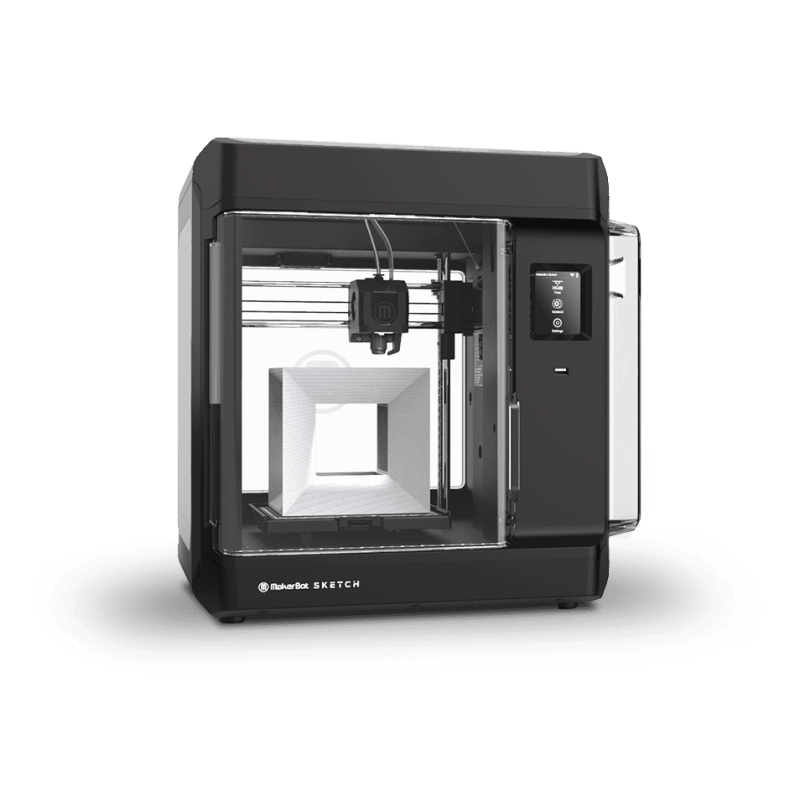
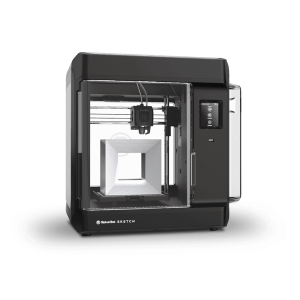
The printer looks like one of those small build volumes offering 3D printers based on the Cartesian system of 3D printers. You have the touchscreen interface on the right top of its body.
The inside of the print chamber is visible from the left end of the printer as it is kept open and accessible via a door that you may open to take out the printed part or fill in the filament spool inside the spool holder.
It may be lying on your desk and not even hinder any other machine, device, or tool of work. It is compact enough to be like the CPU of your personal computer.
Setup
If you buy the first option that is mentioned in the Price section you will get
- One Makerbot Sketch 3D printer
- Makerbot Cloud
- Three Makerbot PLA Spools
- Two build plates
- One Spatula
- One Snip
- One seat in Makerbot Certification for educators.
- Five seats in Makerbot Certification for students.
While if you buy the second option, the number of 3D printers, build plates, spatula, snips, Makerbot certification for educators and students would double.
The printer is a plug-and-play 3D printer meaning you would be able to get to come up with your first 3D print on this printer within ten to fifteen minutes of time after the box of printer reaches you.
All you need to do is be familiar with the parts of this printer by reading the guide that comes along.
After which you need to level it and start loading the sliced file of the object you wish to 3D print with this 3D printer.
Printing Type/Cost
FDM 3D printing technology is the basis of the operation of the Makerbot Sketch Classroom 3D printer. It is the most accessible 3D printing technology amongst all.
Most of the 3D printers that you would come across would operate on this technology especially those that are used for education purposes.
The reason behind this is its simplicity. You start the 3D printing process with a solid filament of material with which you wish to 3D print a part or functional prototype.
After fitting that in a filament spool holder the process of heating it to its glass transition temperature starts.
Once the 3D printing material reaches its glass transition temperature and is good to melt, it’s transferred via the nozzle system of that printer and laid on the printer’s print bed.
How the melted material is laid on the print bed? Depends on the geometry of the part or functional prototype that you have fed into the printer via the sliced file of the same.
The process of printing that object, layer by layer starts until the complete object is 3D printed. After which, the complete part or functional prototype is allowed to cool down.
The support structures, if any, that are used in the part or functional prototype’s construction are removed and the remaining part is sent for post-processing.
The cost of printing per part depends on many variables. Starting with the geometry of the part or functional prototype you are looking to manufacture, the cost of the material with which you are wanting to 3D print that part, the amount of infill you require in that part, are there any support structures needed for creating the geometry of that part, etc.
Overall, the cost of manufacturing a part via FDM 3D printing technology is much lower than that of manufacturing it with other 3D printing technologies.
Print Quality
 Credit: makerbot
Makerbot Sketch Classroom is able to provide you with a layer resolution range of 100 to 400 microns in each and every part or functional prototype that you wish to manufacture on the 3D printer.
This resolution range is considered pretty well, considering the cost at which this 3D printer is available to you and the 3D printing technology on which it is based.
Finished parts and functional prototypes possess excellent surface finishes.
Of course, these surface finishes are lower in quality than the ones manufactured from other printing technologies possess but then those printers cost much higher than Makerbot Sketch Classroom.
You can create parts that can be used for teaching 3D printing technology to your students and then help increase their creativity.
Software
The 3D printer is compatible with Makerbot Print Software. It supports file types with extensions such as MakerBot (.makerbot), STL (.stl), SolidWorks (.sldprt, .sldasm), InventorOBJ (.ipt, .iam), IGES (.iges, .igs), STEP AP203/214 (.step, .stp), CATIA (.CATPart, .CATProduct), Wavefront Object (.obj), Unigraphics/NX (.prt), Solid Edge (.par, .asm). ProE/Creo (.prt, .prt., .asm, .asm.), and VRML (.wrl).
You can operate this software with Windows, and Mac systems. The printer software is also compatible with CAD plugins such as Solidworks, Autodesk Fusion 360, Onshape, and Autodesk Inventor.
The software puts in front of you an entirely new way for teachers and students to collaborate with each other and share access to Makerbot 3D printers.
You can even learn when you are not around the 3D printer. And has a lot of other benefits apart from being easy to use.
Customer Support
Makerbot Guideline has different exercises for teachers as well as their students. The support department under Makerbot works in four different segments starting from:
- Opening a support case
- Queries regarding software
- Troubleshooting
- Registering your device with Makerbot
You can always call Makerbot’s offices near your location, or email them with your queries. And Makertbot’s complete technical team is dedicatedly waiting to reach out to you asap.
Parameters Influencing Buying Decision
The most important factors that will influence your buying decision for this 3D printer are its cost, quality, speed, capability, and practicality, and user expectations. All of which are mentioned in brief below.
3D Printer Cost: Makerbot Sketch Classroom is a 3D printer that’s able to build a part or functional prototype of considerable build volume and quality. Apart from these two, there are other features also that make you wonder how come such a 3D printer is available for a sum of around $1200. Special mention about its use in schools, and universities to teach kids.
3D Print Quality: Being an FDM 3D printer, Makerbot Sketch Classroom is able to provide a layer resolution range of 100 to 400 microns which is commendable. All the surface finishes of objects manufactured on this 3D printer are praiseworthy.
3D Print Speed: Being able to produce impressive build volumes and excellent print qualities, Makerbit Sketch Classroom is also able to maintain a decent print speed in their production.
3D Printer Capability: In terms of materials, Makerbot Sketch Classroom is capable of 3D printing with PLA and Tough materials.
3D Printer Practicality: When in operation the printer does not make much noise and that’s why it can easily be used in environments like offices and homes.
3D Printer User Expectations: This 3D printer is primarily dedicated to fulfilling the expectations of teachers and students in the field of 3D printing.
The Verdict
Makerbot Sketch Classroom 3D printer is the most ideal 3D printer ever made dedicated specially for a classroom setup. But you can also use it at your home to teach your kid independently.


