When it comes to 3D printing, possibilities seem to have no boundaries. Apart from functional prototypes and end parts, individuals like to create various customized designs including their favorite models from movies and series.
And, one such popular fictional character is Naruto. Enjoying huge fame, this young ninja has been able to attract millions of audiences from around the world. Interested in 3D printing Naruto?
How to 3D Print Naruto?
Like any other 3D printing project, you will require the basic setup to accomplish the goal. Starting from a desktop 3D printer to the post-processing tools, you will need a few things handy when printing this character.
If you are ready to put in the effort and a little patience, you can certainly give your favorite character a physical avatar. So, let’s begin!
Prepare the 3D File
As it goes without saying, you will require the 3D file for Naruto before starting printing. Either you can create it by yourself, or download the already available ones from the online repositories.
If you are experienced, you can go with the first option. However, for beginners, it is convenient to print the existing files. If needed, one can also make changes to the designed models.
In case, you are looking for an already prepared 3D file for Naruto, here are some of the examples you can explore:
Naruto and Kurama 3D Printing Figurines in Diorama | Assembly
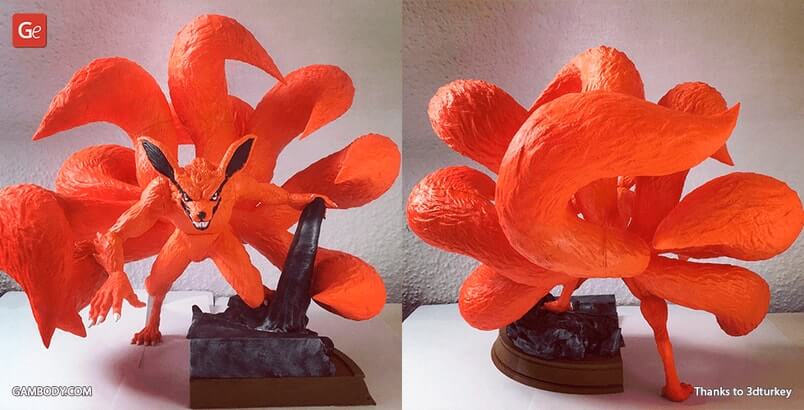
The 3D file is available on Gambody for $24.99. The figurine is really impressive with ninja looks and optimized perfectly for 3D printing it directly.
The Naruto and Kurama model comes in four different versions, prepared separately for different types of 3D printers. The files are very reliable and offer great results after printing. One can easily download any of the four STL versions after purchase.
The file comes with proper instructions for creating the figurine without any hassle. So, once you have the file, make sure to check the printing details before jumping directly into 3D printing.
Naruto Sage
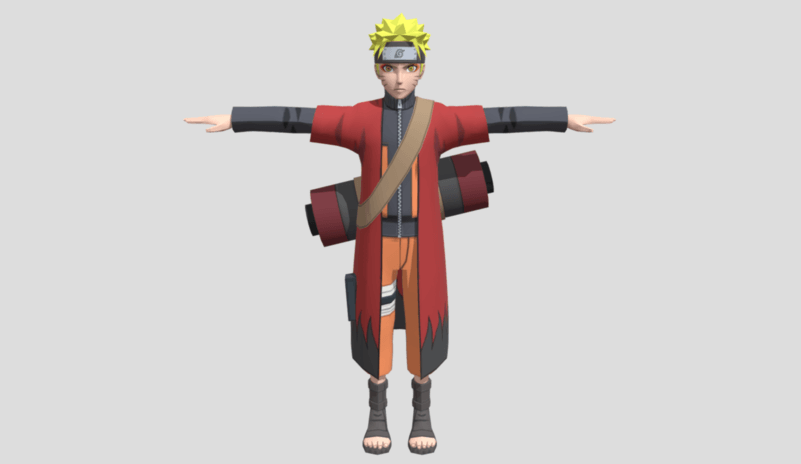
For free download, you can check the Naruto Sage 3D model on SketchFab. The design is beautiful and pretty simple to print. With not many intricate parts, the 3D file caters to almost every level of users with ease. Also, you can later paint the figurine after printing to give it a more detailed look.
Naruto Busto
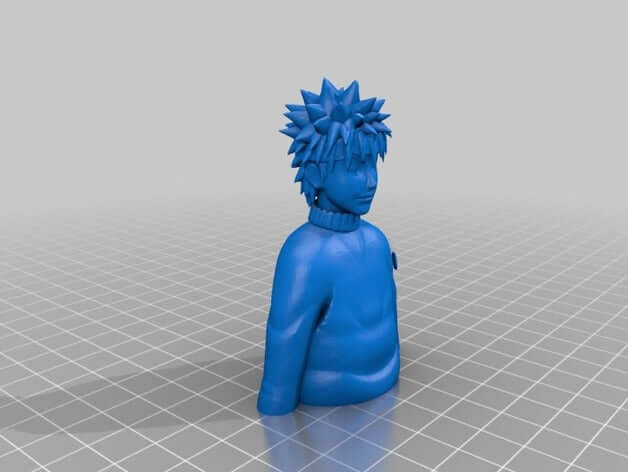
The design can be used as decorative. With just the upper half of the character standing on a round flat at the bottom, it is one of the easiest files to print in the list.
From face expression to hairstyle, the model depicts the character closely. Also, ‘Naruto’ written at the bottom, makes the complete design even more fascinating.
Definitely, a perfect choice for every Naruto lover. Also, it’s free to download the STL file on Thingiverse.
Naruto Shippuden
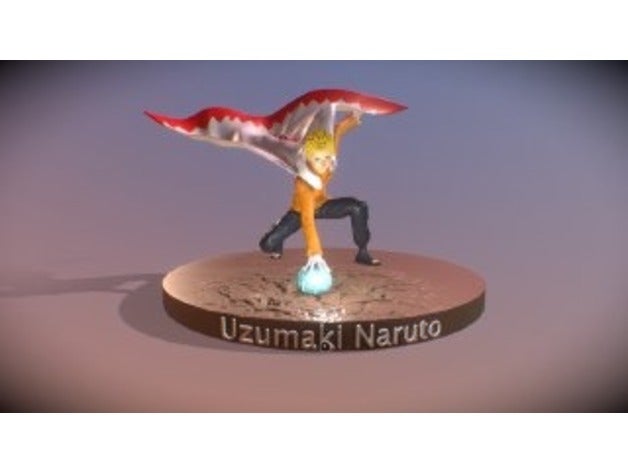
One more wonderful design for Naruto available on Thingiverse will make you fall in love with the character. The ninja with a flying robe looks perfect sitting on the flatter base. Also, the design would look fabulous on the living room shelf.
Just remember, you will require a lot of support to print this model. Therefore, if you are new to 3D printing, ensure to follow every instruction properly. And, you must be ready to invest a lot of effort post-processing the figurine after printing. From careful removal of support to finishing the looks and more.
Naruto
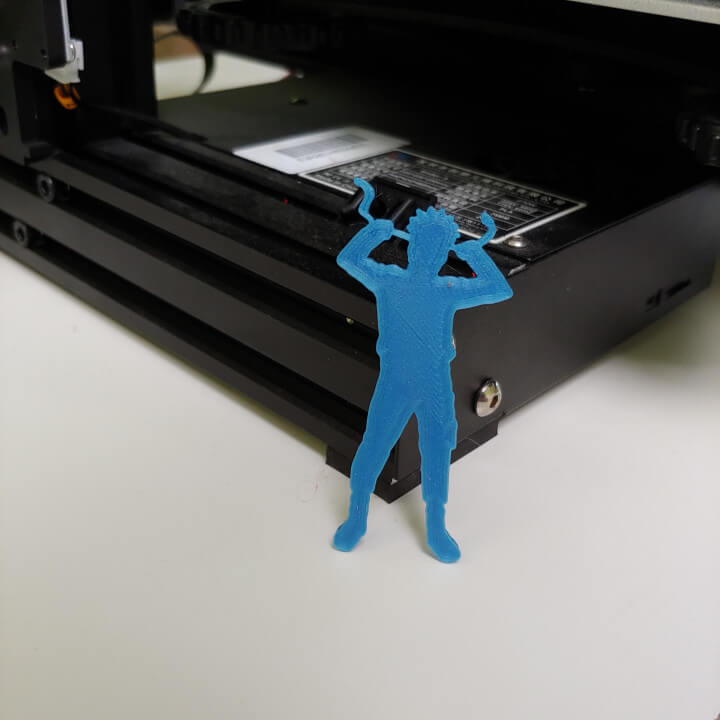
One of the simplest files to print for beginners, this Naruto model is created using an FDM machine. All you need to do is download the STL files from MyMiniFactory and start printing. It has a dimension of 32.52mm x 72.75mm x 3mm which is pretty easy to accommodate is every desktop 3D printer.
Moreover, it does not require any support structure. On the contrary, you will require just one filament to complete the entire model. Later, you can plan to paint the character for giving it a more realistic look.
Overall, it could be your first Naruto model as a beginner.
Naruto Shippuden
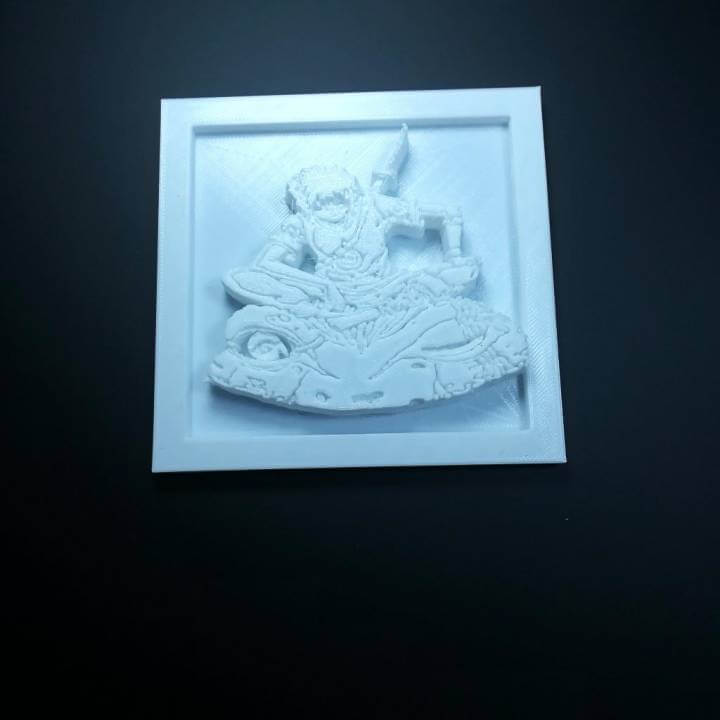
This is also a simple STL file, printed using an FDM machine. Looking like a painting, one can easily decorate the printed model on the wall. It does not require support for printing.
Also, being available on the MyMiniFactory, you can rely on the file to be accurate and precise. Just use the most common PLA material to complete printing.
Kyuubi
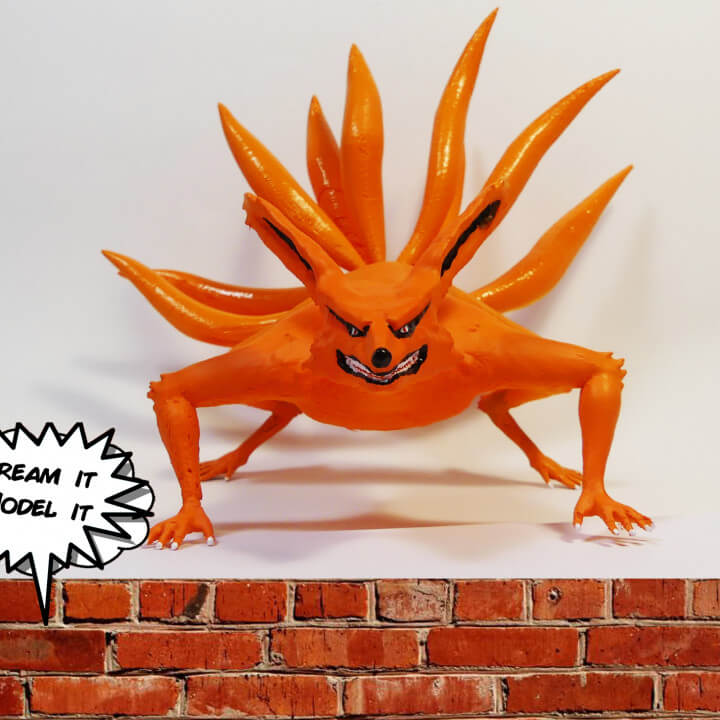
You might recognize Kyuubi from the anime series Naruto. While the model looks interesting and would certainly enhance the beauty of your shelf, it isn’t the simplest design to print. However, it will be a fun experience to cover this character inside your 3D printer.
Not very large, the character occupies space of 61.76mm x 71.94mm x 52.73mm. Hence, every desktop printer can handle this project.
The 3D file is available on Myminifactory in two different formats, STL and OBJ. Also, you can refer to the YouTube link in the description to gather more information about printing this amazing design.
Configure Your 3D Printer
Now that you have checked a few options to 3D print Naruto, it’s time to get to the next step. Choose the design from the list or find someone from the online repositories that you like. But before uploading the file for printing, ensure that the machine is perfectly configured.
In most cases, you will find the instructions for layer height and other details along with the downloaded file. Apart from that, you must check the printer’s setting for any changes according to the filament you wish to work with.
Moreover, if you are using a printer that requires manual calibration, make sure the bed is perfectly leveled. In addition, keeping your printer’s nozzle clean before starting to create the models will help a lot. Otherwise, with a clogged nozzle, you can encounter a variety of irritating issues. Such as, under extrusion or blob problems.
Here are a few tricks to help you get the printer setting correct in the first go.
Layer Height
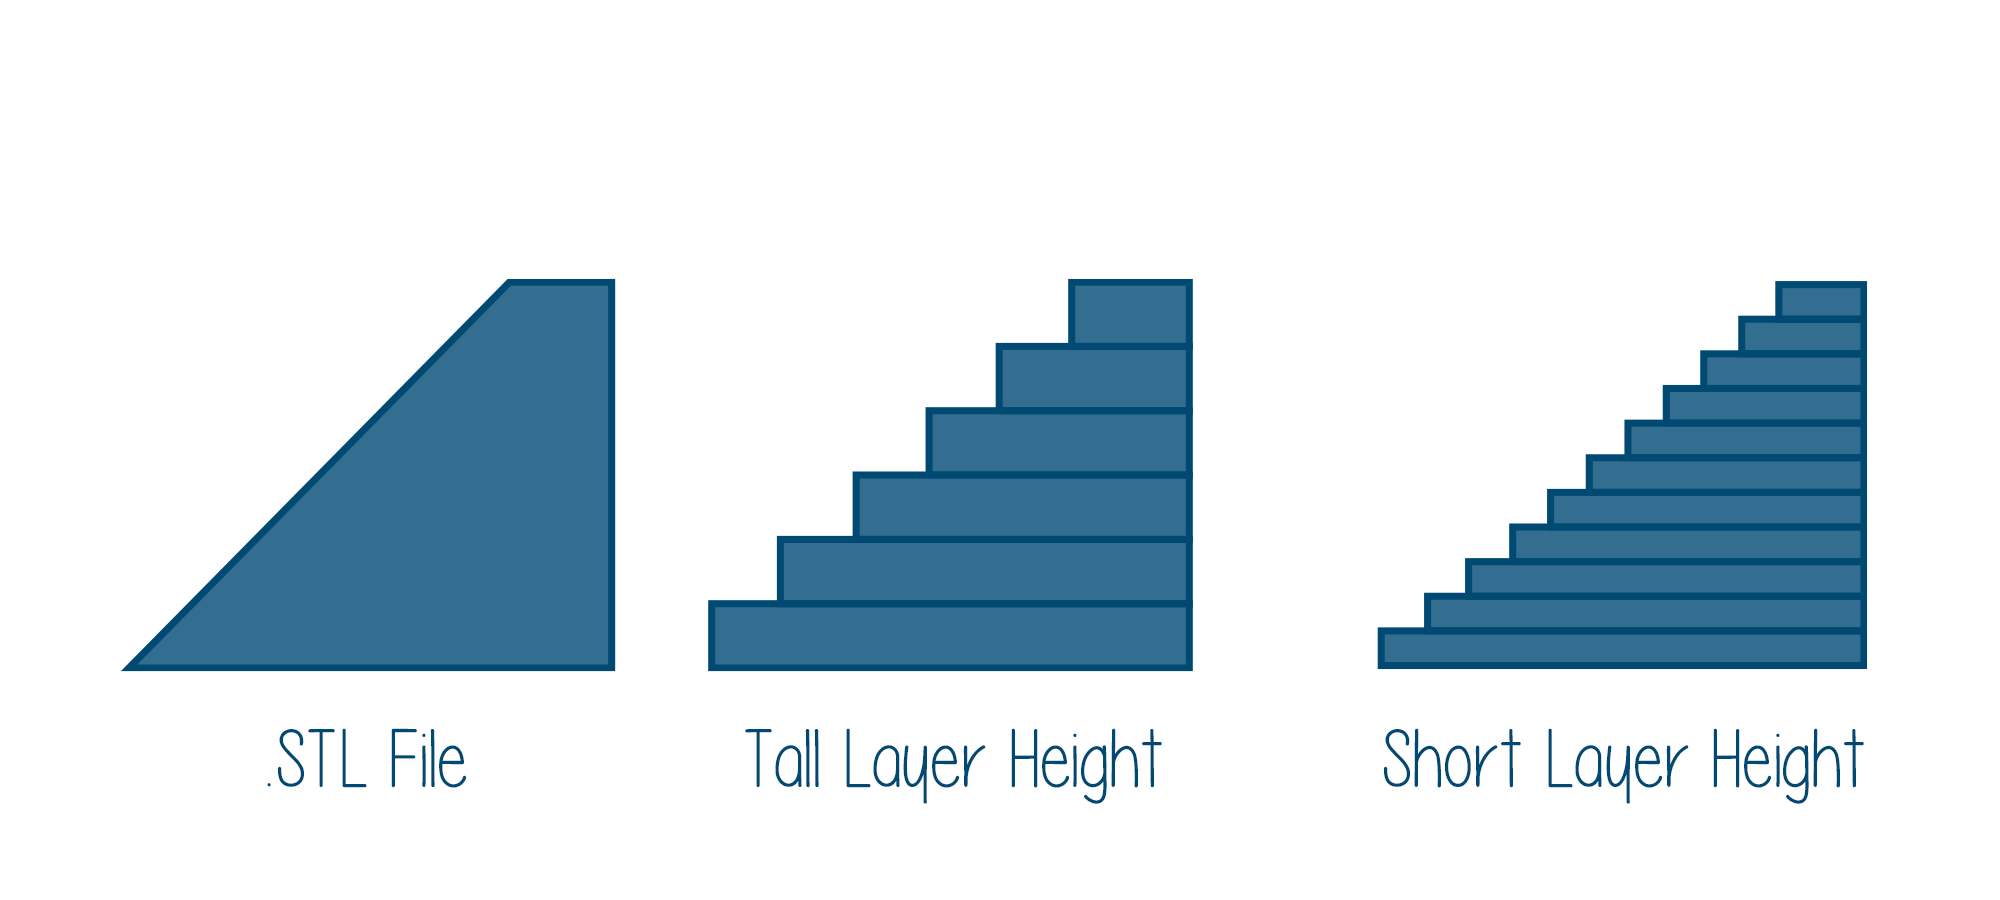
Layer height matters a lot when considering the quality of the parts. Therefore, you must be patient when choosing the same. Those wanting to print faster while still ensuring that the surface finish is decent can try 0.01-mm layer height.
However, there are times when the need for intricate features isn’t very important. In such a case, increasing the layer heights would do the job. Alternatively, users can also try making use of adaptive layers.
For miniatures or statues, the base does not matter a lot. In other words, it’s the area that is of minimum importance. So, you can easily keep layer height maximum for these regions while maintaining the quality when needed.
Print Speed
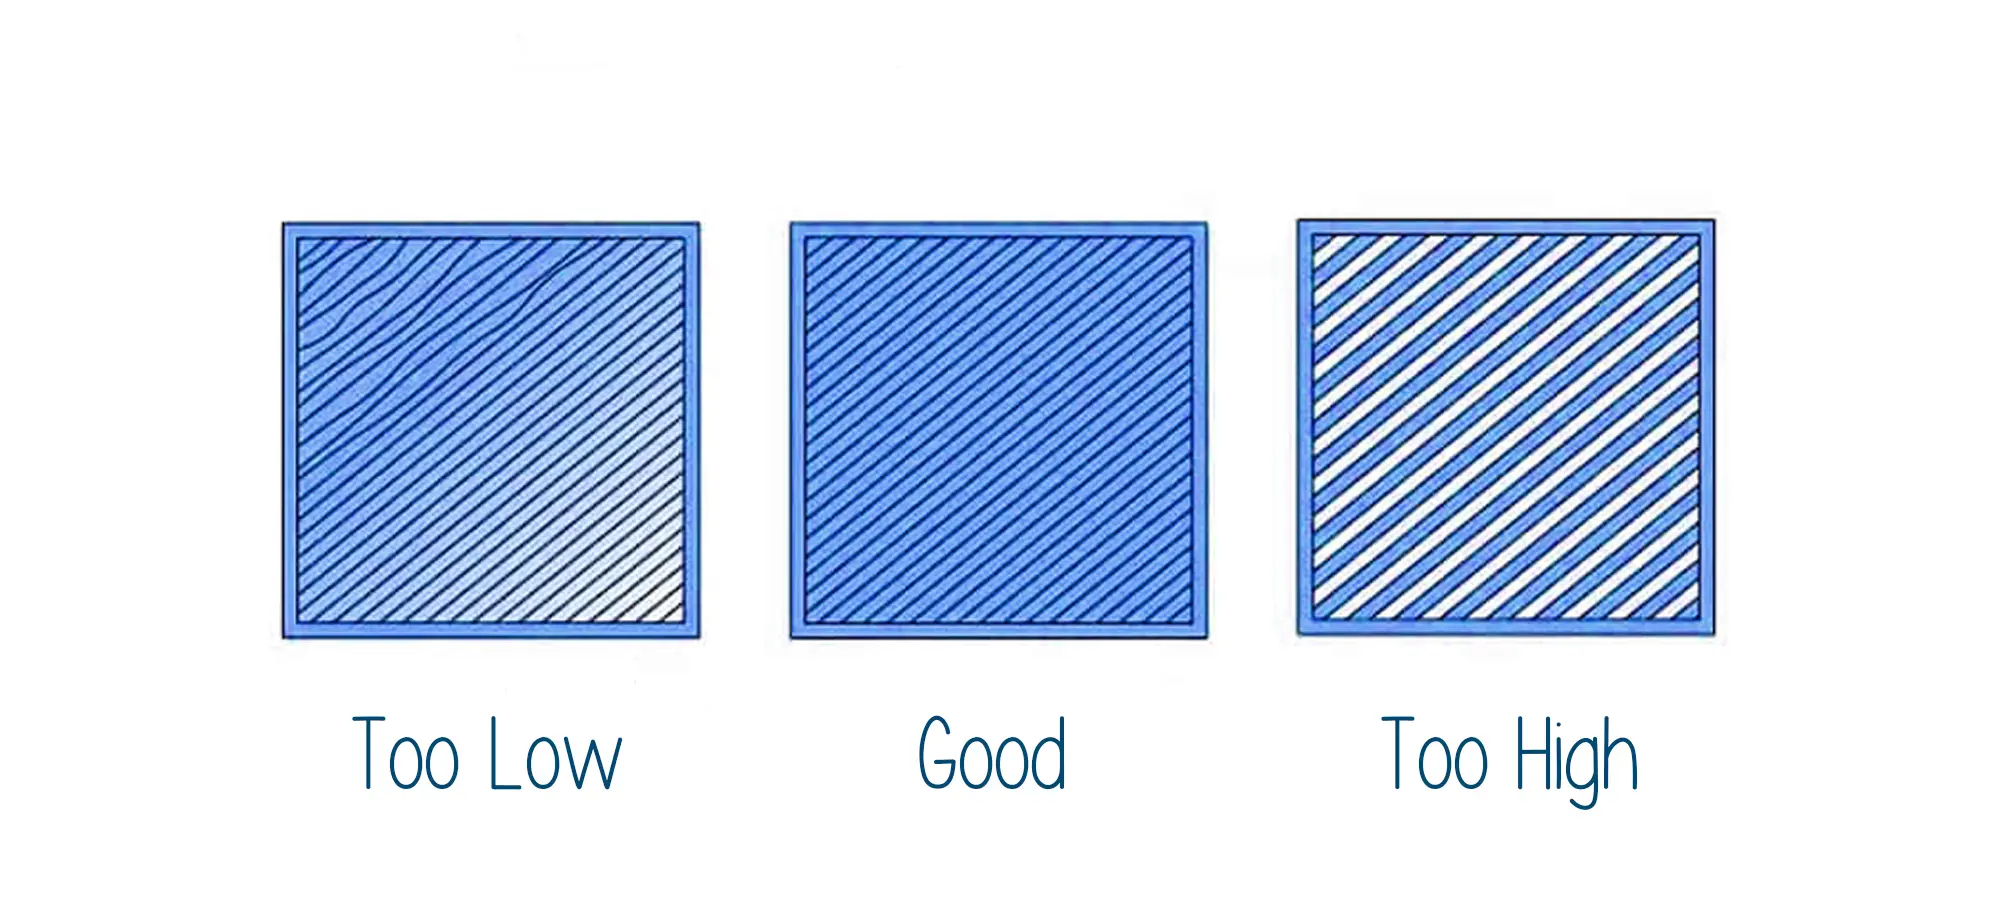
Being the trickiest of settings, one must take some time before deciding the best print speed for the Naruto figurines. If setting it too fast, one may encounter problems such as poor layer adhesion.
On the contrary, slower speed will not only make the project too lengthy but also increases the chances of print failure due to power outage.
In order to set the speed right, try slowing down the first layer. With slow speed, you can achieve stronger adhesion and a safer base for further layers of the print.
You must also take care of the travel speed, the speed of the print head when it moves but does not extrude material. If incorrectly set, or if it’s too low, prints can suffer from bloating, especially in the case of intricate models.
On the other hand, with too fast a travel speed, the print can even get hit by the nozzle and fall off completely. Last but not the least, make sure to optimize the retraction speed. This is the speed at which the filament is pulled back before it travels. When not pulled quickly, the melted filament may drip in the places where it should not.
Supports
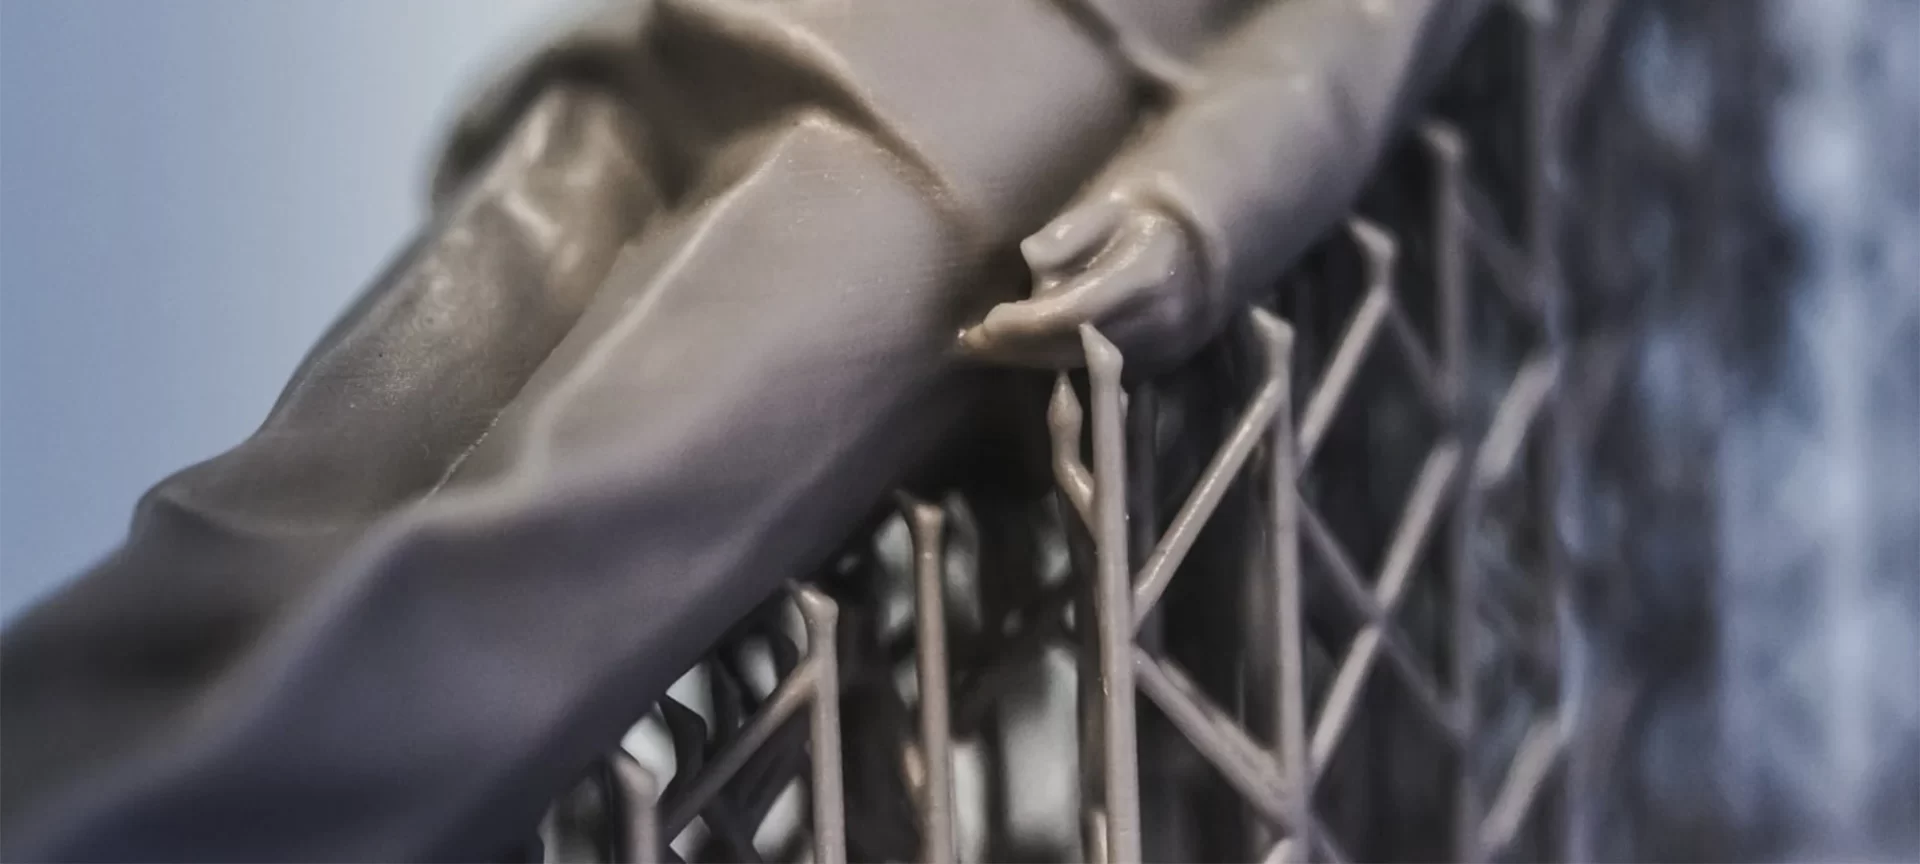
There are many 3D models that cannot be printed without support. Using these support structures, it becomes simpler to complete the printing projects in one go that have overhangs such as flying robes, wings, and more. Usually, the slicer takes care of automatic support generation.
If support isn’t incorporated in the design where needed, the models will likely collapse.
It is also true that using supports has its own drawbacks. Removing supports is difficult and time taking. Plus, the supports often leave back their marks or could even incur damage on the model. Therefore, a few tips for designing a support structure may help you avoid risking the looks of your models.
To start with, do not use support when not needed. Often recommended on extreme overhangs, make sure to avoid putting it unnecessarily. Overhangs over 60 degrees will require a support structure. Anything less than that is just a waste of time and material.
If you have worked with tree support before, it’s time to utilize it at the right spots. Tree supports, like the branches, reach in the model from around. These structures may seem flimsy but are stronger enough to support the delicate features within the 3D model, while still making fewer points of contact with the character. Usually like a hug.
Cooling
If you are working with an FDM 3D printer, this step becomes very crucial. FDM technology depends on melting plastic and then leaving it to cool own for preparing different shapes. By controlling the cooling temperature, one can attain better results for their 3D models.
The FDM 3D printers do have a cooling fan installed together with the hot end. However, when it comes to printing figurines, cooling becomes very important when compared to larger models. So, if you are ready to 3D print Naruto, make sure that the cooling is activated. You can verify the same in your slicer settings.
Do not forget that cooling depends on the filament you use for printing. You must tune the cooling level according to the material you are using to create your model. For instance, PLA needs cooling for the entire print procedure.
On the other hand, PETG or ABS do not need a lot of cooling. In case you aren’t sure, check the guidelines for printing with your filament on the manufacturer’s website. Sometimes, the instruction manual is also shipped along with the filament spool.
Slice the Model
Most of the 3D printers have inbuild slicers. However, some require you to slice the STL files before feeding the design to the printer. Do the needful and convert the STL or OBJ or any other 3D file into GCode. Here are some of the Best 3D Printing Slicer Software.
Print the 3D File
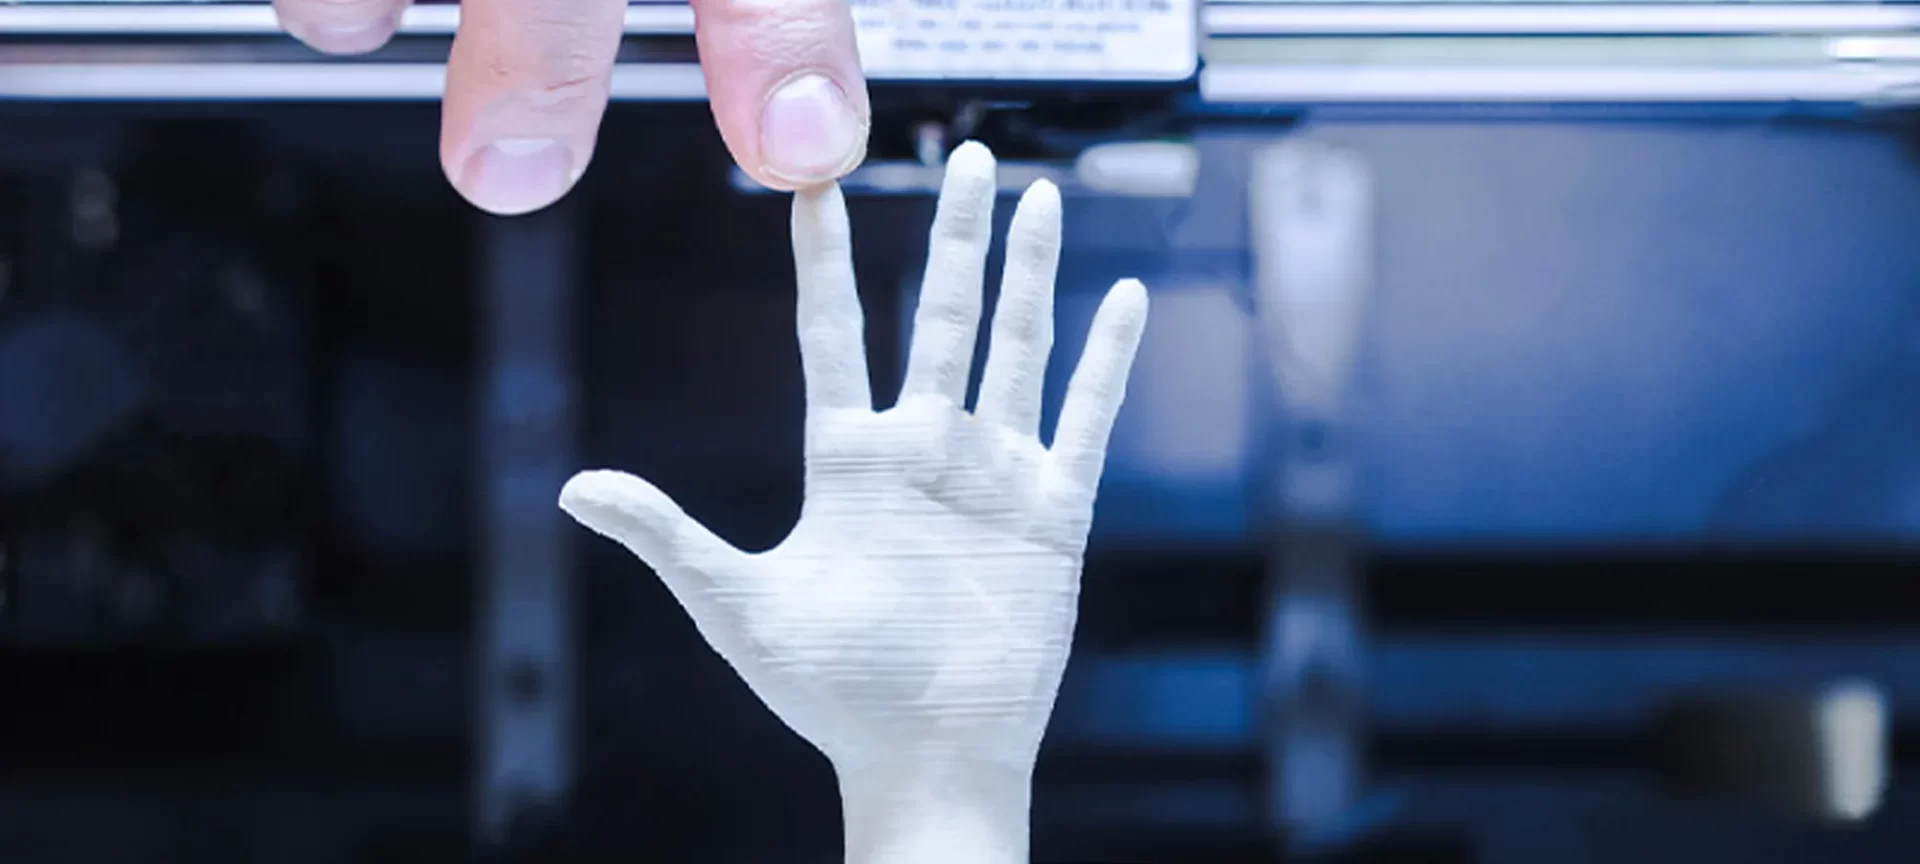
After you have verified all the necessary settings, go ahead and press the print button, you have been waiting to activate. Make sure to keep an eye on the build platform for any unwanted results.
Post Processing
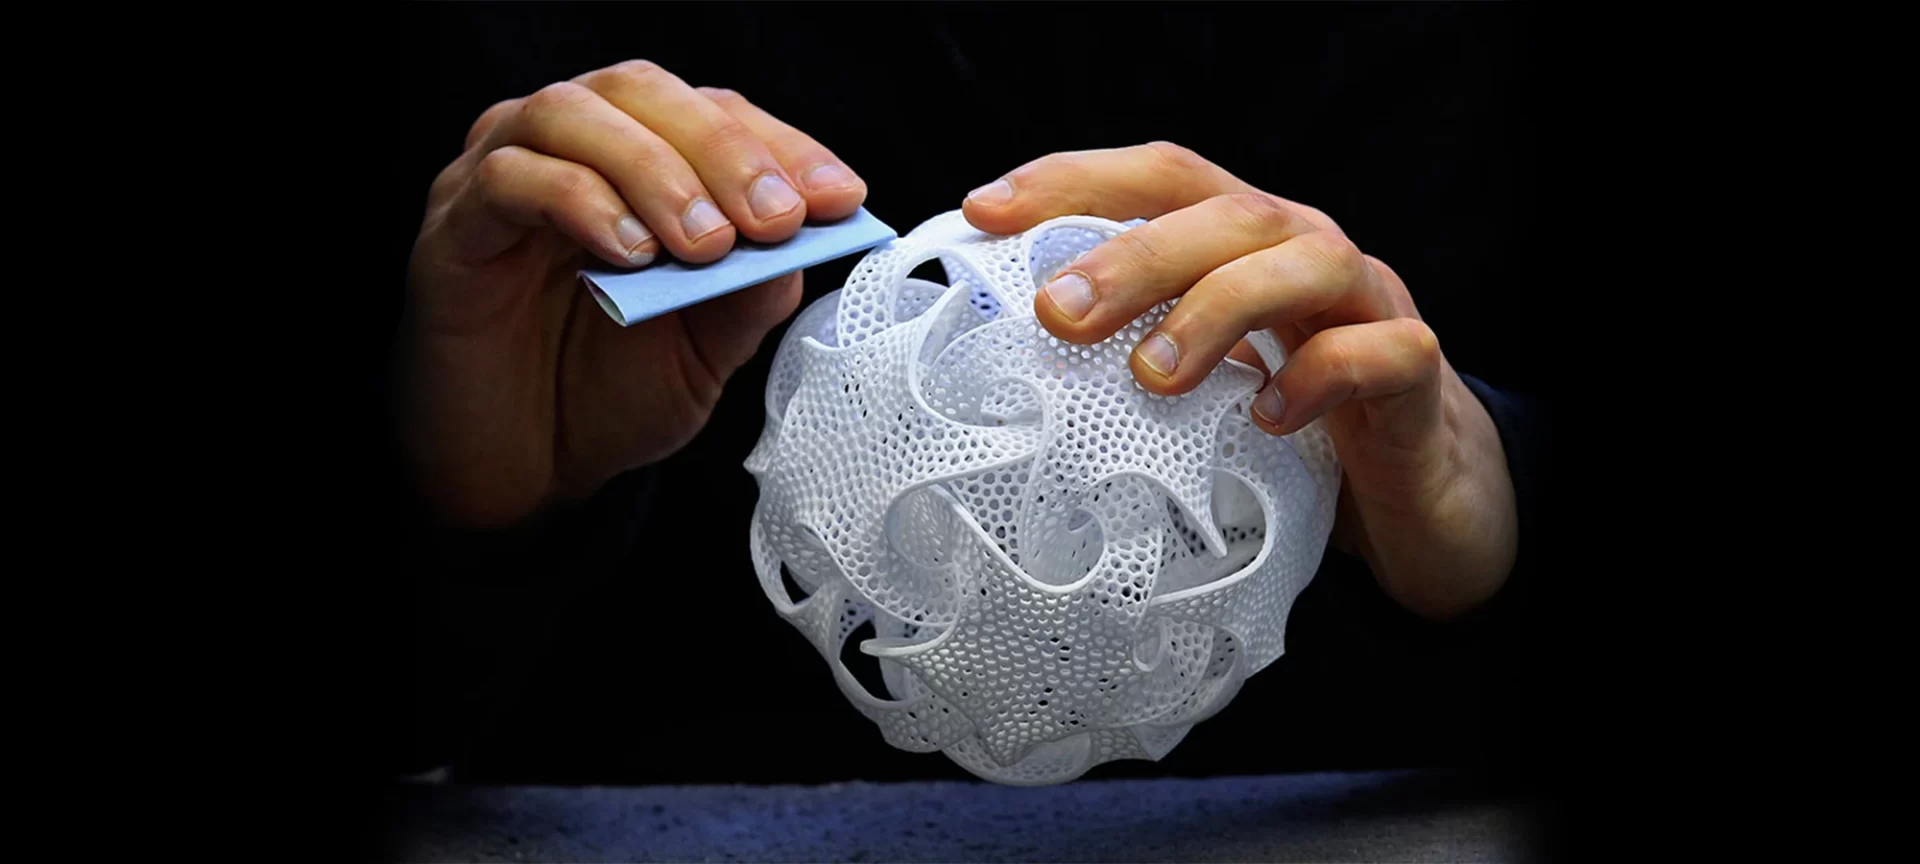
After you are done printing the Naruto figurine, clean the supports and carry the usual post-processing steps for smoothening the surface a little more.
The Conclusion
Wasn’t that interesting to find out how easy it is to 3D print Naruto. The popular character that did not only increase the beauty of your house is a showpiece but also engages individuals on board games, is really one of the coolest designs you will ever come across. So, if you find it interesting too, go ahead and follow the instructions to successfully complete this project.


